2009 RENAULT TWINGO light
[x] Cancel search: lightPage 2 of 46

86D -2V1 MR-413-X44-86D000$010.mif
86D
BIC
Vdiag No.: 14
1. SCOPE OF THIS DOCUMENT
This document presents the fault finding method applicable to all computers with the following specifications:
2. PREREQUISITES FOR FAULT FINDING
Documentation type
Fault finding procedures (this manual):
–Assisted fault finding (integrated into the diagnostic tool), Dialogys.
Wiring Diagrams:
–Visu-Schéma.
Type of diagnostic tools
–CLIP
Special tooling required
3. REMINDERS
Fault finding procedure
To run fault finding on the vehicle computers, switch on the ignition.
Depending on the type of vehicle equipment, proceed as follows:
To cut off + after ignition feed, proceed as follows:Vehicle(s): CLIO III and NEW TWINGOComputer name: MULTIMEDIA CONNECTION
UNIT
Function concerned: MULTIMEDIA
CONNECTION UNITVdiag No.: 14
Special tooling required
Diagnostic tool
Multimeter
Elé. 1681 Universal bornier
For vehicles with key/radio frequency remote control, use the key to switch on the ignition.
For vehicles with Renault cards,
–with the vehicle card in the card reader,
–press and hold the start button (longer than 5 seconds) with start-up conditions not fulfilled,
connect the diagnostic tool and perform the required operations.
For vehicles with key/radiofrequency remote control,use the key to switch off the ignition.
For vehicles with Renault cards,
Press the Start button twice briefly (less than 3 seconds),
Ensure that the + after ignition feed has been cut off by checking that the computer warning lights on the instrument
panel have gone out.
BIC_V14_PRELI
MULTIMEDIA CONNECTION UNIT
Fault finding – Introduction
Page 5 of 46

86D -5V1 MR-413-X44-86D000$010.mif
MULTIMEDIA CONNECTION UNIT
Fault finding – Introduction86D
BIC
Vdiag No.: 14
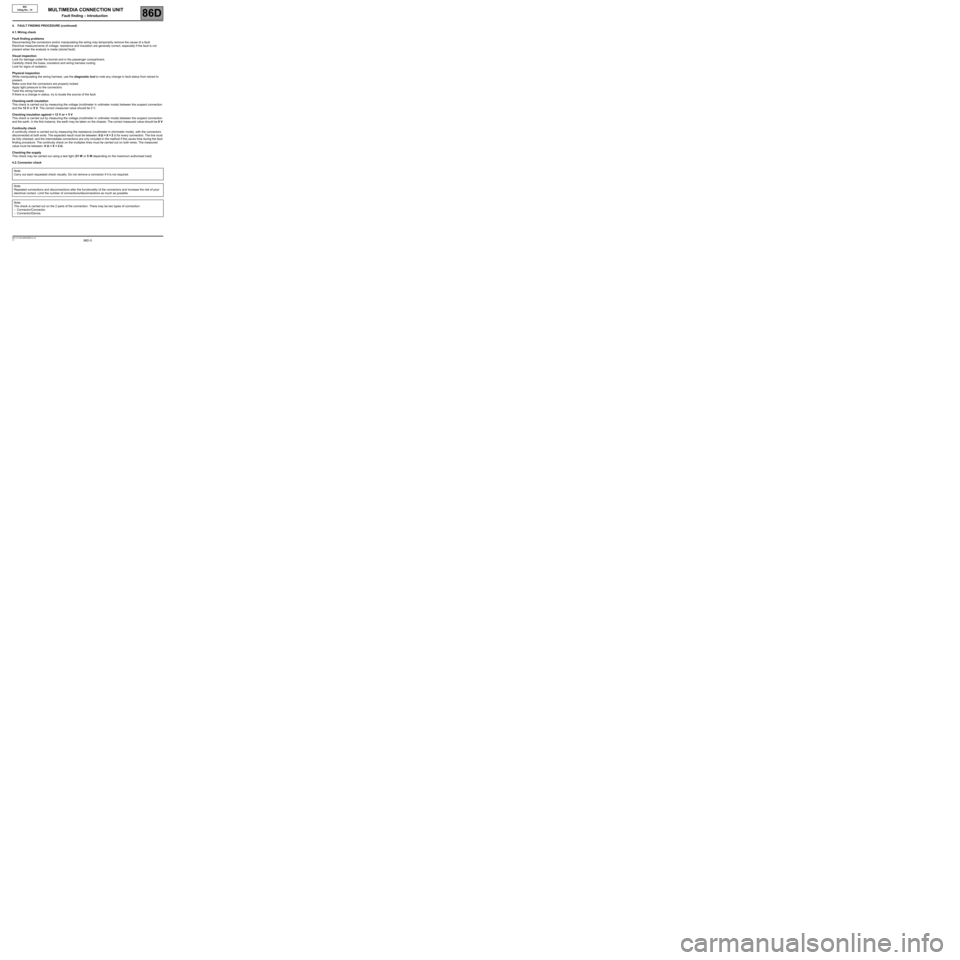
4. FAULT FINDING PROCEDURE (continued)
4.1. Wiring check
Fault finding problems
Disconnecting the connectors and/or manipulating the wiring may temporarily remove the cause of a fault.
Electrical measurements of voltage, resistance and insulation are generally correct, especially if the fault is not
present when the analysis is made (stored fault).
Visual inspection
Look for damage under the bonnet and in the passenger compartment.
Carefully check the fuses, insulators and wiring harness routing.
Look for signs of oxidation.
Physical inspection
While manipulating the wiring harness, use the diagnostic tool to note any change in fault status from stored to
present.
Make sure that the connectors are properly locked.
Apply light pressure to the connectors.
Twist the wiring harness.
If there is a change in status, try to locate the source of the fault.
Checking earth insulation
This check is carried out by measuring the voltage (multimeter in voltmeter mode) between the suspect connection
and the 12 V or 5 V. The correct measured value should be 0 V.
Checking insulation against + 12 V or + 5 V
This check is carried out by measuring the voltage (multimeter in voltmeter mode) between the suspect connection
and the earth. In the first instance, the earth may be taken on the chassis. The correct measured value should be 0 V
Continuity check
A continuity check is carried out by measuring the resistance (multimeter in ohmmeter mode), with the connectors
disconnected at both ends. The expected result must be between: 0 ΩΩ Ω Ω
< X < 2 Ω for every connection. The line must
be fully checked, and the intermediate connections are only included in the method if this saves time during the fault
finding procedure. The continuity check on the multiplex lines must be carried out on both wires. The measured
value must be between: 0 ΩΩ Ω Ω
< X < 2 ΩΩ Ω Ω
.
Checking the supply
This check may be carried out using a test light (21 W or 5 W depending on the maximum authorised load)
4.2. Connector check
Note:
Carry out each requested check visually. Do not remove a connector if it is not required.
Note:
Repeated connections and disconnections alter the functionality of the connectors and increase the risk of poor
electrical contact. Limit the number of connections/disconnections as much as possible.
Note:
The check is carried out on the 2 parts of the connection. There may be two types of connection:
–Connector/Connector.
–Connector/Device.
Page 12 of 46

86D-12V1 MR-413-X44-86D000$030.mif
86D
BIC
Vdiag No.: 14
Role of main components
–Multimedia network interface unit: enables information to be exchanged between the “vehicle” and “multimedia”
multiplex networks.
The multimedia network interface unit is integrated into the display computer on vehicles not equipped with a
navigation system.
If the vehicle is equipped with a navigation system, the multimedia network interface unit is a computer which is
independent of the display: the multimedia connection unit, located behind the glovebox on the passenger side.
The multimedia connection unit (Display or Multimedia connection unit) receives various signals from the vehicle
CAN (speed, status of exterior lights) and retransmits them for the radio via the Multimedia CAN.
The multimedia connection unit (Display or Multimedia connection unit) transmits the activation signal to the radio
and to the other computers participating in the multimedia function when the user switches on the radio or starts the
vehicle.
The multimedia connection unit is involved in the radio anti-theft protection system.
The protection is based on an identifier, the "Vehicle ID", sent on the CAN-V by the instrument panel computer. The
multimedia connection unit reads the "Vehicle ID" on the CAN-V and sends it to the CAN-M for the multimedia type
computers.
The multimedia connection unit allows the optimum configuration of the sound volume according to the vehicle
speed.
–Display: displays various multimedia system data such as the station selected, time, CD listing and satellite
guidance information.
–Radio control satellite: allows the different functions of the multimedia system to be accessed through the radio
control satellite.
–Radio/navigation computer: manages the various multimedia system functions according to user requests and
transmits audio data to the vehicle via the speakers.
MULTIMEDIA CONNECTION UNIT
Fault finding – Role of components
Page 14 of 46

86D-14V1 MR-413-X44-86D000$050.mif
86D
BIC
Vdiag No.: 14
CF007: Vehicle configuration (Carry out this configuration only if the vehicle is not equipped with a Navigation
system).
This command is used to configure the computer according to the vehicle equipment.
After having performed CF007, perform CF012 Lighting.
CF008: Radio
This command is used to configure the computer according to the vehicle equipment.
Reread the configuration LC004 Radio in the Read configuration menu to confirm that the change was correctly
accepted.
CF009: Navigation (Only for Clio III).
This command is used to configure the computer according to the Navigation equipment of the vehicle.
Only use this command on a vehicle equipped with navigation.
CF012: Lighting (Carry out this configuration only if the vehicle is not equipped with a Navigation system)
This command, on New Twingo, is used to configure the luminosity level of the display screen by selecting the type
of radio.
This command, on Clio III, is used to configure the luminosity level of the display screen by selecting the type of
radio, and to confirm the option with or without dimmer.
NOTE: The two types of radio can be distinguished as follows: radio R02 has a telephone button, radio R01 does
not.
MULTIMEDIA CONNECTION UNIT
Fault finding – Configurations
Page 16 of 46

86D-16V1 MR-413-X44-86D000$070.mif
86D
BIC
Vdiag No.: 14
For information on removing and refitting the multimedia connection unit of the multimedia network, refer to the
repair manual for the vehicle concerned:
If the vehicle is equipped with a Navigation computer (Only on Clio III):
See MR 392, Mechanical, 83C, On-board telematics system, Multimedia network interface unit: Removal -
Refitting.
If the vehicle is not equipped with a Navigation computer:
Clio III: See MR 392, Mechanical, 86A, Radio, Display: Removal - Refitting.
New Twingo: See MR 411, Mechanical, 86A, Radio, Display: Removal - Refitting.
Operations to be carried out before replacing the multimedia network interface unit:
1- Before replacing the multimedia connection unit (with Techline approval), read the faults and carry out a
conformity check to check that it is actually defective.
2-After obtaining Techline approval, remove the multimedia connection unit, with the ignition off (wait 1 minute for
the system to shut down completely).
The multimedia network interface units available from the Parts Department are supplied unconfigured.
Operations to be carried out after replacing the multimedia connection unit:
–Connect the diagnostic tool and switch on the system, then establish dialogue with the computer.
–Configure the multimedia connection unit (see Configurations and Programming).
–Configure the computer using command CF007 Vehicle configuration, then perform CF012 Lighting. Only carry
out these configurations on vehicles not equipped with a Navigation system. (see Configurations).
–If a radio is present, configure the computer using command CF008 Radio (see Configurations).
–If a Navigation system is present, configure the computer using command CF009 Navigation (see
Configurations).
–Enter the VIN code using command VP001 Write VIN (see Programming).
–Check that there are no faults and that the multimedia system is operating correctly. Note:
If the radio and the multimedia connection unit (BIC) are replaced simultaneously, the multimedia
connection unit must be configured first (see Configurations and Programming).
MULTIMEDIA CONNECTION UNIT
Fault finding – Replacement of components
Page 27 of 46

86D-27
AFTER REPAIRCarry out another fault finding check on the system.
Clear the stored faults using command RZ001 Fault memory.
Deal with any other faults.
V1 MR-413-X44-86D000$090.mif
MULTIMEDIA CONNECTION UNIT
Fault finding – Interpretation of faults86D
BIC
Vdiag No.: 14
DF011
PRESENT
OR
STOREDEXTERNAL TEMPERATURE SENSOR CIRCUIT
CC.0: Short circuit to earth
CC.1: Open circuit or short circuit to +12 V
NOTESConditions for applying the fault finding procedure to stored faults:
The fault is declared present after the ignition is switched off and back on.
Configure the system using CF007 Vehicle configuration followed by CF012 Lighting configuration (See
Configurations and programming).
If the fault is still present, contact the Techline.
BIC_V14_DF011
Page 28 of 46

86D-28V1 MR-413-X44-86D000$100.mif
86D
BIC
Vdiag No.: 14
MAIN SCREEN
NOTESOnly carry out a conformity check after a complete check with the diagnostic tool. The
values shown in this conformity check are given as a guide.
Application conditions: Engine stopped, ignition on, and the radio switched on.
FunctionParameter or status
checked or actionDisplay
and notesFault finding
Side lightsET004:+12 V Side
lightsINACTIVE
INVALID
OFF
ONIn the event of an inconsistency,
run fault finding on the UCH (see
87B, Passenger compartment
connection unit).
BIC_V14_CCONF
MULTIMEDIA CONNECTION UNIT
Fault finding – Conformity check
Page 31 of 46

86D-31V1 MR-413-X44-86D000$100.mif
MULTIMEDIA CONNECTION UNIT
Fault finding – Conformity check86D
BIC
Vdiag No.: 14
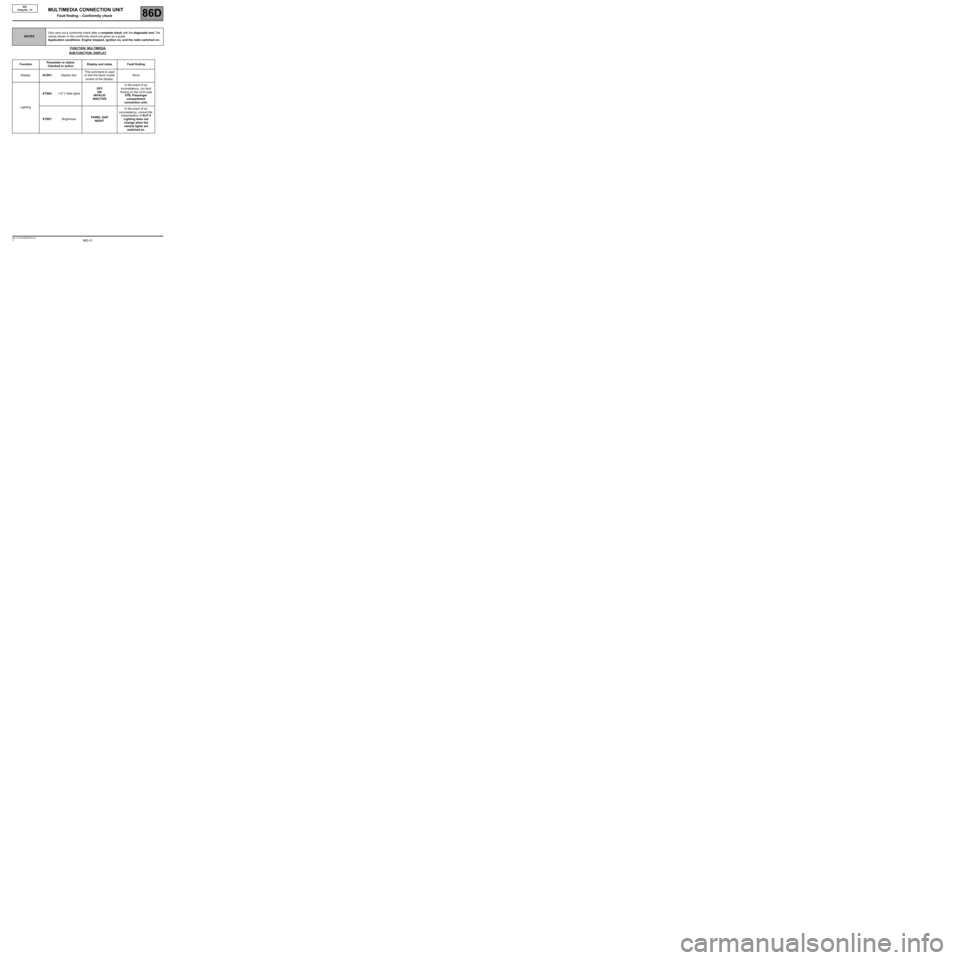
FUNCTION: MULTIMEDIA
SUB-FUNCTION: DISPLAY
NOTESOnly carry out a conformity check after a complete check with the diagnostic tool. The
values shown in this conformity check are given as a guide.
Application conditions: Engine stopped, ignition on, and the radio switched on.
FunctionParameter or status
Checked or actionDisplay and notes Fault finding
DisplayAC001:Display testThis command is used
to test the liquid crystal
screen of the display.None
LightingET004:+12 V Side lightsOFF
ON
INVALID
INACTIVEIn the event of an
inconsistency, run fault
finding on the UCH (see
87B, Passenger
compartment
connection unit).
ET007:BrightnessPANEL GAP
NIGHTIn the event of an
inconsistency, consult the
interpretation of ALP 4
Lighting does not
change when the
vehicle lights are
switched on.