2009 PONTIAC TORRENT reset
[x] Cancel search: resetPage 133 of 436

6(Delay Adjustment):Move the lever to the delay
position to choose a delayed wiping cycle. Turn the
intermittent adjust band down for a longer delay or
up for a shorter delay.
9(Off):Turns off the windshield wipers.
8(Mist):Move the lever all the way down to mist and
release for a single wiping cycle. The windshield wipers
stop after one wipe and the lever returns to its starting
position. Hold the lever on mist longer for more wipes.
Clear ice and snow from the wiper blades before
using them. If they are frozen to the windshield,
gently loosen or thaw them. If the blades do become
damaged, install new blades or blade inserts.
SeeWindshield Wiper Blade Replacement on
page 5-47.
Heavy snow or ice can overload the wiper motor.
A circuit breaker will stop the motor until it cools
down. Clear away snow or ice to prevent an
overload.
Windshield Washer
{CAUTION:
In freezing weather, do not use your washer until
the windshield is warmed. Otherwise the washer
�uid can form ice on the windshield, blocking your
vision.
There is a button marked with the windshield washer
symbol at the end of the windshield wiper lever. Press
this button to spray washer �uid on the windshield.
The wipers will run for a few cycles to clear the window
and then either stop or return to your preset speed.
For more wash cycles, press and hold the button longer.
3-9
Page 134 of 436

Rear Window Wiper/Washer
The rear wiper and rear wash buttons are located on
the instrument panel above the audio system.
Z(Rear Wiper):Press to turn the rear wiper on and
off. When the wiper is on it runs intermittently at a
preset speed.
Y(Wash):Press to spray washer �uid on the rear
window. The window wiper will also come on. Release
the button when enough �uid has been sprayed on
the window. The rear wiper will run a few more cycles
after it is released. If the rear wiper function was already
on, prior to pressing the wash button, it stays on until
the wiper button is pressed again.
The rear window washer uses the same �uid that is
in the windshield washer reservoir. SeeWindshield
Washer Fluid on page 5-31.
Cruise Control
Cruise control lets a speed of about 25 mph (40 km/h)
or more be maintained without keeping your foot on
the accelerator. Cruise control does not work at speeds
below 25 mph (40 km/h).
When the brakes are applied, the cruise control
shuts off.
If the vehicle is in cruise control and the Traction Control
System (TCS) begins to limit wheel spin, the cruise
control automatically disengages. SeeTraction Control
System (TCS) on page 4-7. When road conditions allow,
the cruise control can be used again.
{CAUTION:
Cruise control can be dangerous where you cannot
drive safely at a steady speed. So, do not use the
cruise control on winding roads or in heavy traffic.
Cruise control can be dangerous on slippery roads.
On such roads, fast changes in tire traction can
cause excessive wheel slip, and you could lose
control. Do not use cruise control on slippery roads.
3-10
Page 135 of 436
Setting Cruise Control
{CAUTION:
If you leave your cruise control on when you are
not using cruise, you might hit a button and go into
cruise when you do not want to. You could be
startled and even lose control. Keep the cruise
control switch off until you want to use cruise
control.
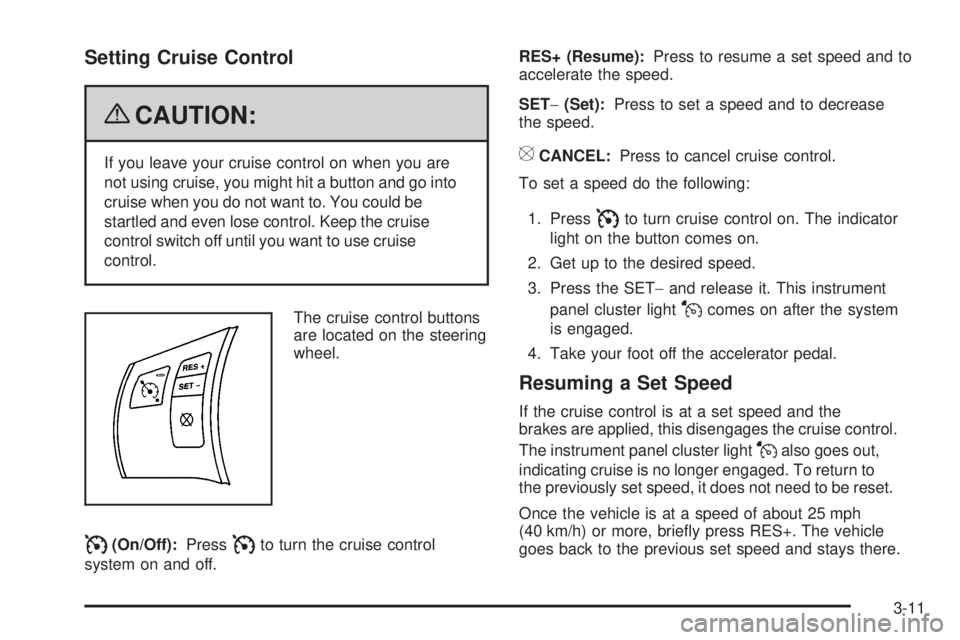
The cruise control buttons
are located on the steering
wheel.
I(On/Off):PressIto turn the cruise control
system on and off.RES+ (Resume):Press to resume a set speed and to
accelerate the speed.
SET−(Set):Press to set a speed and to decrease
the speed.
[CANCEL:Press to cancel cruise control.
To set a speed do the following:
1. Press
Ito turn cruise control on. The indicator
light on the button comes on.
2. Get up to the desired speed.
3. Press the SET−and release it. This instrument
panel cluster light
Jcomes on after the system
is engaged.
4. Take your foot off the accelerator pedal.
Resuming a Set Speed
If the cruise control is at a set speed and the
brakes are applied, this disengages the cruise control.
The instrument panel cluster light
Jalso goes out,
indicating cruise is no longer engaged. To return to
the previously set speed, it does not need to be reset.
Once the vehicle is at a speed of about 25 mph
(40 km/h) or more, brie�y press RES+. The vehicle
goes back to the previous set speed and stays there.
3-11
Page 150 of 436
Speedometer and Odometer
Your speedometer lets you see your speed in both
miles per hour (mph) and kilometers per hour (km/h).
Your odometer shows how far your vehicle has
been driven, in either miles (used in the United States)
or kilometers (used in Canada).
Your vehicle has a tamper resistant odometer.
The digital odometer will read 999,999 if someone
tries to turn it back.
You may wonder what happens if your vehicle needs
a new odometer installed. If the new one can be set
to the mileage total of the old odometer, then it must be.
If not, then it is set at zero and a label must be put on
the driver’s door to show the old mileage reading
when the new odometer was installed.
Trip Odometer
Your trip odometer is located in the Driver Information
Center and shows how far your vehicle has been driven
since the trip odometer was last reset. For more
information seeDIC Operation and Displays on
page 3-42.
Tachometer
The tachometer shows your engine speed in revolutions
per minute (rpm).
Notice:If the engine is operated with the
tachometer in the solid red area, the vehicle could
be damaged. The damages would not be covered by
the vehicle warranty. Do not operate the engine in
the solid red area.
3-26
Page 155 of 436

When the ignition is on, the brake light will come on
when you set your parking brake. The light will stay on if
your parking brake does not release fully. A chime will
also sound if the parking brake is not fully released and
the vehicle is moving. If it stays on after your parking
brake is fully released, it means you have a brake
problem.
The brake light will also come on to indicate a low
brake �uid level. SeeBrakes on page 5-32for more
information.
If the light comes on while you are driving, pull off the
road and stop carefully. You may notice that the pedal
is harder to push or the pedal may go closer to the
�oor. It may take longer to stop. If the light is still on,
have the vehicle towed for service. SeeTowing
Your Vehicle on page 4-26.
{CAUTION:
The brake system might not be working properly if
the brake system warning light is on. Driving with
the brake system warning light on can lead to a
crash. If the light is still on after the vehicle has
been pulled off the road and carefully stopped,
have the vehicle towed for service.
Antilock Brake System (ABS)
Warning Light
For vehicles with
the Antilock Brake
System (ABS), this light
comes on brie�y when
the engine is started.
If it does not, have the vehicle serviced by your
dealer/retailer. If the system is working normally the
indicator light then goes off.
If the ABS light stays on, turn the ignition off. If the
light comes on while driving, stop as soon as it is safely
possible and turn the ignition off. Then start the engine
again to reset the system. If the ABS light stays on, or
comes on again while driving, the vehicle needs service.
If the regular brake system warning light is not on, the
vehicle still has brakes, but not antilock brakes. If the
regular brake system warning light is also on, the vehicle
does not have antilock brakes and there is a problem with
the regular brakes. SeeBrake System Warning Light on
page 3-30.
For vehicles with a Driver Information Center (DIC),
seeDIC Warnings and Messages on page 3-49for all
brake related DIC messages.
3-31
Page 161 of 436
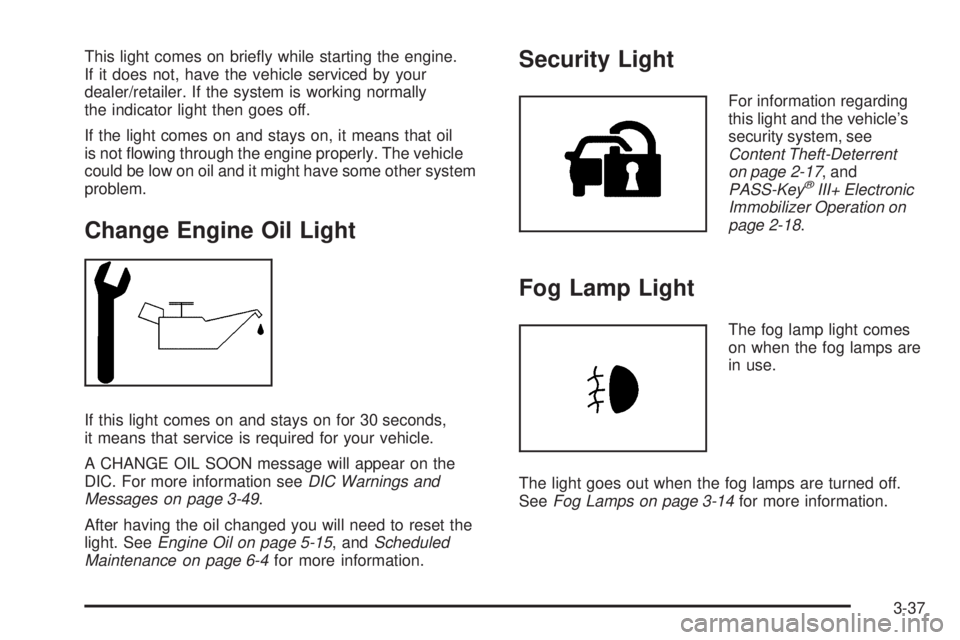
This light comes on brie�y while starting the engine.
If it does not, have the vehicle serviced by your
dealer/retailer. If the system is working normally
the indicator light then goes off.
If the light comes on and stays on, it means that oil
is not �owing through the engine properly. The vehicle
could be low on oil and it might have some other system
problem.
Change Engine Oil Light
If this light comes on and stays on for 30 seconds,
it means that service is required for your vehicle.
A CHANGE OIL SOON message will appear on the
DIC. For more information seeDIC Warnings and
Messages on page 3-49.
After having the oil changed you will need to reset the
light. SeeEngine Oil on page 5-15, andScheduled
Maintenance on page 6-4for more information.
Security Light
For information regarding
this light and the vehicle’s
security system, see
Content Theft-Deterrent
on page 2-17, and
PASS-Key
®III+ Electronic
Immobilizer Operation on
page 2-18.
Fog Lamp Light
The fog lamp light comes
on when the fog lamps are
in use.
The light goes out when the fog lamps are turned off.
SeeFog Lamps on page 3-14for more information.
3-37
Page 163 of 436
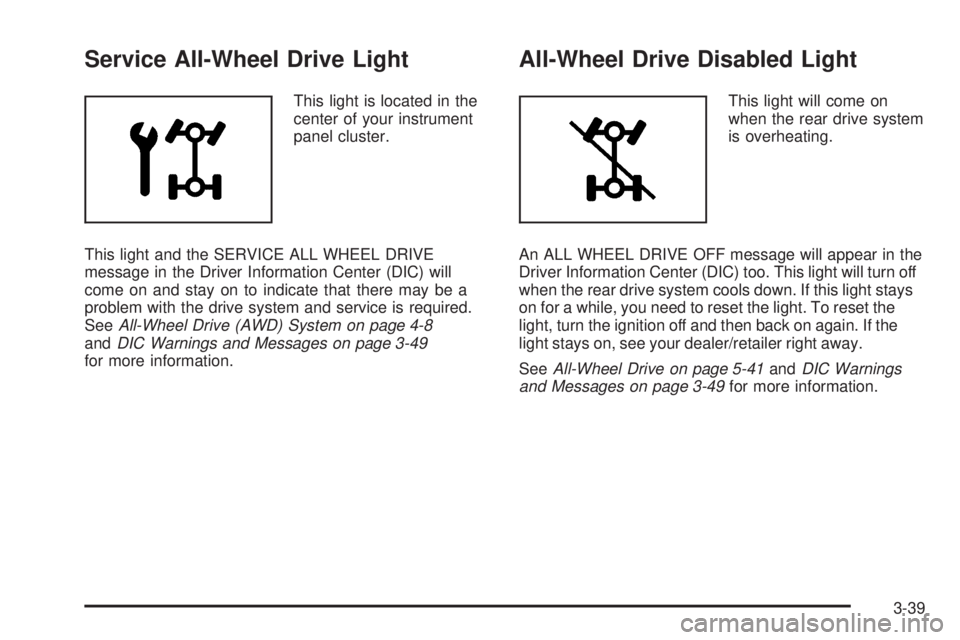
Service All-Wheel Drive Light
This light is located in the
center of your instrument
panel cluster.
This light and the SERVICE ALL WHEEL DRIVE
message in the Driver Information Center (DIC) will
come on and stay on to indicate that there may be a
problem with the drive system and service is required.
SeeAll-Wheel Drive (AWD) System on page 4-8
andDIC Warnings and Messages on page 3-49
for more information.
All-Wheel Drive Disabled Light
This light will come on
when the rear drive system
is overheating.
An ALL WHEEL DRIVE OFF message will appear in the
Driver Information Center (DIC) too. This light will turn off
when the rear drive system cools down. If this light stays
on for a while, you need to reset the light. To reset the
light, turn the ignition off and then back on again. If the
light stays on, see your dealer/retailer right away.
SeeAll-Wheel Drive on page 5-41andDIC Warnings
and Messages on page 3-49for more information.
3-39
Page 166 of 436
Driver Information Center (DIC)
Your vehicle has a Driver Information Center (DIC).
All messages will appear in the DIC display located
in the center of the instrument panel cluster. The DIC
buttons are located on the center of the instrument panel.
The DIC comes on when the ignition is on. After a short
delay, the DIC will display the information that was
last displayed before the engine was turned off.
The DIC displays trip, fuel, and vehicle system
information, and warning messages if a system problem
is detected. The top of the DIC display shows the shift
lever position indicator. SeeAutomatic Transmission
Operation (3.4L V6 with 5-Speed) on page 2-24or
Automatic Transmission Operation (3.6L V6 with
6-Speed) on page 2-27for more information.
If your vehicle has these feature, the DIC also displays
the compass direction and the outside air temperature
when viewing the trip and fuel information. If there is a
problem with the system that controls the temperature
display, the numbers will be replaced with dashes. If this
occurs, have the vehicle serviced by your dealer/retailer.
If an abnormal temperature reading is displayed for an
extended period of time, consult your dealer/retailer.
Under certain circumstances, especially when the engine
is idling, a delay updating the temperature display is
normal.
The DIC also allows some features to be personalized.
SeeDIC Vehicle Personalization on page 3-57for
more information.
DIC Operation and Displays
The DIC has different displays which can be accessed
by pressing the DIC buttons located on the center
of the instrument panel.
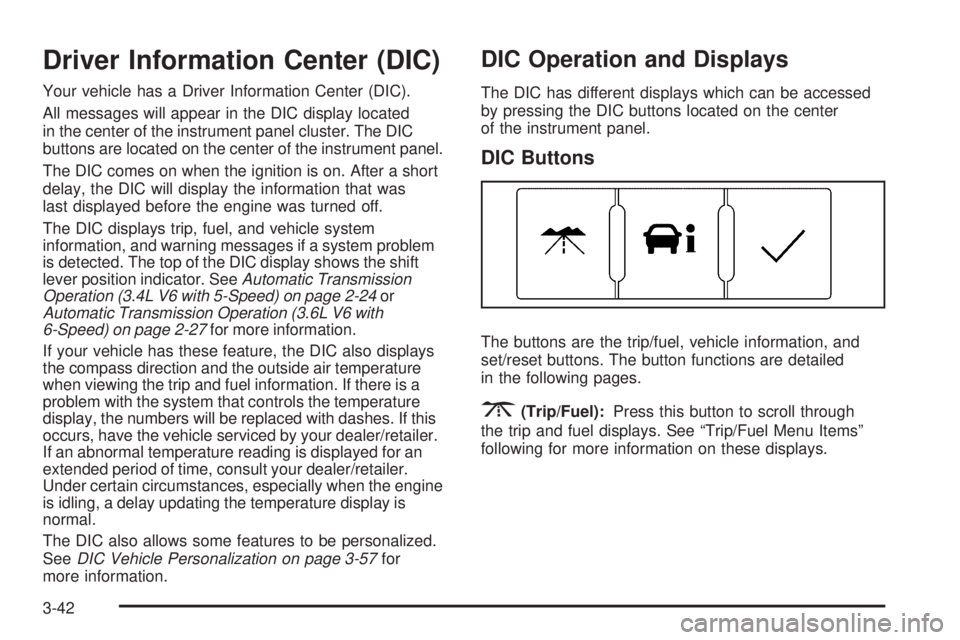
DIC Buttons
The buttons are the trip/fuel, vehicle information, and
set/reset buttons. The button functions are detailed
in the following pages.
3(Trip/Fuel):Press this button to scroll through
the trip and fuel displays. See “Trip/Fuel Menu Items”
following for more information on these displays.
3-42