2009 NISSAN MURANO horn
[x] Cancel search: hornPage 11 of 443

Black plate (8,1)
Model "Z51-D" EDITED: 2007/ 10/ 2
SSI0376
1. Headlight aiming control* (P.2-34)
2. Side ventilator (P.4-25)
3. Power lift gate switch* (P.3-18)
4. Headlight, fog light* and turn signal switch
(P.2-32)
5. Fuel-filler door opener switch (P.3-23)6. Steering-wheel-mounted controls (left side)*
— Audio control* (P.4-60)
— Bluetooth
®Hands-Free Phone System control*
(P.4-75)
7. Meters and gauges (P.2-4)8. Steering wheel
— Horn (P.2-37)
— Driver supplemental air bag (P.1-41)
— Power steering system (P.5-25)
9. Steering-wheel-mounted controls (right side)
— Cruise control switches (P.5-18)
10. Wiper and washer switch (P.2-28)
11. Push-button ignition switch (P.5-8)
12. Center ventilator (P.4-25)
13. Center display (P.4-26, P.4-31)/Center color dis-
play* (P.4-2)/Navigation system**
14. Heater/air conditioner or
Center multi-function control panel*
— Navigation system**
— Vehicle information and setting buttons (P.4-8)
— Bluetooth
®Hands-Free Phone System (P.4-75)
— Audio system (P.4-31)
15. Hazard warning flasher switch (P.2-36)
16. Front passenger supplemental air bag (P.1-41)
17. Vehicle Dynamic Control (VDC) OFF switch
(P.2-39, 5-27)
18. Power lift gate main switch (P.3-18)
19. Power seatback switch* (P.1-6)
20. Fuse box cover (P.8-21)
21. Parking brake (P.5-17)
22. Tilting telescopic steering wheel lever or switch
(P.3-25)
23. Key port (P.5-11)
24. Audio system (P.4-31)
— Clock (P.2-38)
25. Heated seat switch* (P.2-37)
26. Selector lever (P.5-13)
INSTRUMENT PANEL
0-6Illustrated table of contents
Page 70 of 443

Black plate (7,1)
2 Instruments and controls
Model "Z51-D" EDITED: 2007/ 10/ 2
Instrument panel................................................ 2-2
Meters and gauges............................................. 2-4
Speedometer and odometer............................. 2-5
Tachometer................................................... 2-6
Engine coolant temperature gauge..................... 2-6
Fuel gauge................................................... 2-7
Compass (if so equipped).................................... 2-7
Zone variation change procedure....................... 2-9
Warning/indicator lights and audible reminders.......2-10
Checking bulbs...........................................2-10
Warning lights.............................................2-10
Indicator lights.............................................2-15
Audible reminders........................................2-17
Dot matrix liquid crystal display............................2-17
Indicators for operation..................................2-18
Indicators for maintenance..............................2-20
Trip computer..............................................2-21
Security systems..............................................2-25
Vehicle security system (if so equipped)............2-25
NISSAN Vehicle Immobilizer System.................2-27
Windshield wiper and washer switch....................2-28
Rain-sensing auto wiper system
(if so equipped)..........................................2-29
Rear window wiper and washer switch..................2-30
Rear window and outside mirror defroster switch.....2-31Headlight and turn signal switch..........................2-32
Xenon headlights (if so equipped)....................2-32
Headlight switch..........................................2-32
Turn signal switch........................................2-36
Fog light switch (if so equipped)......................2-36
Hazard warning flasher switch.............................2-36
Horn.............................................................2-37
Heated seats (if so equipped).............................2-37
Clock............................................................2-38
Models without color display...........................2-38
Models with color display...............................2-39
Vehicle Dynamic Control (VDC) OFF switch...........2-39
Power outlet...................................................2-39
Cigarette lighter and ashtray (if so equipped)..........2-41
Storage.........................................................2-41
Cup holders................................................2-41
Sunglasses holder........................................2-42
Glove box..................................................2-43
Console box...............................................2-44
Storage box (if so equipped)..........................2-45
Cargo floor box...........................................2-45
Luggage side box.........................................2-46
Cargo cover (if so equipped)..........................2-46
Luggage hooks (if so equipped)......................2-47
Roof rack (if so equipped)..............................2-48
Page 72 of 443

Black plate (70,1)
Model "Z51-D" EDITED: 2007/ 10/ 2
SSI0376
1. Headlight aiming control*
2. Side ventilator
3. Power lift gate switch*
4. Headlight, fog light* and turn signal switch
5. Fuel-filler door opener switch6. Steering-wheel-mounted controls (left side)*
— Audio control*
— Bluetooth
®Hands-Free Phone System control*
7. Meters and gauges8. Steering wheel
— Horn
— Driver supplemental air bag
— Power steering system
9. Steering-wheel-mounted controls (right side)
— Cruise control switches
10. Wiper and washer switch
11. Push-button ignition switch
12. Center ventilator
13. Center display/Center color display*/Navigation
system**
14. Heater/air conditioner or
Center multi-function control panel*
— Navigation system**
— Vehicle information and setting buttons
— Bluetooth
®Hands-Free Phone System
— Audio system
15. Hazard warning flasher switch
16. Front passenger supplemental air bag
17. Vehicle Dynamic Control (VDC) OFF switch
18. Power lift gate main switch
19. Power seatback switch
20. Fuse box cover
21. Parking brake
22. Tilting telescopic steering wheel lever or switch
23. Key port
24. Audio system
— Clock
25. Heated seat switch*
26. Selector lever
27. Front passenger air bag status light
28. Power outlet
INSTRUMENT PANEL
2-2Instruments and controls
Page 96 of 443

Black plate (94,1)
Model "Z51-D" EDITED: 2007/ 10/ 2
vibration occurs.
The system helps deter vehicle theft but cannot
prevent it, nor can it prevent the theft of interior
or exterior vehicle components in all situations.
Always secure your vehicle even if parking for a
brief period. Never leave your keys in the vehicle,
and always lock it when unattended. Be aware
of your surroundings, and park in secure, well-lit
areas whenever possible.
Many devices offering additional protection,
such as component locks, identification markers,
and tracking systems, are available at auto
supply stores and specialty shops. Your
NISSAN dealer may also offer such equipment.
Check with your insurance company to see if
you may be eligible for discounts for various
theft protection features.
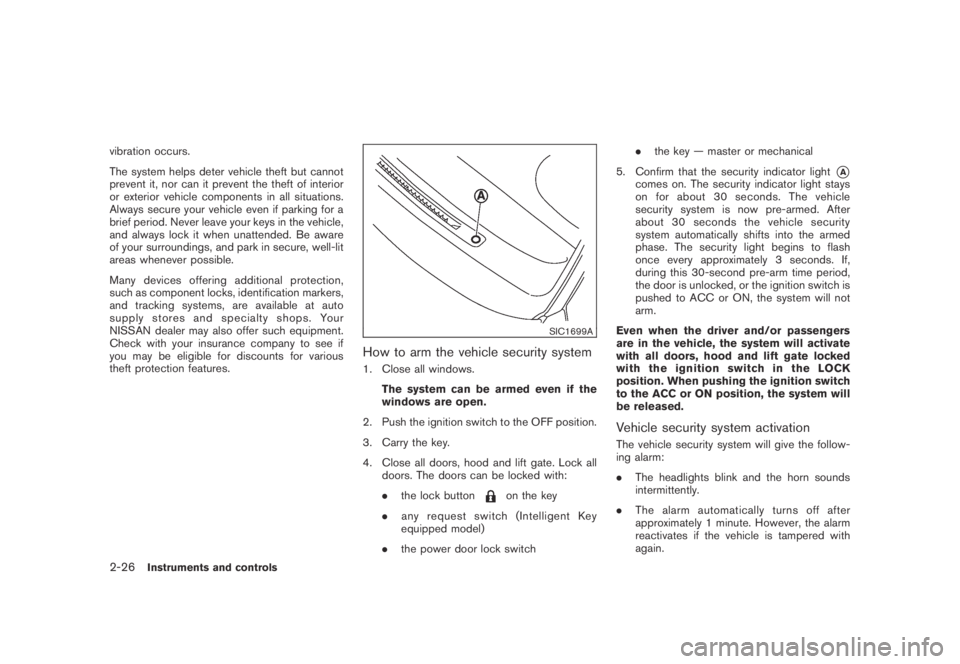
SIC1699A
How to arm the vehicle security system
1. Close all windows.
The system can be armed even if the
windows are open.
2. Push the ignition switch to the OFF position.
3. Carry the key.
4. Close all doors, hood and lift gate. Lock all
doors. The doors can be locked with:
.the lock button
on the key
.any request switch (Intelligent Key
equipped model)
.the power door lock switch.the key — master or mechanical
5. Confirm that the security indicator light
*Acomes on. The security indicator light stays
on for about 30 seconds. The vehicle
security system is now pre-armed. After
about 30 seconds the vehicle security
system automatically shifts into the armed
phase. The security light begins to flash
once every approximately 3 seconds. If,
during this 30-second pre-arm time period,
the door is unlocked, or the ignition switch is
pushed to ACC or ON, the system will not
arm.
Even when the driver and/or passengers
are in the vehicle, the system will activate
with all doors, hood and lift gate locked
withtheignitionswitchintheLOCK
position. When pushing the ignition switch
to the ACC or ON position, the system will
be released.
Vehicle security system activation
The vehicle security system will give the follow-
ing alarm:
.The headlights blink and the horn sounds
intermittently.
.The alarm automatically turns off after
approximately 1 minute. However, the alarm
reactivates if the vehicle is tampered with
again.
2-26Instruments and controls
Page 107 of 443

Black plate (105,1)
Model "Z51-D" EDITED: 2007/ 10/ 2
.Turn signals do not work when the
hazard warning flasher lights are
on.
The flasher can be actuated with the ignition
switch in any position.
Some state laws may prohibit the use of
the hazard warning flasher switch while
driving.
SIC3586
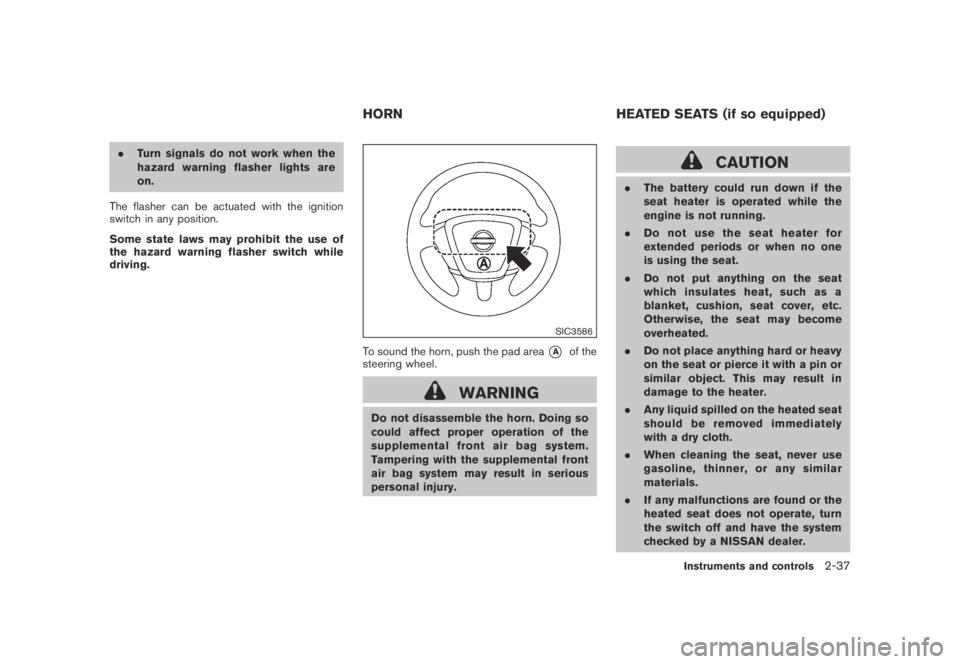
To sound the horn, push the pad area*Aof the
steering wheel.
WARNING
Do not disassemble the horn. Doing so
could affect proper operation of the
supplemental front air bag system.
Tampering with the supplemental front
air bag system may result in serious
personal injury.
CAUTION
.The battery could run down if the
seat heater is operated while the
engine is not running.
.Do not use the seat heater for
extended periods or when no one
is using the seat.
.Do not put anything on the seat
which insulates heat, such as a
blanket, cushion, seat cover, etc.
Otherwise, the seat may become
overheated.
.Do not place anything hard or heavy
on the seat or pierce it with a pin or
similar object. This may result in
damage to the heater.
.Any liquid spilled on the heated seat
should be removed immediately
with a dry cloth.
.When cleaning the seat, never use
gasoline, thinner, or any similar
materials.
.If any malfunctions are found or the
heated seat does not operate, turn
the switch off and have the system
checked by a NISSAN dealer.
HORN HEATED SEATS (if so equipped)
Instruments and controls2-37
Page 140 of 443

Black plate (140,1)
Model "Z51-D" EDITED: 2007/ 10/ 2
SPA2408
INTELLIGENT KEY OPERATION
You can lock or unlock the doors without taking
the key out from your pocket or bag.
SPA2434
SPA2435
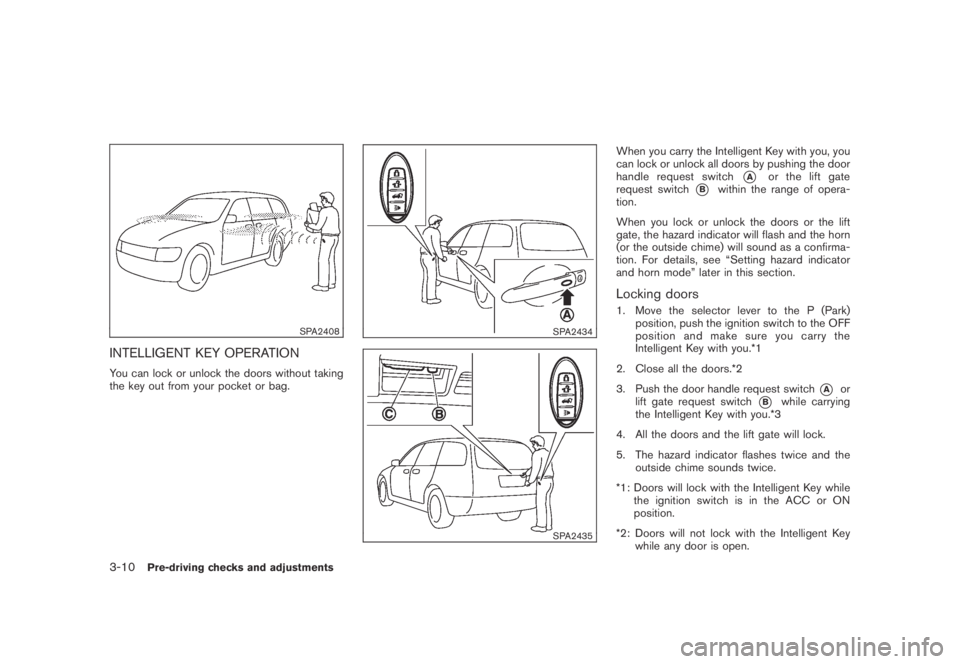
When you carry the Intelligent Key with you, you
can lock or unlock all doors by pushing the door
handle request switch
*Aor the lift gate
request switch
*Bwithin the range of opera-
tion.
When you lock or unlock the doors or the lift
gate, the hazard indicator will flash and the horn
(or the outside chime) will sound as a confirma-
tion. For details, see “Setting hazard indicator
and horn mode” later in this section.
Locking doors
1. Move the selector lever to the P (Park)
position, push the ignition switch to the OFF
position and make sure you carry the
Intelligent Key with you.*1
2. Close all the doors.*2
3. Push the door handle request switch
*Aor
lift gate request switch
*Bwhile carrying
the Intelligent Key with you.*3
4. All the doors and the lift gate will lock.
5. The hazard indicator flashes twice and the
outside chime sounds twice.
*1: Doors will lock with the Intelligent Key while
the ignition switch is in the ACC or ON
position.
*2: Doors will not lock with the Intelligent Key
while any door is open.
3-10Pre-driving checks and adjustments
Page 141 of 443

Black plate (141,1)
Model "Z51-D" EDITED: 2007/ 10/ 2
*3: Doors will not lock by pushing the door
handle request switch with the Intelligent
Key inside the vehicle.
However, when an Intelligent Key is inside
the vehicle, doors can be locked with
another registered Intelligent Key.
Unlocking doors
1. Push the door handle request switch*Aor
the lift gate request switch
*Bonce while
carrying the Intelligent Key with you.
2. The hazard indicator flashes once and the
outside chime sounds once. The corre-
sponding door or the lift gate will unlock.
3. Push the request switch again within 1
minute.
4. The hazard indicator flashes once and the
outside chime sounds once again. All the
doors and the lift gate will unlock.
All doors will be locked automatically unless one
of the following operations is performed within 1
minute after pushing the request switch while
the doors are locked. If during this 1-minute time
period, the request switch is pushed, all doors
will be locked automatically after another 1
minute.
.Opening any door
.Pushing the ignition switch
Power lift gate open (if so equipped)
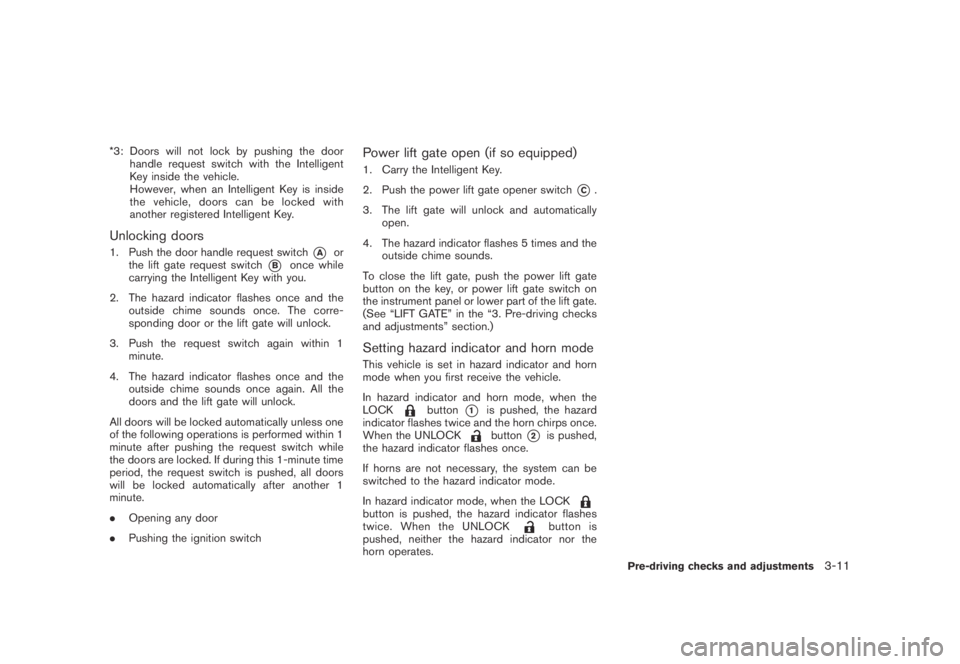
1. Carry the Intelligent Key.
2. Push the power lift gate opener switch
*C.
3. The lift gate will unlock and automatically
open.
4. The hazard indicator flashes 5 times and the
outside chime sounds.
To close the lift gate, push the power lift gate
button on the key, or power lift gate switch on
the instrument panel or lower part of the lift gate.
(See “LIFT GATE” in the “3. Pre-driving checks
and adjustments” section.)
Setting hazard indicator and horn mode
This vehicle is set in hazard indicator and horn
mode when you first receive the vehicle.
In hazard indicator and horn mode, when the
LOCK
button*1is pushed, the hazard
indicator flashes twice and the horn chirps once.
When the UNLOCK
button*2is pushed,
the hazard indicator flashes once.
If horns are not necessary, the system can be
switched to the hazard indicator mode.
In hazard indicator mode, when the LOCK
button is pushed, the hazard indicator flashes
twice. When the UNLOCKbutton is
pushed, neither the hazard indicator nor the
horn operates.
Pre-driving checks and adjustments3-11
Page 142 of 443

Black plate (142,1)
Model "Z51-D" EDITED: 2007/ 10/ 2
Hazard indicator and horn mode:
DOOR LOCK DOOR UNLOCK
Intelligent Key system
(Using door handle or lift gate request switch)HAZARD -twice
OUTSIDE CHIME -twiceHAZARD -once
OUTSIDE CHIME -once
Remote keyless entry system
(Using
orbutton)HAZARD -twice
HORN -onceHAZARD -once
HORN - none
Hazard indicator mode:
DOOR LOCK DOOR UNLOCK
Intelligent Key system
(Using door handle or lift gate request switch)HAZARD -twiceHAZARD - none
Remote keyless entry system
(Using
orbutton)HAZARD -twice
HAZARD - none
Switching procedure:
Push the LOCK
*1and UNLOCK*2buttons simultaneously for more than 2 seconds
to switch the mode from one to the other.
When pushing the buttons to set the hazard
indicator mode, the hazard indicator flashes 3
times.
When pushing the buttons to set the hazard
indicator and horn mode, the hazard indicator
flashes once and the horn chirps once.
3-12Pre-driving checks and adjustments