2009 NISSAN ARMADA ESP
[x] Cancel search: ESPPage 186 of 465
Tire pressure information
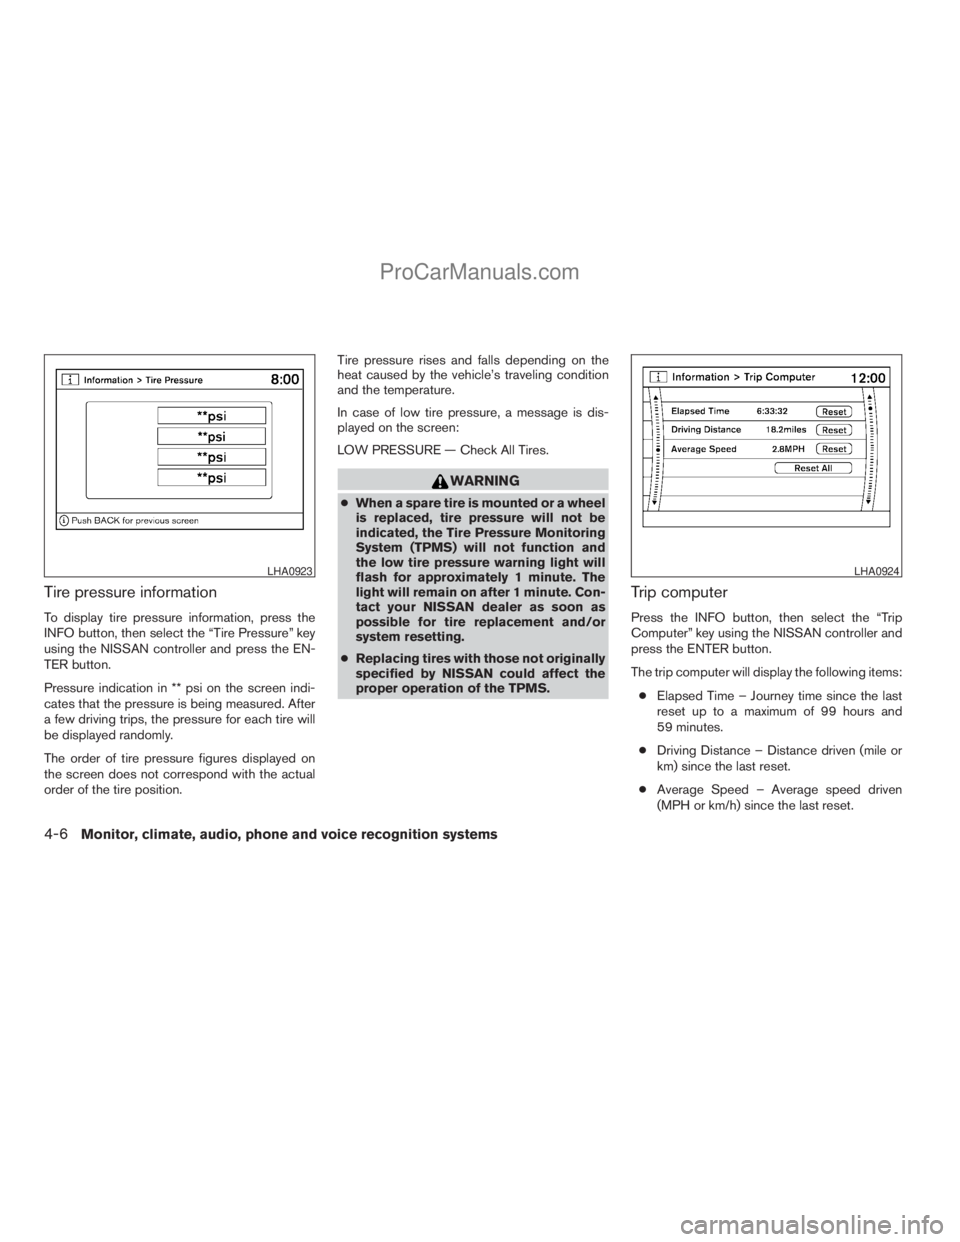
To display tire pressure information, press the
INFO button, then select the “Tire Pressure” key
using the NISSAN controller and press the EN-
TER button.
Pressure indication in ** psi on the screen indi-
cates that the pressure is being measured. After
a few driving trips, the pressure for each tire will
be displayed randomly.
The order of tire pressure figures displayed on
the screen does not correspond with the actual
order of the tire position.Tire pressure rises and falls depending on the
heat caused by the vehicle’s traveling condition
and the temperature.
In case of low tire pressure, a message is dis-
played on the screen:
LOW PRESSURE — Check All Tires.
WARNING
cWhen a spare tire is mounted or a wheel
is replaced, tire pressure will not be
indicated, the Tire Pressure Monitoring
System (TPMS) will not function and
the low tire pressure warning light will
flash for approximately 1 minute. The
light will remain on after 1 minute. Con-
tact your NISSAN dealer as soon as
possible for tire replacement and/or
system resetting.
cReplacing tires with those not originally
specified by NISSAN could affect the
proper operation of the TPMS.
Trip computer
Press the INFO button, then select the “Trip
Computer” key using the NISSAN controller and
press the ENTER button.
The trip computer will display the following items:
cElapsed Time – Journey time since the last
reset up to a maximum of 99 hours and
59 minutes.
cDriving Distance – Distance driven (mile or
km) since the last reset.
cAverage Speed – Average speed driven
(MPH or km/h) since the last reset.
LHA0923LHA0924
4-6Monitor, climate, audio, phone and voice recognition systems
ZREVIEW COPYÐ2009 Armada(wzw)
Owners ManualÐUSA_English(nna)
02/26/08Ðdebbie
X
ProCarManuals.com
Page 194 of 465
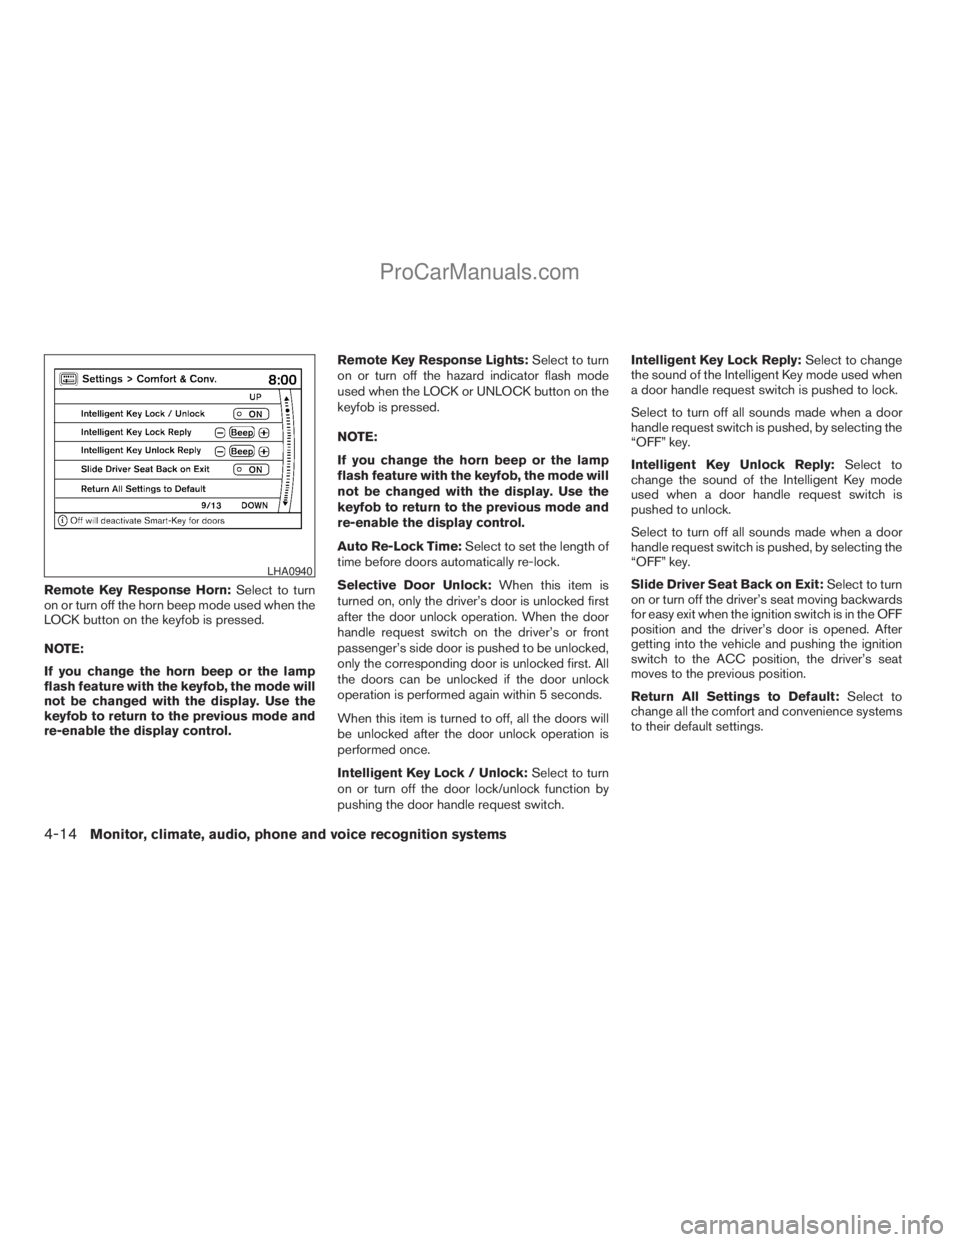
Remote Key Response Horn:Select to turn
on or turn off the horn beep mode used when the
LOCK button on the keyfob is pressed.
NOTE:
If you change the horn beep or the lamp
flash feature with the keyfob, the mode will
not be changed with the display. Use the
keyfob to return to the previous mode and
re-enable the display control.Remote Key Response Lights:Select to turn
on or turn off the hazard indicator flash mode
used when the LOCK or UNLOCK button on the
keyfob is pressed.
NOTE:
If you change the horn beep or the lamp
flash feature with the keyfob, the mode will
not be changed with the display. Use the
keyfob to return to the previous mode and
re-enable the display control.
Auto Re-Lock Time:Select to set the length of
time before doors automatically re-lock.
Selective Door Unlock:When this item is
turned on, only the driver’s door is unlocked first
after the door unlock operation. When the door
handle request switch on the driver’s or front
passenger’s side door is pushed to be unlocked,
only the corresponding door is unlocked first. All
the doors can be unlocked if the door unlock
operation is performed again within 5 seconds.
When this item is turned to off, all the doors will
be unlocked after the door unlock operation is
performed once.
Intelligent Key Lock / Unlock:Select to turn
on or turn off the door lock/unlock function by
pushing the door handle request switch.Intelligent Key Lock Reply:Select to change
the sound of the Intelligent Key mode used when
a door handle request switch is pushed to lock.
Select to turn off all sounds made when a door
handle request switch is pushed, by selecting the
“OFF” key.
Intelligent Key Unlock Reply:Select to
change the sound of the Intelligent Key mode
used when a door handle request switch is
pushed to unlock.
Select to turn off all sounds made when a door
handle request switch is pushed, by selecting the
“OFF” key.
Slide Driver Seat Back on Exit:Select to turn
on or turn off the driver’s seat moving backwards
for easy exit when the ignition switch is in the OFF
position and the driver’s door is opened. After
getting into the vehicle and pushing the ignition
switch to the ACC position, the driver’s seat
moves to the previous position.
Return All Settings to Default:Select to
change all the comfort and convenience systems
to their default settings.
LHA0940
4-14Monitor, climate, audio, phone and voice recognition systems
ZREVIEW COPYÐ2009 Armada(wzw)
Owners ManualÐUSA_English(nna)
02/26/08Ðdebbie
X
ProCarManuals.com
Page 195 of 465
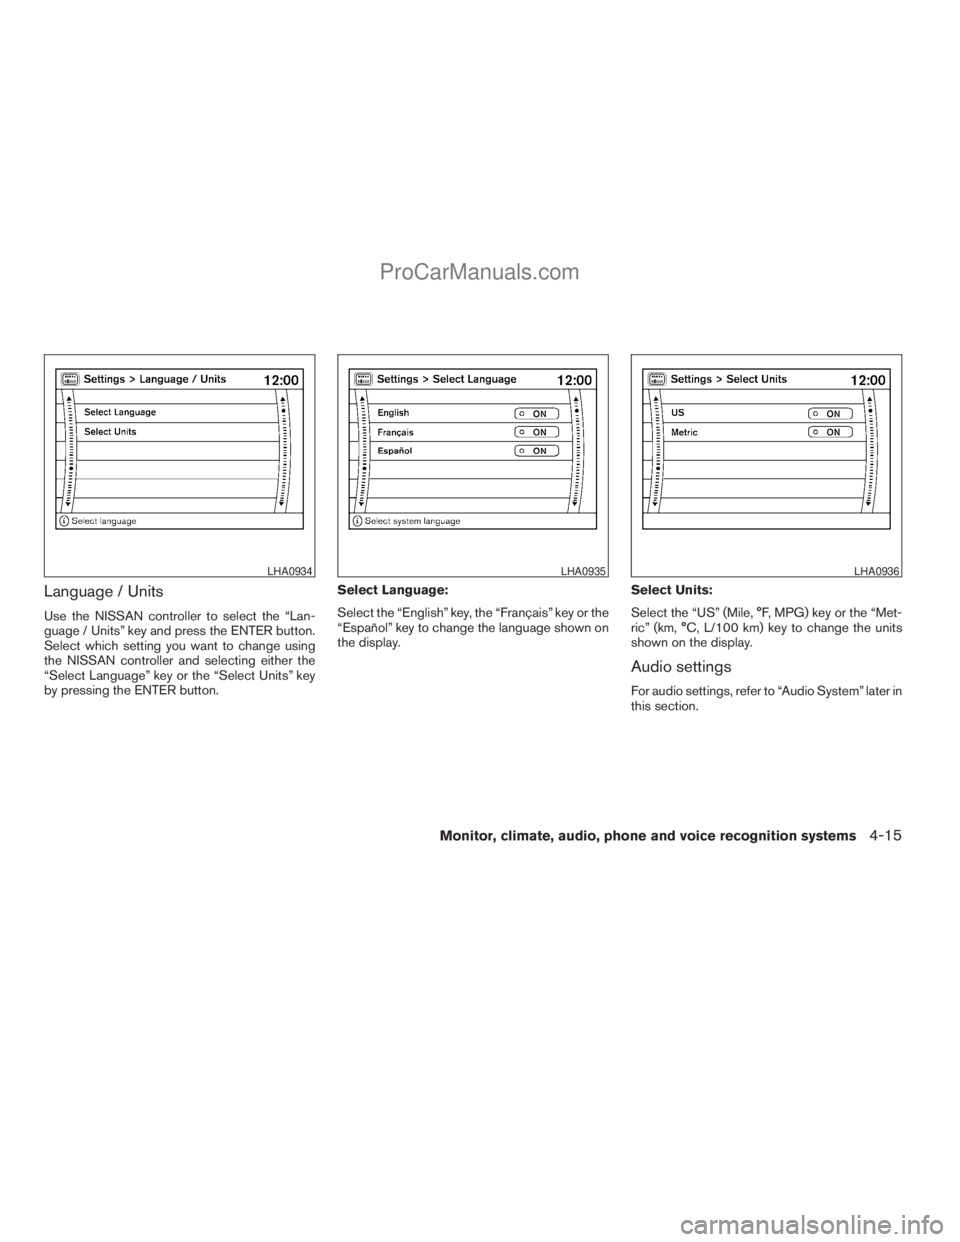
Language / Units
Use the NISSAN controller to select the “Lan-
guage / Units” key and press the ENTER button.
Select which setting you want to change using
the NISSAN controller and selecting either the
“Select Language” key or the “Select Units” key
by pressing the ENTER button.Select Language:
Select the “English” key, the “Français” key or the
“Español” key to change the language shown on
the display.Select Units:
Select the “US” (Mile, °F, MPG) key or the “Met-
ric” (km, °C, L/100 km) key to change the units
shown on the display.
Audio settings
For audio settings, refer to “Audio System” later in
this section.
LHA0934LHA0935LHA0936
Monitor, climate, audio, phone and voice recognition systems4-15
ZREVIEW COPYÐ2009 Armada(wzw)
Owners ManualÐUSA_English(nna)
02/26/08Ðdebbie
X
ProCarManuals.com
Page 202 of 465
Tire pressure information
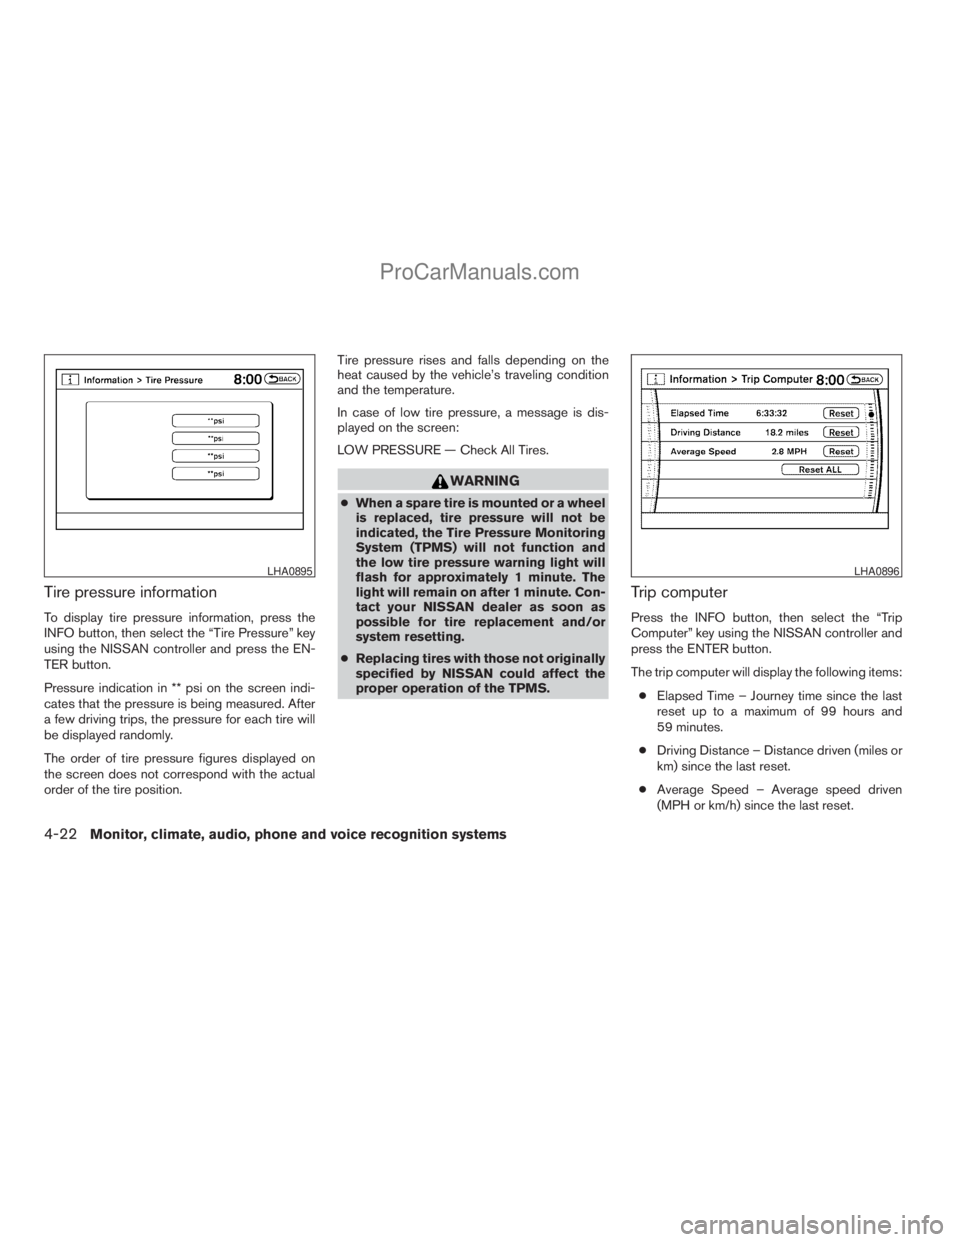
To display tire pressure information, press the
INFO button, then select the “Tire Pressure” key
using the NISSAN controller and press the EN-
TER button.
Pressure indication in ** psi on the screen indi-
cates that the pressure is being measured. After
a few driving trips, the pressure for each tire will
be displayed randomly.
The order of tire pressure figures displayed on
the screen does not correspond with the actual
order of the tire position.Tire pressure rises and falls depending on the
heat caused by the vehicle’s traveling condition
and the temperature.
In case of low tire pressure, a message is dis-
played on the screen:
LOW PRESSURE — Check All Tires.
WARNING
cWhen a spare tire is mounted or a wheel
is replaced, tire pressure will not be
indicated, the Tire Pressure Monitoring
System (TPMS) will not function and
the low tire pressure warning light will
flash for approximately 1 minute. The
light will remain on after 1 minute. Con-
tact your NISSAN dealer as soon as
possible for tire replacement and/or
system resetting.
cReplacing tires with those not originally
specified by NISSAN could affect the
proper operation of the TPMS.
Trip computer
Press the INFO button, then select the “Trip
Computer” key using the NISSAN controller and
press the ENTER button.
The trip computer will display the following items:
cElapsed Time – Journey time since the last
reset up to a maximum of 99 hours and
59 minutes.
cDriving Distance – Distance driven (miles or
km) since the last reset.
cAverage Speed – Average speed driven
(MPH or km/h) since the last reset.
LHA0895LHA0896
4-22Monitor, climate, audio, phone and voice recognition systems
ZREVIEW COPYÐ2009 Armada(wzw)
Owners ManualÐUSA_English(nna)
02/26/08Ðdebbie
X
ProCarManuals.com
Page 209 of 465
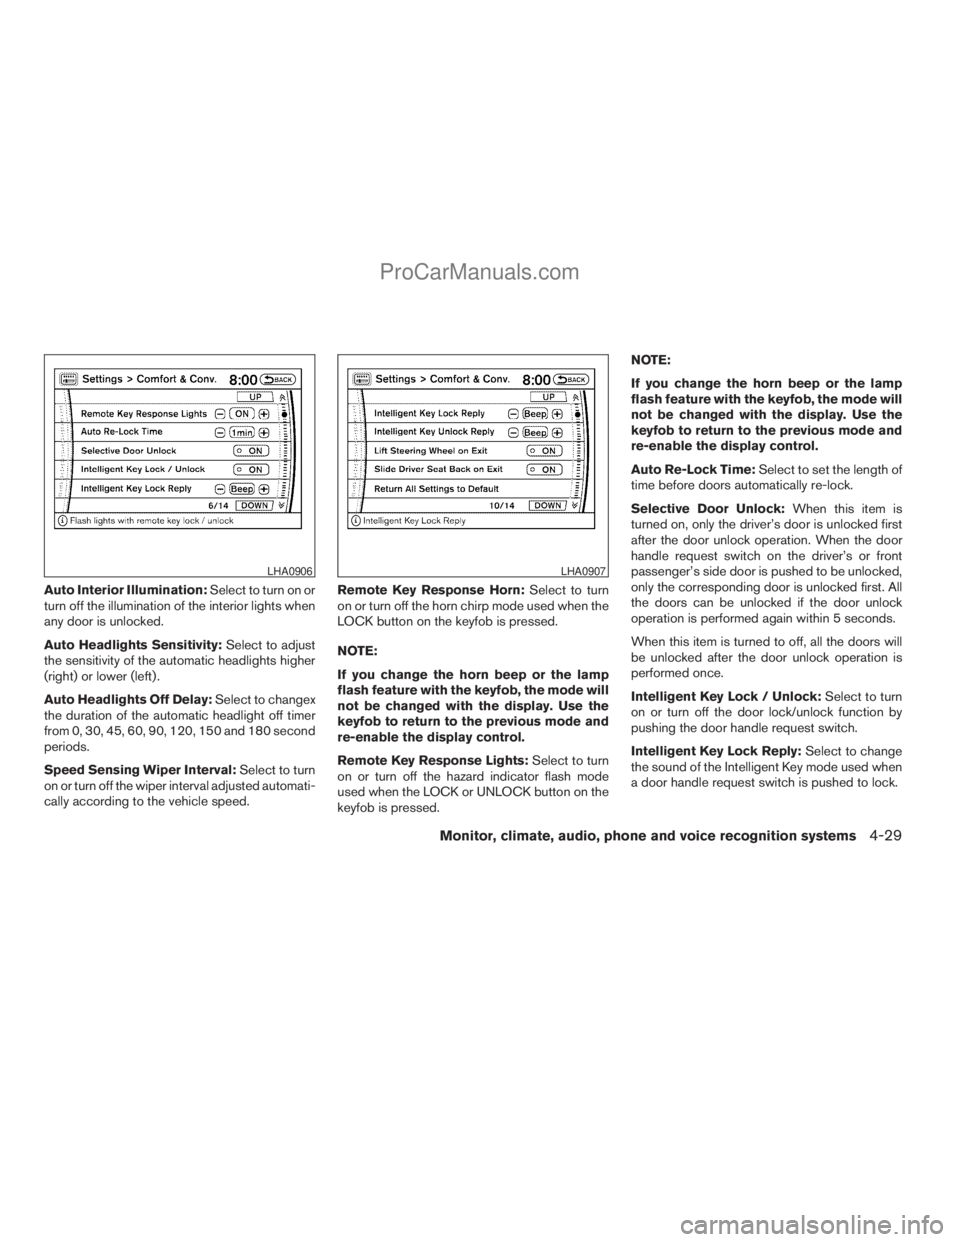
Auto Interior Illumination:Select to turn on or
turn off the illumination of the interior lights when
any door is unlocked.
Auto Headlights Sensitivity:Select to adjust
the sensitivity of the automatic headlights higher
(right) or lower (left) .
Auto Headlights Off Delay:Select to changex
the duration of the automatic headlight off timer
from 0, 30, 45, 60, 90, 120, 150 and 180 second
periods.
Speed Sensing Wiper Interval:Select to turn
on or turn off the wiper interval adjusted automati-
cally according to the vehicle speed.Remote Key Response Horn:Select to turn
on or turn off the horn chirp mode used when the
LOCK button on the keyfob is pressed.
NOTE:
If you change the horn beep or the lamp
flash feature with the keyfob, the mode will
not be changed with the display. Use the
keyfob to return to the previous mode and
re-enable the display control.
Remote Key Response Lights:Select to turn
on or turn off the hazard indicator flash mode
used when the LOCK or UNLOCK button on the
keyfob is pressed.NOTE:
If you change the horn beep or the lamp
flash feature with the keyfob, the mode will
not be changed with the display. Use the
keyfob to return to the previous mode and
re-enable the display control.
Auto Re-Lock Time:Select to set the length of
time before doors automatically re-lock.
Selective Door Unlock:When this item is
turned on, only the driver’s door is unlocked first
after the door unlock operation. When the door
handle request switch on the driver’s or front
passenger’s side door is pushed to be unlocked,
only the corresponding door is unlocked first. All
the doors can be unlocked if the door unlock
operation is performed again within 5 seconds.
When this item is turned to off, all the doors will
be unlocked after the door unlock operation is
performed once.
Intelligent Key Lock / Unlock:Select to turn
on or turn off the door lock/unlock function by
pushing the door handle request switch.
Intelligent Key Lock Reply:Select to change
the sound of the Intelligent Key mode used when
a door handle request switch is pushed to lock.
LHA0906LHA0907
Monitor, climate, audio, phone and voice recognition systems4-29
ZREVIEW COPYÐ2009 Armada(wzw)
Owners ManualÐUSA_English(nna)
02/26/08Ðdebbie
X
ProCarManuals.com
Page 218 of 465

The sunload sensors1, located on the top center
of the instrument panel, helps the system main-
tain a constant temperature. Do not put anything
on or around this sensor.Rear seat temperature and fan speed can be
controlled from both the front seat overhead con-
sole controls
sAor the rear seat overhead con-
sole controls
sB.
Press the REAR CTRL button to transfer control
of the rear climate functions to the rear passen-
gers.
To operate the rear air conditioner, the engine
must be running.
If the rear seat fan control dial is set to (0) , the air
conditioner is turned off. If it is set to any of the fan
speed positions, air is discharged from the rear
vents at the corresponding speed.
1. Rear fan speed control dial
2. Rear airflow mode buttons
3. Rear temperature control dial
LIC0836LHA0863LHA0861
REAR SEAT AIR CONDITIONER
4-38Monitor, climate, audio, phone and voice recognition systems
ZREVIEW COPYÐ2009 Armada(wzw)
Owners ManualÐUSA_English(nna)
02/26/08Ðdebbie
X
ProCarManuals.com
Page 220 of 465
Reception conditions will constantly change be-
cause of vehicle movement. Buildings, terrain,
signal distance and interference from other ve-
hicles can work against ideal reception. De-
scribed below are some of the factors that can
affect your radio reception.
Some cellular phones or other devices may
cause interference or a buzzing noise to come
from the audio system speakers. Storing the de-
vice in a different location may reduce or elimi-
nate the noise.
FM RADIO RECEPTION
Range: FM range is normally limited to 25 – 30 mi
(40 – 48 km) , with monaural (single channel) FM
having slightly more range than stereo FM. Exter-
nal influences may sometimes interfere with FM
station reception even if the FM station is within
25 mi (40 km) . The strength of the FM signal is
directly related to the distance between the
transmitter and receiver. FM signals follow a line-
of-sight path, exhibiting many of the same char-
acteristics as light. For example, they will reflect
off objects.
Fade and drift: As your vehicle moves away from
a station transmitter, the signals will tend to fade
and/or drift.Static and flutter: During signal interference from
buildings, large hills or due to antenna position
(usually in conjunction with increased distance
from the station transmitter) , static or flutter can
be heard. This can be reduced by adjusting the
treble control to reduce treble response.
Multipath reception: Because of the reflective
characteristics of FM signals, direct and reflected
signals reach the receiver at the same time. The
signals may cancel each other, resulting in mo-
mentary flutter or loss of sound.
AM RADIO RECEPTION
AM signals, because of their low frequency, can
bend around objects and skip along the ground.
In addition, the signals can be bounced off the
ionosphere and bent back to earth. Because of
these characteristics, AM signals are also sub-
ject to interference as they travel from transmitter
to receiver.
Fading: Occurs while the vehicle is passing
through freeway underpasses or in areas with
many tall buildings. It can also occur for several
seconds during ionospheric turbulence even in
areas where no obstacles exist.
Static: Caused by thunderstorms, electrical
power lines, electric signs and even traffic lights.
SATELLITE RADIO RECEPTION (if so
equipped)
When the satellite radio is first installed or the
battery has been replaced, the satellite radio may
not work properly. This is not a malfunction. Wait
more than 10 minutes with satellite radio ON and
the vehicle outside of any metal or large building
for satellite radio to receive all of the necessary
data.
The satellite radio mode will be skipped unless an
optional satellite receiver and antenna are in-
stalled and an XMTsatellite radio service sub-
scription is active. Satellite radio is not available
in Alaska, Hawaii and Guam.
Satellite radio performance may be affected if
cargo carried on the roof blocks the satellite radio
signal.
If possible, do not put cargo over the satellite
antenna.
A build up of ice on the satellite radio antenna can
affect satellite radio performance. Remove the
ice to restore satellite radio reception
4-40Monitor, climate, audio, phone and voice recognition systems
ZREVIEW COPYÐ2009 Armada(wzw)
Owners ManualÐUSA_English(nna)
02/26/08Ðdebbie
X
ProCarManuals.com
Page 227 of 465
*When the RADIO AM·FM button is
pressed, the satellite radio mode will be
skipped unless an optional satellite re-
ceiver and antenna are installed and an
XMTsatellite radio service subscription
is active. Satellite radio is not available
in Alaska, Hawaii and Guam.
FM/AM/SAT RADIO WITH
COMPACT DISC (CD) CHANGER (if
so equipped)
For all operation precautions, see “Audio opera-
tion precautions” earlier in this section.
The satellite radio mode will be skipped unless an
optional satellite receiver and antenna are in-
stalled and an XMTsatellite radio service sub-
scription is active. Satellite radio is not available
in Alaska, Hawaii and Guam.
Audio main operation
VOL/ON·OFF control:
Turn the ignition key to ACC or ON, and then
push the VOL/ON·OFF control knob while the
system is off to call up the mode (radio or CD)
which was playing immediately before the system
was turned off.
To turn the system off, press the VOL/ON·OFF
control knob.Turn the VOL/ON·OFF control knob to adjust the
volume.
This vehicle has Speed Sensitive Volume (SSV)
for audio. The audio volume changes as the driv-
ing speed changes.
AUDIO control knob (Bass, Treble, Balance
and Fade):
Press the AUDIO control knob to change the
mode as follows:
Bass!Treble!Balance!Fade
To adjust Bass, Treble, Balance and Fade, press
the AUDIO control knob until the desired mode
appears in the display. Turn the Tuning knob to
adjust Bass and Treble to the desired level. You
can also use the Tuning knob to adjust Fader and
Balance modes. Fader adjusts the sound level
between the front and rear speakers and Balance
adjusts the sound between the right and left
speakers.
Once you have adjusted the sound quality to the
desired level, press the AUDIO control knob re-
peatedly until the radio or CD display reappears.
Otherwise, the radio or CD display will automati-
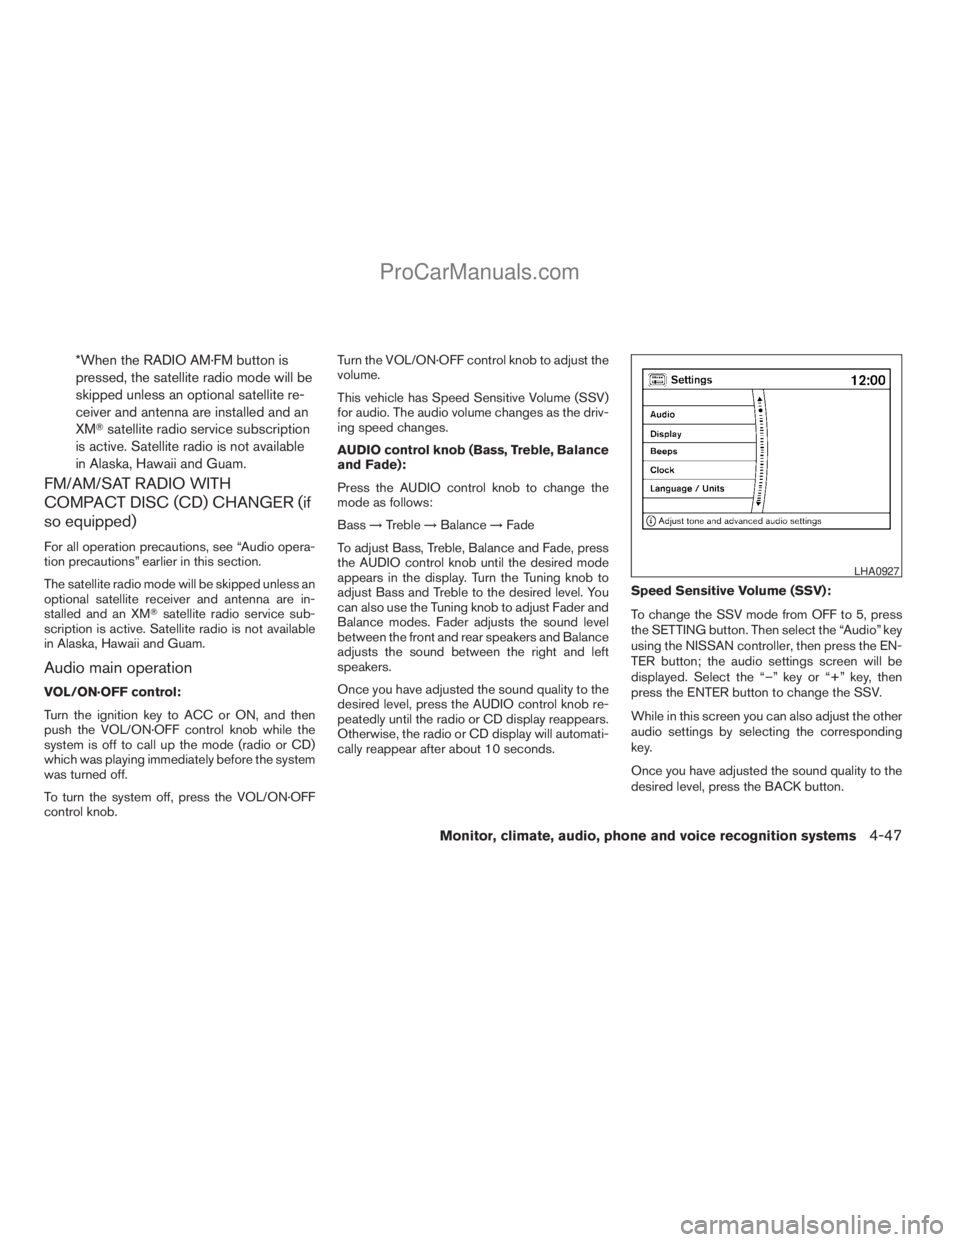
cally reappear after about 10 seconds.Speed Sensitive Volume (SSV):
To change the SSV mode from OFF to 5, press
the SETTING button. Then select the “Audio” key
using the NISSAN controller, then press the EN-
TER button; the audio settings screen will be
displayed. Select the “–” key or “+” key, then
press the ENTER button to change the SSV.
While in this screen you can also adjust the other
audio settings by selecting the corresponding
key.
Once you have adjusted the sound quality to the
desired level, press the BACK button.
LHA0927
Monitor, climate, audio, phone and voice recognition systems4-47
ZREVIEW COPYÐ2009 Armada(wzw)
Owners ManualÐUSA_English(nna)
02/26/08Ðdebbie
X
ProCarManuals.com