Page 63 of 312

INTERIOR MIRROR
The interior rear view mirror has two pivot points on the support arm
which lets you adjust the mirror up or down and from side to side.
WARNING:Do not adjust the mirror while the vehicle is in
motion.
Automatic dimming interior rear view mirror (if equipped)
Your vehicle may be equipped with an interior rear view mirror which
has an auto-dimming function. The electronic day/night mirror will
change from the normal (high reflective) state to the non-glare
(darkened) state when bright lights (glare) reach the mirror. When the
mirror detects bright light from behind the vehicle, it will automatically
adjust (darken) to minimize glare.
Without microphone
With microphone
The mirror will automatically return to the normal state whenever the
vehicle is placed in R (Reverse) to ensure a bright clear view when
backing up.
Do not block the sensors on the front and back of the interior
rear view mirror since this may impair proper mirror
performance.
Do not clean the housing or glass of any mirror with harsh
abrasives, fuel or other petroleum-based cleaning products.
EXTERIOR MIRRORS
Power side view mirrors
WARNING:Do not adjust the mirror while the vehicle is in
motion.
2009 Mariner(mrn)
Owners Guide, 2nd Printing
USA(fus)
Driver Controls
63
Page 64 of 312

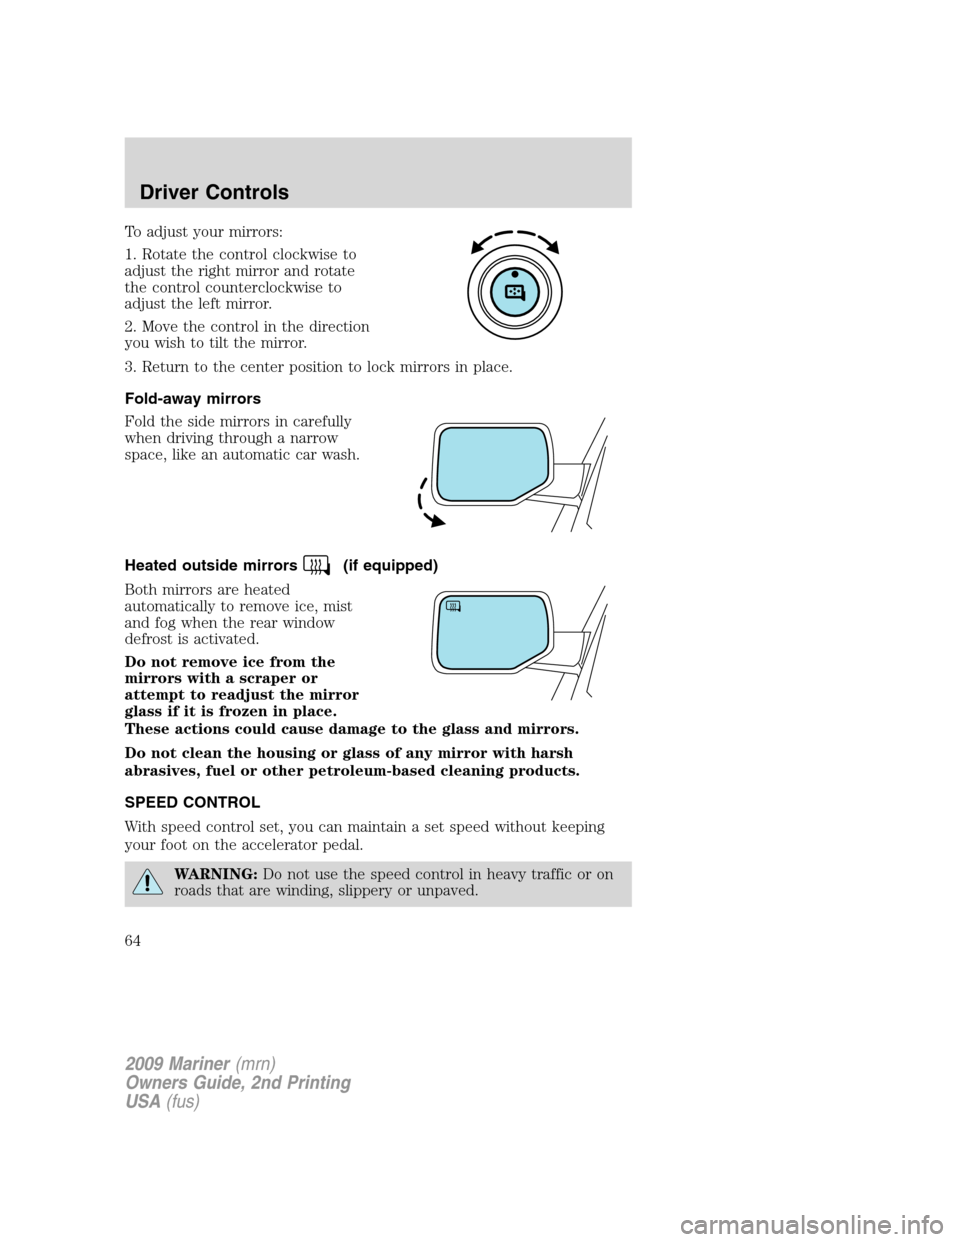
To adjust your mirrors:
1. Rotate the control clockwise to
adjust the right mirror and rotate
the control counterclockwise to
adjust the left mirror.
2. Move the control in the direction
you wish to tilt the mirror.
3. Return to the center position to lock mirrors in place.
Fold-away mirrors
Fold the side mirrors in carefully
when driving through a narrow
space, like an automatic car wash.
Heated outside mirrors
(if equipped)
Both mirrors are heated
automatically to remove ice, mist
and fog when the rear window
defrost is activated.
Do not remove ice from the
mirrors with a scraper or
attempt to readjust the mirror
glass if it is frozen in place.
These actions could cause damage to the glass and mirrors.
Do not clean the housing or glass of any mirror with harsh
abrasives, fuel or other petroleum-based cleaning products.
SPEED CONTROL
With speed control set, you can maintain a set speed without keeping
your foot on the accelerator pedal.
WARNING:Do not use the speed control in heavy traffic or on
roads that are winding, slippery or unpaved.
2009 Mariner(mrn)
Owners Guide, 2nd Printing
USA(fus)
Driver Controls
64
Page 73 of 312

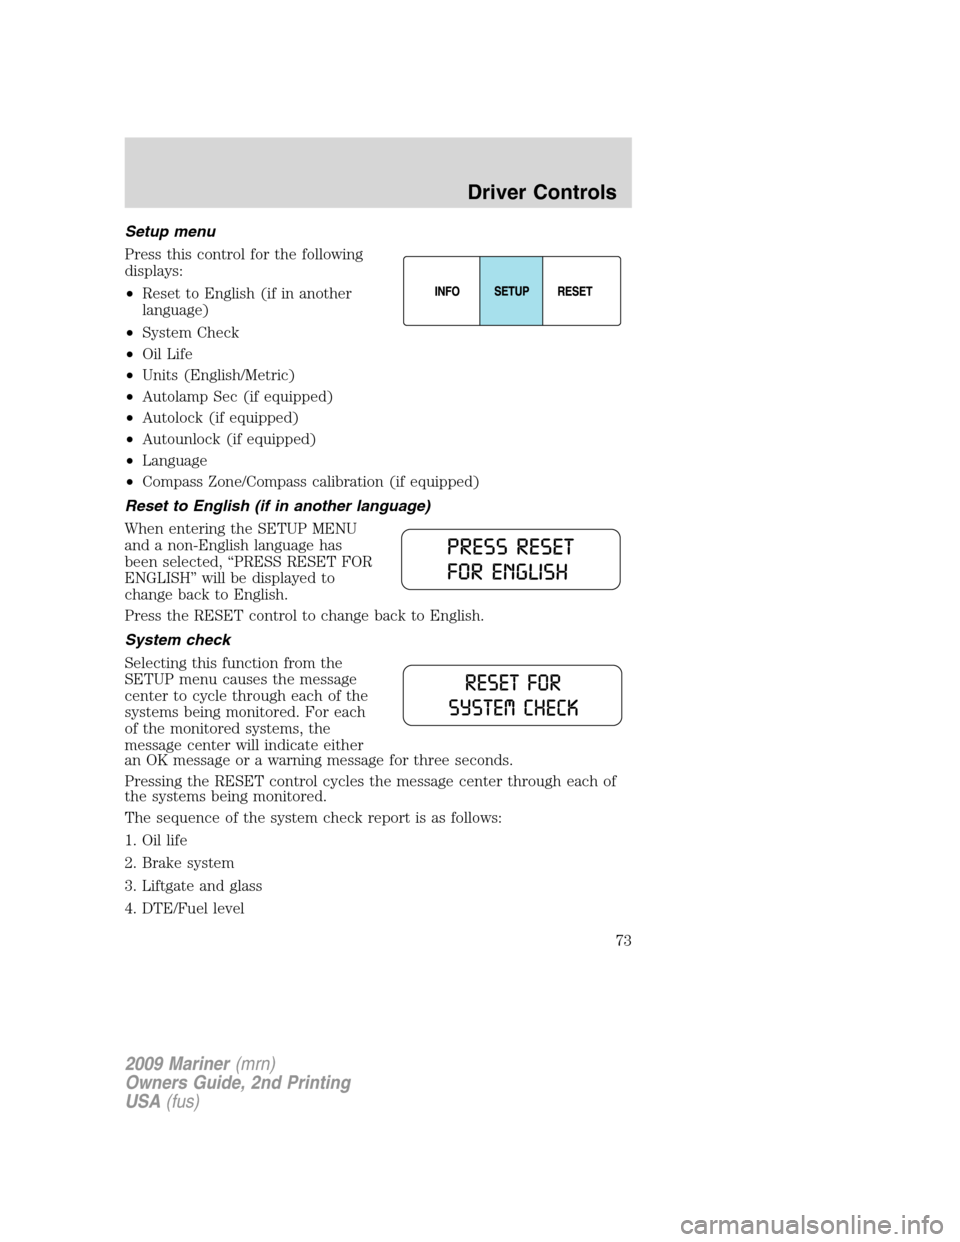
Setup menu
Press this control for the following
displays:
•Reset to English (if in another
language)
•System Check
•Oil Life
•Units (English/Metric)
•Autolamp Sec (if equipped)
•Autolock (if equipped)
•Autounlock (if equipped)
•Language
•Compass Zone/Compass calibration (if equipped)
Reset to English (if in another language)
When entering the SETUP MENU
and a non-English language has
been selected, “PRESS RESET FOR
ENGLISH” will be displayed to
change back to English.
Press the RESET control to change back to English.
System check
Selecting this function from the
SETUP menu causes the message
center to cycle through each of the
systems being monitored. For each
of the monitored systems, the
message center will indicate either
an OK message or a warning message for three seconds.
Pressing the RESET control cycles the message center through each of
the systems being monitored.
The sequence of the system check report is as follows:
1. Oil life
2. Brake system
3. Liftgate and glass
4. DTE/Fuel level
2009 Mariner(mrn)
Owners Guide, 2nd Printing
USA(fus)
Driver Controls
73
Page 75 of 312

Autolamp sec
This feature keeps your headlights on for up to three minutes after the
ignition is switched off.
1. To disable/enable the autolamp
delay feature, select this function
from the SETUP control for the
current display mode.
2. Press the RESET control to select
the new Autolamp delay values of 0,
10, 20, 30, 60, 90, 120 or 180 seconds.
Autolock
This feature automatically locks all vehicle doors when the vehicle is
shifted into any gear, putting the vehicle in motion.
1. To disable/enable the autolock
feature, select this function from the
SETUP control for the current
display mode.
2. Press the RESET control to turn
the autolock ON or OFF.
Autounlock
This feature automatically unlocks all vehicle doors when the driver’s
door is opened within 10 minutes of the ignition being turned off.
1. To disable/enable the autounlock
feature, select this function from the
SETUP control for the current
display mode.
2. Press the RESET control switch
to turn the autounlock ON or OFF.
2009 Mariner(mrn)
Owners Guide, 2nd Printing
USA(fus)
Driver Controls
75
Page 79 of 312

LIFTGATE
•To open the liftgate window,
unlock the liftgate (with the
power door locks or the remote
entry) and push theright side
control button under the license
plate lamp shield.
•To open the liftgate, unlock the
liftgate (with the power door
locks or the remote entry) and
push themiddlecontrol button
under the license plate lamp
shield.
To lock the liftgate and the liftgate window, use the power door locks.
Do not open the liftgate or liftgate glass in a garage or other enclosed
area with a low ceiling. If the liftgate glass is raised and the liftgate is
also opened, both liftgate and glass could be damaged against a low
ceiling.
Do not leave the liftgate or liftgate glass open while driving. Doing so
could cause serious damage to the liftgate and its components as well as
allowing carbon monoxide to enter the vehicle.
WARNING:Make sure that the liftgate door and/or window are
closed to prevent exhaust fumes from being drawn into the
vehicle. Exhaust fumes contain carbon monoxide which can injure your
lungs and cause drowsiness and even death. This will also prevent
passengers and cargo from falling out. If you must drive with the
liftgate door or window open, keep the vents open so outside air comes
into the vehicle.
CARGO AREA FEATURES
Cargo shade (if equipped)
If your vehicle has a cargo shade, you can use it to cover items in the
cargo area of your vehicle.
2009 Mariner(mrn)
Owners Guide, 2nd Printing
USA(fus)
Driver Controls
79
Page 80 of 312

To install the shade:
•Insert the ends of the cargo
shade into the mounting features
located behind the rear seat on
the rear trim panels.
To operate the shade:
1. Grasp the rear edge of the cargo
shade and pull rearward.
2. Secure both ends of the support
rod into the retention slots located
on the rear quarter trim panels.
WARNING:Ensure that the posts are properly latched in
mounting features. The cover may cause injury in a sudden stop
or accident if it is not securely installed.
WARNING:Do not place any objects on the cargo area shade.
They may obstruct your vision or strike occupants of vehicle in
the case of a sudden stop or collision.
Cargo management system (if equipped)
The cargo management system consists of two storage compartments
located in the floor of the rear cargo area.
1. The larger, rearward,
compartment is for customer
storage.
•To open, lift the lid with the pull
latch. The lid can be removed to
allow for flexible storage.
•To close, lower the lid and press
down at the latch area until you
hear the latch engage. A pad lock or
combination lock can be applied to
use the lockable storage feature on
the large customer storage bin.
2009 Mariner(mrn)
Owners Guide, 2nd Printing
USA(fus)
Driver Controls
80
Page 84 of 312

KEYS
Your vehicle is equipped with two
Integrated Keyhead Transmitters
(IKTs). The key blade functions as a
programmed key which starts the
vehicle and unlocks/locks all the
doors. The transmitter portion
functions as the remote entry
transmitter.
Your IKTs are programmed to your vehicle; using a non-programmed key
will not permit your vehicle to start. If you lose your authorized dealer
supplied IKTs, replacement IKTs are available through your authorized
dealer. Standard SecuriLock™ keys without remote entry transmitter
functionality can also be purchased from your authorized dealer if
desired.
Always carry a spare key with you in case of an emergency.
For more information regarding programming replacement IKTs, refer to
theSecuriLock™ passive anti-theft systemsection later in this chapter.
Note:Your vehicle’s IKTs were
issued with a security label that
provides important vehicle key cut
information. It is recommended that
you keep the label in a safe place
for future reference.
2009 Mariner(mrn)
Owners Guide, 2nd Printing
USA(fus)
Locks and Security
84
Page 85 of 312
Recommended handling of the Integrated Keyhead Transmitter
(IKT)
To avoid inadvertently activating the remote entry functions of your
vehicle, it is recommended that the Integrated Keyhead Transmitter
(IKT) be handled properly when starting and turning off your vehicle.
When inserting the IKT into the
ignition cylinder, place your thumb
on the center thumb rest of the IKT
and forefinger on the logo badge on
the opposite side.
To gain more leverage when rotating
the IKT in the ignition lock cylinder,
you can readjust the location of
your thumb to grasp the IKT on the
outer edge next to the
control.
Likewise, when rotating the IKT to
the off position in the ignition lock
cylinder, the bottom edge of the IKT
adjacent to the
control can be
utilized.
2009 Mariner(mrn)
Owners Guide, 2nd Printing
USA(fus)
Locks and Security
85