2009 MERCEDES-BENZ E-CLASS ESTATE washer fluid
[x] Cancel search: washer fluidPage 17 of 373

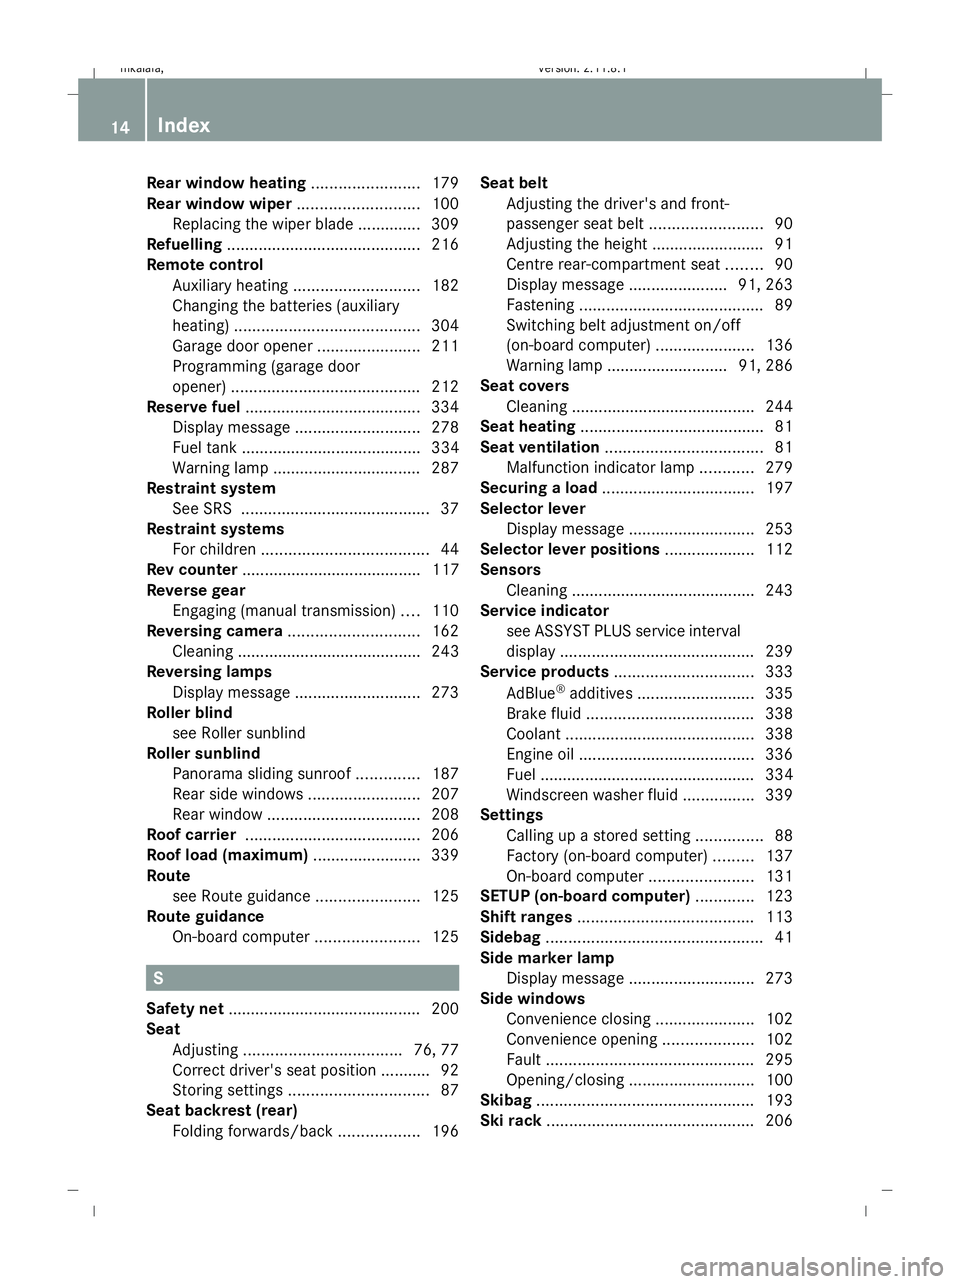
Rear window heating
........................179
Rear window wiper ...........................100
Replacing the wiper blade .............. 309
Refuelling ........................................... 216
Remote control Auxiliary heating ............................ 182
Changing the batteries (auxiliary
heating) ......................................... 304
Garage door opene r....................... 211
Programming (garage door
opener) .......................................... 212
Reserve fuel ....................................... 334
Display message ............................ 278
Fuel tank ........................................ 334
Warning lamp ................................. 287
Restraint system
See SRS .......................................... 37
Restraint systems
For children ..................................... 44
Rev counter ........................................ 117
Reverse gear Engaging (manual transmission) ....110
Reversing camera ............................. 162
Cleaning ......................................... 243
Reversing lamps
Display message ............................ 273
Roller blind
see Roller sunblind
Roller sunblind
Panorama sliding sunroo f.............. 187
Rear side windows .........................207
Rear window .................................. 208
Roof carrier ....................................... 206
Roof load (maximum) ........................339
Route see Route guidance .......................125
Route guidance
On-board computer .......................125 S
Safety net .......................................... .200
Seat Adjusting ................................... 76, 77
Correct driver's seat position ........... 92
Storing settings ............................... 87
Seat backrest (rear)
Folding forwards/back ..................196Seat belt
Adjusting the driver's and front-
passenger seat belt .........................90
Adjusting the height ......................... 91
Centre rear-compartment sea t........ 90
Display message ......................91, 263
Fastening ......................................... 89
Switching belt adjustment on/off
(on-board computer) ......................136
Warning lamp ........................... 91, 286
Seat covers
Cleaning ......................................... 244
Seat heating ........................................ .81
Seat ventilation ................................... 81
Malfunction indicator lamp ............279
Securing a load .................................. 197
Selector lever Display message ............................ 253
Selector lever positions ....................112
Sensors Cleaning ......................................... 243
Service indicator
see ASSYST PLUS service interval
displa y........................................... 239
Service products ............................... 333
AdBlue ®
additives .......................... 335
Brake fluid ..................................... 338
Coolant .......................................... 338
Engine oil ....................................... 336
Fuel ................................................ 334
Windscreen washer fluid ................339
Settings
Calling up a stored setting ...............88
Factory (on-board computer) .........137
On-board computer .......................131
SETUP (on-board computer) .............123
Shift ranges ....................................... 113
Sidebag ................................................ 41
Side marker lamp Display message ............................ 273
Side windows
Convenience closing ......................102
Convenience opening ....................102
Fault .............................................. 295
Opening/closing ............................ 100
Skibag ................................................ 193
Ski rack .............................................. 20614
Index 212_AKB; 2; 4, en-GB
mkalafa,
Version: 2.11.8.1 2009-05-05T14:17:16+02:00 - Seite 14Dateiname: 6515346702_buchblock.pdf; erzeugt am 07. May 2009 14:15:27; WK
Page 20 of 373

TV
Operating (on-board computer) .....127
Two-way radio
Installation ..................................... 331
Type identification plate
see vehicle identification plate ......332
Tyre grip ............................................. 233
Tyre pressure ................................... .225
Calling up (on-board computer) ....228
Display message .................... 258, 276
Tyre pressure loss warning system
............................................................ 226
Tyre pressure monitor
Warning lamp ................................. 286
Tyres
Direction of rotatio n...................... 224
General notes ................................ 223
Technical data ............................... 350
Tyre tread .......................................... .224 U
Unladen weight ................................. 339
Unlocking Emergency unlocking ..................... 299
From the inside (central unlocking
button) ............................................. 71
Up (display message) ........................ 123 V
Vanity mirror Sun visor ........................................ 207
Variable Speedtronic ........................148
Vehicle Emergency unlocking ..................... 299
Individual settings (on-board com-
puter) ............................................. 131
Leaving parked up .........................298
Towing ........................................... 326
Tow-starting ................................... 326
Transporting .................................. 327
Vehicle battery .................................. 319
Vehicle dimensions ...................339, 348
Vehicle electronics ...........................330
Vehicle identification number
(VIN) .......................................... 332, 333
Vehicle identification plate ..............332Vehicle level
.............................. 154, 155
Display message ............................ 268
Vehicle tool kit .................................. 249
Vehicle weights ................................. 339 W
Warning and indicator lamp ESP ®
Sport .................................... 283
Warning and indicator lamps
ABS (yellow) ................................... 281
Blind Spot Assist ............................ 280
Distronic Plus (red) ........................281
ESP ®
........................................ 60, 282
ESP ®
OFF ....................................... 282
LIM (cruise control) ........................ 138
LIM (Distronic Plus) .......................141
LIM (variable Speedtronic) .............149
Malfunction indicator lamp ............279
Tyre pressure monitor ...................286
Warning lamps
see Warning and indicator lamps
Warning tone ..................................... 287
Warning triangle ................................ 248
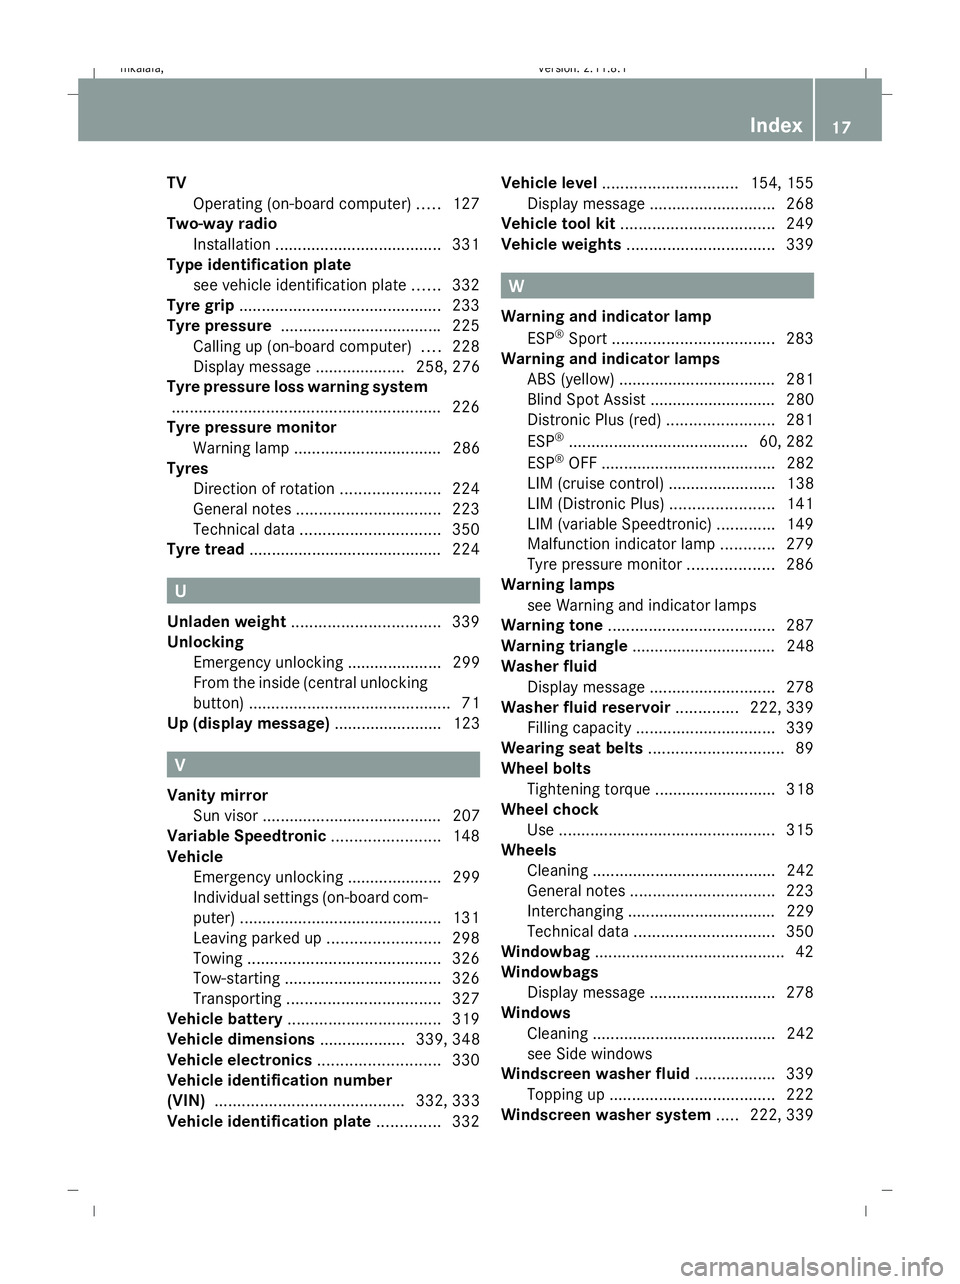
Washer fluid Display message ............................ 278
Washer fluid reservoir ..............222, 339
Filling capacity ............................... 339
Wearing seat belts .............................. 89
Wheel bolts Tightening torque ........................... 318
Wheel chock
Use ................................................ 315
Wheels
Cleaning ......................................... 242
General notes ................................ 223
Interchanging ................................. 229
Technical data ............................... 350
Windowbag .......................................... 42
Windowbags Display message ............................ 278
Windows
Cleaning ......................................... 242
see Side windows
Windscreen washer fluid ..................339
Topping up ..................................... 222
Windscreen washer system .....222, 339 Index
17 212_AKB; 2; 4, en-GB
mkalafa,
Version: 2.11.8.1 2009-05-05T14:17:16+02:00 - Seite 17Dateiname: 6515346702_buchblock.pdf; erzeugt am 07. May 2009 14:15:27; WK
Page 101 of 373

Motorway mode
Motorway mode increases the range of the
beam.
Active:
R if you are driving at speeds above
110 km/h and do not make any large steer-
ing movements for 1,000 m.
R if you are driving at speeds above
130 km/h.
Motorway mode remains active unless your
speed drops speeds below 80 km/h.
Not active: if you are driving at speeds below
80 km/h.
Extended range foglamps The extended range foglamps reduce the
glare experienced by the driver and improve
the illumination of the edge of the carriage-
way.
Active: if you are driving at speeds below
70 km/h and switch on the rear foglamp.
If your speed does not exceed 100 km/h, the
extended foglamp function remains active. Not active:
if you are driving at speeds above
100 km/h or you switch off the rear foglamp.
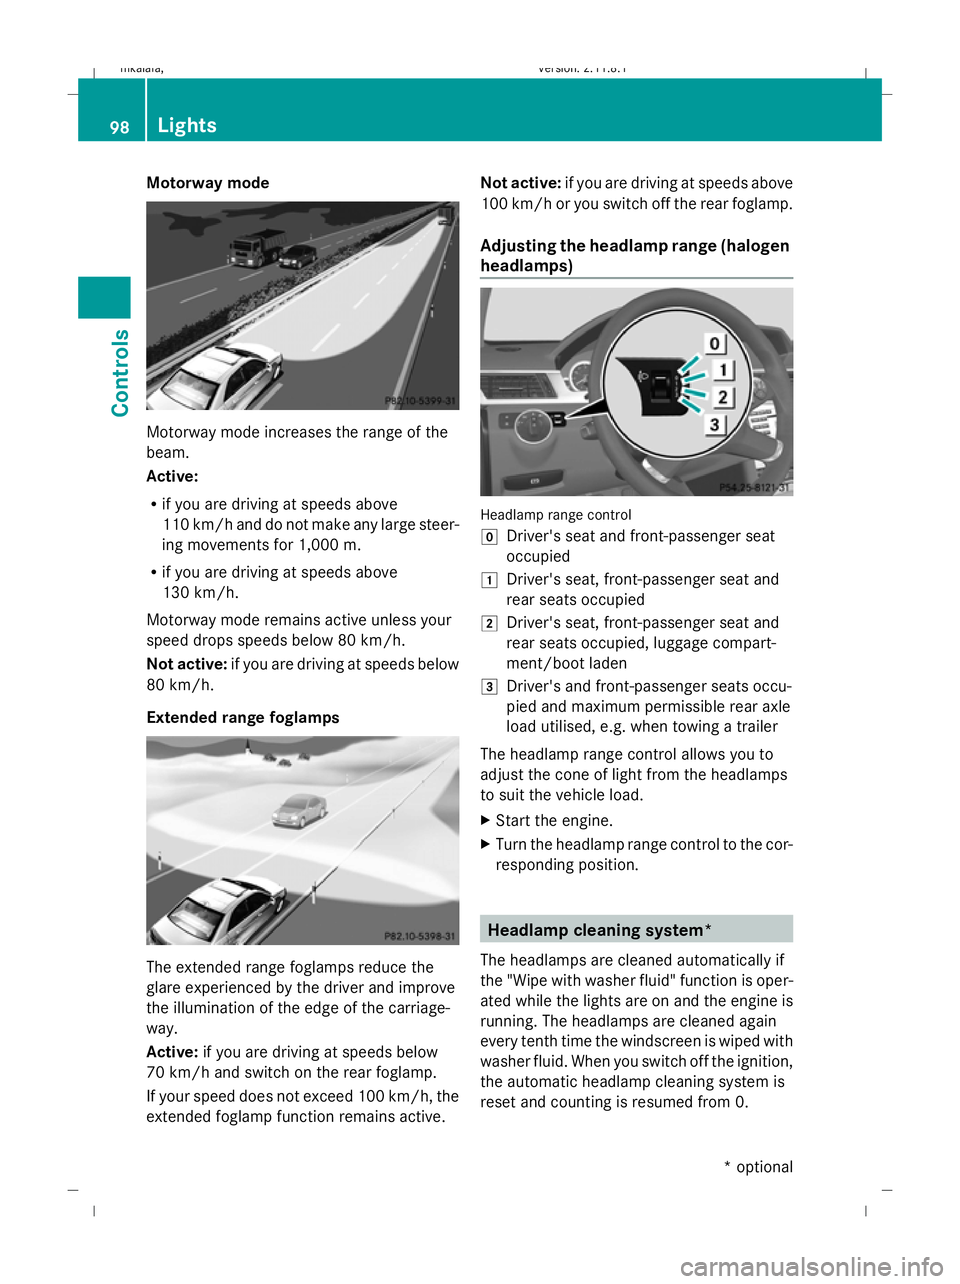
Adjusting the headlamp range (halogen
headlamps) Headlamp range control
g
Driver's seat and front-passenger seat
occupied
1 Driver's seat, front-passenger seat and
rear seats occupied
2 Driver's seat, front-passenger seat and
rear seats occupied, luggage compart-
ment/boot laden
3 Driver's and front-passenger seats occu-
pied and maximum permissible rear axle
load utilised, e.g. when towing a trailer
The headlamp range control allows you to
adjust the cone of light from the headlamps
to suit the vehicle load.
X Start the engine.
X Turn the headlamp range control to the cor-
responding position. Headlamp cleaning system*
The headlamps are cleaned automatically if
the "Wipe with washer fluid" function is oper-
ated while the lights are on and the engine is
running. The headlamps are cleaned again
every tenth time the windscreen is wiped with
washer fluid. When you switch off the ignition,
the automatic headlamp cleaning system is
reset and counting is resumed from 0. 98
LightsControls
* optional
212_AKB; 2; 4, en-GB
mkalafa,
Version: 2.11.8.1 2009-05-05T14:17:16+02:00 - Seite 98
Dateiname: 6515346702_buchblock.pdf; erzeugt am 07. May 2009 14:16:01; WK
Page 103 of 373

4
° Continuous wipe, slow
5 ¯ Continuous wipe, fast
B í Single wipe/ îTo wipe the
windscreen using washer fluid
! With intermittent wiping with rain sensor:
Due to optical influences and the wind-
screen becoming dirty in dry weather con-
ditions, the windscreen wipers may be acti-
vated inadvertently. This could then dam-
age the windscreen wiper blades or scratch
the windscreen.
For this reason, you should always switch
off the windscreen wipers in dry weather.
X Turn the key to position 1or 2in the ignition
lock.
X Turn the combination switch to the corre-
sponding position.
In the ÄorÅ position, the appropriate
wiping frequency is set automatically accord-
ing to the intensity of the rain. In the Å
position, the rain sensor is more sensitive
than in the Äposition and therefore the
windscreen wiper will wipe more frequently. Rear window wiper (Estate)
Combination switch
:
è Switch
2 ô To wipe with washer fluid
3 ITo switch on intermittent wiping
4 0To switch off intermittent wiping
5 ô To wipe with washer fluid X
Turn the key to position 1or 2in the ignition
lock.
X Turn switch :on the combination switch
to the corresponding position.
When the rear window wiper is switched on
the icon appears in the instrument cluster. Side windows
Opening and closing the side win-
dows
G
Risk of injury
When opening the side windows, make sure
that nobody can become trapped between the
side window and the door frame. Keep clear
of the side window during the opening proce-
dure. Otherwise, you could be drawn in or
trapped between the side window and the
door frame by the downwards movement of
the window. If there is a risk of becoming
trapped, release the switch or pull it upwards
to close the side window again. G
Risk of injury
Make sure that nobody can become trapped
as you close the side windows. If there is a
risk of entrapment, release the button or
press the button again to open the side win-
dow. G
Risk of injury
Children may injure themselves if they oper-
ate the side windows.
Never leave children unsupervised in the vehi-
cle. Always take the key with you when leaving
the vehicle, even if you are only leaving it for
a short time. 100
Side windowsCont
rols
212_AKB; 2; 4, en-GB
mkalafa,V ersion: 2.11.8.1
2009-05-05T14:17:16+02:00 - Seite 100
Dateiname: 6515346702_buchblock.pdf; erzeugt am 07. May 2009 14:16:02; WK
Page 225 of 373

The coolant expansion tank is located in the
engine compartment on the right when
viewed in the direction of travel. X
Slowly turn cap :half a turn anti-clock-
wise and allow excess pressure to escape.
X Turn cap :further anti-clockwise and
remove it.
There is sufficient coolant in expansion
tank ;if the coolant is level with marker
bar =in the filler neck when cold or
approximately 1.5 cm higher when hot.
X If necessary, top up with coolant which has
been tested and approved by Mercedes-
Benz.
X Replace cap :and tighten all the way to
the stop.
For further information on coolant, see
(Y page 338). Windscreen washer system/head-
lamp cleaning system*
The washer fluid reservoir for the windscreen
washer system and headlamp cleaning sys-
tem* is located in the engine compartment on the left-hand side when viewed in the
direction of travel. i
Add windscreen washer concentrate to
the washer fluid all year round. G
Risk of fire
Washer fluid concentrate is highly flammable.
Fire, naked flames and smoking are prohibi-
ted when washer fluid concentrate is being
handled.
! Only use washer fluid concentrate which
is suitable for plastic lenses. Unsuitable
washer fluid concentrate could damage the
plastic lenses of the headlamps.
X Mix the windscreen washer fluid in a con-
tainer beforehand.
X At temperatures above freezing:
Fill the washer fluid reservoir with a mix of
water and windscreen washer concentrate
(e.g. MB SummerFit).
X At temperatures below freezing:
Fill the washer fluid reservoir with a mix of
water, antifreeze additive and windscreen
washer concentrate (e.g. MB WinterFit).
Adapt the mixing ratio to the outside tem-
peratures.
X To open: pull cap:upwards by the tab.
X Top up with the premixed washer fluid.
X To close: press cap :onto the filler neck
until it engages. 222
Engine compartmentOperation
* optional
212_AKB; 2; 4, en-GB
mkalafa,
Version: 2.11.8.1 2009-05-05T14:17:16+02:00 - Seite 222
Dateiname: 6515346702_buchblock.pdf; erzeugt am 07. May 2009 14:16:56; WK
Page 245 of 373

products, or gloss preservers such as wax.
These products are only suitable for high-
gloss finishes. Using them on a vehicle with
a matt finish results in serious damage to
the surface (gleaming, spotted areas).
Always have paintwork repairs carried out
at a qualified specialist workshop, e.g. a
Mercedes-Benz Service Centre.
i From the range of available Mercedes-
Benz care products, use only the insect
remover and the car shampoo.
Cleaning the paintwork Scratches, corrosive deposits, areas affected
by corrosion and damage caused by inade-
quate care cannot always be completely
repaired. In such cases, visit a qualified spe-
cialist workshop immediately, e.g. a
Mercedes-Benz Service Centre.
X Remove the following types of dirt immedi-
ately, whilst avoiding rubbing too hard.
Soak:
R insect remains with insect remover
R bird droppings with water
and rinse off the treated surface after-
wards.
Remove:
R tree resin, oils, fuels and greases by rub-
bing gently with a cloth soaked in petro-
leum ether or lighter fluid.
R tar stain with tar remover
R wax with silicone remover
! Do not affix:
R stickers
R films
R magnetic plates or similar items
to painted surfaces. Otherwise, you could
damage the paintwork. Cleaning the wheels !
Do not use acidic wheel cleaners to
remove brake dust. This could damage
wheel bolts and brake components.
Cleaning the windows X
Clean the inside and outside of the win-
dows with a damp cloth and a cleaning
product approved and recommended by
Mercedes-Benz.
! Clean the water drainage channels of the
windscreen and the rear window at regular
intervals. Under certain circumstances,
deposits such as leaves, petals and pollen
may prevent water from draining away
leading to corrosion damage.
Cleaning the wiper blades G
Risk of injury
Before cleaning the windscreen or wiper
blades, turn the key to position 0in the igni-
tion lock or press the Start/Stop button* until
all indicator lamps have gone out in the instru-
ment cluster. The windscreen wipers could
otherwise move and cause injury.
! Do not clean the wiper blades too often
and do not rub them too hard, as this will
result in damage to the graphite coating.
This could cause wiper noise.
X Fold the wiper arms away from the wind-
screen.
X Clean the wiper blades carefully with a
damp cloth.
X Fold the wiper arms back again before
switching on the ignition.
Cleaning the headlamps X
Clean the plastic lenses of the headlamps
with a wet sponge and windscreen washer
fluid or cleaning cloths. 242
CareOperation
* optional
212_AKB; 2; 4, en-GB
mkalafa,
Version: 2.11.8.1 2009-05-05T14:17:16+02:00 - Seite 242
Dateiname: 6515346702_buchblock.pdf; erzeugt am 07. May 2009 14:17:01; WK
Page 246 of 373

!
Only use washer fluid or cleaning cloths
suitable for plastic lenses. Unsuitable
washer fluid or cleaning cloths could
scratch or damage the plastic lenses of the
headlamps.
Cleaning the sensors* Saloon (example)
X
Clean sensors :for the driving systems
with water, car shampoo and a soft cloth.
! If you clean the sensors using a high-pres-
sure cleaner or steam cleaner, observe the
manufacturer's information on maintaining
the correct distance between the vehicle
and the high-pressure cleaner.
Cleaning the reversing camera* Saloon (example) X
Use clear water and a soft cloth to clean
camera lens :.
! Do not clean the camera lens and the area
around the reversing camera with a high-
pressure cleaner.
Cleaning the exhaust tail pipes Impurities combined with the effects of road
grit and corrosive environmental factors may
cause flash rust to form on the surface. Reg-
ular care of the exhaust tail pipes will ensure
that their original shine is restored.
!
Do not clean the exhaust tail pipes with
alkaline-based cleaning agents such as
wheel cleaner.
X Clean the exhaust tail pipes with a chrome
care product approved by Mercedes-Benz.
Trailer coupling* The ball coupling must be cleaned if it
becomes dirty or corroded.
X
Remove any rust using a wire brush.
X Remove dirt with a clean, lint-free cloth or
a brush.
! Do not clean the ball coupling with a high-
pressure cleaner. Do not use solvents. Saloon (example)
X
After cleaning, lightly oil or grease ball cou-
pling :.
X Check that the vehicle's trailer coupling is
working properly. Care
243Operation
* optional
212_AKB; 2; 4, en-GB
mkalafa,
Version: 2.11.8.1 2009-05-05T14:17:16+02:00 - Seite 243 Z
Dateiname: 6515346702_buchblock.pdf; erzeugt am 07. May 2009 14:17:02; WK
Page 281 of 373

Display messages
Possible causes/consequences and
X
X Solutions 6 Rear
centre
malfunc‐
tion Con‐
sult work‐
shop
G
Risk of injury
SRS has malfunctioned at the rear centre*. The 6warning
lamp also lights up in the instrument cluster.
X Visit a qualified specialist workshop. 6 Left
windowbag
malfunc‐
tion Con‐
sult work‐
shop
or
Right
windowbag
malfunc‐
tion Con‐
sult work‐
shop
G
Risk of injury
There is a malfunction in the left-hand or right-hand window-
bag. The 6warning lamp also lights up in the instrument
cluster.
X Visit a qualified specialist workshop. C There is only a small amount of fuel in the fuel tank.
X
Refuel at the nearest filling station. 8 Reserve
fuel level The fuel level has fallen below the reserve range. The opera-
tion of the auxiliary heating* can no longer be guaranteed.
X
Refuel at the nearest filling station. ¥ Top up
washer
fluid The washer fluid level in the washer fluid reservoir has drop-
ped below the minimum.
X
Top up the windscreen washer fluid (Y page 222).Troubleshooting
Points to remember
G
Risk of accident and injury
The operating safety of the vehicle can be compromised if maintenance work is carried out
incorrectly. This could cause you to lose control of the vehicle and cause an accident. The safety
systems may also not be able to protect you or others as they are designed to do.
Always have maintenance work carried out at a qualified specialist workshop. The qualified spe-
cialist workshop must have the necessary specialist knowledge and tools to carry out the work
required. Mercedes-Benz recommends that you use a Mercedes-Benz Service Centre for this
purpose. In particular, work relevant to safety or on safety-related systems must be carried out
at a qualified specialist workshop. 278
TroubleshootingPractical advice
* optional
212_AKB; 2; 4, en-GB
mkalafa,
Version: 2.11.8.1 2009-05-05T14:17:16+02:00 - Seite 278
Dateiname: 6515346702_buchblock.pdf; erzeugt am 07. May 2009 14:17:11; WK