2009 MAZDA MODEL B4000 CAB PLUS 4 TRUCK service
[x] Cancel search: servicePage 165 of 288

PREPARING TO DRIVE
WARNING:Utility vehicles have a significantly higher rollover
rate than other types of vehicles.
WARNING: In a rollover crash, an unbelted person is
significantly more likely to die than a person wearing a seat belt.
Utility vehicles and trucks have larger tires and increased ground
clearance, giving the vehicle a higher center of gravity than a passenger
car.
WARNING: Vehicles with a higher center of gravity such as
utility vehicles and trucks handle differently than vehicles with a
lower center of gravity. Utility vehicles and trucks are not designed for
cornering at speeds as high as passenger cars any more than low-slung
sports cars are designed to perform satisfactorily under off-road
conditions. Avoid sharp turns, excessive speed or abrupt maneuvers in
these vehicles. Failure to drive cautiously could result in an increased
risk of loss of vehicle control, vehicle rollover, personal injury and
death.
WARNING: Loaded vehicles, with a higher center of gravity,
may handle differently than unloaded vehicles. Do not overload
your vehicle and use extra precautions, such as driving at slower
speeds, avoiding abrupt steering changes and allowing for increased
stopping distance, when driving a heavily loaded vehicle. Over-loading
or loading the vehicle improperly can deteriorate handling capability
and contribute to loss of vehicle control and vehicle rollover.
AUTOMATIC TRANSMISSION OPERATION (IF EQUIPPED)
Brake-shift interlock
The vehicle is equipped with a brake-shift interlock feature that prevents
the gearshift lever from being moved from P (Park) unless the brake
pedal is depressed.
If you cannot move the gearshift lever out of P (Park) position with the
ignition in the (4) ON position and the brake pedal depressed, a
malfunction may have occurred. It is possible that the vehicle’s
brakelamps are not operating properly. If the brakelamps are working
properly, and the vehicle still will not shift out of (P) Park, see your
authorized dealer for service.
2009 B-Series (mbs)
Owners Guide, 1st Printing
USA (fus)
Driving
165
Page 166 of 288

In an emergency, to disable the malfunctioning brake-shift interlock
feature in order to shift the vehicle from P(Park) follow these steps:
WARNING:To prevent vehicle movement when following this
procedure, park on a level surface, ensure parking brake is set,
and block the rear wheels.
1. Apply the parking brake. Turn key to the 2 (lock) and then remove the key;
2. Disconnect the negative (Black) battery cable from the battery;
3. Insert the key and turn to 3 (off). Shift to N (Neutral);
4. Reconnect the negative (Black) battery cable to the battery;
5. Start the vehicle.
See your authorized dealer for service immediately.
WARNING: If your brake lamps are not working properly or if
you have disconnected the vehicle battery cables, the vehicle
brake lamps and hazard flashers may not properly warn traffic of a
vehicle breakdown or approaching danger, which can increase the risk
of serious injury or death. To minimize the risk of serious injury or
death, be aware of your surroundings, use other hazard signaling
devices if available, and move the vehicle to a safe location away from
traffic as soon as possible.
WARNING: Do not drive your vehicle until you verify that the
brakelamps are working.
WARNING: Always set the parking brake fully and make sure
the gearshift is latched in P (Park). Turn the ignition to the lock
position and remove the key whenever you leave your vehicle.
WARNING: If the parking brake is fully released, but the brake
warning lamp remains illuminated, the brakes may not be
working properly. See your authorized dealer.
2009 B-Series (mbs)
Owners Guide, 1st Printing
USA (fus)
Driving
166
Page 167 of 288

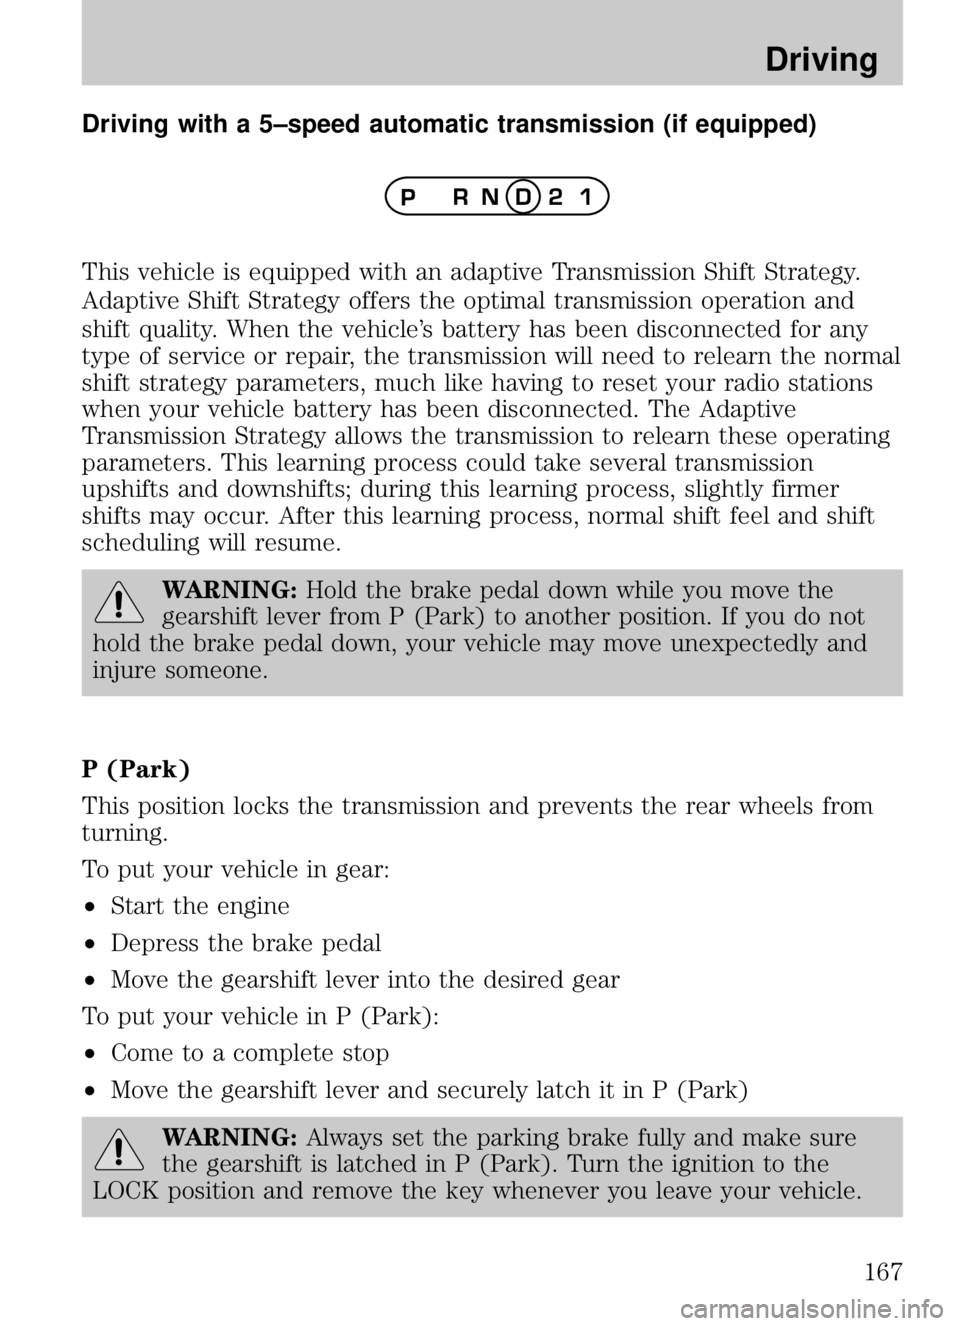
Driving with a 5–speed automatic transmission (if equipped)
This vehicle is equipped with an adaptive Transmission Shift Strategy.
Adaptive Shift Strategy offers the optimal transmission operation and
shift quality. When the vehicle’s battery has been disconnected for any
type of service or repair, the transmission will need to relearn the normal
shift strategy parameters, much like having to reset your radio stations
when your vehicle battery has been disconnected. The Adaptive
Transmission Strategy allows the transmission to relearn these operating
parameters. This learning process could take several transmission
upshifts and downshifts; during this learning process, slightly firmer
shifts may occur. After this learning process, normal shift feel and shift
scheduling will resume.
WARNING:Hold the brake pedal down while you move the
gearshift lever from P (Park) to another position. If you do not
hold the brake pedal down, your vehicle may move unexpectedly and
injure someone.
P (Park)
This position locks the transmission and prevents the rear wheels from
turning.
To put your vehicle in gear:
• Start the engine
• Depress the brake pedal
• Move the gearshift lever into the desired gear
To put your vehicle in P (Park):
• Come to a complete stop
• Move the gearshift lever and securely latch it in P (Park)
WARNING: Always set the parking brake fully and make sure
the gearshift is latched in P (Park). Turn the ignition to the
LOCK position and remove the key whenever you leave your vehicle.
2009 B-Series (mbs)
Owners Guide, 1st Printing
USA (fus)
Driving
167
Page 193 of 288

Have a flat serviced by an authorized dealer in order to prevent damage
to the TPMS sensor, refer toChanging tires with TPMSin theTires,
Wheels and Loading chapter. Replace the spare tire with a road tire as
soon as possible.
WARNING: The use of tire sealants may damage your Tire
Pressure Monitoring System and should not be used.
WARNING: Refer toTire Pressure Monitoring System
(TPMS) in theTires, Wheels and Loading chapter for
important information. If the tire pressure monitor sensor
becomes damaged, it will no longer function.
Dissimilar spare tire/wheel information
WARNING: Failure to follow these guidelines could result in an
increased risk of loss of vehicle control, injury or death.
If you have a dissimilar spare tire/wheel, then it is intended for
temporary use only. This means that if you need to use it, you should
replace it as soon as possible with a road tire/wheel that is the same size
and type as the road tires and wheels that were originally provided by
Mazda. If the dissimilar spare tire or wheel is damaged, it should be
replaced rather than repaired.
A dissimilar spare tire/wheel is defined as a spare tire and/or wheel that
is different in brand, size or appearance from the road tires and wheels
and can be one of three types: 1. T-type mini-spare: This spare tire begins with the letter “T” for tire
size and may have “Temporary Use Only” molded in the sidewall
2. Full-size dissimilar spare with label on wheel: This spare tire
has a label on the wheel that states: “THIS TIRE AND WHEEL FOR
TEMPORARY USE ONLY”
When driving with one of the dissimilar spare tires listed above, do not:
• Exceed 50 mph (80 km/h)
• Load the vehicle beyond maximum vehicle load rating listed on the
Safety Compliance Label
• Tow a trailer
• Use snow chains on the end of the vehicle with the dissimilar spare
tire
2009 B-Series (mbs)
Owners Guide, 1st Printing
USA (fus)
Roadside Emergencies
193
Page 195 of 288

Stopping and securing the vehicle1. Park on a level surface, activate hazard flashers and place
gearshift lever in P (Park)
(automatic transmission) or 1
(First) (manual transmission).
2. Set the parking brake and turn engine OFF.
Location of the spare tire and tools
Note: The tire pressure monitoring system (TPMS) indicator light will
illuminate when the spare is in use. To restore the full functionality of
the TPMS system, all road wheels equipped with the tire pressure
monitoring sensors must be mounted on the vehicle.
Have a flat tire serviced by an authorized dealer in order to prevent
damage to the TPMS sensor, refer to Tire Pressure Monitoring System
(TPMS) in theTires, Wheel and Loading chapter. Replace the spare
tire with a road tire as soon as possible.
The spare tire and tools for your vehicle are stowed in the following
locations:
Tool Location
Spare tire Under the vehicle, just forward of
the rear bumper
Jack, jack handle, wheel nut wrench Regular Cab: behind seats and
underneath the jack and tools
cover
Cab Plus 4–Door: stowed behind
the front seats, between jump
seats and underneath jack and
tools cover. The lug wrench is held
in place with a wingnut.
Key, spare tire lock (if equipped) In the glove box
2009 B-Series (mbs)
Owners Guide, 1st Printing
USA (fus)
Roadside Emergencies
195
Page 200 of 288

1. Lay the tire on the ground with the valve stem facing up.
2. Slide the wheel partially under the vehicle and install the wire andretainer through the center of the wheel.
3. Turn the jack handle clockwise until the tire is raised to its original position underneath the vehicle. The effort to turn the jack handle
increases significantly as the tire contacts the frame. The spare tire
carrier will ratchet when the tire is in the fully stowed position. The
spare tire carrier has a built-in ratchet feature that will not allow you
to overtighten. If the spare tire carrier ratchets with very little effort,
take the vehicle to your authorized dealer for assistance at your
earliest convenience.
4. Check that the tire lies flat against the frame assembly. Push against the tire to make sure it is tightly seated under the vehicle. Loosen
and retighten, if necessary. Failure to properly stow the spare tire
may result in failure of the winch cable and loss of the spare tire.
5. Repeat this tightness check procedure when servicing the spare tire pressure (every six months, per Service Maintenance Section), or
at any time that the spare tire is disturbed through service of other
components.
6. Install the spare tire lock (if equipped) into the access hole above the rear bumper with the spare tire lock key (if equipped) and jack
handle.
WHEEL LUG NUT TORQUE SPECIFICATIONS
Retighten the lug nuts to the specified torque within 100 miles (160 km)
after any wheel disturbance (rotation, flat tire, wheel removal, etc.).
Lug nut socket size/Bolt size Wheel lug nut torque*
lb.ft. N•m
Lug nut socket size:
3�4
inch (19 mm) hex
Bolt size:1�2x 20 100
135
* Torque specifications are for nut and bolt threads free of dirt and
rust. Use only Mazda recommended replacement fasteners.
2009 B-Series (mbs)
Owners Guide, 1st Printing
USA (fus)
Roadside Emergencies
200
Page 220 of 288

WARNING:Add-On Electrical and Electronic Equipment:
Incorrectly choosing or installing improper add-on equipment or
choosing an improper installer could be dangerous. Essential systems
could be damaged, causing engine stalling, air-bag (SRS) activation,
ABS inactivation, or a fire in the vehicle. Be very careful in choosing
and installing add-on electrical equipment, such as mobile telephones,
two-way radios, stereo systems, and car alarm systems.
Mazda assumes no responsibility for death, injury, or expenses that may
result from the installation of add-on non-genuine parts or accessories.
SERVICE PUBLICATIONS
Factory-authorized Mazda service publications are available for owners
who wish to do some of their own maintenance and repair.
When requesting any of our publications through an Authorized Mazda
Dealer, refer to the chart below.
If they don’t have what you need in stock, they can order it for you.
PUBLICATION ORDER NUMBER PUBLICATION DESCRIPTION
9999 95 022B 09 WORKSHOP MANUAL
9999 95 020G 09 WIRING DIAGRAM
9999 95 023C 09 OWNER’S MANUAL
WORKSHOP MANUAL:
Covers recommended maintenance and repair procedures of the drive
train, body and chassis.
WIRING DIAGRAM:
Provides electrical schematics as well as component location for the
entire electrical system.
OWNER’S MANUAL:
This booklet contains information regarding the proper care and
operation of your vehicle. This is not a technician’s manual.
Please note that your Authorized Mazda Dealership has trained
personnel and special service tools to correctly and safely
maintain Mazda vehicles.
2009 B-Series (mbs)
Owners Guide, 1st Printing
USA (fus)
Customer Assistance
220
Page 228 of 288

CHART SYMBOLS
I: Inspect and if necessary, correct, clean or replace
AAdjust
R: Replace
L: Lubricate
Normal driving service intervals — perform at the months or distances
shown, whichever occurs first.
Maintenance Item Maintenance Interval (Number of months or Miles (km),
whichever comes first)
Months 4 8 12 16 20 24 28 32 36 40 44 48
x 1000 miles 5 10 15 20 25 30 35 40 45 50 55 60 (x 1000 km) (8) (16) (24) (32) (40) (48) (56) (64) (72) (80) (88) (96)
ENGINE
Engine oil RRRRRRRRRRR R
Oil filter RRRRRRRRRRR R
PCV valve *3
AIR CLEANER
Air cleaner filter RR
IGNITION SYSTEM
Spark plugs *4
COOLING SYSTEM
Engine Coolant (yellow) Replace at first 100,000 miles (160,000 km) or
72 months; after that, every 50,000 miles (80,000 km) or 36 months
Coolant condition and protection, hoses
and clamps — annually — prior to cold
weather every 12 monthsIII I
CHASSIS AND BODY
Wheel lug nut torque *1 IIIIIIIIIII I
Inspect tires for wear and rotate
(X = recommended interval for
optimal tire life) IXIXXIXXIXX I
Clutch reservoir fluid level I IIIII
Front wheel bearings (4x2) L
Disc brake system III I
2009 B-Series (mbs)
Owners Guide, 1st Printing
USA (fus)
Maintenance and Specifications
228