2009 LINCOLN TOWN CAR mirror
[x] Cancel search: mirrorPage 1 of 280
Introduction 4
Instrument Cluster 12
Warning lights and chimes 12
Gauges 16
Entertainment Systems 19
AM/FM stereo cassette with CD 19
AM/FM stereo with in-dash six CD 24
Climate Controls 31
Dual automatic temperature control 31
Rear window defroster 34
Lights 35
Headlamps 35
Turn signal control 39
Bulb replacement 39
Driver Controls 46
Windshield wiper/washer control 46
Steering wheel adjustment 47
Power windows 50
Mirrors 52
Speed control 54
Message center 62
Locks and Security 76
Locks 76
Anti-theft system 88
Seating and Safety Restraints 93
Seating 93
Safety restraints 101
Airbags 115
Child restraints 127
Table of Contents
1
2009 Town Car(tow)
Owners Guide, 1st Printing
USA(fus)
Page 47 of 280
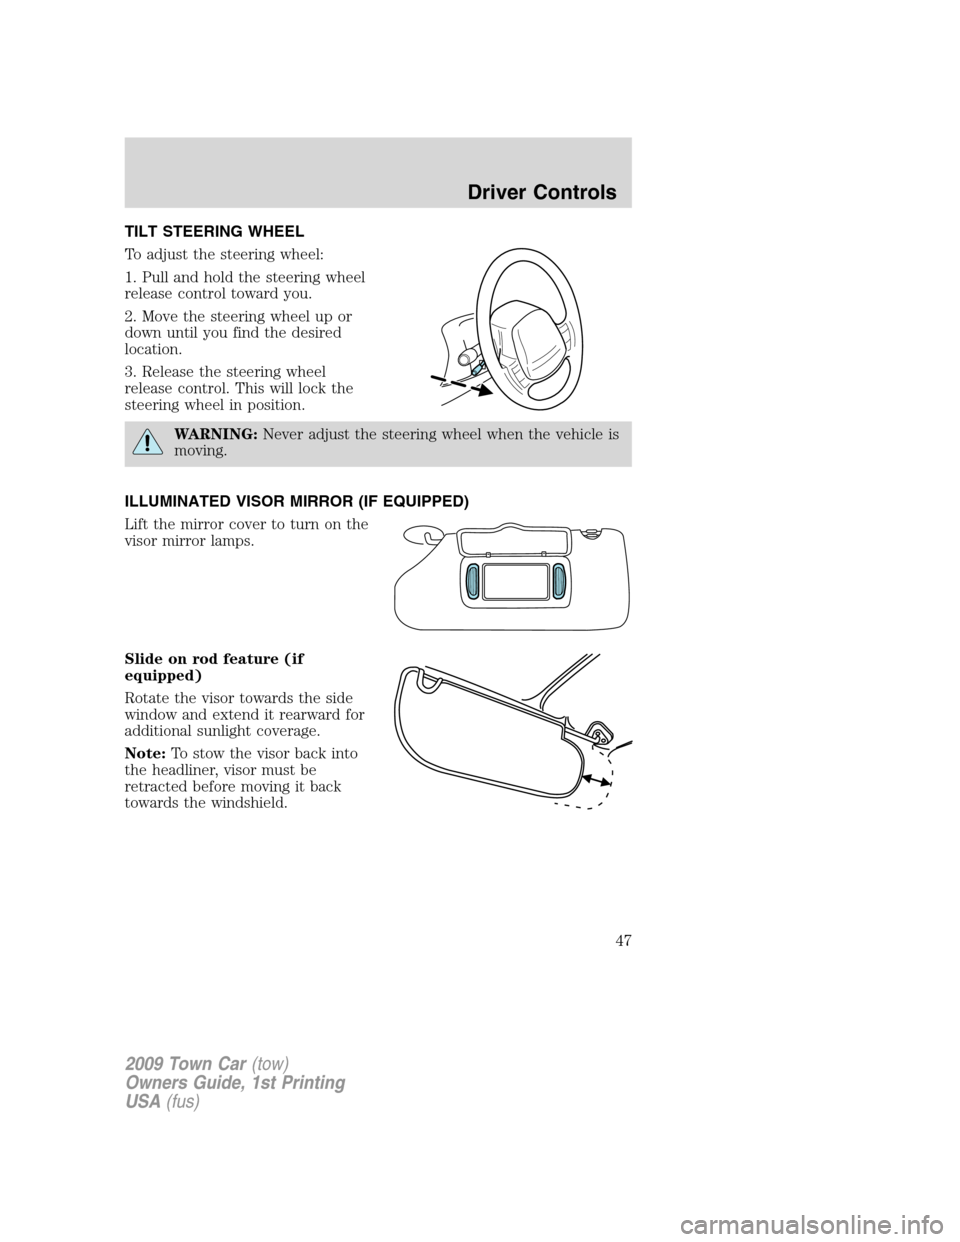
TILT STEERING WHEEL
To adjust the steering wheel:
1. Pull and hold the steering wheel
release control toward you.
2. Move the steering wheel up or
down until you find the desired
location.
3. Release the steering wheel
release control. This will lock the
steering wheel in position.
WARNING:Never adjust the steering wheel when the vehicle is
moving.
ILLUMINATED VISOR MIRROR (IF EQUIPPED)
Lift the mirror cover to turn on the
visor mirror lamps.
Slide on rod feature (if
equipped)
Rotate the visor towards the side
window and extend it rearward for
additional sunlight coverage.
Note:To stow the visor back into
the headliner, visor must be
retracted before moving it back
towards the windshield.
2009 Town Car(tow)
Owners Guide, 1st Printing
USA(fus)
Driver Controls
47
Page 52 of 280
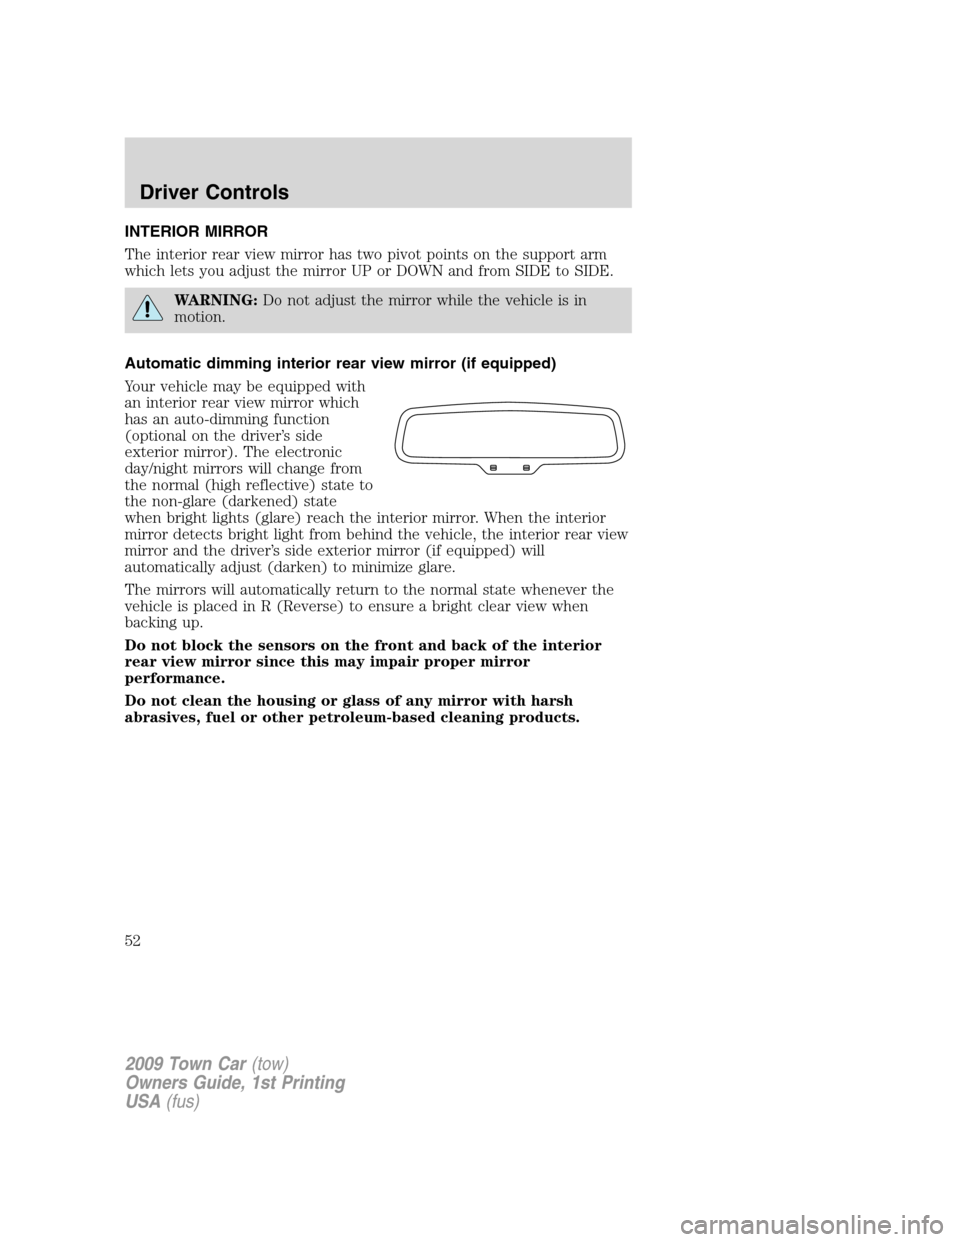
INTERIOR MIRROR
The interior rear view mirror has two pivot points on the support arm
which lets you adjust the mirror UP or DOWN and from SIDE to SIDE.
WARNING:Do not adjust the mirror while the vehicle is in
motion.
Automatic dimming interior rear view mirror (if equipped)
Your vehicle may be equipped with
an interior rear view mirror which
has an auto-dimming function
(optional on the driver’s side
exterior mirror). The electronic
day/night mirrors will change from
the normal (high reflective) state to
the non-glare (darkened) state
when bright lights (glare) reach the interior mirror. When the interior
mirror detects bright light from behind the vehicle, the interior rear view
mirror and the driver’s side exterior mirror (if equipped) will
automatically adjust (darken) to minimize glare.
The mirrors will automatically return to the normal state whenever the
vehicle is placed in R (Reverse) to ensure a bright clear view when
backing up.
Do not block the sensors on the front and back of the interior
rear view mirror since this may impair proper mirror
performance.
Do not clean the housing or glass of any mirror with harsh
abrasives, fuel or other petroleum-based cleaning products.
2009 Town Car(tow)
Owners Guide, 1st Printing
USA(fus)
Driver Controls
52
Page 53 of 280
EXTERIOR MIRRORS
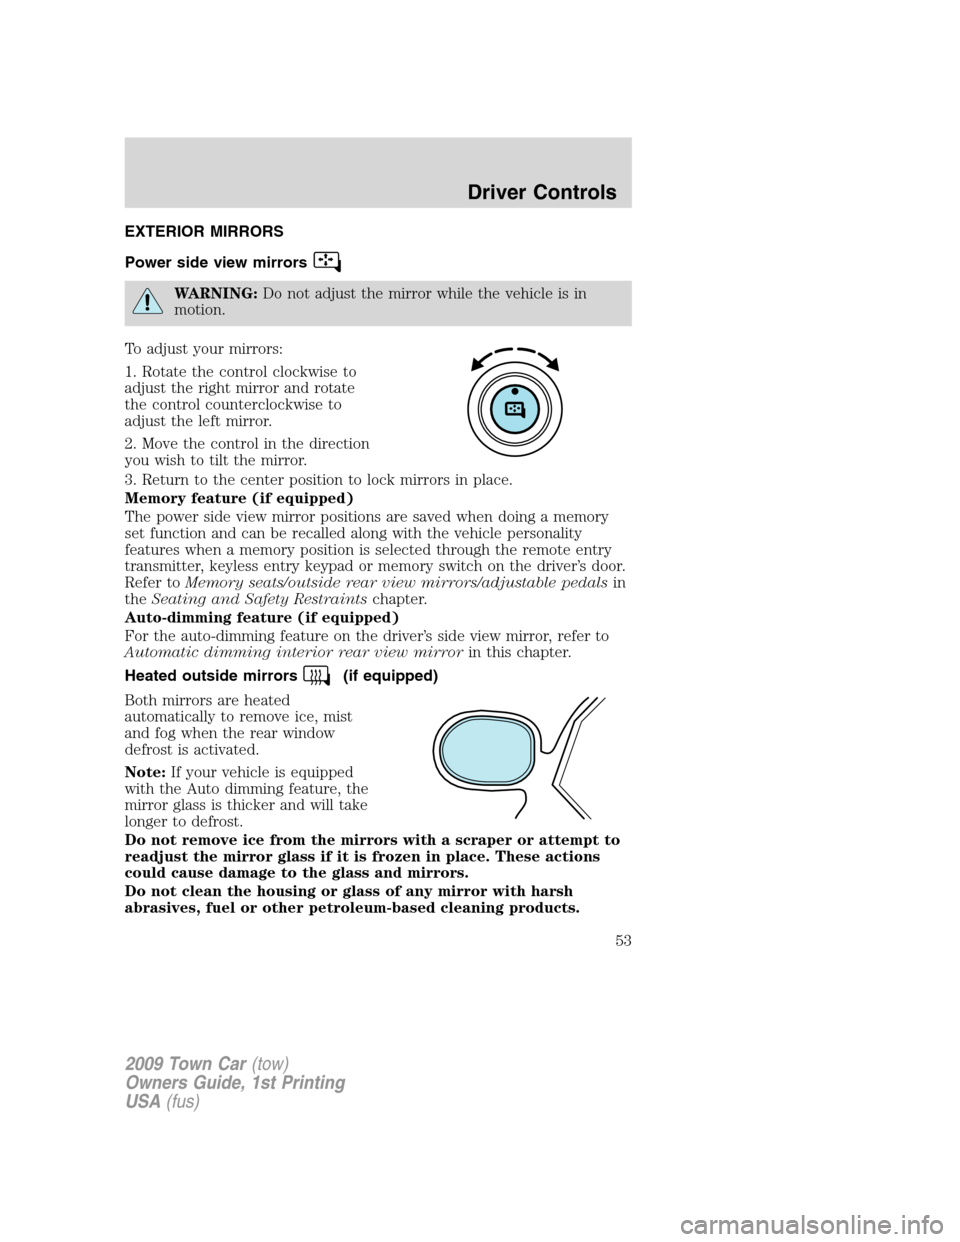
Power side view mirrors
WARNING:Do not adjust the mirror while the vehicle is in
motion.
To adjust your mirrors:
1. Rotate the control clockwise to
adjust the right mirror and rotate
the control counterclockwise to
adjust the left mirror.
2. Move the control in the direction
you wish to tilt the mirror.
3. Return to the center position to lock mirrors in place.
Memory feature (if equipped)
The power side view mirror positions are saved when doing a memory
set function and can be recalled along with the vehicle personality
features when a memory position is selected through the remote entry
transmitter, keyless entry keypad or memory switch on the driver’s door.
Refer toMemory seats/outside rear view mirrors/adjustable pedalsin
theSeating and Safety Restraintschapter.
Auto-dimming feature (if equipped)
For the auto-dimming feature on the driver’s side view mirror, refer to
Automatic dimming interior rear view mirrorin this chapter.
Heated outside mirrors
(if equipped)
Both mirrors are heated
automatically to remove ice, mist
and fog when the rear window
defrost is activated.
Note:If your vehicle is equipped
with the Auto dimming feature, the
mirror glass is thicker and will take
longer to defrost.
Do not remove ice from the mirrors with a scraper or attempt to
readjust the mirror glass if it is frozen in place. These actions
could cause damage to the glass and mirrors.
Do not clean the housing or glass of any mirror with harsh
abrasives, fuel or other petroleum-based cleaning products.
2009 Town Car(tow)
Owners Guide, 1st Printing
USA(fus)
Driver Controls
53
Page 54 of 280
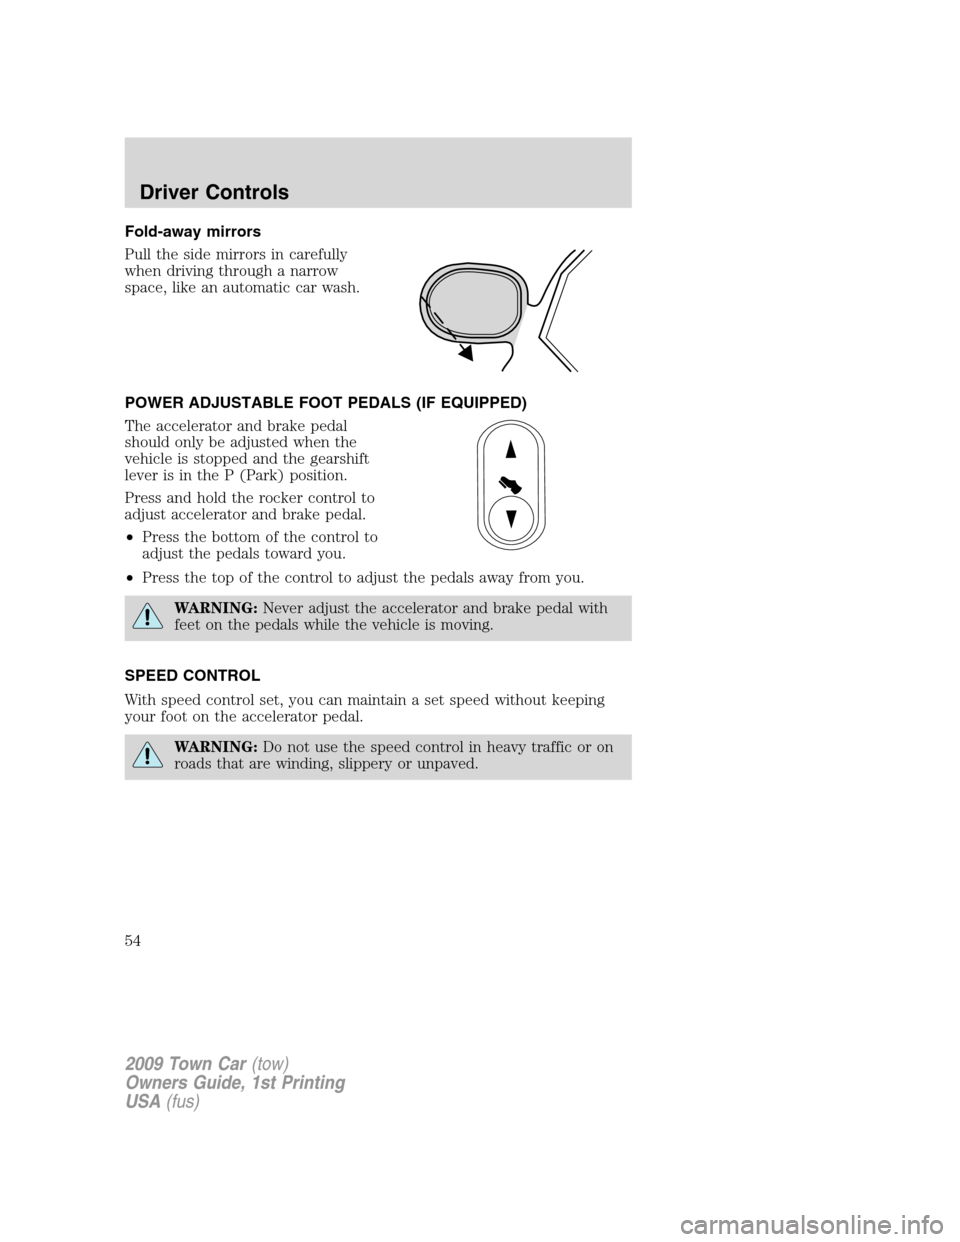
Fold-away mirrors
Pull the side mirrors in carefully
when driving through a narrow
space, like an automatic car wash.
POWER ADJUSTABLE FOOT PEDALS (IF EQUIPPED)
The accelerator and brake pedal
should only be adjusted when the
vehicle is stopped and the gearshift
lever is in the P (Park) position.
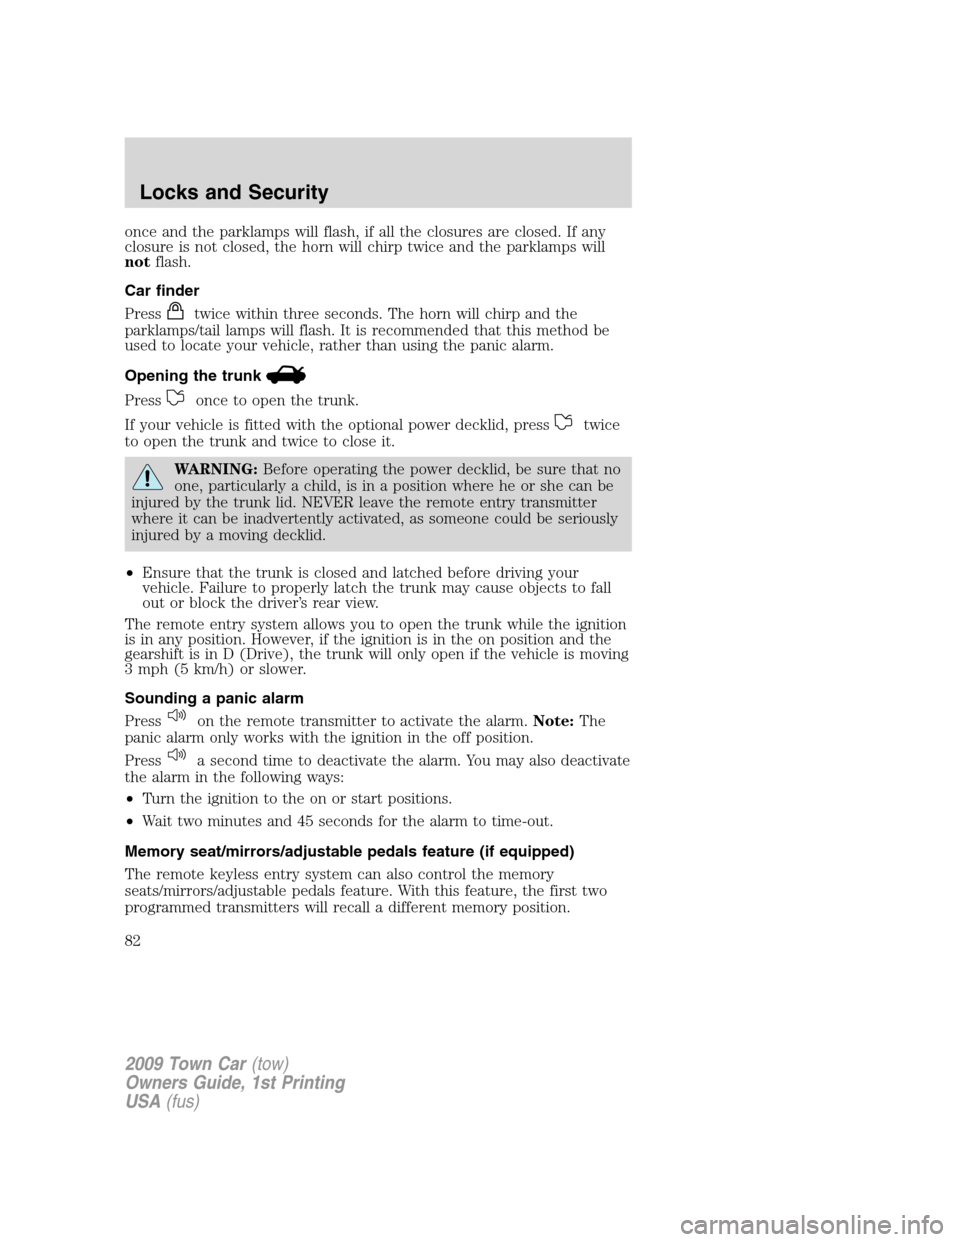
Press and hold the rocker control to
adjust accelerator and brake pedal.
•Press the bottom of the control to
adjust the pedals toward you.
•Press the top of the control to adjust the pedals away from you.
WARNING:Never adjust the accelerator and brake pedal with
feet on the pedals while the vehicle is moving.
SPEED CONTROL
With speed control set, you can maintain a set speed without keeping
your foot on the accelerator pedal.
WARNING:Do not use the speed control in heavy traffic or on
roads that are winding, slippery or unpaved.
2009 Town Car(tow)
Owners Guide, 1st Printing
USA(fus)
Driver Controls
54
Page 82 of 280
once and the parklamps will flash, if all the closures are closed. If any
closure is not closed, the horn will chirp twice and the parklamps will
notflash.
Car finder
Press
twice within three seconds. The horn will chirp and the
parklamps/tail lamps will flash. It is recommended that this method be
used to locate your vehicle, rather than using the panic alarm.
Opening the trunk
Pressonce to open the trunk.
If your vehicle is fitted with the optional power decklid, press
twice
to open the trunk and twice to close it.
WARNING:Before operating the power decklid, be sure that no
one, particularly a child, is in a position where he or she can be
injured by the trunk lid. NEVER leave the remote entry transmitter
where it can be inadvertently activated, as someone could be seriously
injured by a moving decklid.
•Ensure that the trunk is closed and latched before driving your
vehicle. Failure to properly latch the trunk may cause objects to fall
out or block the driver’s rear view.
The remote entry system allows you to open the trunk while the ignition
is in any position. However, if the ignition is in the on position and the
gearshift is in D (Drive), the trunk will only open if the vehicle is moving
3 mph (5 km/h) or slower.
Sounding a panic alarm
Press
on the remote transmitter to activate the alarm.Note:The
panic alarm only works with the ignition in the off position.
Press
a second time to deactivate the alarm. You may also deactivate
the alarm in the following ways:
•Turn the ignition to the on or start positions.
•Wait two minutes and 45 seconds for the alarm to time-out.
Memory seat/mirrors/adjustable pedals feature (if equipped)
The remote keyless entry system can also control the memory
seats/mirrors/adjustable pedals feature. With this feature, the first two
programmed transmitters will recall a different memory position.
2009 Town Car(tow)
Owners Guide, 1st Printing
USA(fus)
Locks and Security
82
Page 83 of 280
Pressonce to unlock the driver’s door and move the memory
features to the corresponding memory position, just as if you had
pressed the memory control in the vehicle.
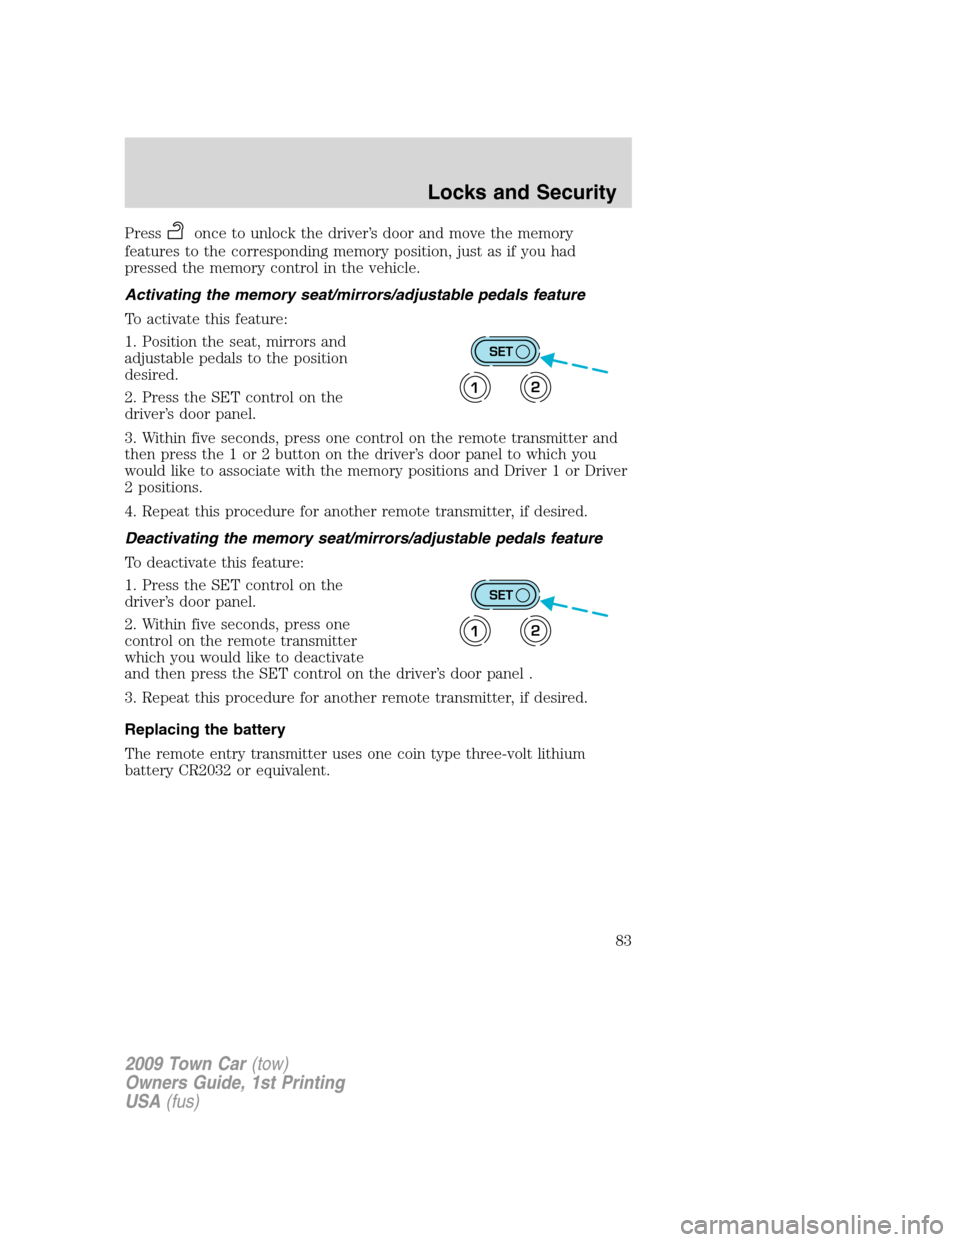
Activating the memory seat/mirrors/adjustable pedals feature
To activate this feature:
1. Position the seat, mirrors and
adjustable pedals to the position
desired.
2. Press the SET control on the
driver’s door panel.
3. Within five seconds, press one control on the remote transmitter and
then press the 1 or 2 button on the driver’s door panel to which you
would like to associate with the memory positions and Driver 1 or Driver
2 positions.
4. Repeat this procedure for another remote transmitter, if desired.
Deactivating the memory seat/mirrors/adjustable pedals feature
To deactivate this feature:
1. Press the SET control on the
driver’s door panel.
2. Within five seconds, press one
control on the remote transmitter
which you would like to deactivate
and then press the SET control on the driver’s door panel .
3. Repeat this procedure for another remote transmitter, if desired.
Replacing the battery
The remote entry transmitter uses one coin type three-volt lithium
battery CR2032 or equivalent.
SET
12
SET
12
2009 Town Car(tow)
Owners Guide, 1st Printing
USA(fus)
Locks and Security
83
Page 100 of 280
The rear seat heat controls are located on the rear door panels and
operate like the front heated seats. Refer to theHeated Seatssection in
this chapter.
Easy-access/easy-out feature (if equipped)
This feature automatically moves the driver’s seat rearward 2 in (5 cm)
when:
•the transmission is in N (Neutral) or P (Park)
•the key is removed from the ignition cylinder
The seat will move forward (to the original position) when:
•the transmission is in N (Neutral) or P (Park)
•the key is placed in the ignition cylinder
Seat-mounted cup holders (if equipped)
Your vehicle may be equipped with cupholders in the cushion of the
front center seat and the rear seat . The rear seat cupholder is designed
to over rotate from the seat when subjected to a heavy load. The rear
seat cupholder can be reset by rotating to the closed position.
WARNING:Use only soft cups in the cupholder. Hard objects
can injure you in a collision.
Memory seats/outside rearview mirrors/adjustable pedals
(if equipped)
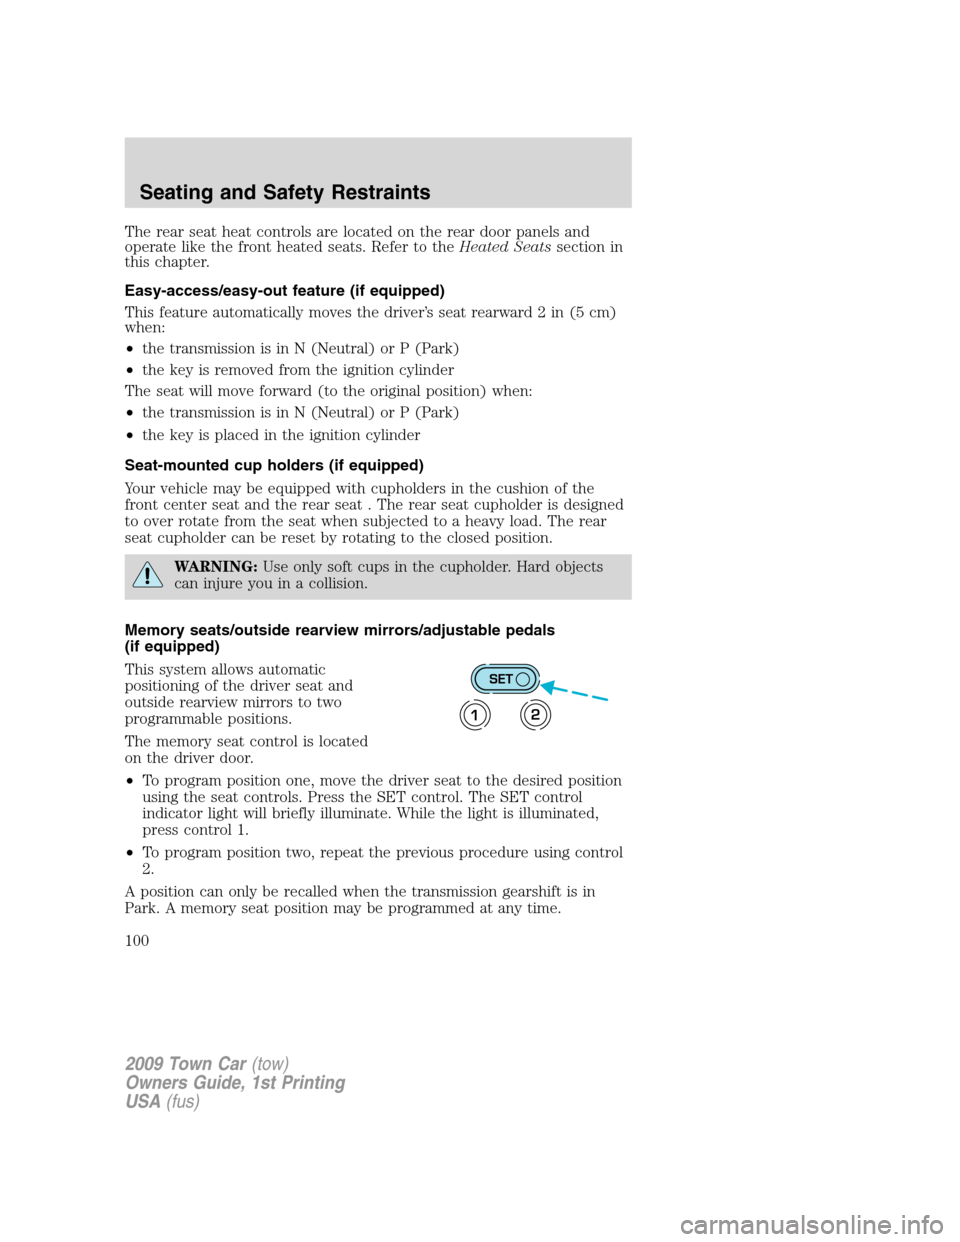
This system allows automatic
positioning of the driver seat and
outside rearview mirrors to two
programmable positions.
The memory seat control is located
on the driver door.
•To program position one, move the driver seat to the desired position
using the seat controls. Press the SET control. The SET control
indicator light will briefly illuminate. While the light is illuminated,
press control 1.
•To program position two, repeat the previous procedure using control
2.
A position can only be recalled when the transmission gearshift is in
Park. A memory seat position may be programmed at any time.
SET
12
2009 Town Car(tow)
Owners Guide, 1st Printing
USA(fus)
Seating and Safety Restraints
100