Page 42 of 280
Replacing exterior bulbs
Check the operation of all the bulbs frequently.
Replacing headlamp bulbs
To remove the headlamp bulb:
1. Make sure the headlamp switch is in the off position, then open the
hood.
2. Remove the five retainers and radiator cover.
3. Remove the three bolts for each headlamp.
4. Press the clip next to the vertical aim adjuster, pull the headlamp
assembly forward and disconnect the electrical connector.
5. Remove the five screws and the protective bulb cover from the
headlamp assembly.
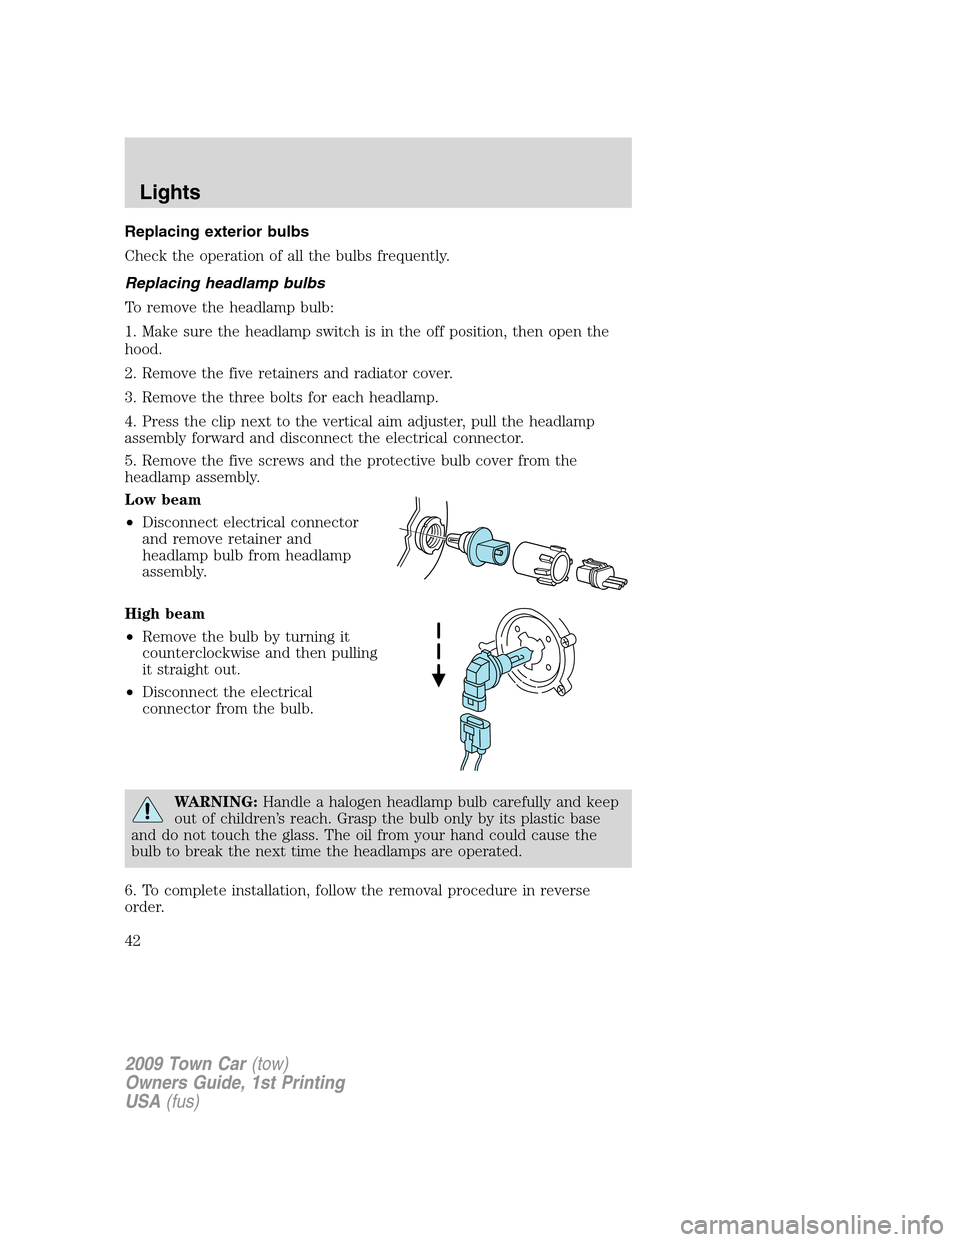
Low beam
•Disconnect electrical connector
and remove retainer and
headlamp bulb from headlamp
assembly.
High beam
•Remove the bulb by turning it
counterclockwise and then pulling
it straight out.
•Disconnect the electrical
connector from the bulb.
WARNING:Handle a halogen headlamp bulb carefully and keep
out of children’s reach. Grasp the bulb only by its plastic base
and do not touch the glass. The oil from your hand could cause the
bulb to break the next time the headlamps are operated.
6. To complete installation, follow the removal procedure in reverse
order.
2009 Town Car(tow)
Owners Guide, 1st Printing
USA(fus)
Lights
42
Page 47 of 280
TILT STEERING WHEEL
To adjust the steering wheel:
1. Pull and hold the steering wheel
release control toward you.
2. Move the steering wheel up or
down until you find the desired
location.
3. Release the steering wheel
release control. This will lock the
steering wheel in position.
WARNING:Never adjust the steering wheel when the vehicle is
moving.
ILLUMINATED VISOR MIRROR (IF EQUIPPED)
Lift the mirror cover to turn on the
visor mirror lamps.
Slide on rod feature (if
equipped)
Rotate the visor towards the side
window and extend it rearward for
additional sunlight coverage.
Note:To stow the visor back into
the headliner, visor must be
retracted before moving it back
towards the windshield.
2009 Town Car(tow)
Owners Guide, 1st Printing
USA(fus)
Driver Controls
47
Page 50 of 280
Remote seat adjustment lockout
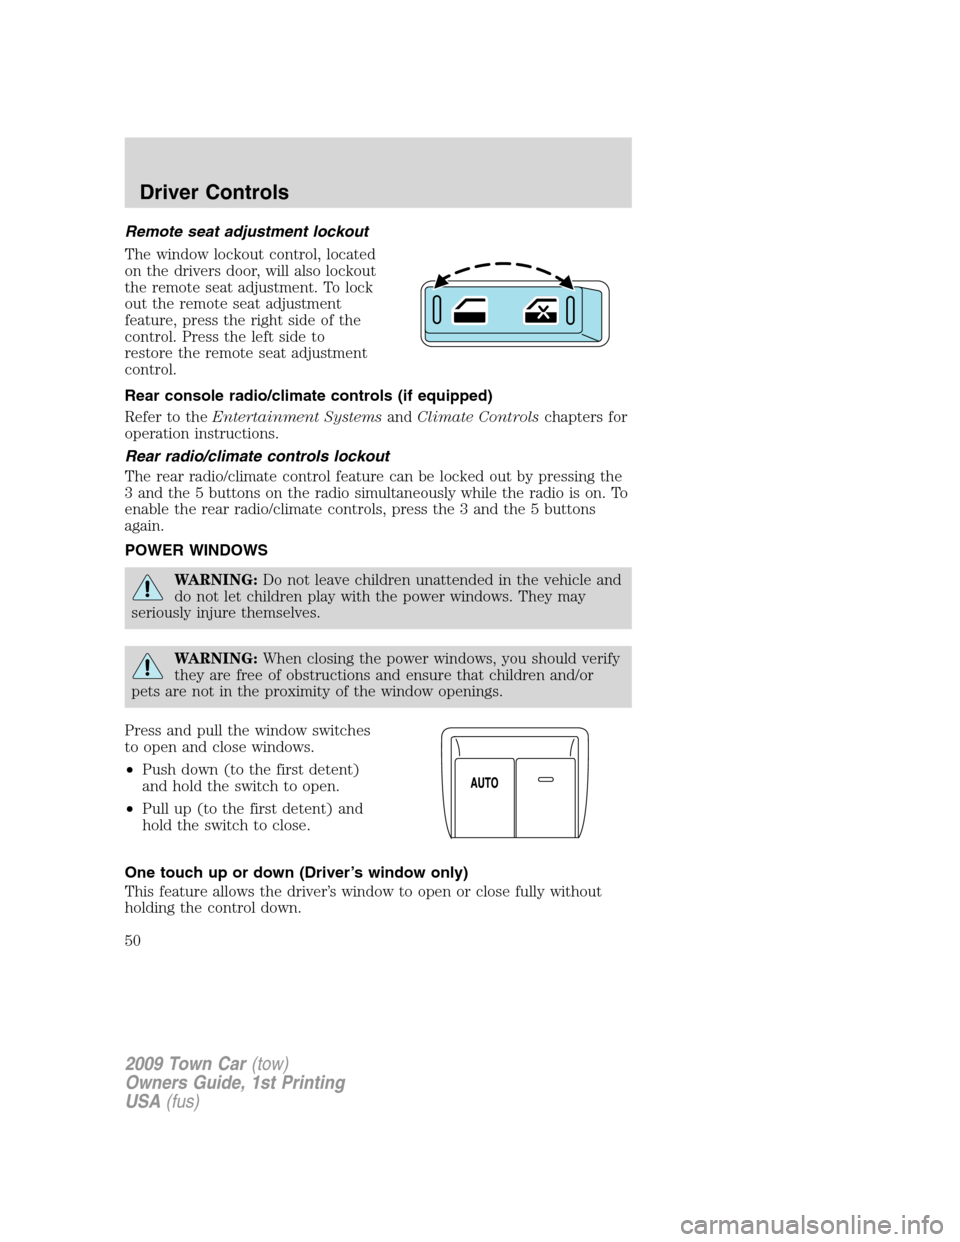
The window lockout control, located
on the drivers door, will also lockout
the remote seat adjustment. To lock
out the remote seat adjustment
feature, press the right side of the
control. Press the left side to
restore the remote seat adjustment
control.
Rear console radio/climate controls (if equipped)
Refer to theEntertainment SystemsandClimate Controlschapters for
operation instructions.
Rear radio/climate controls lockout
The rear radio/climate control feature can be locked out by pressing the
3 and the 5 buttons on the radio simultaneously while the radio is on. To
enable the rear radio/climate controls, press the 3 and the 5 buttons
again.
POWER WINDOWS
WARNING:Do not leave children unattended in the vehicle and
do not let children play with the power windows. They may
seriously injure themselves.
WARNING:When closing the power windows, you should verify
they are free of obstructions and ensure that children and/or
pets are not in the proximity of the window openings.
Press and pull the window switches
to open and close windows.
•Push down (to the first detent)
and hold the switch to open.
•Pull up (to the first detent) and
hold the switch to close.
One touch up or down (Driver’s window only)
This feature allows the driver’s window to open or close fully without
holding the control down.
2009 Town Car(tow)
Owners Guide, 1st Printing
USA(fus)
Driver Controls
50
Page 52 of 280
INTERIOR MIRROR
The interior rear view mirror has two pivot points on the support arm
which lets you adjust the mirror UP or DOWN and from SIDE to SIDE.
WARNING:Do not adjust the mirror while the vehicle is in
motion.
Automatic dimming interior rear view mirror (if equipped)
Your vehicle may be equipped with
an interior rear view mirror which
has an auto-dimming function
(optional on the driver’s side
exterior mirror). The electronic
day/night mirrors will change from
the normal (high reflective) state to
the non-glare (darkened) state
when bright lights (glare) reach the interior mirror. When the interior
mirror detects bright light from behind the vehicle, the interior rear view
mirror and the driver’s side exterior mirror (if equipped) will
automatically adjust (darken) to minimize glare.
The mirrors will automatically return to the normal state whenever the
vehicle is placed in R (Reverse) to ensure a bright clear view when
backing up.
Do not block the sensors on the front and back of the interior
rear view mirror since this may impair proper mirror
performance.
Do not clean the housing or glass of any mirror with harsh
abrasives, fuel or other petroleum-based cleaning products.
2009 Town Car(tow)
Owners Guide, 1st Printing
USA(fus)
Driver Controls
52
Page 53 of 280
EXTERIOR MIRRORS
Power side view mirrors
WARNING:Do not adjust the mirror while the vehicle is in
motion.
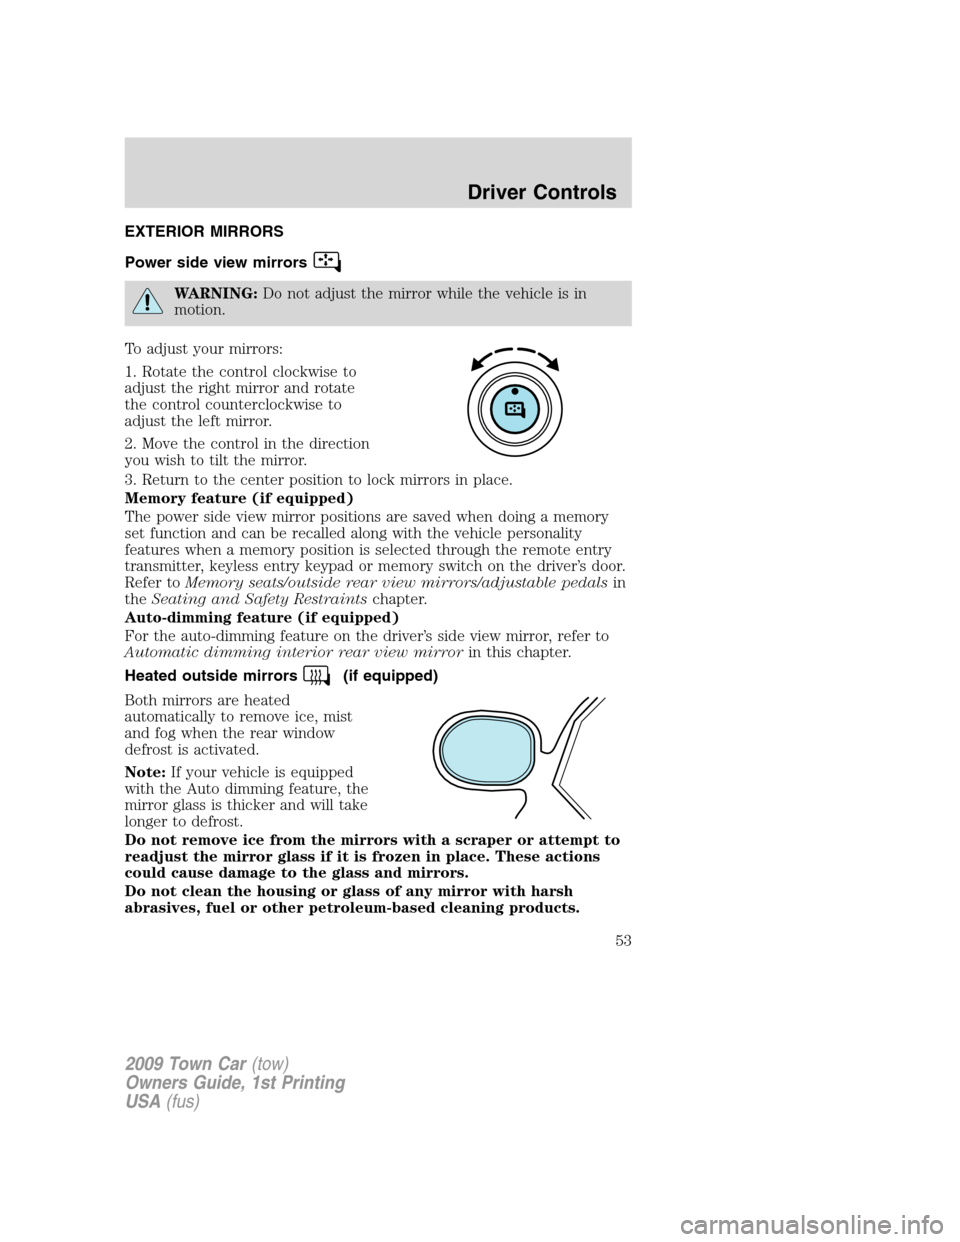
To adjust your mirrors:
1. Rotate the control clockwise to
adjust the right mirror and rotate
the control counterclockwise to
adjust the left mirror.
2. Move the control in the direction
you wish to tilt the mirror.
3. Return to the center position to lock mirrors in place.
Memory feature (if equipped)
The power side view mirror positions are saved when doing a memory
set function and can be recalled along with the vehicle personality
features when a memory position is selected through the remote entry
transmitter, keyless entry keypad or memory switch on the driver’s door.
Refer toMemory seats/outside rear view mirrors/adjustable pedalsin
theSeating and Safety Restraintschapter.
Auto-dimming feature (if equipped)
For the auto-dimming feature on the driver’s side view mirror, refer to
Automatic dimming interior rear view mirrorin this chapter.
Heated outside mirrors
(if equipped)
Both mirrors are heated
automatically to remove ice, mist
and fog when the rear window
defrost is activated.
Note:If your vehicle is equipped
with the Auto dimming feature, the
mirror glass is thicker and will take
longer to defrost.
Do not remove ice from the mirrors with a scraper or attempt to
readjust the mirror glass if it is frozen in place. These actions
could cause damage to the glass and mirrors.
Do not clean the housing or glass of any mirror with harsh
abrasives, fuel or other petroleum-based cleaning products.
2009 Town Car(tow)
Owners Guide, 1st Printing
USA(fus)
Driver Controls
53
Page 54 of 280
Fold-away mirrors
Pull the side mirrors in carefully
when driving through a narrow
space, like an automatic car wash.
POWER ADJUSTABLE FOOT PEDALS (IF EQUIPPED)
The accelerator and brake pedal
should only be adjusted when the
vehicle is stopped and the gearshift
lever is in the P (Park) position.
Press and hold the rocker control to
adjust accelerator and brake pedal.
•Press the bottom of the control to
adjust the pedals toward you.
•Press the top of the control to adjust the pedals away from you.
WARNING:Never adjust the accelerator and brake pedal with
feet on the pedals while the vehicle is moving.
SPEED CONTROL
With speed control set, you can maintain a set speed without keeping
your foot on the accelerator pedal.
WARNING:Do not use the speed control in heavy traffic or on
roads that are winding, slippery or unpaved.
2009 Town Car(tow)
Owners Guide, 1st Printing
USA(fus)
Driver Controls
54
Page 58 of 280
In any mode:
•Press VOL + or - to adjust the
volume.
Climate control features (if equipped)
•Press TEMP + or - to adjust
temperature.
HOMELINK�WIRELESS CONTROL SYSTEM (IF EQUIPPED)
The HomeLink�Wireless Control
System, located on the driver’s visor,
provides a convenient way to
replace up to three hand-held
transmitters with a single built-in
device. This feature will learn the
radio frequency codes of most
transmitters to operate garage
doors, entry gate operators, security systems, entry door locks, and
home or office lighting.
WARNING:When programming your HomeLink�Wireless
Control System to a garage door or gate, be sure that people and
objects are out of the way to prevent potential injury or damage.
Do not use the HomeLink�Wireless Control System with any garage
door opener that lacks safety stop and reverse features as required by
2009 Town Car(tow)
Owners Guide, 1st Printing
USA(fus)
Driver Controls
58
Page 62 of 280
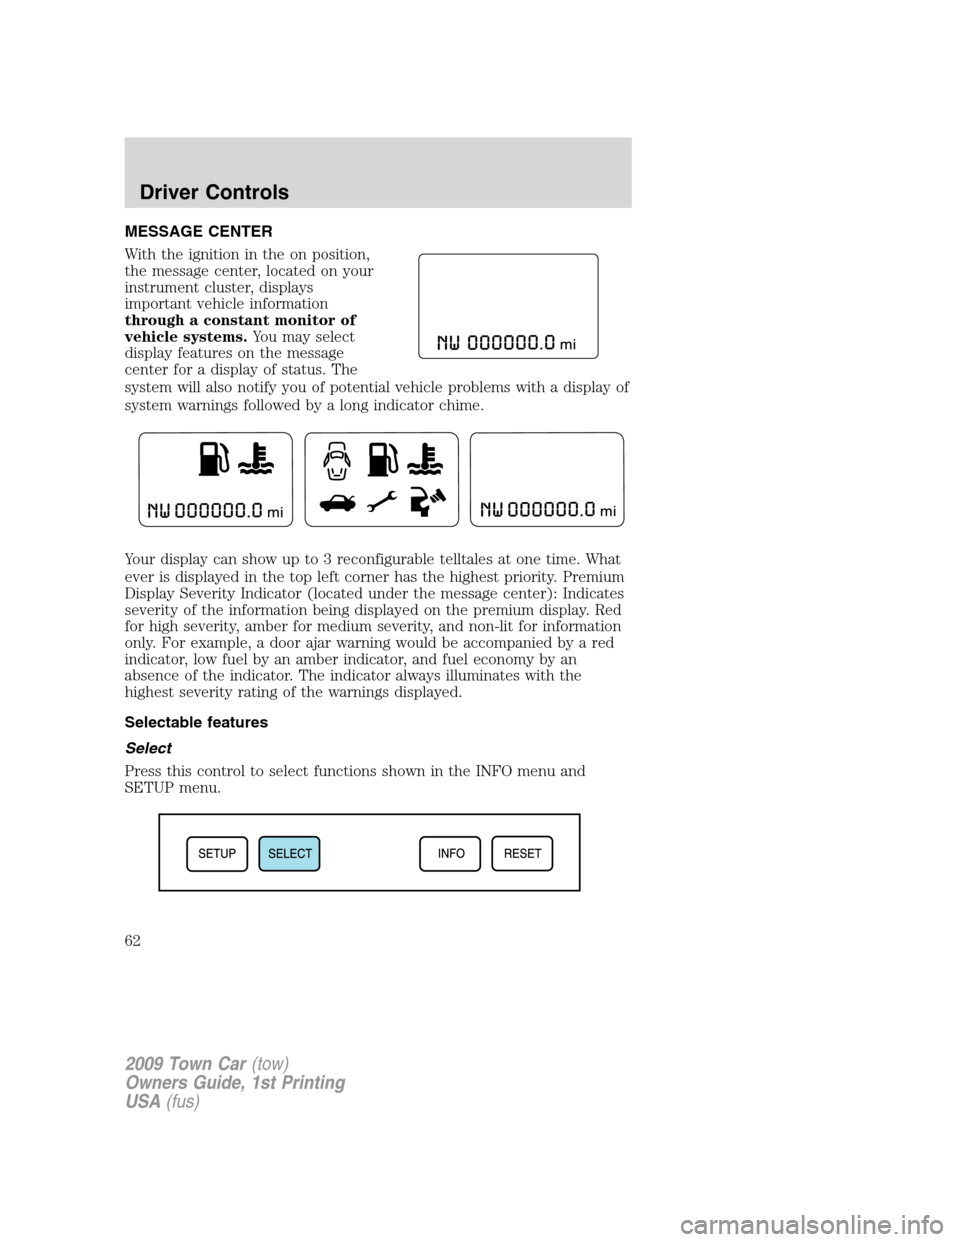
MESSAGE CENTER
With the ignition in the on position,
the message center, located on your
instrument cluster, displays
important vehicle information
through a constant monitor of
vehicle systems.You may select
display features on the message
center for a display of status. The
system will also notify you of potential vehicle problems with a display of
system warnings followed by a long indicator chime.
Your display can show up to 3 reconfigurable telltales at one time. What
ever is displayed in the top left corner has the highest priority. Premium
Display Severity Indicator (located under the message center): Indicates
severity of the information being displayed on the premium display. Red
for high severity, amber for medium severity, and non-lit for information
only. For example, a door ajar warning would be accompanied by a red
indicator, low fuel by an amber indicator, and fuel economy by an
absence of the indicator. The indicator always illuminates with the
highest severity rating of the warnings displayed.
Selectable features
Select
Press this control to select functions shown in the INFO menu and
SETUP menu.
2009 Town Car(tow)
Owners Guide, 1st Printing
USA(fus)
Driver Controls
62