2009 LINCOLN TOWN CAR battery
[x] Cancel search: batteryPage 83 of 280
Pressonce to unlock the driver’s door and move the memory
features to the corresponding memory position, just as if you had
pressed the memory control in the vehicle.
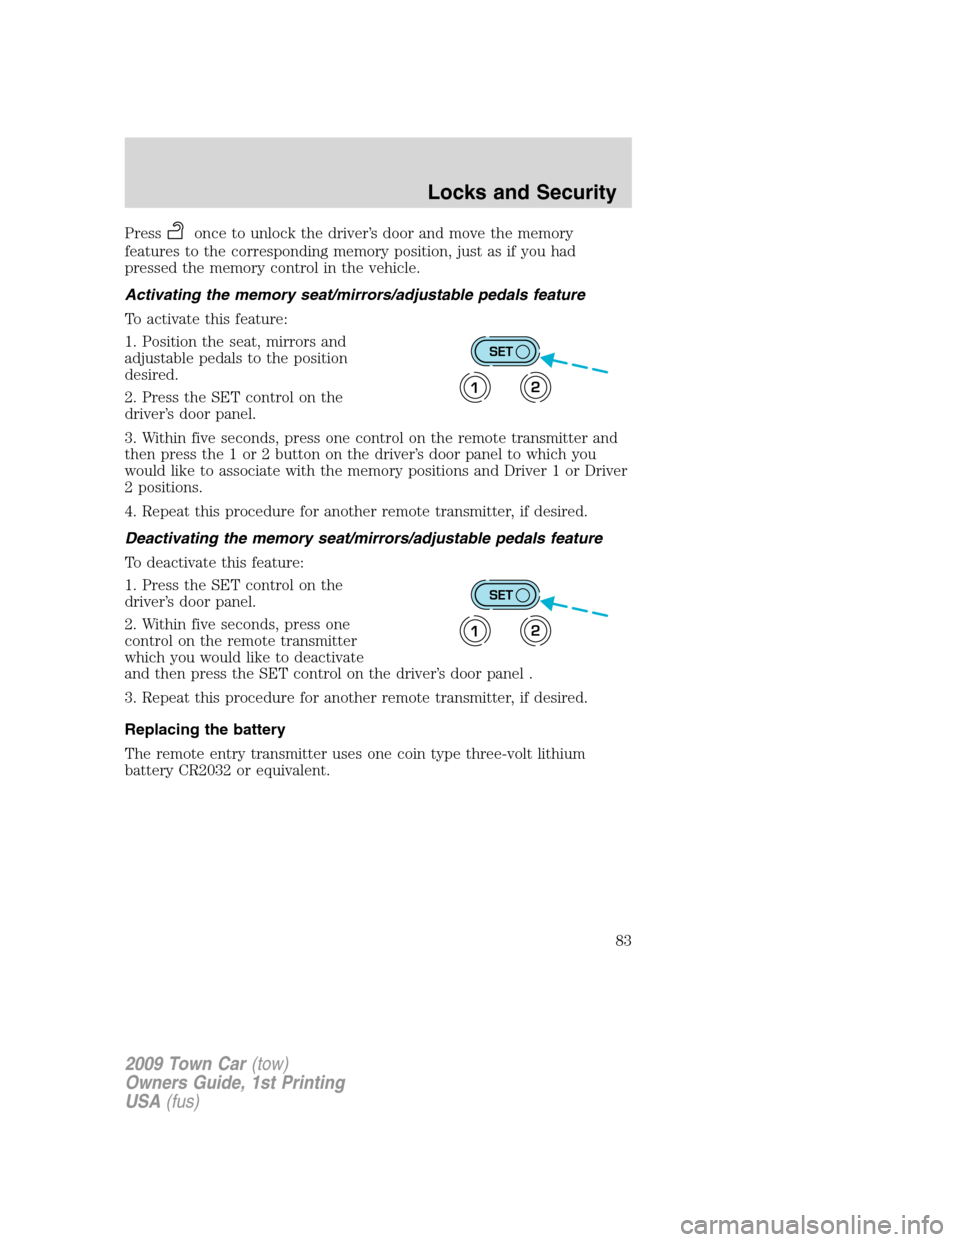
Activating the memory seat/mirrors/adjustable pedals feature
To activate this feature:
1. Position the seat, mirrors and
adjustable pedals to the position
desired.
2. Press the SET control on the
driver’s door panel.
3. Within five seconds, press one control on the remote transmitter and
then press the 1 or 2 button on the driver’s door panel to which you
would like to associate with the memory positions and Driver 1 or Driver
2 positions.
4. Repeat this procedure for another remote transmitter, if desired.
Deactivating the memory seat/mirrors/adjustable pedals feature
To deactivate this feature:
1. Press the SET control on the
driver’s door panel.
2. Within five seconds, press one
control on the remote transmitter
which you would like to deactivate
and then press the SET control on the driver’s door panel .
3. Repeat this procedure for another remote transmitter, if desired.
Replacing the battery
The remote entry transmitter uses one coin type three-volt lithium
battery CR2032 or equivalent.
SET
12
SET
12
2009 Town Car(tow)
Owners Guide, 1st Printing
USA(fus)
Locks and Security
83
Page 84 of 280
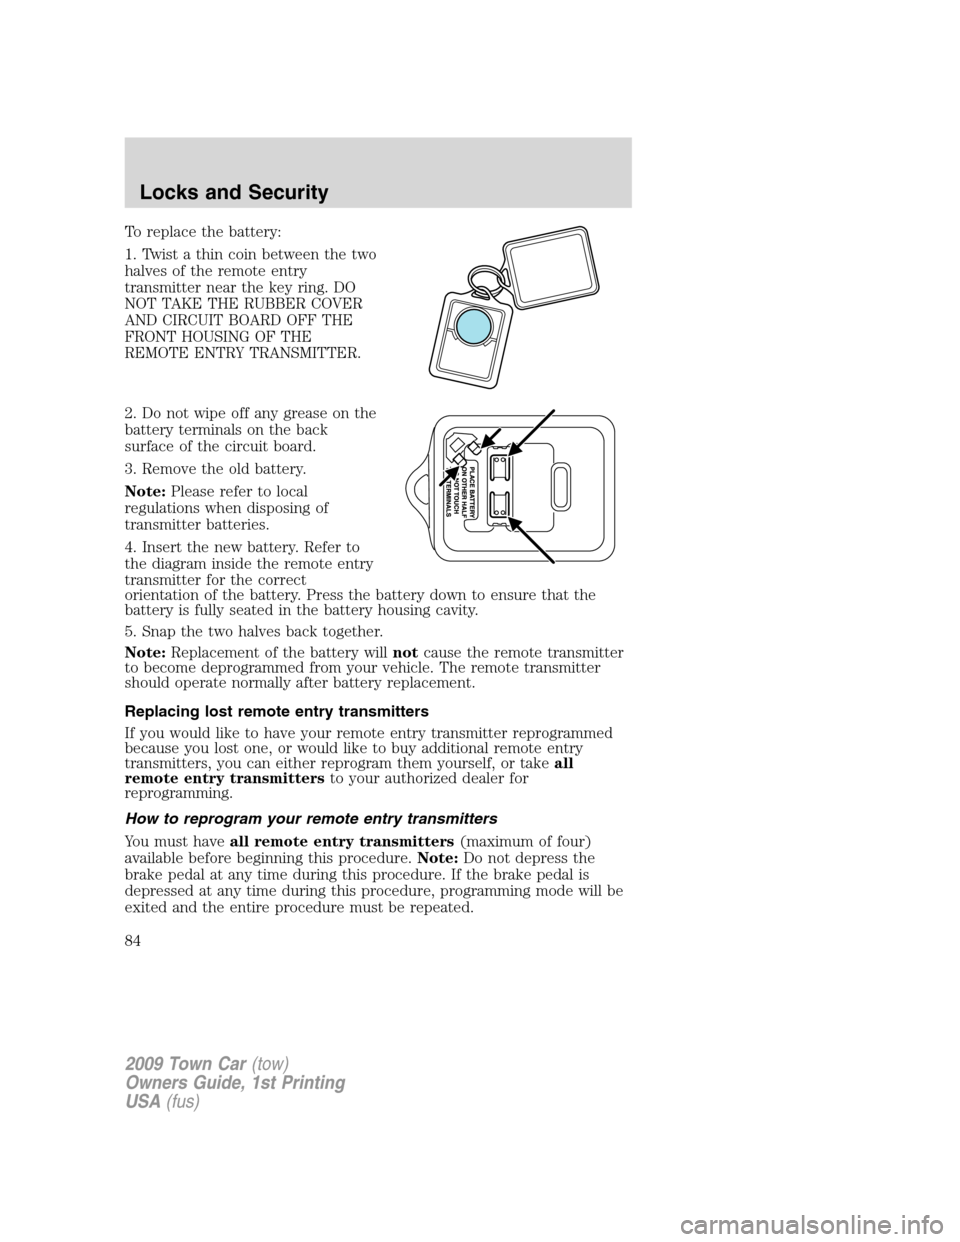
To replace the battery:
1. Twist a thin coin between the two
halves of the remote entry
transmitter near the key ring. DO
NOT TAKE THE RUBBER COVER
AND CIRCUIT BOARD OFF THE
FRONT HOUSING OF THE
REMOTE ENTRY TRANSMITTER.
2. Do not wipe off any grease on the
battery terminals on the back
surface of the circuit board.
3. Remove the old battery.
Note:Please refer to local
regulations when disposing of
transmitter batteries.
4. Insert the new battery. Refer to
the diagram inside the remote entry
transmitter for the correct
orientation of the battery. Press the battery down to ensure that the
battery is fully seated in the battery housing cavity.
5. Snap the two halves back together.
Note:Replacement of the battery willnotcause the remote transmitter
to become deprogrammed from your vehicle. The remote transmitter
should operate normally after battery replacement.
Replacing lost remote entry transmitters
If you would like to have your remote entry transmitter reprogrammed
because you lost one, or would like to buy additional remote entry
transmitters, you can either reprogram them yourself, or takeall
remote entry transmittersto your authorized dealer for
reprogramming.
How to reprogram your remote entry transmitters
You must haveall remote entry transmitters(maximum of four)
available before beginning this procedure.Note:Do not depress the
brake pedal at any time during this procedure. If the brake pedal is
depressed at any time during this procedure, programming mode will be
exited and the entire procedure must be repeated.
2009 Town Car(tow)
Owners Guide, 1st Printing
USA(fus)
Locks and Security
84
Page 86 of 280
•any door is open.
The battery saver will shut off the interior lamps 30 minutes after the
last door is closed, or after 10 minutes if the last door is left open.
KEYLESS ENTRY SYSTEM (IF EQUIPPED)
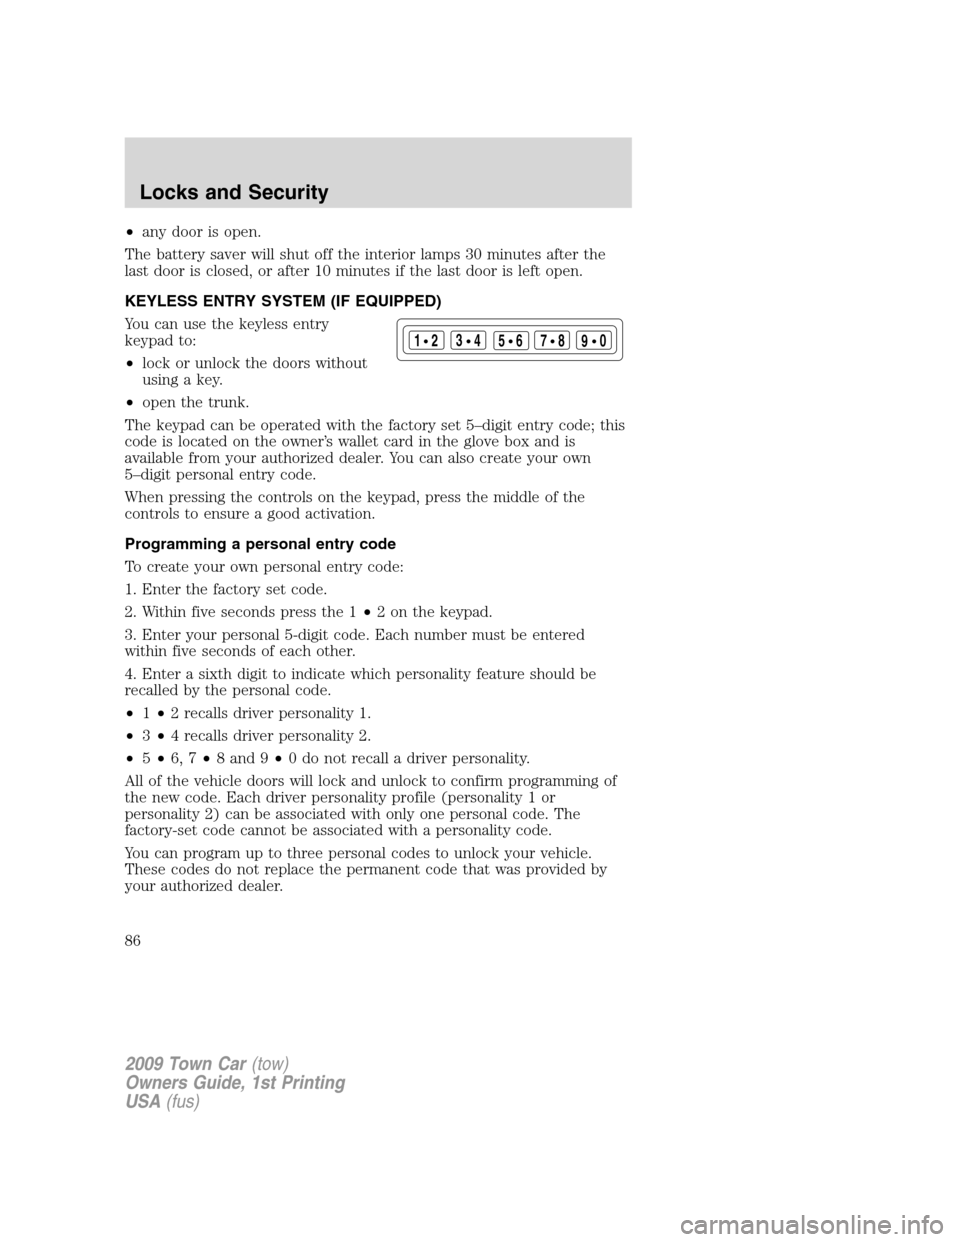
You can use the keyless entry
keypad to:
•lock or unlock the doors without
using a key.
•open the trunk.
The keypad can be operated with the factory set 5–digit entry code; this
code is located on the owner’s wallet card in the glove box and is
available from your authorized dealer. You can also create your own
5–digit personal entry code.
When pressing the controls on the keypad, press the middle of the
controls to ensure a good activation.
Programming a personal entry code
To create your own personal entry code:
1. Enter the factory set code.
2. Within five seconds press the 1•2 on the keypad.
3. Enter your personal 5-digit code. Each number must be entered
within five seconds of each other.
4. Enter a sixth digit to indicate which personality feature should be
recalled by the personal code.
•1•2 recalls driver personality 1.
•3•4 recalls driver personality 2.
•5•6, 7•8 and 9•0 do not recall a driver personality.
All of the vehicle doors will lock and unlock to confirm programming of
the new code. Each driver personality profile (personality 1 or
personality 2) can be associated with only one personal code. The
factory-set code cannot be associated with a personality code.
You can program up to three personal codes to unlock your vehicle.
These codes do not replace the permanent code that was provided by
your authorized dealer.
123
45678
90
2009 Town Car(tow)
Owners Guide, 1st Printing
USA(fus)
Locks and Security
86
Page 193 of 280
ROADSIDE ASSISTANCE
Getting roadside assistance
To fully assist you should you have a vehicle concern, Ford Motor
Company offers a complimentary roadside assistance program. This
program is separate from the New Vehicle Limited Warranty. The service
is available:
•24–hours, seven days a week
•for the coverage period listed on the Roadside Assistance Card
included in your Owner Guide portfolio.
Roadside assistance will cover:
•a flat tire change with a good spare (except vehicles that have been
supplied with a tire inflation kit)
•battery jump start
•lock-out assistance (key replacement cost is the customer’s
responsibility)
•fuel delivery – Independent Service Contractors, if not prohibited by
state, local or municipal law shall deliver up to 2.0 gallons (7.5L) of
gasoline or 5 gallons (18.9L) of diesel fuel to a disabled vehicle. Fuel
delivery service is limited to two no-charge occurrences within a
12-month period.
•winch out – available within 100 feet (30.5 meters) of a paved or
county maintained road, no recoveries.
•towing – Ford/Mercury/Lincoln eligible vehicle towed to an authorized
dealer within 35 miles (56.3 km) of the disablement location or to the
nearest authorized dealer. If a member requests to be towed to an
authorized dealer more than 35 miles (56.3 km) from the disablement
location, the member shall be responsible for any mileage costs in
excess of 35 miles (56.3 km).
Trailers shall be covered up to $200 if the disabled eligible vehicle
requires service at the nearest authorized dealer. If the trailer is disabled,
but the towing vehicle is operational, the trailer does not qualify for any
roadside services.
Canadian customers refer to your Customer Information Guide
for information on:
•coverage period
•exact fuel amounts
2009 Town Car(tow)
Owners Guide, 1st Printing
USA(fus)
Roadside Emergencies
193
Page 194 of 280
•towing of your disabled vehicle
•emergency travel expense reimbursement
•travel planning benefits
In Canada, for uninterrupted Roadside Assistance coverage, you may
purchase extended coverage prior to your Basic Warranty’s Roadside
Assistance expiring. For more information and enrollment, contact
1–877–294–2582 or visit our website at www.ford.ca.
Using roadside assistance
Complete the roadside assistance identification card and place it in your
wallet for quick reference. In the United States, this card is found in the
Owner Guide portfolio in the glove compartment. In Canada, the card is
found in theCustomer Information Guidein the glove compartment.
U.S. Ford, Mercury and Lincoln vehicle customers who require Roadside
Assistance, call 1-800-241-3673.
Canadian customers who require roadside assistance, call
1-800-665-2006.
If you need to arrange roadside assistance for yourself, Ford Motor
Company will reimburse a reasonable amount for towing to the nearest
dealership within 35 miles. To obtain reimbursement information, U.S.
Ford, Mercury and Lincoln vehicle customers call 1-800-241-3673.
Customers will be asked to submit their original receipts.
Canadian customers who need to obtain reimbursement information, call
1–800–665–2006.
HAZARD FLASHER CONTROL
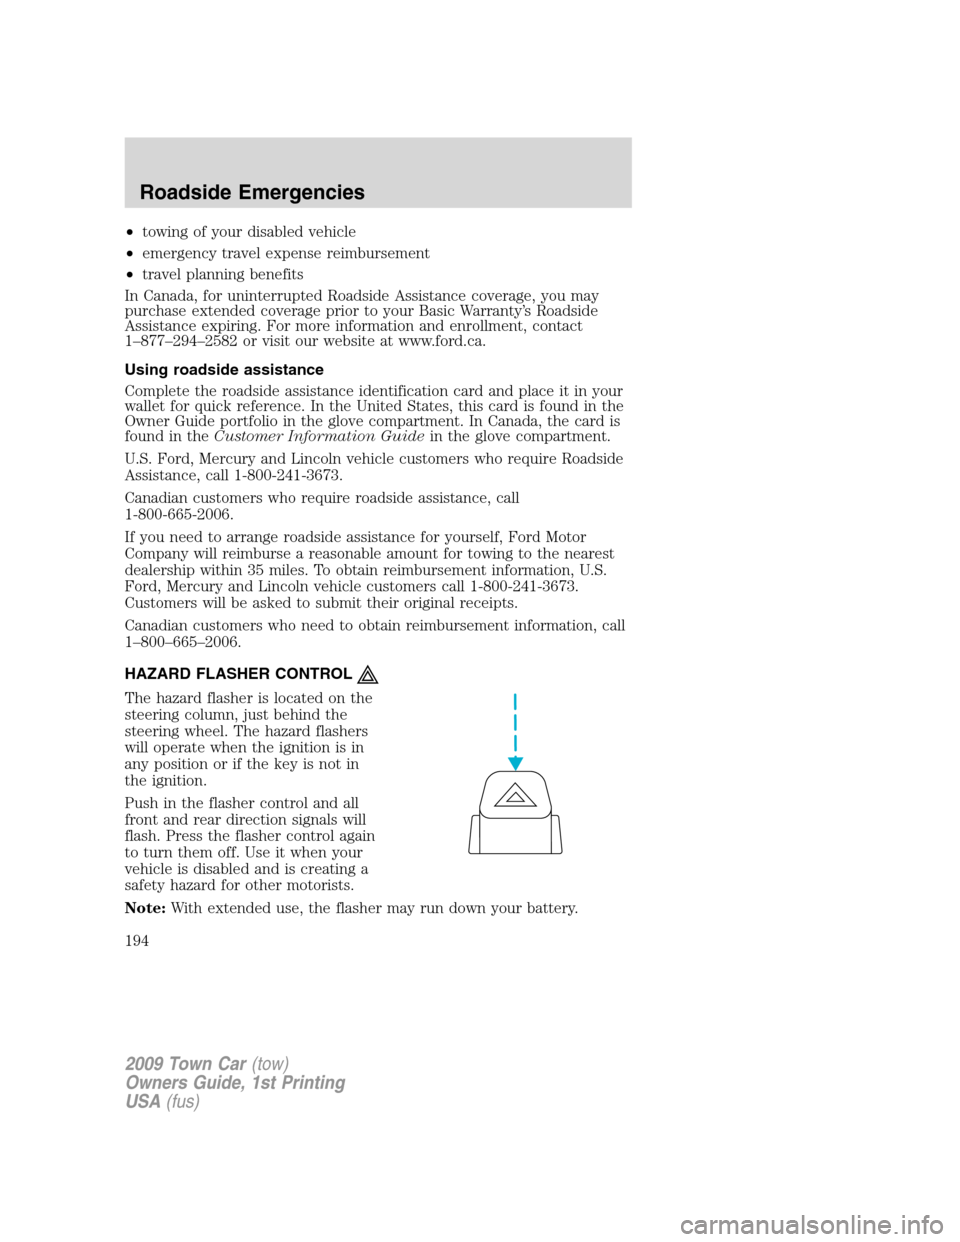
The hazard flasher is located on the
steering column, just behind the
steering wheel. The hazard flashers
will operate when the ignition is in
any position or if the key is not in
the ignition.
Push in the flasher control and all
front and rear direction signals will
flash. Press the flasher control again
to turn them off. Use it when your
vehicle is disabled and is creating a
safety hazard for other motorists.
Note:With extended use, the flasher may run down your battery.
2009 Town Car(tow)
Owners Guide, 1st Printing
USA(fus)
Roadside Emergencies
194
Page 199 of 280
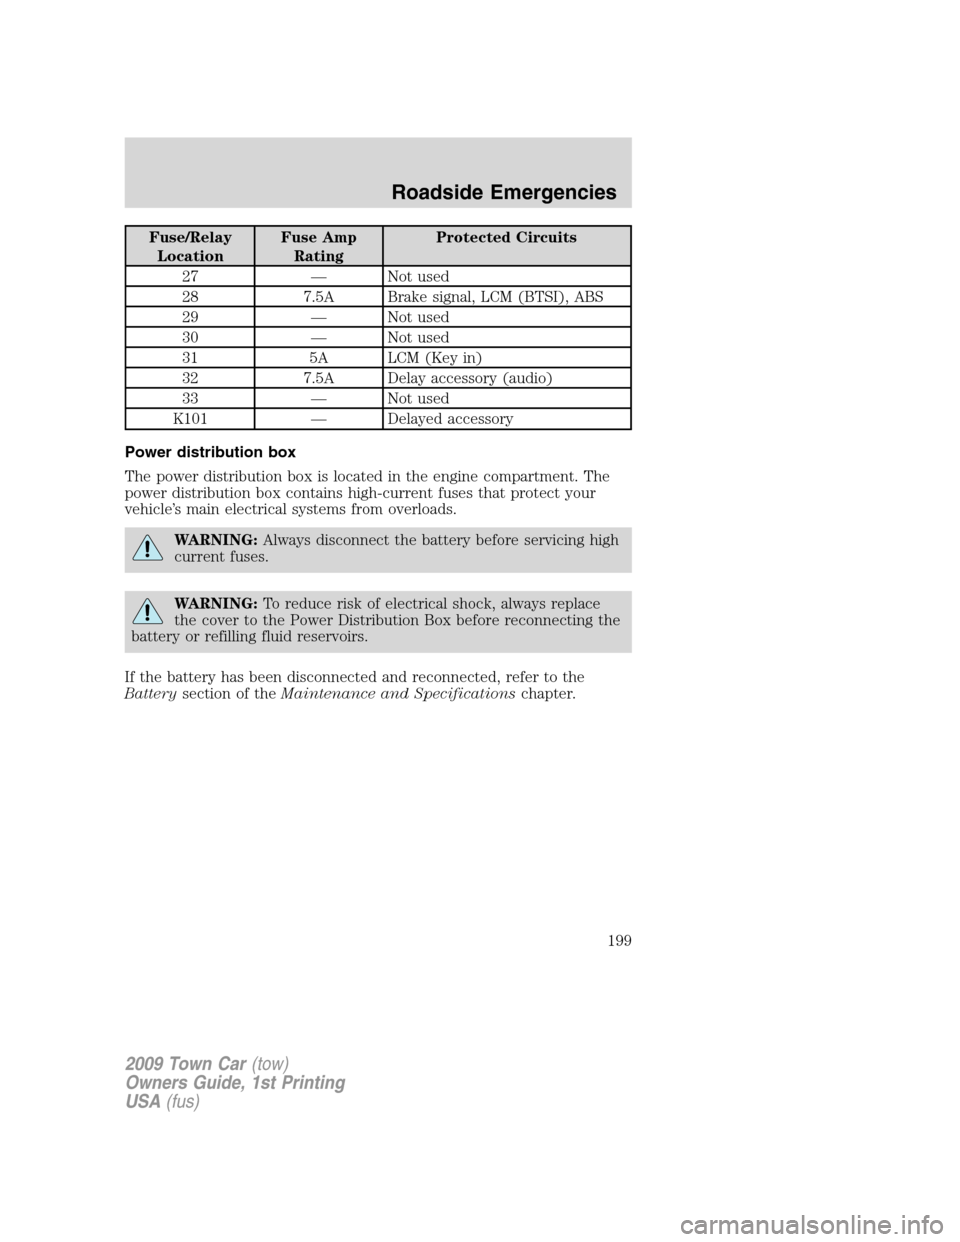
Fuse/Relay
LocationFuse Amp
RatingProtected Circuits
27 — Not used
28 7.5A Brake signal, LCM (BTSI), ABS
29 — Not used
30 — Not used
31 5A LCM (Key in)
32 7.5A Delay accessory (audio)
33 — Not used
K101 — Delayed accessory
Power distribution box
The power distribution box is located in the engine compartment. The
power distribution box contains high-current fuses that protect your
vehicle’s main electrical systems from overloads.
WARNING:Always disconnect the battery before servicing high
current fuses.
WARNING:To reduce risk of electrical shock, always replace
the cover to the Power Distribution Box before reconnecting the
battery or refilling fluid reservoirs.
If the battery has been disconnected and reconnected, refer to the
Batterysection of theMaintenance and Specificationschapter.
2009 Town Car(tow)
Owners Guide, 1st Printing
USA(fus)
Roadside Emergencies
199
Page 202 of 280
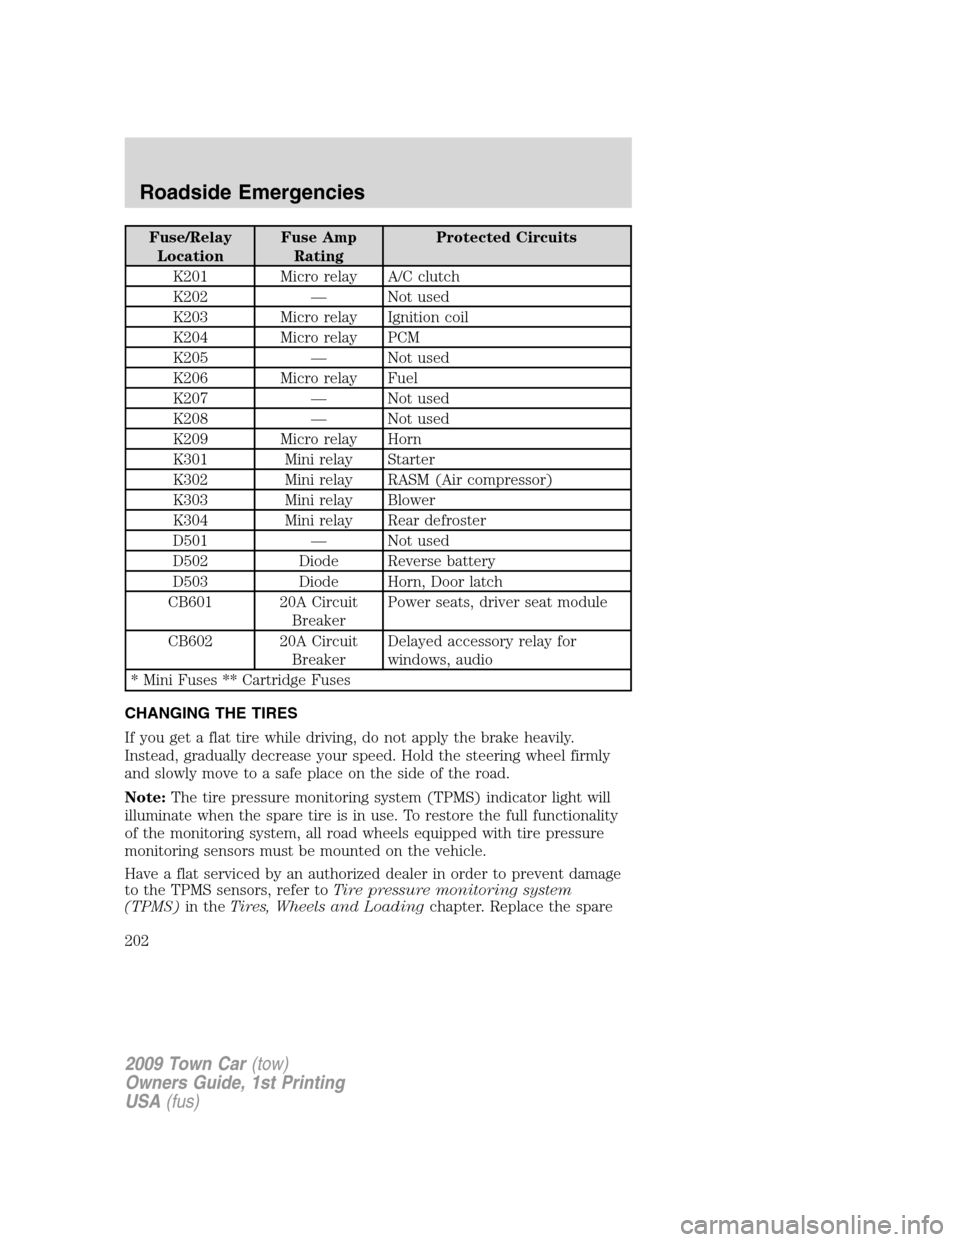
Fuse/Relay
LocationFuse Amp
RatingProtected Circuits
K201 Micro relay A/C clutch
K202 — Not used
K203 Micro relay Ignition coil
K204 Micro relay PCM
K205 — Not used
K206 Micro relay Fuel
K207 — Not used
K208 — Not used
K209 Micro relay Horn
K301 Mini relay Starter
K302 Mini relay RASM (Air compressor)
K303 Mini relay Blower
K304 Mini relay Rear defroster
D501 — Not used
D502 Diode Reverse battery
D503 Diode Horn, Door latch
CB601 20A Circuit
BreakerPower seats, driver seat module
CB602 20A Circuit
BreakerDelayed accessory relay for
windows, audio
* Mini Fuses ** Cartridge Fuses
CHANGING THE TIRES
If you get a flat tire while driving, do not apply the brake heavily.
Instead, gradually decrease your speed. Hold the steering wheel firmly
and slowly move to a safe place on the side of the road.
Note:The tire pressure monitoring system (TPMS) indicator light will
illuminate when the spare tire is in use. To restore the full functionality
of the monitoring system, all road wheels equipped with tire pressure
monitoring sensors must be mounted on the vehicle.
Have a flat serviced by an authorized dealer in order to prevent damage
to the TPMS sensors, refer toTire pressure monitoring system
(TPMS)in theTires, Wheels and Loadingchapter. Replace the spare
2009 Town Car(tow)
Owners Guide, 1st Printing
USA(fus)
Roadside Emergencies
202
Page 210 of 280
WHEEL LUG NUT TORQUE SPECIFICATIONS
Retighten the lug nuts to the specified torque within 100 miles (160 km)
after any wheel disturbance (tire rotation, changing a flat tire, wheel
removal, etc.).
Bolt size Wheel lug nut torque*
lb.ft. N•m
1�2x 20 100 135
* Torque specifications are for nut and bolt threads free of dirt and
rust. Use only Ford recommended replacement fasteners.
WARNING:When a wheel is installed, always remove any
corrosion, dirt or foreign materials present on the mounting
surfaces of the wheel or the surface of the wheel hub, brake drum or
brake disc that contacts the wheel. Ensure that any fasteners that
attach the rotor to the hub are secured so they do not interfere with
the mounting surfaces of the wheel. Installing wheels without correct
metal-to-metal contact at the wheel mounting surfaces can cause the
wheel nuts to loosen and the wheel to come off while the vehicle is in
motion, resulting in loss of control.
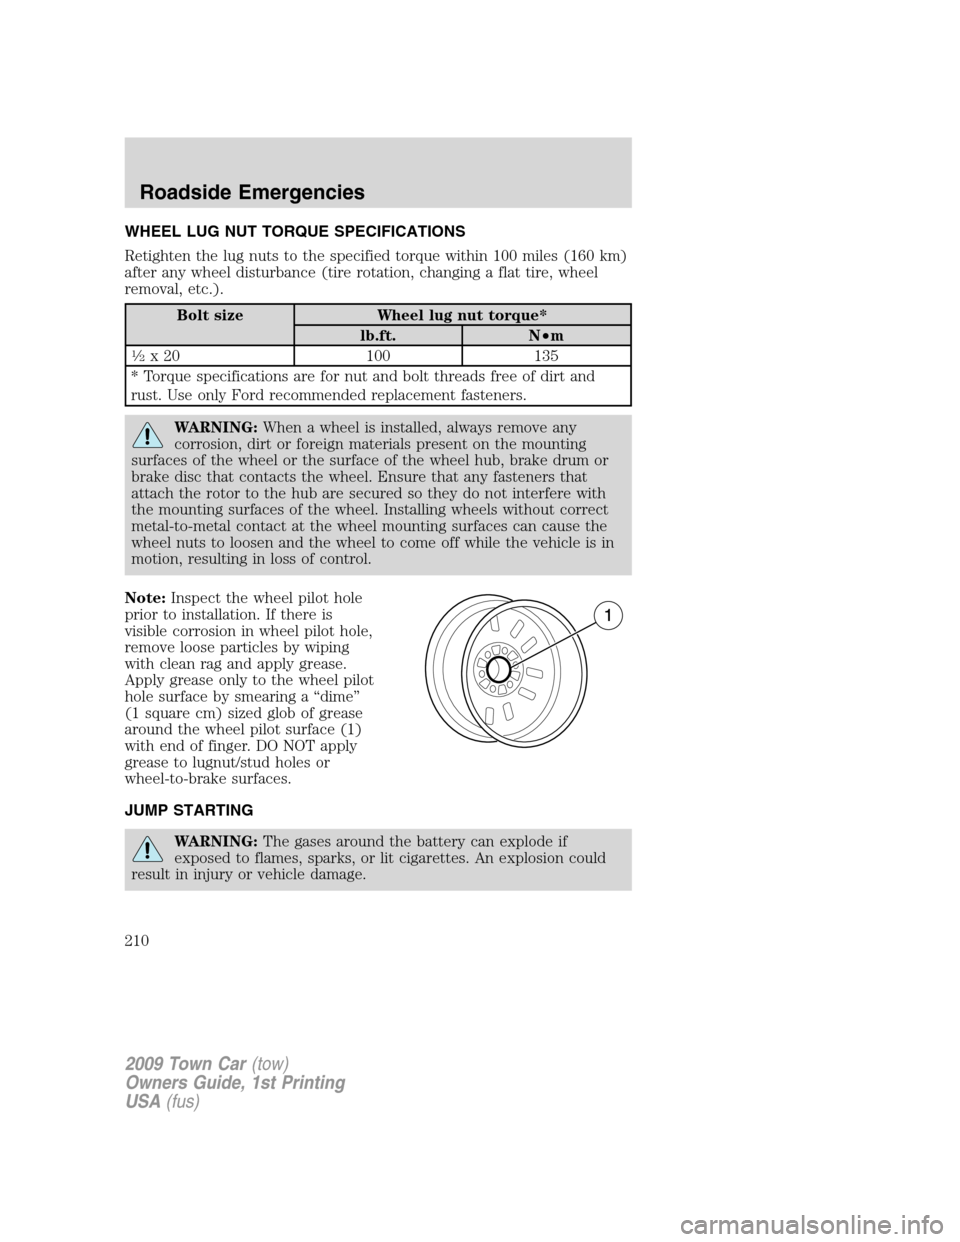
Note:Inspect the wheel pilot hole
prior to installation. If there is
visible corrosion in wheel pilot hole,
remove loose particles by wiping
with clean rag and apply grease.
Apply grease only to the wheel pilot
hole surface by smearing a “dime”
(1 square cm) sized glob of grease
around the wheel pilot surface (1)
with end of finger. DO NOT apply
grease to lugnut/stud holes or
wheel-to-brake surfaces.
JUMP STARTING
WARNING:The gases around the battery can explode if
exposed to flames, sparks, or lit cigarettes. An explosion could
result in injury or vehicle damage.
2009 Town Car(tow)
Owners Guide, 1st Printing
USA(fus)
Roadside Emergencies
210