2009 LINCOLN NAVIGATOR USB
[x] Cancel search: USBPage 1 of 375

Introduction 4
Instrument Cluster 12
Warning lights and chimes 12
Gauges 17
Entertainment Systems 20
AM/FM stereo with CDX6/MP3 20
Auxiliary input jack (Line in) 26
USB port 28
Rear seat controls 29
Satellite radio information 34
Family entertainment system 37
Navigation system 68
SYNC 68
Climate Controls 69
Dual automatic temperature control 69
Rear window defroster 75
Lights 76
Headlamps 76
Turn signal control 80
Bulb replacement 82
Driver Controls 87
Windshield wiper/washer control 87
Steering wheel adjustment 88
Power windows 94
Mirrors 96
Speed control 101
Moon roof 105
Message center 110
Table of Contents
1
2009 Navigator(nav)
Owners Guide, 1st Printing
USA(fus)
Page 24 of 375

Treble:Press/to adjust the treble setting. Press OK to close and
return to the main menu.
Balance:Press
/to adjust the audio between the right and left
speakers. Press OK to close and return to the main menu.
Fade:Press
/to adjust the audio between the front and rear
speakers. Press OK to close and return to the main menu.
Speed sensitive volume:Radio volume automatically changes slightly
with vehicle speed to compensate for road and wind noise. Use
/
to adjust. Recommended level is 1–3. Level 7 is the maximum setting.
Press OK to close and return to the main menu.
Occupancy mode:Use
/ to select and optimize sound for ALL
SEATS, DRIVERS SEAT or FRONT SEATS. Press OK to close and return
to the main menu.
Compression:Available in CD mode, this feature brings soft and loud
CD passages together for a more consistent listening level. Press MENU
until compression status is displayed. Press
/to turn the feature
on/off. Press OK to close and return to the main menu.
FES options (if equipped):Some FES options will also be available
when scrolling through the menu. SeeFamily entertainment DVD
systemin theEntertainment systemschapter for more information.
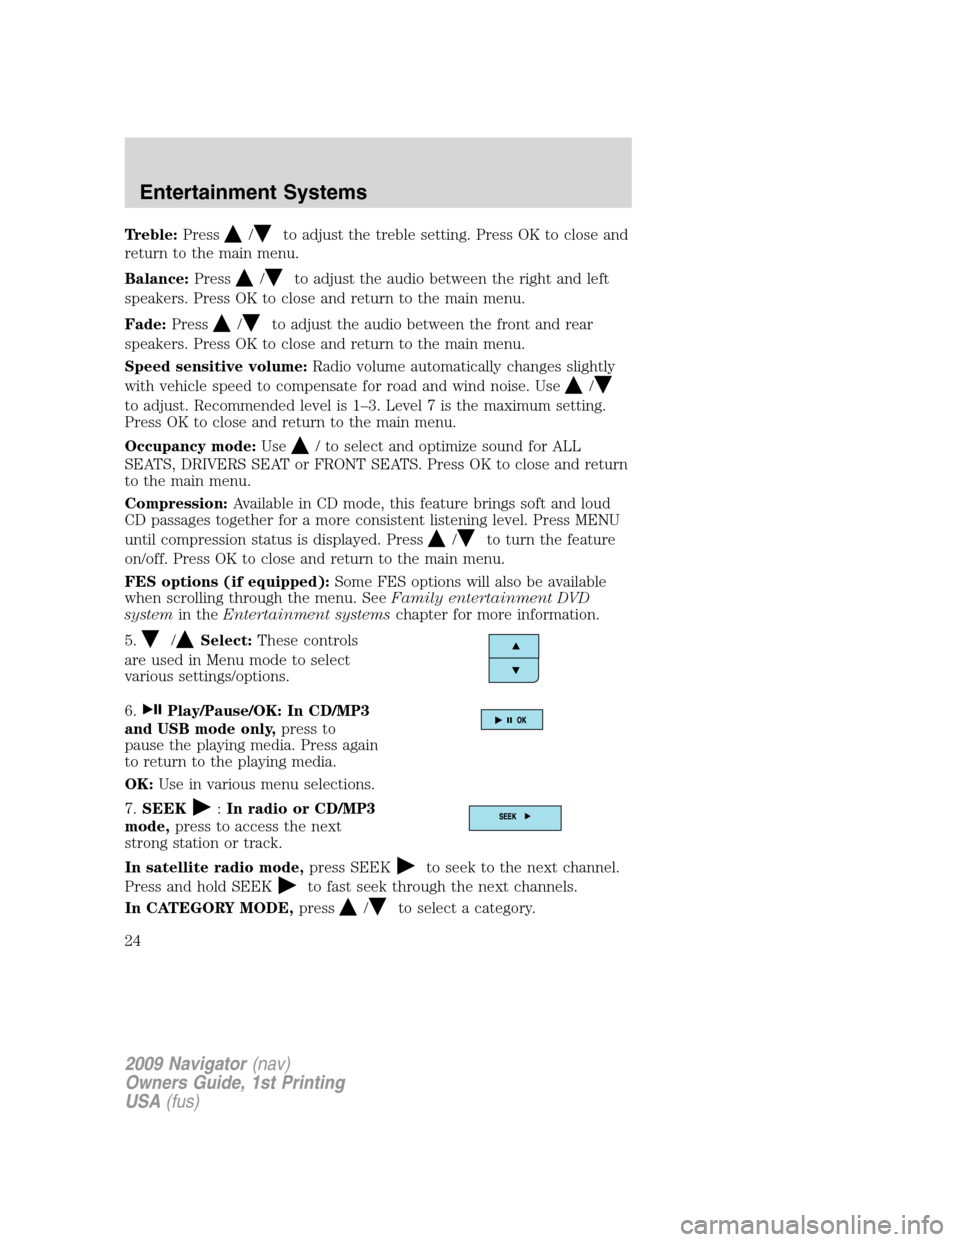
5.
/Select:These controls
are used in Menu mode to select
various settings/options.
6.
Play/Pause/OK: In CD/MP3
and USB mode only,press to
pause the playing media. Press again
to return to the playing media.
OK:Use in various menu selections.
7.SEEK
:In radio or CD/MP3
mode,press to access the next
strong station or track.
In satellite radio mode,press SEEK
to seek to the next channel.
Press and hold SEEK
to fast seek through the next channels.
In CATEGORY MODE,press
/to select a category.
2009 Navigator(nav)
Owners Guide, 1st Printing
USA(fus)
Entertainment Systems
24
Page 28 of 375

7. Adjust the sound on your portable music player until it reaches the
level of the FM station or CD by switching back and forth between the
AUX and FM or CD controls.
Troubleshooting:
1. Do not connect the audio input jack to a line level output. Line level
outputs are intended for connection to a home stereo and are not
compatible with the AIJ. The AIJ will only work correctly with devices
that have a headphone output with a volume control.
2. Do not set the portable music player’s volume level higher than is
necessary to match the volume of the CD or FM radio in your audio
system as this will cause distortion and will reduce sound quality. Many
portable music players have different output levels, so not all players
should be set at the same levels. Some players will sound best at full
volume and others will need to be set at a lower volume.
3. If the music sounds distorted at lower listening levels, turn the
portable music player volume down. If the problems persists, replace or
recharge the batteries in the portable music player.
4. The portable music player must be controlled in the same manner
when it is used with headphones as the AIJ does not provide control
(play, pause, etc.) over the attached portable music player.
5. For safety reasons, connecting or adjusting the settings on your
portable music player should not be attempted while the vehicle is
moving. Also, the portable music player should be stored in a secure
location, such as the center console or the glove box, when the vehicle is
in motion. The audio extension cable must be long enough to allow the
portable music player to be safely stored while the vehicle is in motion.
USB port
WARNING:Driving while distracted can result in loss of vehicle
control, accident and injury. Ford strongly recommends that
drivers use extreme caution when using any device that may take their
focus off the road. The driver’s primary responsibility is the safe
operation of their vehicle. Only use cell phones and other devices not
essential to the driving task when it is safe to do so.
2009 Navigator(nav)
Owners Guide, 1st Printing
USA(fus)
Entertainment Systems
28
Page 29 of 375

Your vehicle is equipped with a USB
port inside your center console. This
feature allows you to plug in media
playing devices, memory sticks, and
also to charge devices if they
support this feature. For further
information on this feature, refer to
Accessing and using your USB
portin theSYNCsupplement or
Navigation systemsupplement.
Rear seat radio controls (if equipped)
Your vehicle is equipped with rear seat radio controls. This feature allows
front and middle seat passengers to listen to different media sources
(radio, CD, SYNC or DVD) simultaneously; however, the front and
middle-seat passengers cannot listen to two different radio stations at
the same time.
1.MEDIA:Push repeatedly to cycle
through available playing medias
such as AM, FM1, FM2, CD, SAT1,
SAT2, SAT3 (satellite radio if
equipped), DVD (if equipped) and
*SYNC (if equipped). If in Dual Play
mode, SHARED illuminates in the
radio display when the front and
rear modes are set to the same
media.
2009 Navigator(nav)
Owners Guide, 1st Printing
USA(fus)
Entertainment Systems
29
Page 30 of 375

*Note: After pressing the media button to select SYNC mode, press +
or – to scroll through the different SYNC options: (SYNC USB, SYNC
BTST and SYNC LINE). For more information on SYNC operation, see
yourSYNCsupplement.
2.VOLUME:Press
to increase orto decrease the volume level
in the headphones.
From the rear seat controls, volume control can be set no higher than
the current radio setting unless the speakers are turned off.
3.
: In radio mode, press and release to scroll through memory
presets. Press and hold to seek to the next station.
In CD mode, press and release to advance to the next track. Press and
hold to fast forward within that track.
In SYNC modes, press and release to advance to the next track. Press
and hold to fast forward within that track.
4.Wired headphone jacks
5.
: In radio mode, press and release to scroll through memory
presets. Press and hold to seek to the next station.
In CD mode, press and release to advance to the next track. Press and
hold for a fast reverse within that track.
In SYNC modes, press and release to advance to the next track. Press
and hold for a fast reverse within that track.
6.Auxiliary audio input jack:Use to plug in and play auxiliary audio
sources.
7.-: In CD mode, press to access the previous CD.
8.+: In CD mode, press to access the next CD.
9.
/: Press to turn the rear speakers on (Single Play mode) or off
(Dual Play mode).
Parental control
Press the memory preset controls 3
and 5 simultaneously on the front
audio controls to disable the rear
seat controls. They will remain disabled until the front seat passengers
“enable” them again by simultaneously pressing the 3 and 5 preset
controls. The settings of the front seat controls will always override
those of the rear seat controls.
2009 Navigator(nav)
Owners Guide, 1st Printing
USA(fus)
Entertainment Systems
30
Page 92 of 375

CENTER CONSOLE
Your vehicle may be equipped with a variety of console features. These
include:
1. Cupholders
2. Utility compartment, coin holder
slots, tissue box holder, audio input
jack and USB port (if equipped)
3. Power point, rear audio controls
(if equipped) and rear heated seat
controls (if equipped)
4. Rear cupholders
5. Side storage
WARNING:Use only soft cups in the cupholder. Hard objects
can injure you in a collision.
CLOCK
Press the right (+) control to move
the time display forwards.
Press the left (-) control to move
the time display backwards.
AUXILIARY POWER POINT (12VDC)
Power outlets are designed for accessory plugs only. Do not insert
any other object in the power outlet as this will damage the
outlet and blow the fuse. Do not hang any type of accessory or
accessory bracket from the plug. Improper use of the power
outlet can cause damage not covered by your warranty.
2009 Navigator(nav)
Owners Guide, 1st Printing
USA(fus)
Driver Controls
92
Page 375 of 375

Starting your vehicle ........250–253
jump starting ..........................305
Steering wheel
controls ....................................104
tilting .........................................88
SYNC ............................................68
T
Tire Pressure Monitoring
System (TPMS)
Driving .....................................281
Tires, Wheels and Loading ....229
Warning Displays ..............12, 119
Tires ...........................214–216, 295
alignment ................................222
care ..........................................219
changing ..........................295, 299
checking the pressure ............219
inflating ...................................217
label .........................................228
replacing ..................................220
rotating ....................................223
safety practices .......................222
sidewall information ...............224
snow tires and chains ............234
spare tire .................................296
terminology .............................216
tire grades ...............................215
treadwear ........................215, 219
Towing .......................................241
recreational towing .................249
trailer towing ..........................241
wrecker ....................................312Transmission .............................266
brake-shift interlock (BSI) ....266
fluid, checking and adding
(automatic) .............................358
fluid, refill capacities ..............362
lubricant specifications ..........362
Turn signal ..................................80
U
USB port ......................................28
V
Vehicle Identification Number
(VIN) ..........................................366
Vehicle loading ..........................235
Ventilating your vehicle ...........254
W
Warning lights (see Lights) .......12
Washer fluid ..............................331
Water, Driving through .............284
Windows
power .........................................94
rear wiper/washer .....................88
Windshield washer fluid and
wipers ..........................................87
checking and adding fluid .....331
liftgate reservoir .....................331
replacing wiper blades ...........332
Wrecker towing .........................312
Index
375