2009 LINCOLN NAVIGATOR warning
[x] Cancel search: warningPage 28 of 375

7. Adjust the sound on your portable music player until it reaches the
level of the FM station or CD by switching back and forth between the
AUX and FM or CD controls.
Troubleshooting:
1. Do not connect the audio input jack to a line level output. Line level
outputs are intended for connection to a home stereo and are not
compatible with the AIJ. The AIJ will only work correctly with devices
that have a headphone output with a volume control.
2. Do not set the portable music player’s volume level higher than is
necessary to match the volume of the CD or FM radio in your audio
system as this will cause distortion and will reduce sound quality. Many
portable music players have different output levels, so not all players
should be set at the same levels. Some players will sound best at full
volume and others will need to be set at a lower volume.
3. If the music sounds distorted at lower listening levels, turn the
portable music player volume down. If the problems persists, replace or
recharge the batteries in the portable music player.
4. The portable music player must be controlled in the same manner
when it is used with headphones as the AIJ does not provide control
(play, pause, etc.) over the attached portable music player.
5. For safety reasons, connecting or adjusting the settings on your
portable music player should not be attempted while the vehicle is
moving. Also, the portable music player should be stored in a secure
location, such as the center console or the glove box, when the vehicle is
in motion. The audio extension cable must be long enough to allow the
portable music player to be safely stored while the vehicle is in motion.
USB port
WARNING:Driving while distracted can result in loss of vehicle
control, accident and injury. Ford strongly recommends that
drivers use extreme caution when using any device that may take their
focus off the road. The driver’s primary responsibility is the safe
operation of their vehicle. Only use cell phones and other devices not
essential to the driving task when it is safe to do so.
2009 Navigator(nav)
Owners Guide, 1st Printing
USA(fus)
Entertainment Systems
28
Page 31 of 375

When the rear seat controls are activated, rear seat passengers can use
the controls to change the playing media for all passengers (Single Play
mode) or just for themselves (dual play mode). In single play mode, all
speakers are active. In dual play mode, front speakers are active, rear
speakers are muted and headphones jacks are turned on for
private-listening by the rear passengers.
To activate the rear seat radio controls:
•Press the memory preset controls
3 and 5 at the same time. A
headphone icon
will illuminate
in the radio display, indicating the rear seat radio controls are active.
•Press memory preset controls 3 and 5 a second time, or switch
ignition off, then on, to deactivate the rear seat controls. The
headphone icon
will turn off in the radio display.
To activate Dual Play mode,(rear seat passengers listen to a different
playing media than the front seat passengers):
•Press the speaker/headphone control.
•Press the MEDIA Control to change audio sources (for headphone
mode only)
•Use the other controls to make adjustments to the playing media.
•Dual Play mode may also be
activated by simultaneously
pressing memory presets 2 and 4
located on the radio.
The rear speakers are muted and rear seat passengers can listen to the
selected media through their headphones.
Using headphones/Dual Play mode
WARNING:Do not leave children unattended in the vehicle and
do not let children operate the system while unsupervised. If
wired headphones or auxiliary systems are used, children may become
entangled in the cords and seriously injure themselves.
Plug a 3.5 mm headphone (not included) into the
jack. Press the
speaker button, or the 2/4 preset buttons simultaneously on the radio to
activate the headphones. The words DUAL PLAY will illuminate on the
radio display, sound will no longer be heard from the rear speakers and
the fade control will be disabled, signaling that Dual Play has been
activated.
123456
2009 Navigator(nav)
Owners Guide, 1st Printing
USA(fus)
Entertainment Systems
31
Page 37 of 375

FAMILY ENTERTAINMENT DVD SYSTEM (IF EQUIPPED)
WARNING:Driving while distracted can result in loss of vehicle
control, accident and injury. Ford strongly recommends that
drivers use extreme caution when using any device that may take their
focus off the road. The driver’s primary responsibility is the safe
operation of their vehicle. Only use cell phones and other devices not
essential to the driving task when it is safe to do so.
Your vehicle may be equipped with a Family Entertainment System
(FES) which allows you to listen to audio CDs, MP3 discs, watch DVDs
and to plug in and play a variety of standard video game systems. The
DVD player is capable of playing standard DVDs, CDs, MP3s and is
compatible with CD-R/W, CD-R and certain CD-ROM media.
Please review this material to become familiar with the FES features and
controls as well as the very important safety information.
Quick start
Your Family Entertainment System includes a DVD system, two sets of
wireless infrared (IR) headphones and a wireless infrared (IR) remote
control.
To play a DVD in the DVD system:
The DVD system can play DVD-Video, DVD-R, DVD-R/W discs as well as
audio CDs and video CDs. To ensure proper disc operation, check the
disc for finger prints, scratches and cleanliness. Clean with a soft cloth,
wiping from center to edge.
1. Ensure that the vehicle is on or the ignition is in accessory mode.
2. Insert a DVD into the system, label-side up to turn on the system. It
will load automatically.
3. Press the power button on the
DVD player, then press Play
to
begin to play the disc.
If a DVD is already loaded into the
system, press PLAY on the DVD
player.
Note:If sound can be heard, but no video is present, press VIDEO to
select the video source (DVD or aux-inputs).
2009 Navigator(nav)
Owners Guide, 1st Printing
USA(fus)
Entertainment Systems
37
Page 42 of 375

Using wired headphones (not included):
WARNING:Do not leave children unattended in the vehicle and
do not let children operate the system while unsupervised. If
wired headphones or auxiliary systems are used, children may become
entangled in the cords and seriously injure themselves.
1. Connect the wired headphones in to the headphone jacks on either
side of the DVD system. Each side is labeled
AorB. Headphones
plugged into jack A will listen to Channel A and headphones plugged into
jack B will listen to Channel B.
2. Adjust the volume levels using
the volume controls on the DVD
system.
To adjust display brightness:
To decrease/increase the brightness
level on the display screen, press
the brightness control on the DVD
system. A display will appear at the
bottom of the screen indicating the
brightness level. The brightness display will only appear when the menu
is not displayed.
2009 Navigator(nav)
Owners Guide, 1st Printing
USA(fus)
Entertainment Systems
42
Page 49 of 375

Headphones
Wireless headphones
WARNING:The driver should never use the headphones while
driving the vehicle. Using headphones may prevent the driver
from hearing audible warnings such as horns or emergency sirens,
which could result in a crash causing serious injury. Give your full
attention to driving and to the road.
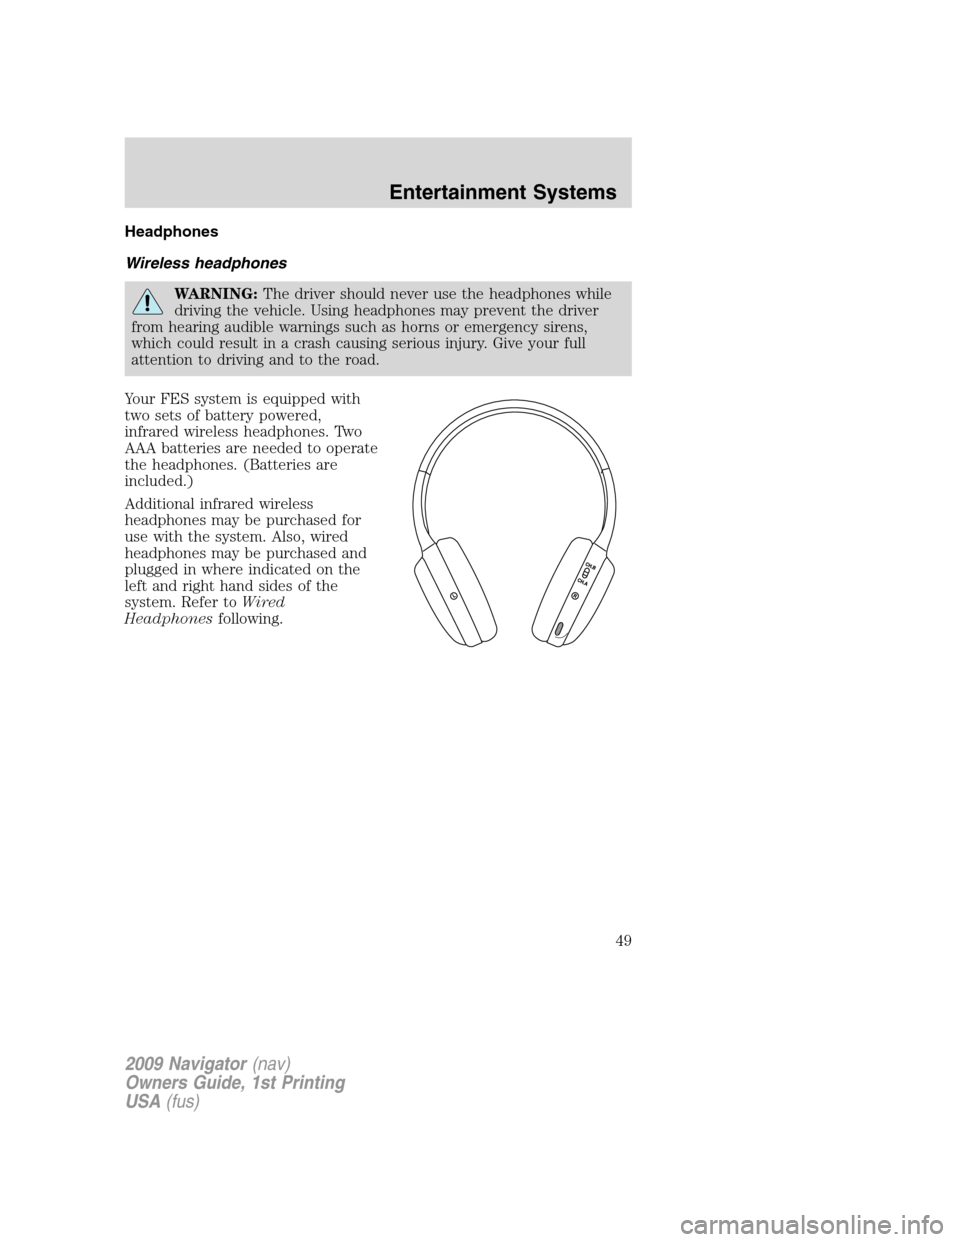
Your FES system is equipped with
two sets of battery powered,
infrared wireless headphones. Two
AAA batteries are needed to operate
the headphones. (Batteries are
included.)
Additional infrared wireless
headphones may be purchased for
use with the system. Also, wired
headphones may be purchased and
plugged in where indicated on the
left and right hand sides of the
system. Refer toWired
Headphonesfollowing.
2009 Navigator(nav)
Owners Guide, 1st Printing
USA(fus)
Entertainment Systems
49
Page 52 of 375

Wired headphones
WARNING:Do not leave children unattended in the vehicle and
do not let children operate the system while unsupervised. If
wired headphones or auxiliary systems are used, children may become
entangled in the cords and seriously injure themselves.
WARNING:The driver should never use the headphones while
driving the vehicle. Using headphones may prevent the driver
from hearing audible warnings such as horns or emergency sirens,
which could result in a crash causing serious injury. Give your full
attention to driving and to the road.
You may purchase wired headphones for your FES (Family
Entertainment System). Plug them into the 3.5 mm headphone jack(s)
located on the left and right sides of the system. (Channel A is located
on the left side and Channel B is located on the right side.) These
headphones will be active when in Dual Play mode.
To listen to the audio on wired headphones (not included), connect the
wired headphones into the headphone jacks on the sides of the DVD
system. The wired headphone jack for Channel A is located on the left
side of the FES and is labeled
A. Headphones plugged into this
headphone jack will hear audio from the audio source selected to be the
Channel A source. The wired headphone jack for Channel B is located on
the right side of the FES and is labeled
B. Headphones plugged into
this headphone jack will hear audio from the audio source selected to be
the Channel B source.
Adjust the headphone volume using
the volume control on the DVD
system.
Operation
Single play/Dual play
Your DVD and audio system work together with the infrared headphones
and wired headphones (not included) to allow the rear seat passengers
to listen to the radio (and other media sources) over the headphones.
This enables the front and rear seat passengers to listen to a variety of
sources a variety of ways.
2009 Navigator(nav)
Owners Guide, 1st Printing
USA(fus)
Entertainment Systems
52
Page 65 of 375

Safety information
WARNING:Driving while distracted can result in loss of vehicle
control, accident and injury. Ford strongly recommends that
drivers use extreme caution when using any device that may take their
focus off the road. The driver’s primary responsibility is the safe
operation of their vehicle. Only use cell phones and other devices not
essential to the driving task when it is safe to do so.
Read all of the safety and operating instructions before operating the
system and retain for future reference.
Do not attempt to service, repair or modify the Family Entertainment
System (FES). See your dealer.
Do not insert foreign objects into the DVD compartment.
WARNING:Do not leave children unattended in the vehicle and
do not let children operate the system while unsupervised. If
wired headphones or auxiliary systems are used, children may become
entangled in the cords and seriously injure themselves.
WARNING:The front glass on the liquid crystal display (LCD)
flip-down screen may break when hit with a hard surface. If the
glass breaks, do not touch the liquid crystalline material. In case of
contact with skin, wash immediately with soap and water.
WARNING:The driver should not attempt to operate any
function of the DVD system while the vehicle is in motion. Give
full attention to driving and to the road. Pull off the road in a safe
place before inserting or extracting DVDs from the system. A remote
control is included in the system to allow the rear seat occupants to
operate the FES functions without distracting the driver.
Do not expose the liquid crystal display (LCD) flip-down screen
to direct sunlight or intensive ultraviolet rays for extensive
periods of time. Ultraviolet rays deteriorate the liquid crystal.
Be sure to review User Manuals for video games and video game
equipment when used as auxiliary inputs for your Family Entertainment
System (FES).
2009 Navigator(nav)
Owners Guide, 1st Printing
USA(fus)
Entertainment Systems
65
Page 78 of 375

WARNING:Always remember to turn on your headlamps at
dusk or during inclement weather. The Daytime Running Lamp
(DRL) system does not activate the tail lamps and generally may not
provide adequate lighting during these conditions. Failure to activate
your headlamps under these conditions may result in a collision.
PANEL DIMMER CONTROL
Use to adjust the brightness of the
instrument panel when exterior
lights are on.
•Rotate the thumbwheel from left
to right to brighten the instrument panel.
•Rotate the thumbwheel from right to left to dim the instrument panel.
•Rotate fully to the right (past detent) to turn on interior lamps.
•Rotate to the left position (past detent) to turn off the interior lamps
and to disable the illuminated entry feature. When the control is in the
far left position, it acts as a dome lamp defeat/override.
Note:If the battery is disconnected, discharged, or a new battery is
installed, the dimmer switch requires re-calibration. Rotate the dimmer
switch from the full dim position to the full dome/on position to reset.
This will ensure that your displays are visible under all lighting
conditions.
At dusk and dawn, the LEDs are illuminated at six times the normal
intensity to enhance contrast and visibility. The system automatically
“dims down” as ambient light reaches the dash-mounted sensor.
The interior control lights dim progressively in four steps until they
reach nighttime operating levels. At all illumination levels, the lights can
be dimmed using the thumbwheel on the instrument panel.
AIMING THE HEADLAMPS
The headlamps on your vehicle are properly aimed at the assembly plant.
If your vehicle has been in an accident the alignment of your headlamps
should be checked by your authorized dealer.
Vertical aim adjustment
Before aim adjustment, disable the air suspension system. Refer to
Message centerin theDriver Controlschapter.
1. Park the vehicle directly in front of a wall or screen on a level surface,
approximately 25 feet (7.6 meters) away.
2009 Navigator(nav)
Owners Guide, 1st Printing
USA(fus)
Lights
78