2009 LINCOLN NAVIGATOR keyless
[x] Cancel search: keylessPage 143 of 375

•the Integrated Keyhead Transmitter lock control is pressed, or
•the vehicle is locked using the keyless entry keypad, or
•after 25 seconds of illumination.
Note:On some vehicles, the perimeter lamps illuminated entry feature
will not activate in daylight conditions.
Deactivating/activating perimeter lamps illuminated entry
You may enable/disable this feature by having your vehicle serviced by
your authorized dealer.
You may also perform the following power door lock sequence to
enable/disable the perimeter lamps feature.Note:Before starting, ensure
the ignition is in the off position and all vehicle doors are closed. You
must complete Steps 1–5 within 30 seconds or the procedure will have
to be repeated. If the procedure needs to be repeated, wait a minimum
of 30 seconds before beginning again.
1. Place the key in the ignition and turn the ignition to the on position.
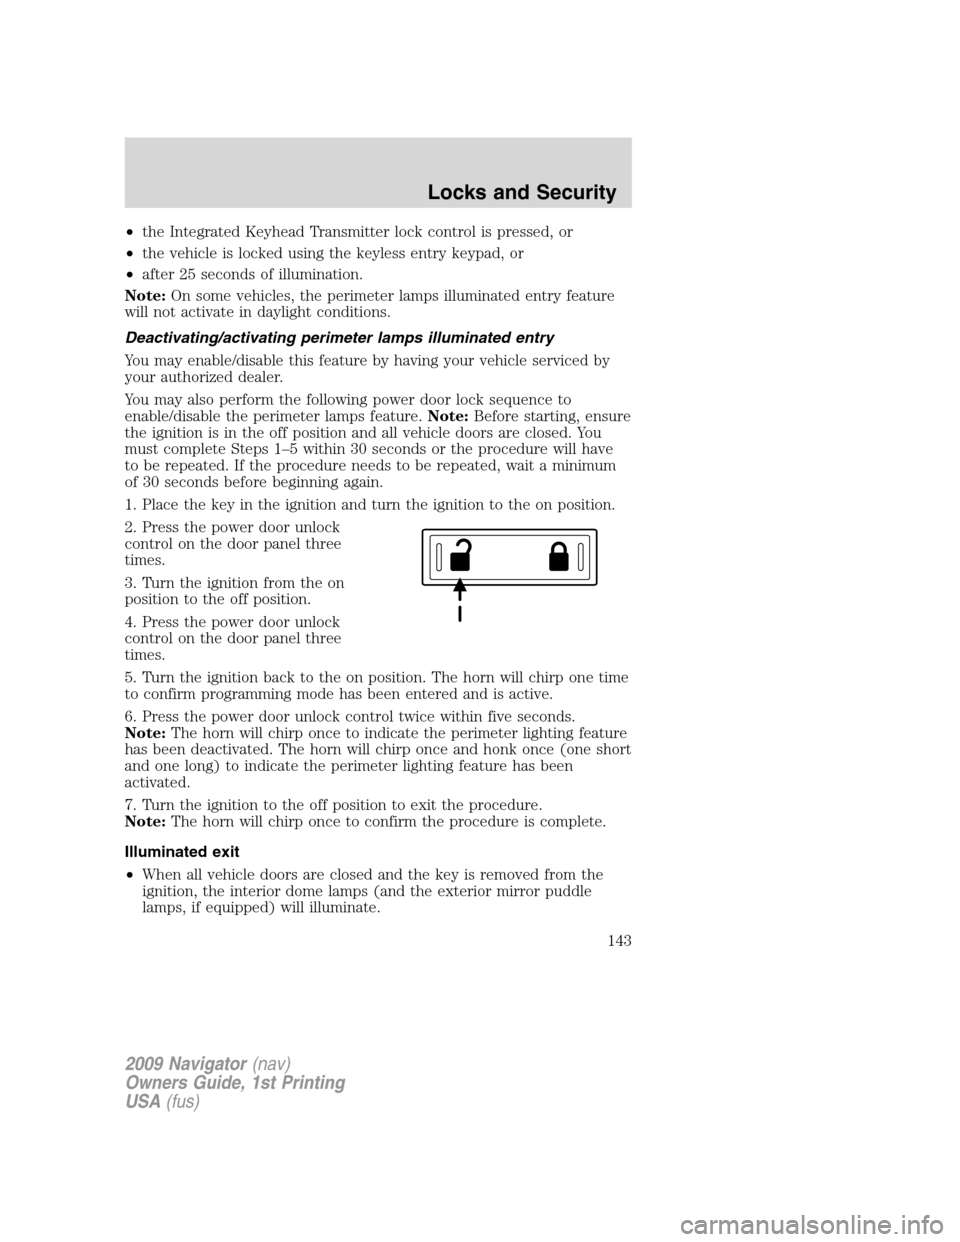
2. Press the power door unlock
control on the door panel three
times.
3. Turn the ignition from the on
position to the off position.
4. Press the power door unlock
control on the door panel three
times.
5. Turn the ignition back to the on position. The horn will chirp one time
to confirm programming mode has been entered and is active.
6. Press the power door unlock control twice within five seconds.
Note:The horn will chirp once to indicate the perimeter lighting feature
has been deactivated. The horn will chirp once and honk once (one short
and one long) to indicate the perimeter lighting feature has been
activated.
7. Turn the ignition to the off position to exit the procedure.
Note:The horn will chirp once to confirm the procedure is complete.
Illuminated exit
•When all vehicle doors are closed and the key is removed from the
ignition, the interior dome lamps (and the exterior mirror puddle
lamps, if equipped) will illuminate.
2009 Navigator(nav)
Owners Guide, 1st Printing
USA(fus)
Locks and Security
143
Page 144 of 375

The lights will turn off if all the doors remain closed and
•25 seconds elapse, or
•the key is inserted in the ignition.
Battery saver
The battery saver will shut off the interior lamps 10 minutes after the
ignition has been turned to the off position.
•If the dome lamps were turned on using the panel dimmer control, the
battery saver will shut them off 10 minutes after the ignition has been
turned to the off position.
•If the courtesy lamps were turned on because one of the vehicle doors
or the liftgate was opened, the battery saver will shut them off
10 minutes after the ignition has been turned to the off position.
•The battery saver will shut off the headlamps 10 minutes after the
ignition has been turned to the off position.
KEYLESS ENTRY SYSTEM
You can use the keyless entry keypad to:
•lock or unlock the doors without using a key,
•activate or deactivate the Autolock feature if equipped
•release the liftgate glass,
The keypad can be operated with the factory set 5–digit entry code; this
code is located on the owner’s wallet card in the glove box and is
available from your authorized dealer. You can also create your own
5–digit personal entry code.
When pressing the controls on the keyless entry keypad, press the
middle of the controls to ensure a good activation.
Programming your own personal entry code
To create your own personal entry code:
1. Enter the factory set code.
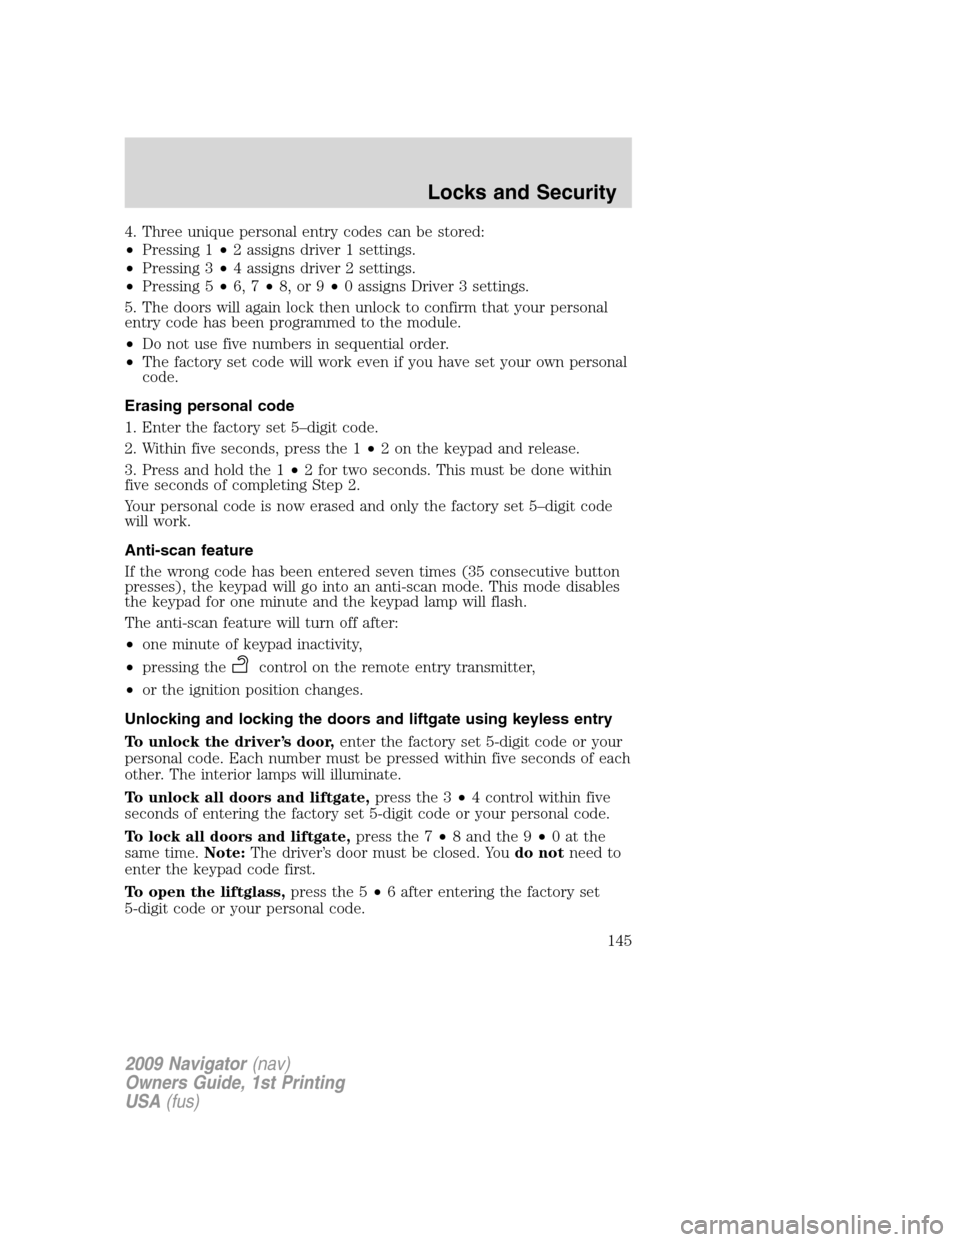
2. Within five seconds press the 1•2 on the keypad.
3. Enter your personal 5–digit code.
Each number must be entered
within five seconds of each other.
2009 Navigator(nav)
Owners Guide, 1st Printing
USA(fus)
Locks and Security
144
Page 145 of 375

4. Three unique personal entry codes can be stored:
•Pressing 1•2 assigns driver 1 settings.
•Pressing 3•4 assigns driver 2 settings.
•Pressing 5•6, 7•8, or 9•0 assigns Driver 3 settings.
5. The doors will again lock then unlock to confirm that your personal
entry code has been programmed to the module.
•Do not use five numbers in sequential order.
•The factory set code will work even if you have set your own personal
code.
Erasing personal code
1. Enter the factory set 5–digit code.
2. Within five seconds, press the 1•2 on the keypad and release.
3. Press and hold the 1•2 for two seconds. This must be done within
five seconds of completing Step 2.
Your personal code is now erased and only the factory set 5–digit code
will work.
Anti-scan feature
If the wrong code has been entered seven times (35 consecutive button
presses), the keypad will go into an anti-scan mode. This mode disables
the keypad for one minute and the keypad lamp will flash.
The anti-scan feature will turn off after:
•one minute of keypad inactivity,
•pressing the
control on the remote entry transmitter,
•or the ignition position changes.
Unlocking and locking the doors and liftgate using keyless entry
To unlock the driver’s door,enter the factory set 5-digit code or your
personal code. Each number must be pressed within five seconds of each
other. The interior lamps will illuminate.
To unlock all doors and liftgate,press the 3•4 control within five
seconds of entering the factory set 5-digit code or your personal code.
To lock all doors and liftgate,press the 7•8 and the 9•0atthe
same time.Note:The driver’s door must be closed. Youdo notneed to
enter the keypad code first.
To open the liftglass,press the 5•6 after entering the factory set
5-digit code or your personal code.
2009 Navigator(nav)
Owners Guide, 1st Printing
USA(fus)
Locks and Security
145
Page 147 of 375

Anti-theft indicator
The anti-theft indicator is located in the instrument panel cluster.
•When the ignition is in the off
position, the indicator will flash
once every two seconds to
indicate the SecuriLock™ system
is functioning as a theft
deterrent.
•When the ignition is in the on position, the indicator will glow for
three seconds to indicate normal system functionality.
If a problem occurs with the SecuriLock™ system, the indicator will flash
rapidly or glow steadily when the ignition is in the on position. If this
occurs, the vehicle will not start and should be taken to an authorized
dealer for service.
Automatic arming
The vehicle is armed immediately after switching the ignition to the off
position.
The theft indicator will flash every
two seconds to act as a theft
deterrent when the vehicle is
armed.
Automatic disarming
The vehicle is disarmed immediately after the ignition is turned to the on
position.
The theft indicator will illuminate for three seconds and then go out. If
the theft indicator stays on for an extended period of time or flashes
rapidly, have the system serviced by your authorized dealer.
Replacement Integrated Keyless Transmitters (IKT) and coded keys
Note:Your vehicle comes equipped with two Integrated Keyhead
Transmitters (IKTs). The IKT functions as both a programmed ignition
key that operates all the locks and starts the vehicle, as well as a remote
keyless entry transmitter. A maximum of eight coded keys can be
programmed to your vehicle; only four of these eight keys can be IKTs
with remote entry functionality.
2009 Navigator(nav)
Owners Guide, 1st Printing
USA(fus)
Locks and Security
147
Page 150 of 375

When you press the lock control twice within three seconds on the
remote entry transmitter portion of your IKT, the horn will chirp once
to let you know that all doors, the hood and the liftgate are closed. If
any of these are not closed, the horn will chirp twice to warn you that
a door, the hood or the liftgate is still open.
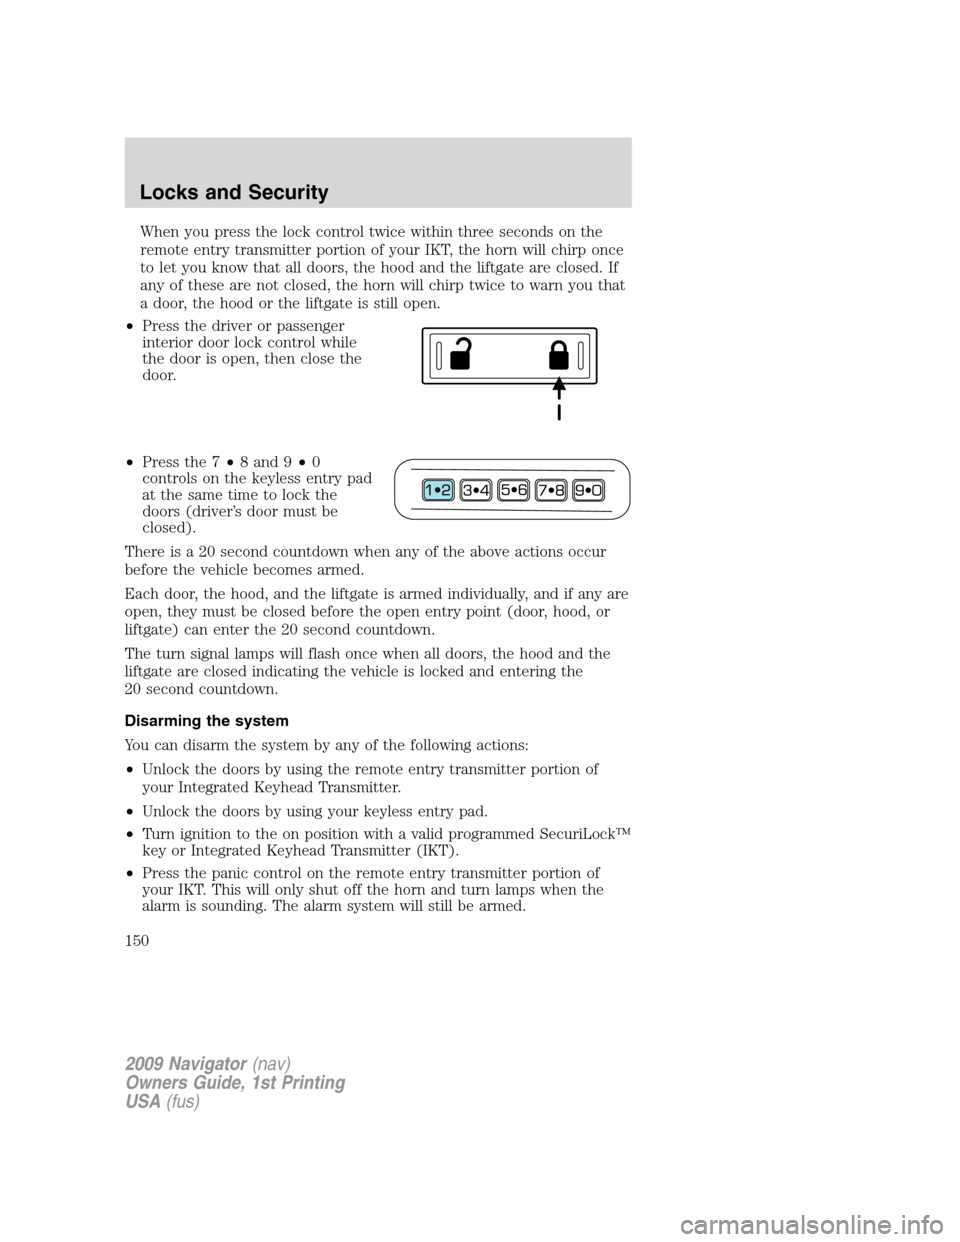
•Press the driver or passenger
interior door lock control while
the door is open, then close the
door.
•Press the 7•8 and 9•0
controls on the keyless entry pad
at the same time to lock the
doors (driver’s door must be
closed).
There is a 20 second countdown when any of the above actions occur
before the vehicle becomes armed.
Each door, the hood, and the liftgate is armed individually, and if any are
open, they must be closed before the open entry point (door, hood, or
liftgate) can enter the 20 second countdown.
The turn signal lamps will flash once when all doors, the hood and the
liftgate are closed indicating the vehicle is locked and entering the
20 second countdown.
Disarming the system
You can disarm the system by any of the following actions:
•Unlock the doors by using the remote entry transmitter portion of
your Integrated Keyhead Transmitter.
•Unlock the doors by using your keyless entry pad.
•Turn ignition to the on position with a valid programmed SecuriLock™
key or Integrated Keyhead Transmitter (IKT).
•Press the panic control on the remote entry transmitter portion of
your IKT. This will only shut off the horn and turn lamps when the
alarm is sounding. The alarm system will still be armed.
2009 Navigator(nav)
Owners Guide, 1st Printing
USA(fus)
Locks and Security
150
Page 170 of 375

Third row power folding seat (if equipped)
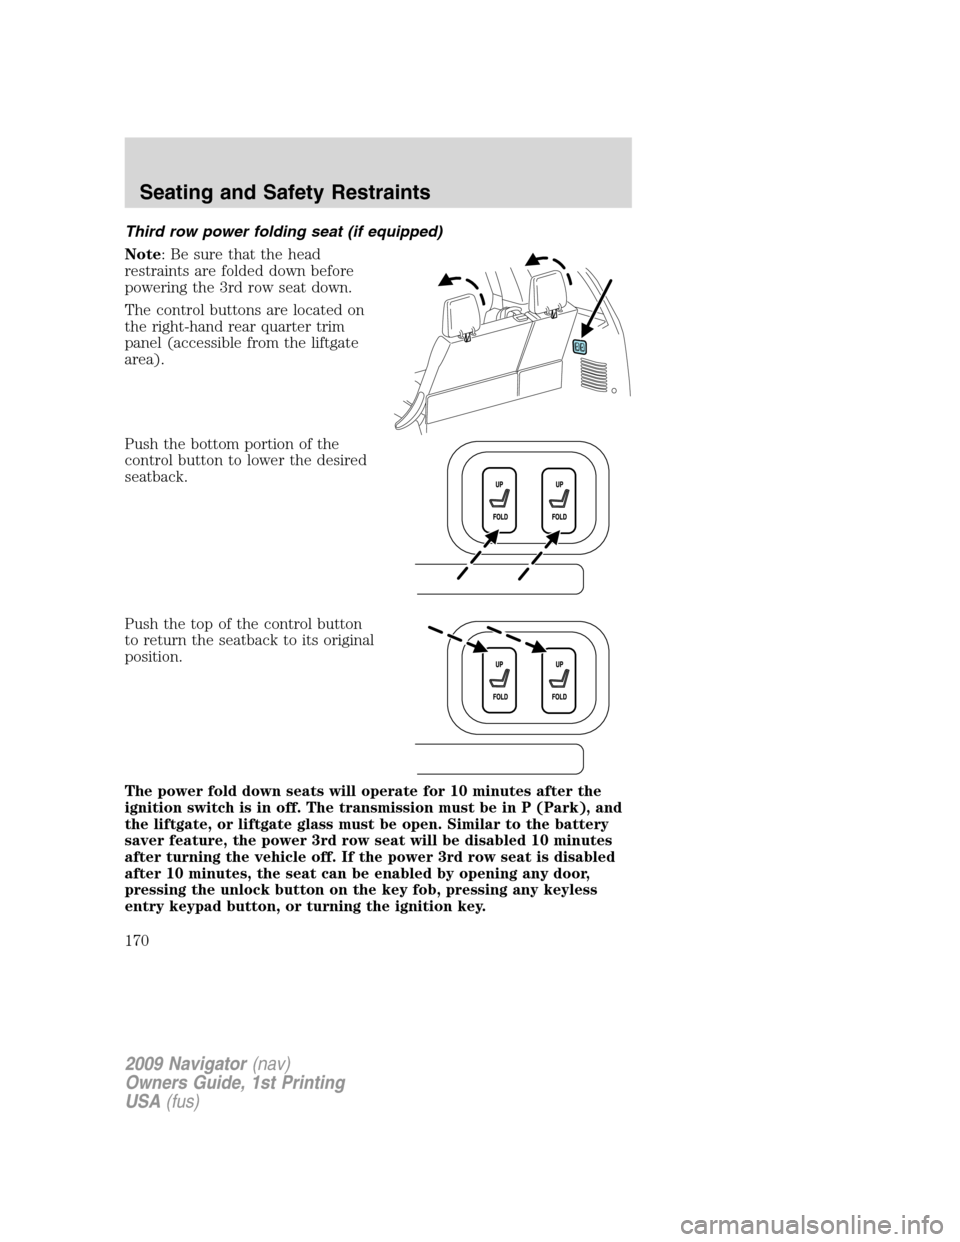
Note: Be sure that the head
restraints are folded down before
powering the 3rd row seat down.
The control buttons are located on
the right-hand rear quarter trim
panel (accessible from the liftgate
area).
Push the bottom portion of the
control button to lower the desired
seatback.
Push the top of the control button
to return the seatback to its original
position.
The power fold down seats will operate for 10 minutes after the
ignition switch is in off. The transmission must be in P (Park), and
the liftgate, or liftgate glass must be open. Similar to the battery
saver feature, the power 3rd row seat will be disabled 10 minutes
after turning the vehicle off. If the power 3rd row seat is disabled
after 10 minutes, the seat can be enabled by opening any door,
pressing the unlock button on the key fob, pressing any keyless
entry keypad button, or turning the ignition key.
2009 Navigator(nav)
Owners Guide, 1st Printing
USA(fus)
Seating and Safety Restraints
170
Page 373 of 375

positioning ...............................295
storage .....................................295
Jump-starting your vehicle ......305
K
Keyless entry system ...............144
autolock ...................................133
keypad .....................................144
locking and unlocking doors ..145
programming entry code .......144
Keys ...................................131, 147
positions of the ignition .........250
L
Lamps
autolamp system .......................76
bulb replacement
specifications chart ..................82
daytime running light ...............77
fog lamps ...................................77
headlamps .................................76
headlamps, flash to pass ..........77
interior lamps .....................80, 83
replacing bulbs .........................86
LATCH anchors .........................201
Liftgate ......................123, 127, 139
Lights, warning and indicator ....12
anti-lock brakes (ABS) ..........257
Load limits .................................235
Loading instructions .................241
Locks
autolock ...................................133
childproof ................................137
doors ........................................133
Lubricant specifications ...........362
Lug nuts ....................................304
Luggage rack .............................129Lumbar support, seats .............155
M
Message center .........................110
english/metric button .............116
system check button ..............119
warning messages ...................119
Mirrors ...................................96, 98
automatic dimming rearview
mirror ........................................96
fold away ...................................98
heated ........................................99
programmable memory ..........140
signal .........................................99
Moon roof ..................................105
Motorcraft parts ........327, 344, 361
N
Navigation system .......................68
O
Octane rating ............................348
Oil (see Engine oil) ..................333
P
Park Assist ................................270
Parking brake ............................258
Parts (see Motorcraft parts) ....361
Pedals (see Power adjustable
foot pedals) ...............................100
Power adjustable foot pedals ...100
Power deployable running
boards ........................................100
Power distribution box
(see Fuses) .......................289, 292
Index
373