2009 LINCOLN NAVIGATOR ESP
[x] Cancel search: ESPPage 37 of 375

FAMILY ENTERTAINMENT DVD SYSTEM (IF EQUIPPED)
WARNING:Driving while distracted can result in loss of vehicle
control, accident and injury. Ford strongly recommends that
drivers use extreme caution when using any device that may take their
focus off the road. The driver’s primary responsibility is the safe
operation of their vehicle. Only use cell phones and other devices not
essential to the driving task when it is safe to do so.
Your vehicle may be equipped with a Family Entertainment System
(FES) which allows you to listen to audio CDs, MP3 discs, watch DVDs
and to plug in and play a variety of standard video game systems. The
DVD player is capable of playing standard DVDs, CDs, MP3s and is
compatible with CD-R/W, CD-R and certain CD-ROM media.
Please review this material to become familiar with the FES features and
controls as well as the very important safety information.
Quick start
Your Family Entertainment System includes a DVD system, two sets of
wireless infrared (IR) headphones and a wireless infrared (IR) remote
control.
To play a DVD in the DVD system:
The DVD system can play DVD-Video, DVD-R, DVD-R/W discs as well as
audio CDs and video CDs. To ensure proper disc operation, check the
disc for finger prints, scratches and cleanliness. Clean with a soft cloth,
wiping from center to edge.
1. Ensure that the vehicle is on or the ignition is in accessory mode.
2. Insert a DVD into the system, label-side up to turn on the system. It
will load automatically.
3. Press the power button on the
DVD player, then press Play
to
begin to play the disc.
If a DVD is already loaded into the
system, press PLAY on the DVD
player.
Note:If sound can be heard, but no video is present, press VIDEO to
select the video source (DVD or aux-inputs).
2009 Navigator(nav)
Owners Guide, 1st Printing
USA(fus)
Entertainment Systems
37
Page 65 of 375

Safety information
WARNING:Driving while distracted can result in loss of vehicle
control, accident and injury. Ford strongly recommends that
drivers use extreme caution when using any device that may take their
focus off the road. The driver’s primary responsibility is the safe
operation of their vehicle. Only use cell phones and other devices not
essential to the driving task when it is safe to do so.
Read all of the safety and operating instructions before operating the
system and retain for future reference.
Do not attempt to service, repair or modify the Family Entertainment
System (FES). See your dealer.
Do not insert foreign objects into the DVD compartment.
WARNING:Do not leave children unattended in the vehicle and
do not let children operate the system while unsupervised. If
wired headphones or auxiliary systems are used, children may become
entangled in the cords and seriously injure themselves.
WARNING:The front glass on the liquid crystal display (LCD)
flip-down screen may break when hit with a hard surface. If the
glass breaks, do not touch the liquid crystalline material. In case of
contact with skin, wash immediately with soap and water.
WARNING:The driver should not attempt to operate any
function of the DVD system while the vehicle is in motion. Give
full attention to driving and to the road. Pull off the road in a safe
place before inserting or extracting DVDs from the system. A remote
control is included in the system to allow the rear seat occupants to
operate the FES functions without distracting the driver.
Do not expose the liquid crystal display (LCD) flip-down screen
to direct sunlight or intensive ultraviolet rays for extensive
periods of time. Ultraviolet rays deteriorate the liquid crystal.
Be sure to review User Manuals for video games and video game
equipment when used as auxiliary inputs for your Family Entertainment
System (FES).
2009 Navigator(nav)
Owners Guide, 1st Printing
USA(fus)
Entertainment Systems
65
Page 67 of 375

Humidity and moisture condensation
Moisture in the air will condense in the DVD player under extremely
humid conditions or when moving from a cold place to a warm one.
Moisture condensation may cause damage to the DVD and/or player. If
moisture condensation occurs, do not insert a CD or DVD into the
player. If one is already in the player, remove it. Turn the DVD player ON
to dry the moisture before inserting a DVD. This could take an hour or
more.
Foreign substances
Exercise care to prevent dirt and foreign objects from entering the DVD
player compartment. Be especially careful not to spill liquids of any kind
onto the media controls or into the system. If liquid is accidentally
spilled onto the system, immediately turn the system OFF and consult a
qualified service technician.
Cleaning the liquid crystal display (LCD) flip-down screen
Clean the display screen by applying a small amount of water or any
ammonia-based household glass cleaner directly to a soft cloth. Rub the
screen gently until the dust, dirt or fingerprints are removed. Do not
spray the screen directly with water or glass cleaning solvents. Overspray
from these fluids could drip down into the internal electronics of the
screen and cause damage. Do not apply excessive pressure while
cleaning the screen.
Cleaning DVD and CD discs
Inspect all discs for contamination before playing. If necessary, clean
discs only with an approved DVD and CD cleaner and wipe from the
center out to the edge. Do not use circular motion.
Compatibility with aftermarket audio systems
(headphone only mode)
When the Family Entertainment System (FES) detects that the original
radio supplied by Ford Motor Company has been removed from the
vehicle, the FES will work in a state referred to as “Headphone Only
Mode.” This mode allows the FES to operate as a standalone system,
without interface to the radio.
While operating in Headphone Only Mode, the system will have limited
functionality.
•The system will only output audio to the headphones. It will not be
capable of providing audio to the speakers.
•The available sources in FES Headphone Only Mode are DVD-DISC
and DVD-AUX, regardless of headphone channel (A or B).
2009 Navigator(nav)
Owners Guide, 1st Printing
USA(fus)
Entertainment Systems
67
Page 89 of 375

Note:The easy entry/exit feature will prevent the steering wheel from
returning to the memory position until the key is inserted into the
ignition.
Memory feature
The steering column positions are saved when doing a memory set
function and can be recalled along with the vehicle personality features
when a memory position is selected through the remote entry
transmitter, keyless entry keypad or memory switch on the side of the
driver’s seat (if equipped with memory feature). Refer toMemory
seats/power mirrors/adjustable pedalsin theSeating and Safety
Restraintschapter.
If the steering column adjustment control is pressed during memory
recall it will cancel the automatic operation and the column will respond
to manual adjustment of the control.
WARNING:Never adjust the steering column when the vehicle
is moving.
On vehicles with memory feature, to prevent damage to the steering
column, the steering column is designed to set a stopping position just
short of the end of the column position. If the steering column
encounters an object while moving up or down, a new stopping position
will be set. To reset the steering column to its normal stopping position:
•After encountering the new stopping position, press the steering
column control again to override.
•Continue pressing the control until it reaches the end of the column
position.
•Continue pressing the control for approximately two seconds. You will
feel the steering column bounce back slightly.
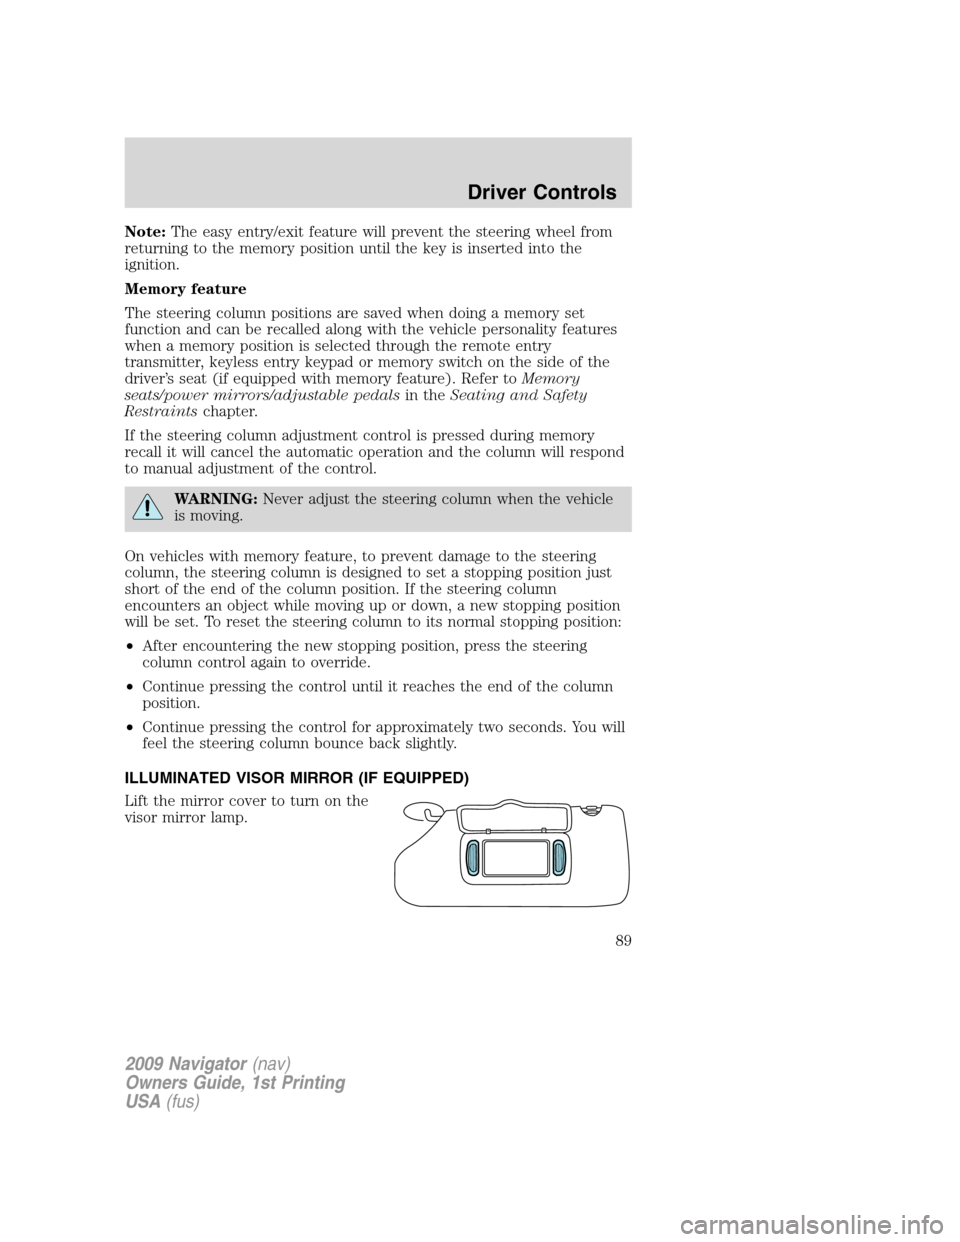
ILLUMINATED VISOR MIRROR (IF EQUIPPED)
Lift the mirror cover to turn on the
visor mirror lamp.
2009 Navigator(nav)
Owners Guide, 1st Printing
USA(fus)
Driver Controls
89
Page 124 of 375

Opening and Closing the power liftgate:
WARNING:Make sure all persons are clear of the power liftgate
area before using the power liftgate control.
WARNING:Keep keys out of reach of children. Do not allow
children to play near an open or moving power liftgate.
The liftgate will only operate with the vehicle in P (Park). The chime will
beep once if conditions are not correct to start an operation. These
conditions include:
•or the ignition is in on and the transmission is not in P (Park)
•or the battery voltage is below the minimum operating voltage
•the vehicle speed is at or above 3 mph (5 km/h)
If the liftgate reverses and starts to close after a open request, a fast
continuous chime indicates excessive load on the gate or a possible strut
failure. If any excessive load is removed and you still have a faster
chime, have the system serviced immediately by your authorized dealer.
Do not attempt to manually force the liftgate to travel faster than the
power system will permit. This will activate the obstacle detection
feature.
Note:Cycling the ignition prior to completely latching the liftgate could
result in damage to the liftgate and/or its power components. Make sure
the liftgate is fully latched before operating the vehicle.
Care should be exercised in starting the engine before the liftgate is fully
closed (latched). If the ignition is cycled during a Liftgate Power Close
cycle and the liftgate is 6-10 inches (15–24 cm) from being latched, the
liftgate may reverse to the full open position. Verify that the gate is
closed before operating or moving the vehicle, especially in an enclosure,
like a garage or a parking structure. The liftgate or it components could
be damaged in an enclosure, if the liftgate is open.
When power operating the liftgate at temperatures below 32° F (0° C),
the liftgate may stop about 5 inches (12.7 cm) from the full open
position. The liftgate can be fully opened by pushing it upward to the
maximum open position.
2009 Navigator(nav)
Owners Guide, 1st Printing
USA(fus)
Driver Controls
124
Page 137 of 375

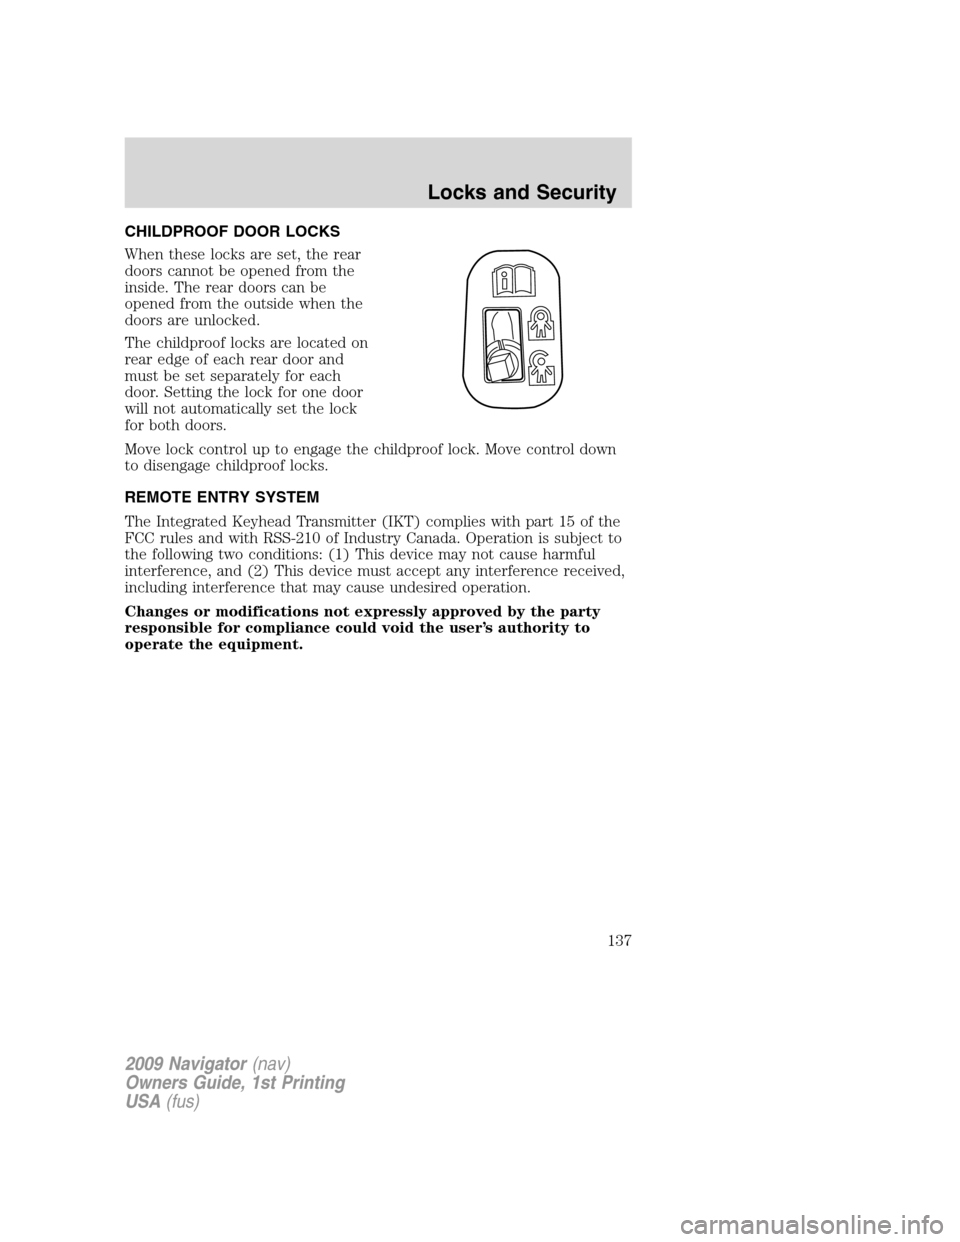
CHILDPROOF DOOR LOCKS
When these locks are set, the rear
doors cannot be opened from the
inside. The rear doors can be
opened from the outside when the
doors are unlocked.
The childproof locks are located on
rear edge of each rear door and
must be set separately for each
door. Setting the lock for one door
will not automatically set the lock
for both doors.
Move lock control up to engage the childproof lock. Move control down
to disengage childproof locks.
REMOTE ENTRY SYSTEM
The Integrated Keyhead Transmitter (IKT) complies with part 15 of the
FCC rules and with RSS-210 of Industry Canada. Operation is subject to
the following two conditions: (1) This device may not cause harmful
interference, and (2) This device must accept any interference received,
including interference that may cause undesired operation.
Changes or modifications not expressly approved by the party
responsible for compliance could void the user’s authority to
operate the equipment.
2009 Navigator(nav)
Owners Guide, 1st Printing
USA(fus)
Locks and Security
137
Page 149 of 375

5. Turn the ignition from the 1 (off) position to the 3 (on) position. Keep
the ignition in the 3 (on) position for at least three seconds, but no more
than 10 seconds.
6. Turn the ignition to the 1 (off) position and remove the second
previously programmedcoded keyfrom the ignition.
7. Within 20 seconds of turning the ignition to the 1 (off) position and
removing the previously programmedcoded key,insert the new
unprogrammed key (new key/valet key) into the ignition.
8. Turn the ignition from the 1 (off) position to the 3 (on) position. Keep
the ignition in the 3 (on) position for at least six seconds.
9. Remove the newly programmedcoded keyfrom the ignition.
If the key has been successfully programmed it will start the vehicle’s
engine and will operate the remote entry system (if the new key is an
Integrated Keyhead Transmitter). The theft indicator light will illuminate
for three seconds and then go out to indicate successful programming.
If the key was not successfully programmed, it will not start your
vehicle’s engine and/or will not operate the remote entry features. The
theft indicator light may flash on and off. Wait 20 seconds and you may
repeat Steps 1 through 8. If failure repeats, bring your vehicle to your
authorized dealer to have the new key(s) programmed.
To program additional new unprogrammed key(s), wait 20 seconds and
then repeat this procedure from Step 1.
PERIMETER ALARM SYSTEM (IF EQUIPPED)
The perimeter anti-theft system will help protect your vehicle from
unauthorized entry.
If there is any potential perimeter anti-theft problem with your vehicle,
ensureALL Integrated Keyhead Transmittersare brought to the
authorized dealer to aid in troubleshooting.
Arming the system
When armed, this system will respond if unauthorized entry is
attempted. When unauthorized entry occurs, the system will flash the
turn signal lamps and will sound the horn.
The system is ready to arm whenever the key is in the off position, or is
removed from the ignition. Either of the following actions will prearm the
alarm system:
•Press the
control on the remote entry transmitter portion of your
Integrated Keyhead Transmitter.
2009 Navigator(nav)
Owners Guide, 1st Printing
USA(fus)
Locks and Security
149
Page 158 of 375

Heated seats
WARNING:Persons who are unable to feel pain to the skin
because of advanced age, chronic illness, diabetes, spinal cord
injury, medication, alcohol use, exhaustion, or other physical
conditions, must exercise care when using the seat heater. The seat
heater may cause burns even at low temperatures, especially if used
for long periods of time. Do not place anything on the seat that
insulates against heat, such as a blanket or cushion, because this may
cause the seat heater to overheat. Do not puncture the seat with pins,
needles, or other pointed objects because this may damage the heating
element which may cause the seat heater to overheat. An overheated
seat may cause serious personal injury.
Note:Do not do the following:
•Place heavy objects on the seat
•Operate the seat heater if water or any other liquid is spilled on the
seat. Allow the seat to dry thoroughly.
The heated seats will only function when the engine is running.
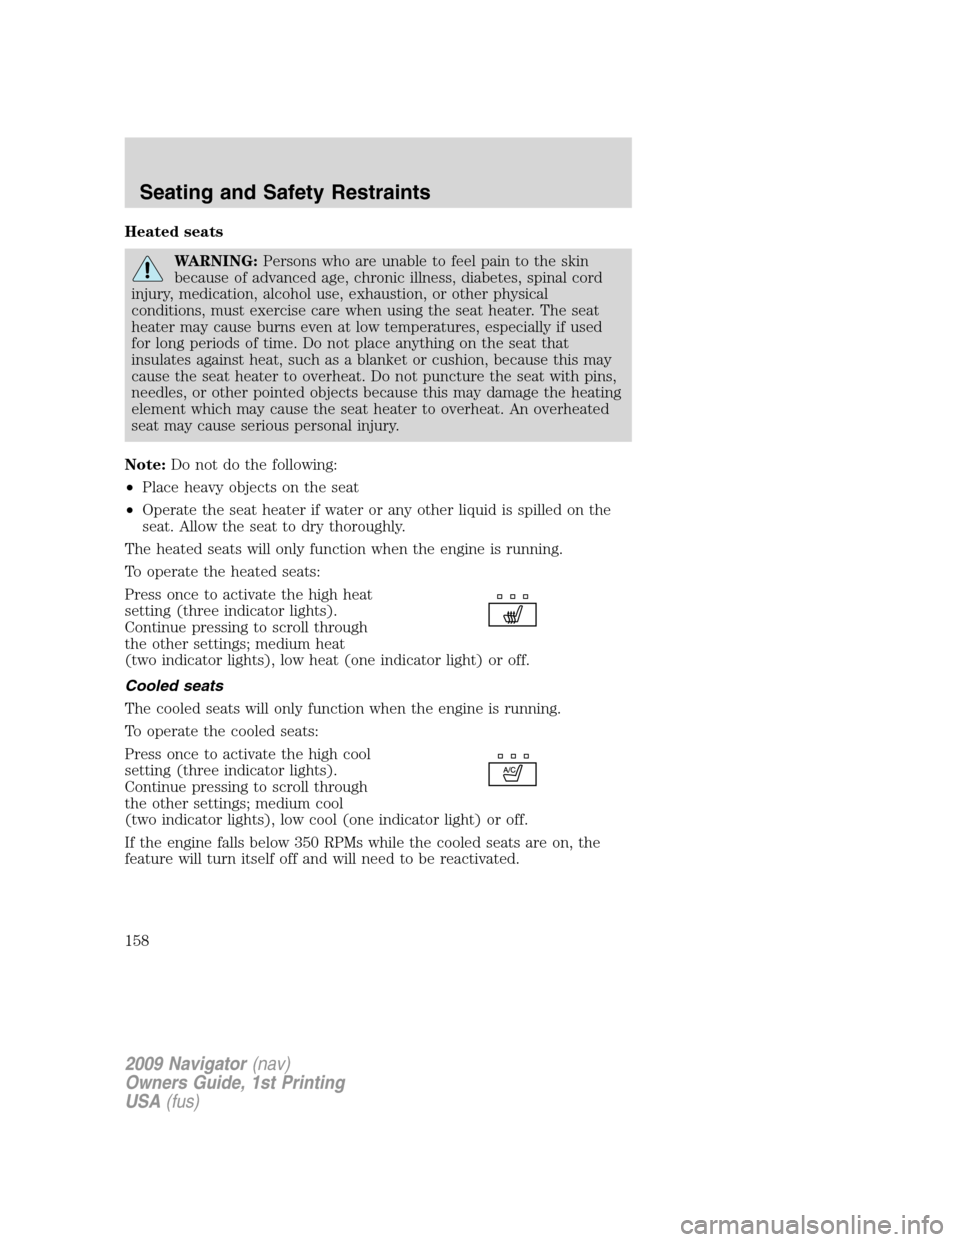
To operate the heated seats:
Press once to activate the high heat
setting (three indicator lights).
Continue pressing to scroll through
the other settings; medium heat
(two indicator lights), low heat (one indicator light) or off.
Cooled seats
The cooled seats will only function when the engine is running.
To operate the cooled seats:
Press once to activate the high cool
setting (three indicator lights).
Continue pressing to scroll through
the other settings; medium cool
(two indicator lights), low cool (one indicator light) or off.
If the engine falls below 350 RPMs while the cooled seats are on, the
feature will turn itself off and will need to be reactivated.
2009 Navigator(nav)
Owners Guide, 1st Printing
USA(fus)
Seating and Safety Restraints
158