2009 LINCOLN NAVIGATOR radio
[x] Cancel search: radioPage 23 of 194
16.VOL (On/off/volume): Press to
turn the audio system on/off. Press
and hold to turn the navigation
radio completely off. Turn to adjust
the volume of the audio system or the navigation voice prompts as they
are being given.
Note: If a route is active when the navigation system is turned off, the
route is resumed when the system is turned on again.
After the system initializes, the screen will be divided in two sections:
• Status bars: This is the top and bottom portion of screen that
displays the clock or date and useful information, depending on the
current mode.
• Display area: The interactive screen that is activated by finger touch
and changes depending on current system operation. Graphical
buttons are displayed in this area depending on the current screen for
you to make choices.
SCREEN DIFFERENCES
Depending on your vehicle line and option package, your navigation
screen may vary in appearance from the screens shown in this
supplement. These differences could include: background color, tab
options, climate controls and other features. Your features may also be
limited depending on your market. (For example, SIRIUS Travel Link is
only available in the continental United States). Please check with your
authorized dealer for availability.
Display options
You can choose to turn your navigation screen on/off and also if you
would like to view the status bars on the top and bottom of the screen.
To access:
Press DISP on the navigation system repeatedly to cycle through these
options.
2009 Centerstack (ng1)
Supplement
USA (fus)
System overview
21
Page 24 of 194
Voice commands in display mode (if equipped)
While in display mode, press
or VOICE on the steering wheel
controls. When prompted, you may say any of the following commands:
• Display on •Auto
• Day •Night
• Status bar •Display off
• Brighter •Dimmer
• Help
Note: If you are not in display mode, press
or VOICE on the steering
wheel controls. When prompted, say, “Display mode” and then any of the
above commands.
STATUS BARS
Your navigation screens may have status bars on the top and bottom of
each screen.
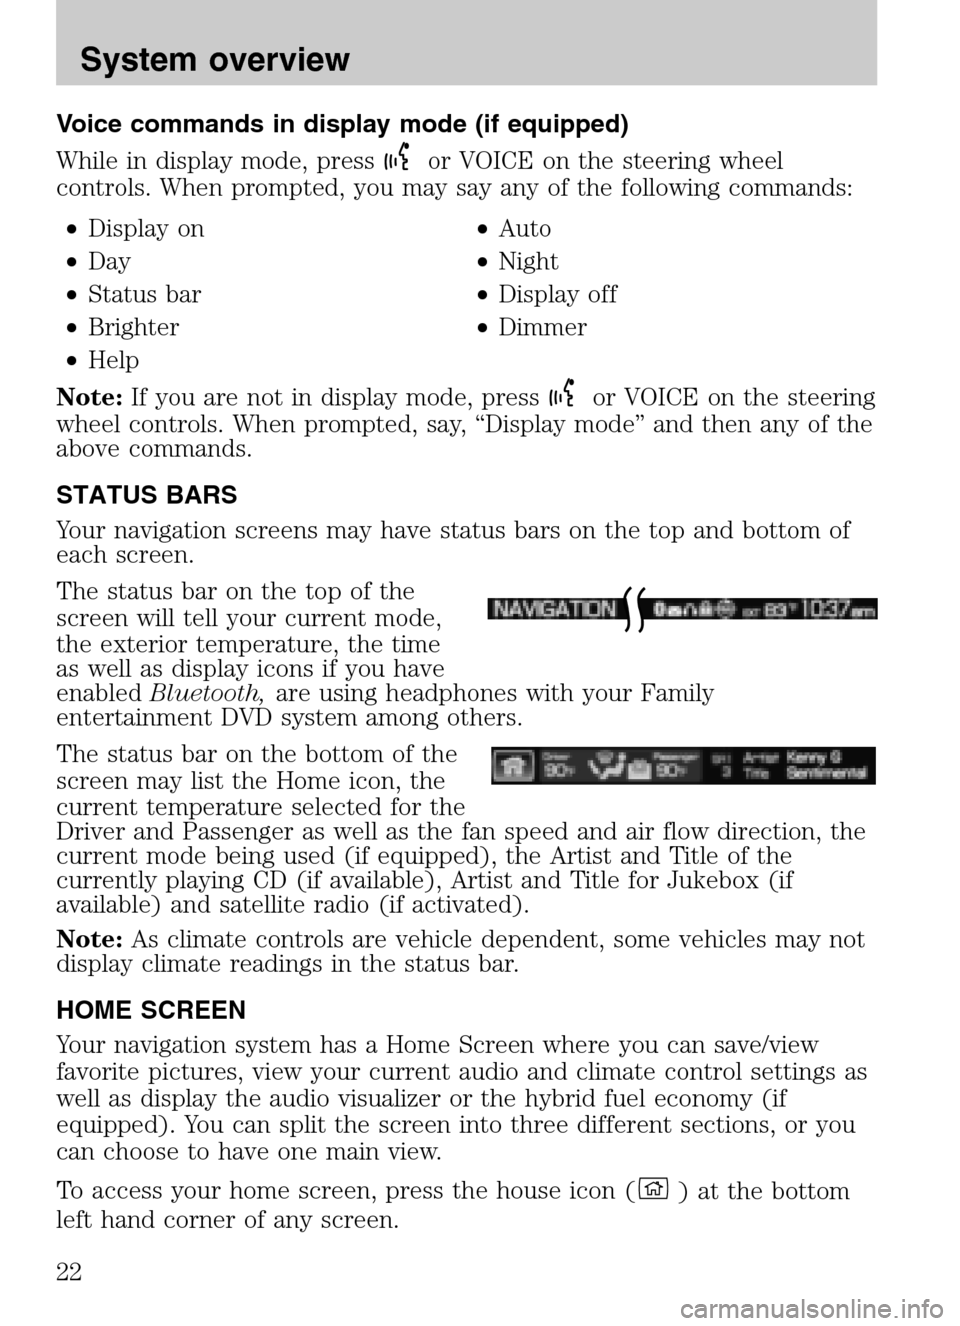
The status bar on the top of the
screen will tell your current mode,
the exterior temperature, the time
as well as display icons if you have
enabled Bluetooth, are using headphones with your Family
entertainment DVD system among others.
The status bar on the bottom of the
screen may list the Home icon, the
current temperature selected for the
Driver and Passenger as well as the fan speed and air flow direction, the
current mode being used (if equipped), the Artist and Title of the
currently playing CD (if available), Artist and Title for Jukebox (if
available) and satellite radio (if activated).
Note: As climate controls are vehicle dependent, some vehicles may not
display climate readings in the status bar.
HOME SCREEN
Your navigation system has a Home Screen where you can save/view
favorite pictures, view your current audio and climate control settings as
well as display the audio visualizer or the hybrid fuel economy (if
equipped). You can split the screen into three different sections, or you
can choose to have one main view.
To access your home screen, press the house icon (
) at the bottom
left hand corner of any screen.
2009 Centerstack (ng1)
Supplement
USA (fus)
System overview
22
Page 28 of 194

Navigation
bezel control Steering wheel
control Function
SEEK,
,
Press to access the previous/next
preset radio station, preset satellite
channel (if activated) or CD track.
Press and hold to seek to the next
satellite channel (if activated).
N/A OK Press to confirm your selection.
MEDIA N/A Press repeatedly to access all available media sources in your
vehicle such as: CD, DVD, Jukebox,
Rear Zone, Rear AUX, Rear DVD,
Line In, and User Device (if
equipped with SYNC).
PHONE N/A Press to access SYNC PHONE features.
SYSTEM MENU FEATURES
Your system has many menu features such as allowing you to adjust the
touchscreen brightness, adjusting the time and languages, adjusting the
feedback and system settings. To access, press the MENU hard button on
the navigation system.
2009 Centerstack (ng1)
Supplement
USA (fus)
System overview
26
Page 35 of 194
The main categories of your voice commands are as follows: • Navigation •Climate (if equipped)
• Audio •Jukebox
• Radio •Sirius (if activated)
• Travel link (if activated) •Display mode
• User profile •Disc
• CD •DVD
• Video CD •Line in
• Rear AUX (if equipped) •Rear DVD (if equipped)
• Phone •USB
• Voice settings •Bluetooth audio
• Dial •Confirmations
• Tutorial
To access a list of all available voice commands:
1. Press the i button (
) on the navigation system.
2. Select the ‘Help’ tab on the touchscreen.
3. Select ‘Voice commands’ at the top of the screen.
4. Select the desired category.
Voice recognition visual feedback
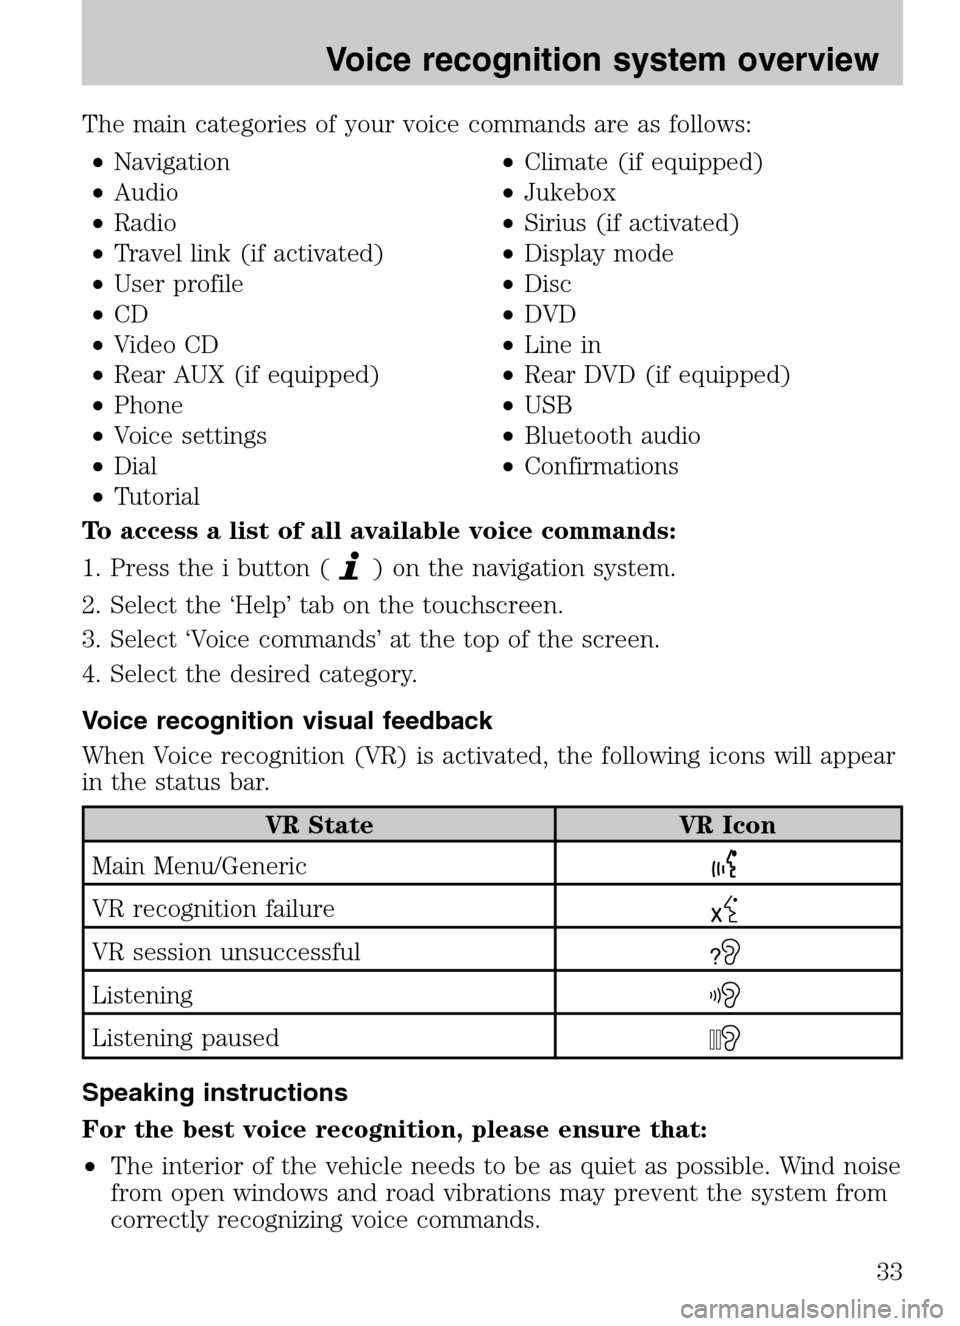
When Voice recognition (VR) is activated, the following icons will appear
in the status bar.
VR State VR Icon
Main Menu/Generic
VR recognition failure
VR session unsuccessful?
Listening
Listening paused
Speaking instructions
For the best voice recognition, please ensure that:
• The interior of the vehicle needs to be as quiet as possible. Wind noise
from open windows and road vibrations may prevent the system from
correctly recognizing voice commands.
2009 Centerstack (ng1)
Supplement
USA (fus)
Voice recognition system overview
33
Page 43 of 194
SONY AUDIO SYSTEM (IF EQUIPPED)
Your vehicle may be equipped with
the SONY premium audio system.
This system creates optimal acoustic
quality and offers an advanced
speaker system, amplifier, subwoofer
and equalizer.
Voice commands in audio mode (if equipped)
When in audio mode, press
or VOICE on the steering wheel controls.
When prompted, you may say any of the following commands:
• On •Off
• Headphones •Headphones off
• Jukebox •Disc
• CD •DVD
• Video CD •Radio
• Sirius •Rear DVD
• Rear AUX •Line in
• SYNC •User Device
• USB •Phone
• Bluetooth audio •Read Message
• Help
Note: If you are not in audio mode, press
on the steering wheel
controls. When prompted, say, “Audio” and then any of the above
commands.
AM
1. Ensure that the system is on.
2. Press the RADIO hard button on
the navigation face.
3. Select the ‘AM’ tab on the
touchscreen. Once in AM mode, you may select from ‘Show options’ and
‘Show presets’.
4. Press ‘Show Options’ to select from:
2009 Centerstack (ng1)
Supplement
USA (fus)
Audio features
41
Page 44 of 194
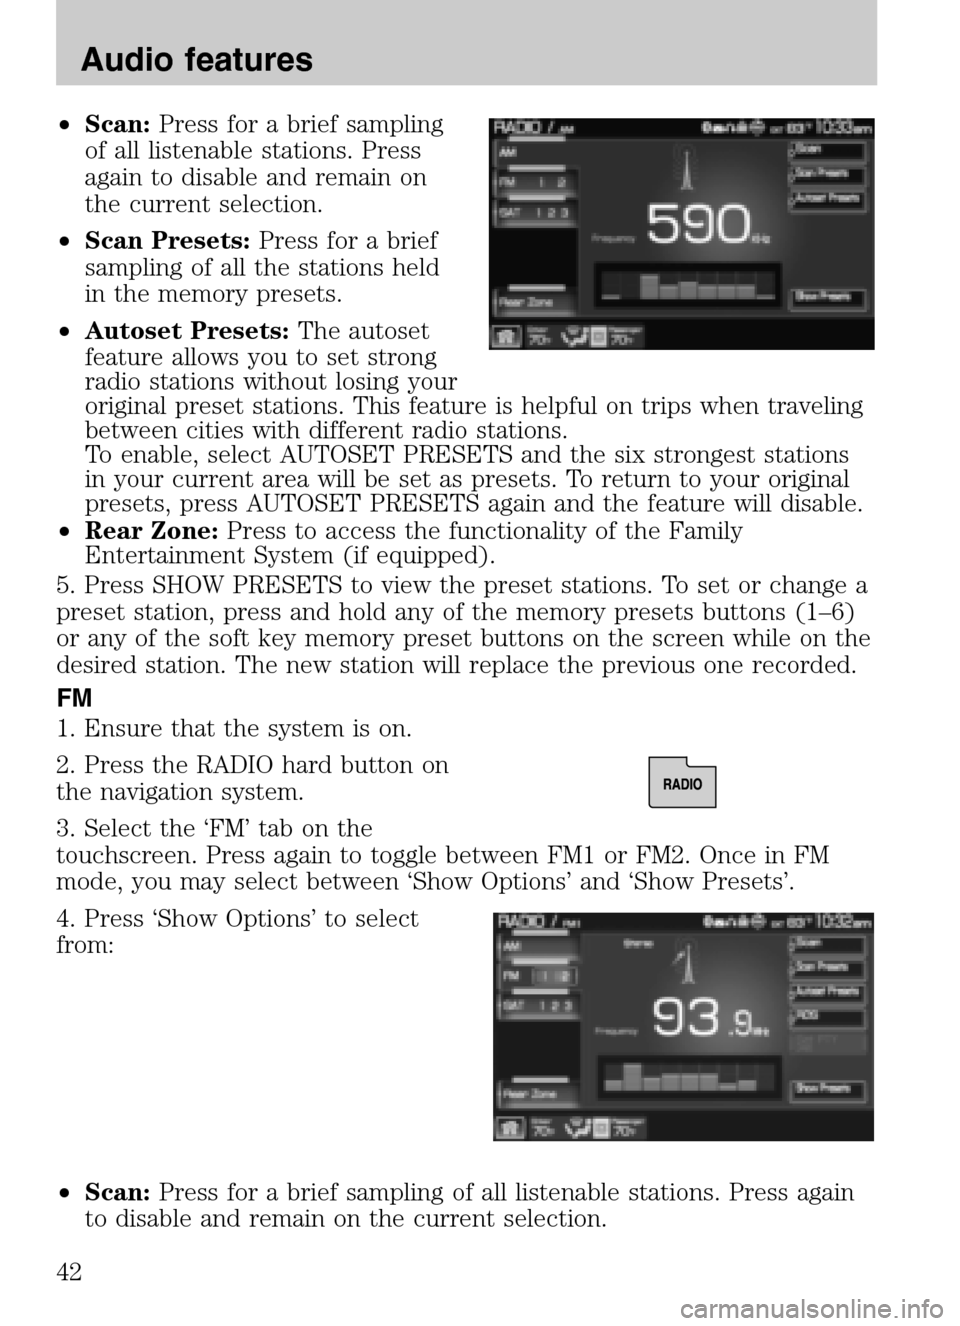
•Scan: Press for a brief sampling
of all listenable stations. Press
again to disable and remain on
the current selection.
• Scan Presets: Press for a brief
sampling of all the stations held
in the memory presets.
• Autoset Presets: The autoset
feature allows you to set strong
radio stations without losing your
original preset stations. This feature is helpful on trips when traveling
between cities with different radio stations.
To enable, select AUTOSET PRESETS and the six strongest stations
in your current area will be set as presets. To return to your original
presets, press AUTOSET PRESETS again and the feature will disable.
• Rear Zone: Press to access the functionality of the Family
Entertainment System (if equipped).
5. Press SHOW PRESETS to view the preset stations. To set or change a
preset station, press and hold any of the memory presets buttons (1–6)
or any of the soft key memory preset buttons on the screen while on the
desired station. The new station will replace the previous one recorded.
FM
1. Ensure that the system is on.
2. Press the RADIO hard button on
the navigation system.
3. Select the ‘FM’ tab on the
touchscreen. Press again to toggle between FM1 or FM2. Once in FM
mode, you may select between ‘Show Options’ and ‘Show Presets’.
4. Press ‘Show Options’ to select
from:
• Scan: Press for a brief sampling of all listenable stations. Press again
to disable and remain on the current selection.
2009 Centerstack (ng1)
Supplement
USA (fus)
Audio features
42
Page 45 of 194
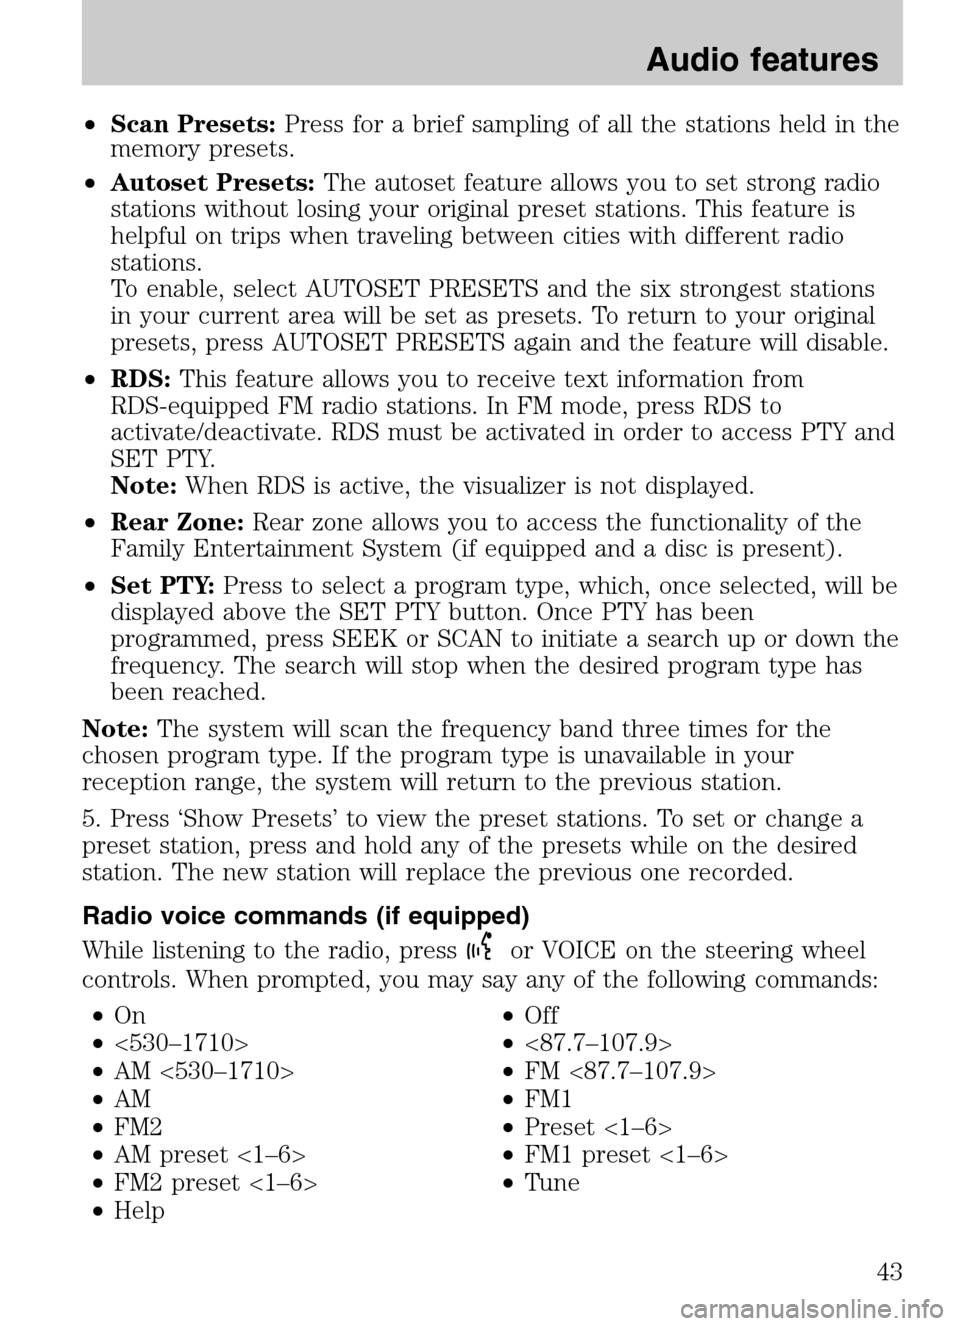
•Scan Presets: Press for a brief sampling of all the stations held in the
memory presets.
• Autoset Presets: The autoset feature allows you to set strong radio
stations without losing your original preset stations. This feature is
helpful on trips when traveling between cities with different radio
stations.
To enable, select AUTOSET PRESETS and the six strongest stations
in your current area will be set as presets. To return to your original
presets, press AUTOSET PRESETS again and the feature will disable.
• RDS: This feature allows you to receive text information from
RDS-equipped FM radio stations. In FM mode, press RDS to
activate/deactivate. RDS must be activated in order to access PTY and
SET PTY.
Note: When RDS is active, the visualizer is not displayed.
• Rear Zone: Rear zone allows you to access the functionality of the
Family Entertainment System (if equipped and a disc is present).
• Set PTY: Press to select a program type, which, once selected, will be
displayed above the SET PTY button. Once PTY has been
programmed, press SEEK or SCAN to initiate a search up or down the
frequency. The search will stop when the desired program type has
been reached.
Note: The system will scan the frequency band three times for the
chosen program type. If the program type is unavailable in your
reception range, the system will return to the previous station.
5. Press ‘Show Presets’ to view the preset stations. To set or change a
preset station, press and hold any of the presets while on the desired
station. The new station will replace the previous one recorded.
Radio voice commands (if equipped)
While listening to the radio, press
or VOICE on the steering wheel
controls. When prompted, you may say any of the following commands:
• On •Off
• <530–1710> •<87.7–107.9>
• AM <530–1710> •FM <87.7–107.9>
• AM •FM1
• FM2 •Preset <1–6>
• AM preset <1–6> •FM1 preset <1–6>
• FM2 preset <1–6> •Tune
• Help
2009 Centerstack (ng1)
Supplement
USA (fus)
Audio features
43
Page 46 of 194
Note:If you are not listening to the radio, pressor VOICE on the
steering wheel controls. When prompted, say, “Radio” and then press
or VOICE on the steering wheel controls again and you can say any of
the above commands.
After you have said, “Tune”, you can say any the following
commands:
• <530–1710> •<87.7–107.9>
• AM <530–1710> •FM <87.7–107.9>
• AM •FM1
• FM2 •Preset <1–6>
• AM preset <1–6> •FM1 preset <1–6>
• FM2 preset <1–6>
SATELLITE RADIO (SAT) IF ACTIVATED
Once the Satellite Radio feature is activated, your navigation system will
have additional features.
1. Ensure that the navigation system is on.
2. Press the RADIO hard button on the navigation system.
3. Select the ‘SAT’ tab on the touchscreen to enter satellite radio mode
(if activated).
4. Press ‘Show Options’ to select from:
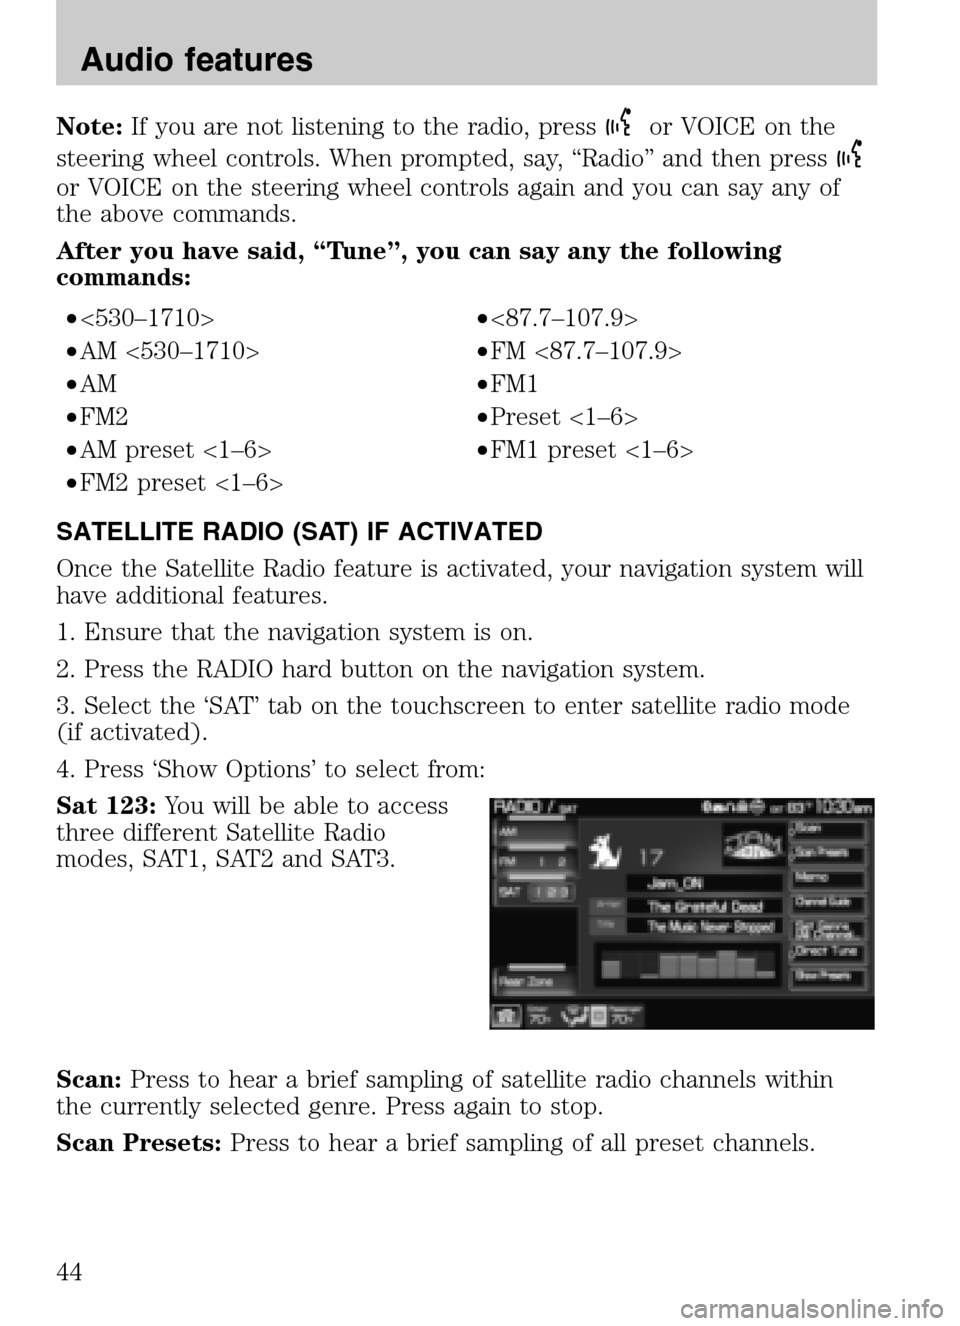
Sat 123: You will be able to access
three different Satellite Radio
modes, SAT1, SAT2 and SAT3.
Scan: Press to hear a brief sampling of satellite radio channels within
the currently selected genre. Press again to stop.
Scan Presets: Press to hear a brief sampling of all preset channels.
2009 Centerstack (ng1)
Supplement
USA (fus)
Audio features
44