Page 115 of 316
Finish
ADVANCED FUNCTIONS
11 4
D
Pop−
up message
When the “Pop −up Message” is turned on,
the pop− up message will be displayed.
To turn the “Pop− up Message” on:
1. Push the “MENU” button.
2. Touch “Setup” on the “Menu”
screen.
Then touch
twice to display page 3 of
the “Setup” screen.
3. Touch “ON” of “Pop −up Message”.
The selected button is highlighted.
4. Touch “OK”. When the “Pop
−up Message” is turned off,
the following messages will not displayed.
This message appears when the system is
in the POI mode and the map scale is over
0.5 miles (800 m).
The message appears when the map is
switched to the dual map screen mode.
IS F/350/250_Navi_U
(L/O 0808)
Page 124 of 316
Finish
OTHER FUNCTIONS
123
On this screen, the current date is high-
lighted in yellow.
or:To change month.
or:To change year.
“Today”: To display the current month cal-
endar (if another month is displayed).
“List”: To display the list of registered me-
mos. (See “ — Memo list” on page 125.)
Touching a date button on the “Calendar”
screen displays the “Memo” screen.
Memos can be edited by touching the list
button. (See “ — Editing a memo” on page
125.)
“Add Memo”: To add a memo. (See “ —
Adding a memo” on page 124.)
“Mark f”: To change the color of the mark
displayed next to the date. To default the
mark color, touch “Delete”on the “Mark
color” screen.
“Date f”: To change the color of the date.
To default the date color, touch “Delete”
on the “Date color” screen.
“Prev. Day”: To go to the “Memo” screen
of the previous date.
“Today”: To go to the “Memo” screen for
the current day.
“Next Day”: To go to the “Memo” screen
of the next date.
IS F/350/250_Navi_U
(L/O 0808)
Page 181 of 316
Finish
OTHER FUNCTIONS
180
D
Changing between day mode and
night mode
Depending on the position of the headlight
switch, the screen changes to the day
mode or night mode.
To display the screen in the day mode even
with the headlight switch on, touch “Day
Mode” on the adjustment screen for
brightness and contrast control.
However, if the instrument panel light con-
trol switch is turned fully to the right, mode
switching cannot be done. It remains in the
day mode. In this case, “Day Mode”is not
shown on the screen.
If the screen is set in the day mode with the
headlight switch turned to on, this condi-
tion is memorized in the system even with
the engine turned off.
1. Push the “INFO” button.
2. Touch “Screen Setting”.
IS F/350/250_Navi_U
(L/O 0808)
Screen setting
Page 184 of 316
Finish
OTHER FUNCTIONS
183
You can set a beep sound off.
1. Push the “INFO” button.
2. Touch “Beep Off”.
“Beep Off”is highlighted.
To switch the beep sound on, touch “Beep
Off” again. The language of the touch
−screen but-
tons, pop− up messages and the voice
guidance can be changed.
1. Push the “INFO” button.
2. Touch “Language”.
IS F/350/250_Navi_U
(L/O 0808)
Beep setting Selecting a language
Page 192 of 316

Finish
AUDIO/VIDEO SYSTEM
191
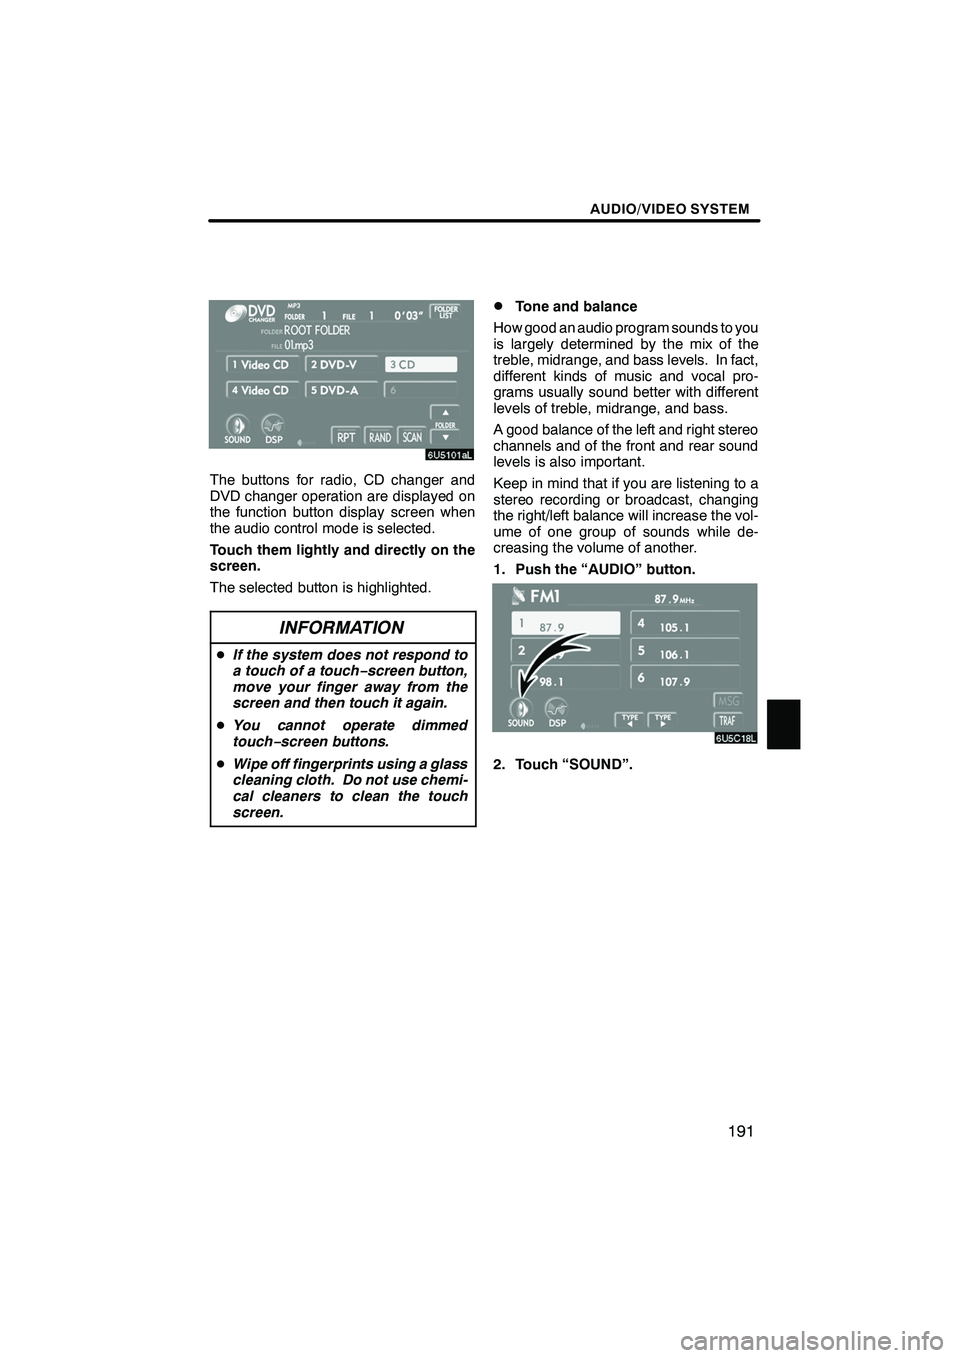
The buttons for radio, CD changer and
DVD changer operation are displayed on
the function button display screen when
the audio control mode is selected.
Touch them lightly and directly on the
screen.
The selected button is highlighted.
INFORMATION
DIf the system does not respond to
a touch of a touch− screen button,
move your finger away from the
screen and then touch it again.
D You cannot operate dimmed
touch− screen buttons.
D Wipe off fingerprints using a glass
cleaning cloth. Do not use chemi-
cal cleaners to clean the touch
screen.
DTone and balance
How good an audio program sounds to you
is largely determined by the mix of the
treble, midrange, and bass levels. In fact,
different kinds of music and vocal pro-
grams usually sound better with different
levels of treble, midrange, and bass.
A good balance of the left and right stereo
channels and of the front and rear sound
levels is also important.
Keep in mind that if you are listening to a
stereo recording or broadcast, changing
the right/left balance will increase the vol-
ume of one group of sounds while de-
creasing the volume of another.
1. Push the “AUDIO” button.
2. Touch “SOUND”.
IS F/350/250_Navi_U
(L/O 0808)
Page 197 of 316

Finish
AUDIO/VIDEO SYSTEM
196
D
Presetting a station
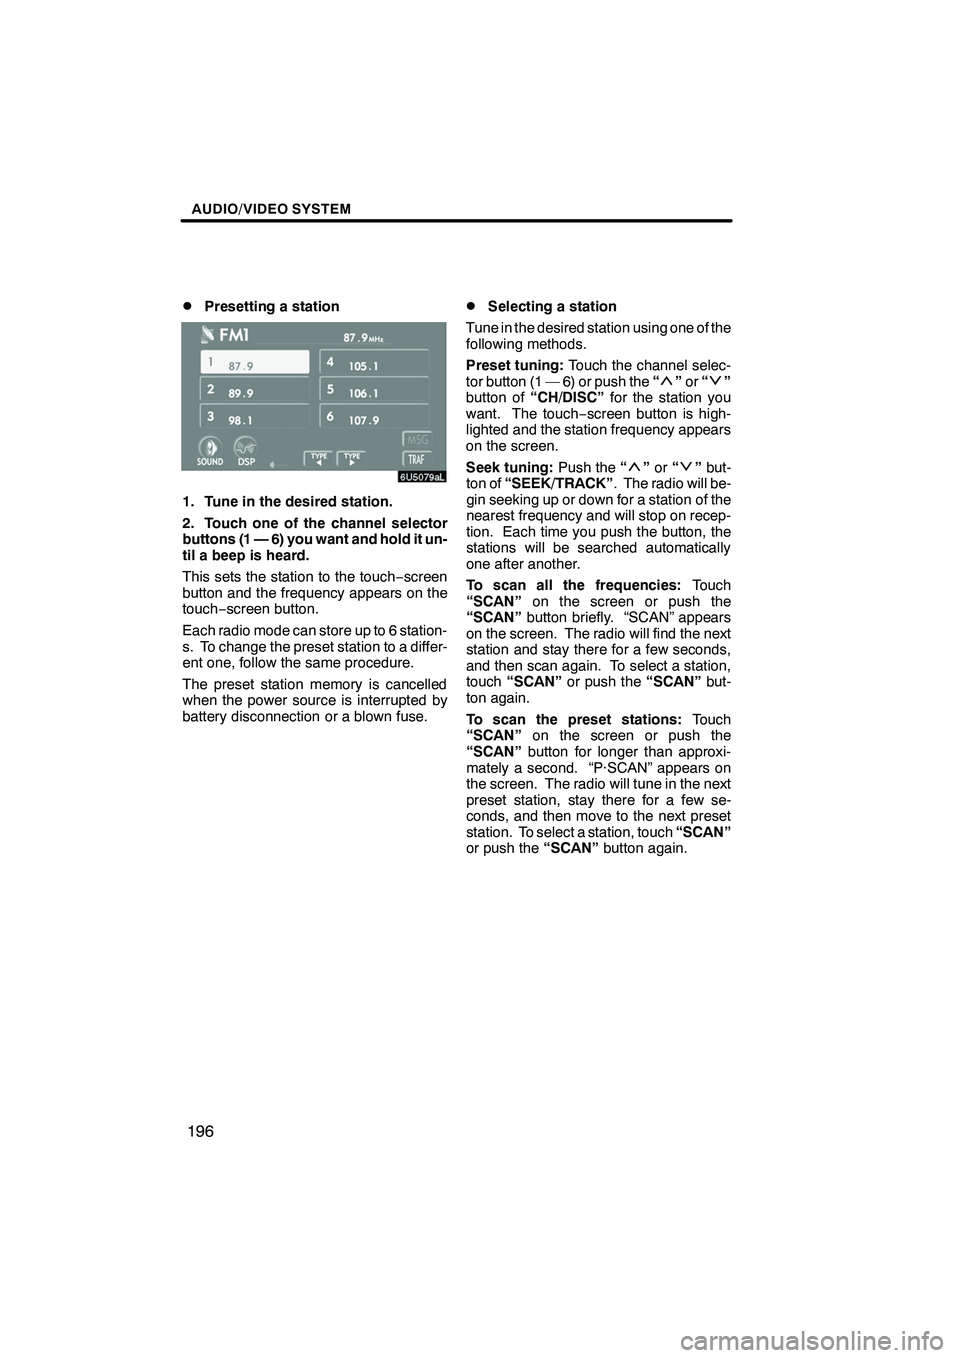
1. Tune in the desired station.
2. Touch one of the channel selector
buttons (1 — 6) you want and hold it un-
til a beep is heard.
This sets the station to the touch
−screen
button and the frequency appears on the
touch− screen button.
Each radio mode can store up to 6 station-
s. To change the preset station to a differ-
ent one, follow the same procedure.
The preset station memory is cancelled
when the power source is interrupted by
battery disconnection or a blown fuse.
DSelecting a station
Tune in the desired station using one of the
following methods.
Preset tuning: Touch the channel selec-
tor button (1 — 6) or push the “
”or “”
button of “CH/DISC” for the station you
want. The touch −screen button is high-
lighted and the station frequency appears
on the screen.
Seek tuning: Push the“
”or “”but-
ton of “SEEK/TRACK” . The radio will be-
gin seeking up or down for a station of the
nearest frequency and will stop on recep-
tion. Each time you push the button, the
stations will be searched automatically
one after another.
To scan all the frequencies: Touch
“SCAN” on the screen or push the
“SCAN” button briefly. “SCAN” appears
on the screen. The radio will find the next
station and stay there for a few seconds,
and then scan again. To select a station,
touch “SCAN” or push the “SCAN”but-
ton again.
To scan the preset stations: Touch
“SCAN” on the screen or push the
“SCAN” button for longer than approxi-
mately a second. “P·SCAN” appears on
the screen. The radio will tune in the next
preset station, stay there for a few se-
conds, and then move to the next preset
station. To select a station, touch “SCAN”
or push the “SCAN”button again.
IS F/350/250_Navi_U
(L/O 0808)
Page 203 of 316
Finish
AUDIO/VIDEO SYSTEM
202
D
Presetting a channel
1. Tune in the desired channel.
2. Touch one of the channel selector
buttons (1 — 6) and hold it until a beep
is heard.
This sets the channel to the touch −screen
button and the name and number of the
channel appears on the touch −screen but-
ton.
Each touch− screen button can store three
SAT channels. To change the preset chan-
nel to a different one, follow the same pro-
cedure.
The preset channel memory is cancelled
when the power source is interrupted by
battery disconnection or a blown fuse.
DSelecting a channel
Tune in the desired channel using one of
the following methods.
Preset tuning: Touch the channel selec-
tor button (1 — 6) for the channel you want.
The button (1 — 6) is highlighted and chan-
nel number appears on the display.
To select channel within the current
category: Push the“
”or “”button of
“SEEK/TRACK”.
IS F/350/250_Navi_U
(L/O 0808)
Page 209 of 316
Finish
AUDIO/VIDEO SYSTEM
208
3. Insert the next disc after the orange
indicators change to green and stay on
and the CD changer door opens.
4. Repeat this procedure until you in-
sert all the discs.
To cancel the operation, push the“LOAD”
button briefly.
If you do not insert the discs within 15 sec-
onds after pushing the “LOAD”button, the
beep will sound and the operation will be
canceled automatically.
NOTICE
Do not insert one disc stacked on top
of another one or feed them in contin-
uously, to prevent discs from getting
stuck in the changer.
DEjecting a single alone:
1. Push the “”or“” button of “CH/
DISC” or touch the disc number button
on the screen to highlight the disc num-
ber you want to eject.
2. Push thebutton for the disc
briefly.
At this time, the orange indicators of the
slot start blinking and the disc is ejected.
3. After the blinking indicators stay on,
remove the disc.
IS F/350/250_Navi_U
(L/O 0808)