Page 87 of 371

Knowing your vehicle78
3
1
2
3
4
5
6
7
8
9
When the ignition switch is turned
ON, the indicator light should illumi-
nate for approximately 6 seconds,
then go off.
Have the system checked if:
The light does not turn on briefly
when you turn the ignition ON.
The light stays on after the engine starts.
The light comes on while the vehi- cle is in motion.
Airbag (Supplemental
Restraint System) service Your Supplemental Restraint System
is virtually maintenance-free. There
are no parts which you can service.
You must have the system serviced
under the following circumstances:
If an airbag ever inflates, the airbagmust be replaced. Do not try to
remove or discard the airbag by
yourself. This must be done by an
authorized Kia dealer.
If the airbag warning indicator light alerts you to a problem, have the
airbag system checked as soon as
possible. Otherwise, your airbag
system may be ineffective.
WARNING
- No mainte-
nance or repair
Do not work on the airbag sys- tem’s components or wiring.
This could cause the airbags
to inflate inadvertently, possi-
bly seriously injuring some-
one. Working on the system
could also disable the system
so that the airbags would not
deploy in a collision.
Any work on the airbag sys- tem, such as removing,
installing, or repairing the
steering wheel must be per-
formed by a qualified Kia tech-
nician. Improper handling of
the airbag system including
the steering wheel may result
in serious personal injury or
death.
WARNING
- No modifica-
tions
Do not modify any part of the
airbag system modification
could make the airbag system
ineffective.
Page 89 of 371
Knowing your vehicle80
3
1
2
3
4
5
6
7
8
9
Opening the hood:1. Pull the release lever on the lower
left side of the instrument panel to
unlatch the hood. The hood should
pop open slightly. 2. Go to the front of the vehicle, raise
the hood slightly, pull the sec-
ondary latch (
➀) inside of the
hood center and lift (
➁) the hood. 3. Lift the hood and hold it open with
the support rod by inserting the
free end of the rod into the slot
(
➀).
HOOD
1KMA2021
6KMA2022
1KMA2023
CAUTION -
Hot parts
Grasp the support rod in thearea wrapped in rubber. The rub-ber will help prevent you frombeing burned by hot metal whenthe engine is hot.
➀
Page 90 of 371

381
1
2
3
4
5
6
7
8
9
Knowing your vehicle
Closing the hood1. Before closing the hood, check thefollowing:
ment must be correctly installed.
bustible material must be
removed from the engine com-
partment.
2. Secure the support rod in its clip.
3. Lower the hood to about 30 cm (12 inches) height and then let it
drop to properly lock in place.
Make sure the hood is properly
locked before driving. 1. Stop the engine.
2. To open the fuel filler lid, pull the
release lever. 3. Pull the fuel filler lid out to open.
4. To remove the cap, turn the fuel
tank cap counter-clockwise.
5. Refuel as needed.
6. To install the cap, turn it clockwise until it “clicks”. This indicates that
the cap is securely tightened.
7. Close the fuel filler lid and push it lightly and make sure that it is
securely closed.
CAUTION -
Hood
Before closing the hood, makesure that all engine parts andtools have been removed fromthe engine area and that noone’s hands are near the hoodopening.
Do not leave gloves, rags or any other combustible materi-al in the engine compartment.Doing so may cause a heat-induced fire.
FUEL FILLER LID
1KMA2019
1KMB2020
CAUTION
To avoid injury from sharpedges, it is recommended thatprotective gloves be worn ifthere is a need to open the fuelfiller door manually.
Page 92 of 371

383
1
2
3
4
5
6
7
8
9
Knowing your vehicle
✽ ✽NOTICE• Make sure to refuel with unleaded
fuel only.
• Check to make sure the fuel filler cap is securely closed after refuel-
ing. A loose fuel filler cap may
cause the "Check Engine"
(Malfunction Indicator) light in
the instrument panel to illuminate
unnecessarily.
• If the fuel filler cap requires replacement, use only a genuine
Kia cap or the equivalent specified
for your vehicle. An incorrect fuel
filler cap can result in a serious
malfunction of the fuel system or
emission control system.
• Do not spill fuel on the exterior surfaces of the vehicle. Any type of
fuel spilled on painted surfaces
may damage the paint.
(Continued)
Use only portable plastic fuel
containers designed to carry
and store gasoline.
Do not use cellular phones while refueling. Electric cur-
rent and/or electronic interfer-
ence from cellular phones can
potentially ignite fuel vapors
causing a fire.
When refueling, always shut the engine off. Sparks pro-
duced by electrical compo-
nents related to the engine
can ignite fuel vapors causing
a fire. Once refueling is com-
plete, check to make sure the
filler cap and filler door are
securely closed, before start-
ing the engine.
(Continued)
(Continued)
DO NOT use matches or alighter and DO NOT SMOKE or
leave a lit cigarette in your
vehicle while at a gas station
especially during refueling.
Automotive fuel is highly flam-
mable and can, when ignited,
result in fire.
If a fire breaks out during refu- eling, leave the vicinity of the
vehicle, and immediately con-
tact the manager of the gas
station and then contact the
local fire department.
Page 95 of 371

Knowing your vehicle86
3
1
2
3
4
5
6
7
8
9
Outside rearview mirror heater
(if equipped) The outside rearview mirror heater is
actuated in connection with the rear
window defroster. To heat the outside
rearview mirror glass, push the but-
ton for the rear window defroster.
The rearview mirror heater (and rear
window defroster) will not operate
unless the engine is running.
The outside rearview mirror glass will
be heated for defrosting or defogging
and will give you improved rear
vision in inclement weather condi-
tions. Push the button again to turn
the heater off. The outside rearview
mirror heater automatically turns off
after 20 minutes.
Inside rearview mirrorAdjust the rearview mirror to center
on the view through the rear window.
Make this adjustment before you
start driving.
Day/night rearview mirror (if equipped) Manual type (if equipped)
Make this adjustment before you
start driving and while the day/night
lever is in the day position.
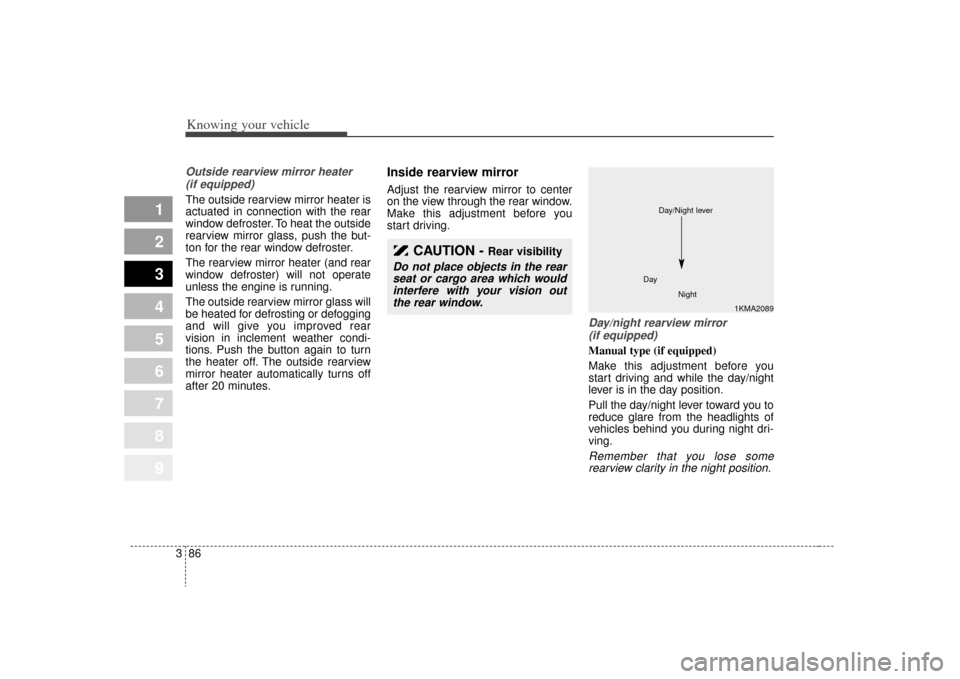
Pull the day/night lever toward you to
reduce glare from the headlights of
vehicles behind you during night dri-
ving.Remember that you lose somerearview clarity in the night position.
CAUTION -
Rear visibility
Do not place objects in the rearseat or cargo area which wouldinterfere with your vision outthe rear window.
1KMA2089
Day
Night
Day/Night lever
Page 96 of 371

387
1
2
3
4
5
6
7
8
9
Knowing your vehicle
Electric type (if equipped)
The electric day/night rearview mir-
ror automatically controls the glare
from the headlights of the car behind
you in nighttime or low light driving
conditions. The sensor mounted in
the mirror senses the light level
around the vehicle, and through a
chemical reaction, automatically
controls the headlight glare from
vehicles behind you.
When the engine is running, the
glare is automatically controlled by
the sensor mounted in the rearview
mirror.
Whenever the shift lever is shifted
into reverse (R), the mirror will auto-
matically go to the brightest setting in
order to improve the drivers view
behind the vehicle.✽ ✽NOTICEWhen cleaning the mirror, use a
paper towel or similar material
dampened with glass cleaner. Do not
spray glass cleaner directly on the
mirror as that may cause the liquid
cleaner to enter the mirror housing.
Type A (with compass)
To operate the electric rearview mir-
ror:
Press and hold the ON/OFF button
(➀) for 3~6 seconds to turn the auto-
matic- dimming function on. The mir-
ror indicator light will illuminate.
Press and hold the ON/OFF button
(➀) for 3~6 seconds once again to
turn the automatic- dimming function
off. The mirror indicator light will turn
off. Type B (with homelink wireless
control system)
To operate the electric rearview mir-
ror:
Press the “I” button (
➀) to turn the
automatic- dimming function on. The
mirror indicator light will illuminate.
Press the “O” button (➁) to turn the
automatic- dimming function off. The
mirror indicator light will turn off.
2GHN3310
➀
➁
1KMA3084A
➀
Page 101 of 371

Knowing your vehicle92
3
1
2
3
4
5
6
7
8
9
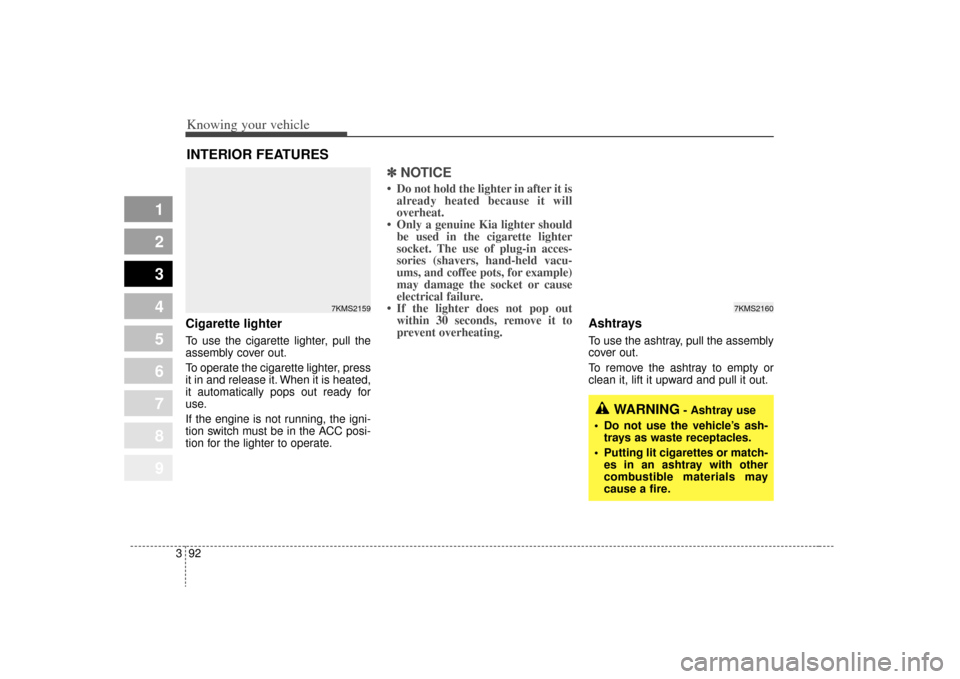
Cigarette lighterTo use the cigarette lighter, pull the
assembly cover out.
To operate the cigarette lighter, press
it in and release it. When it is heated,
it automatically pops out ready for
use.
If the engine is not running, the igni-
tion switch must be in the ACC posi-
tion for the lighter to operate.
✽ ✽
NOTICE• Do not hold the lighter in after it is
already heated because it will
overheat.
• Only a genuine Kia lighter should be used in the cigarette lighter
socket. The use of plug-in acces-
sories (shavers, hand-held vacu-
ums, and coffee pots, for example)
may damage the socket or cause
electrical failure.
• If the lighter does not pop out within 30 seconds, remove it to
prevent overheating.
Ashtrays To use the ashtray, pull the assembly
cover out.
To remove the ashtray to empty or
clean it, lift it upward and pull it out.
INTERIOR FEATURES
WARNING
- Ashtray use
Do not use the vehicle’s ash- trays as waste receptacles.
Putting lit cigarettes or match- es in an ashtray with other
combustible materials may
cause a fire.
7KMS2159
7KMS2160
Page 103 of 371
Knowing your vehicle94
3
1
2
3
4
5
6
7
8
9
SunvisorUse the sunvisor to shield direct light
through the front or side windows.
To use a sunvisor, pull it downward.
To use a sunvisor for a side window,
pull it downward, unsnap it from the
bracket (
➀) and swing it to the side.
Adjust the sunvisor forward or back-
ward.
To use the vanity mirror (if equipped),
pull down the visor and pull up the
mirror cover (
➁, if equipped).
✽ ✽ NOTICE
- Vanity mirror
(if equipped)
Close the vanity mirror cover (if
equipped) securely and return the
sunvisor to its original position after
use.
Power socket (if equipped)The power outlets are designed to
provide power for mobile telephones
or other devices designed to operate
with vehicle electrical systems. The
devices should draw less than 10
amps with the engine running.
8KMB2158
➀
➁
1KMA21631KMB2162
Front (if equipped)Rear (if equipped)