Page 128 of 356
3 119
Features of your vehicle
Average fuel consumption (“AVG”
shown on display)This mode calculates the average fuel
consumption from the total fuel used and
the distance since the last average con-
sumption reset. The total fuel used is cal-
culated from the fuel consumption input.
For an accurate calculation, drive more
than 500 m (0.3 miles).
The meter's working range is from 0.0 to
99.9 l/100 km (0.0 to 99.9 miles per gal-
lon).
Pressing the RESET button for less than
4 seconds, when the average fuel con-
sumption is being displayed, clears the
average fuel consumption to “- -” until the
vehicle is moved to 500 m (0.3 miles).
Outside temperatureThis mode indicates the outside temper-
ature around the vehicle.
The meter’s working range is from
-40°C to 60°C (-40°F~140°F).
Unit conversionThe unit on each mode can be changed
by pushing the RESET button for more
than 4 seconds as follows:
Distance to empty: km ↔ MI
Average fuel consumption: l/100km ↔
MPG
Outside temperature: °C ↔ °F
The units on the mode of distance to
empty and average fuel consumption are
changed together. However, the outside
temperature mode display units are
changed separately.
1VQA2322
1VQA2320
OVQ036040N
Page 162 of 356
3 153
Features of your vehicle
Adjusting the driver and passenger side
temperature equally
1. Press the DUAL button again to deac-tivate DUAL mode. The passenger
side temperature will be set to the
same as the driver side temperature.
2. Press the left temperature control but- ton. The driver and passenger side
temperature will be adjusted equally.Temperature conversionIf the battery has been discharged or dis-
connected, the temperature mode dis-
play will reset to Centigrade.
This is normal condition and you can
switch the temperature mode between
Centigrade to Fahrenheit as follows;
While depressing the AUTO button,
depress the OFF button for 3 seconds or
more. The display will change from
Centigrade to Fahrenheit, or from
Fahrenheit to Centigrade.
Front fan speed control knobThe fan speed can be set to the desired
speed by turning the fan speed control
knob.
The higher the fan speed is, the more air
is delivered.
Pressing the OFF button turns off the
fan.
Air intake control button This is used to select outside (fresh) air
position or recirculated air position.
To change the air intake control position,
push the control button.
OVQ049325
OVQ049326
Page 175 of 356
Features of your vehicle166
3Defogging logicManual climate control systemTo reduce the probability of fogging up
the inside of the windshield, the air intake
control is set to the outside (fresh) air
position automatically if any of following
occur. The mode is selected to the or
while the system is activated. The ignition switch is turned on while the
mode is selected to the or .
In this case, the air conditioning will auto-
matically operate if the mode is selected
to the or (while the fan is operat-
ed).
If you don’t want the air-conditioning or
outside (fresh) air position, press the cor-
responding button to cancel the opera-
tion. How to cancel or return defogging logic
of manual climate control system
1. Turn the ignition switch to the ON posi-
tion.
2. Turn the fan speed control knob to the OFF (0) position.
3. Turn the mode selection knob to the defrost position ( ).
4. Push the air intake control button ( ) at least 5 times within 3 sec-
onds. The indicator light in the air intake control
button will blink 3 times with 0.5 second
of interval. It indicates that the defogging
logic is canceled or returned to the pro-
grammed status.
If the battery has been discharged or dis-
connected, it is reset as the defog logic
status.
OVQ049341
Page 176 of 356
3 167
Features of your vehicle
Automatic climate control systemTo reduce the probability of fogging up
inside of the windshield, the air intake
control is set to outside (fresh) air posi-
tion automatically if any of following
occur.
The ignition switch is turned on whilethe mode is selected to the
,
.
The OFF button is pushed.
The mode is selected to the or position.
In this case, the air conditioning will auto-
matically operate if the mode is selected
to the (while the fan is operated) or .
If you don’t want the air-conditioning or
outside (fresh) air position, press the cor-
responding button to cancel the opera-
tion.
If the mode is selected to the posi-
tion, higher fan speed will be selected
automatically regardless of the fan speed
control knob adjustment. How to cancel or return defogging logic
of automatic climate control system
1. Turn the ignition switch to the ON posi-
tion.
2. Select the defrost position pressing defrost button ( ).
3. While holding the air conditioning but- ton (A/C) pressed, press the air intake
control button ( ) at least 5 times
within 3 seconds.
The display panel blinks 3 times with 0.5
second of interval. It indicates that the
defogging logic is canceled or returned to
the programmed status.
If the battery has been discharged or dis-
connected, it is reset as the defog logic
status. To keep items from shifting in the cargo
area, you can use the four holders locat-
ed in the cargo area to attach the lug-
gage net.
Contact your authorized Kia dealer to
obtain a luggage net.
OVQ049342
OVQ036085N
LUGGAGE NET HOLDER
(IF EQUIPPED)
Page 189 of 356
Features of your vehicle180
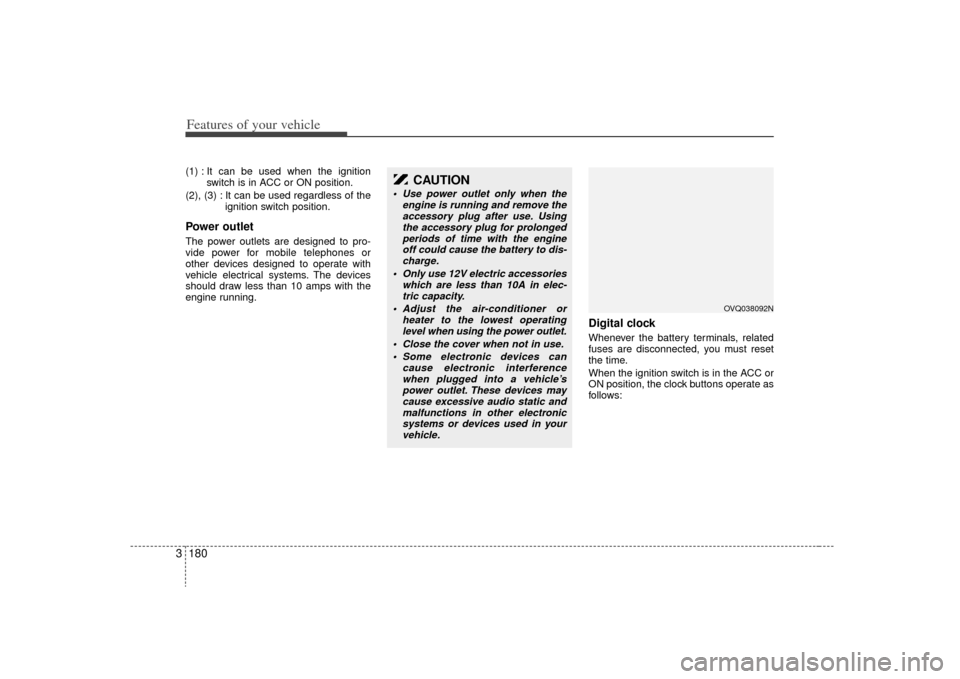
3(1) : It can be used when the ignition
switch is in ACC or ON position.
(2), (3) : It can be used regardless of the ignition switch position.Power outletThe power outlets are designed to pro-
vide power for mobile telephones or
other devices designed to operate with
vehicle electrical systems. The devices
should draw less than 10 amps with the
engine running.
Digital clockWhenever the battery terminals, related
fuses are disconnected, you must reset
the time.
When the ignition switch is in the ACC or
ON position, the clock buttons operate as
follows:
CAUTION
Use power outlet only when theengine is running and remove theaccessory plug after use. Usingthe accessory plug for prolonged periods of time with the engineoff could cause the battery to dis-charge.
Only use 12V electric accessories which are less than 10A in elec-tric capacity.
Adjust the air-conditioner or heater to the lowest operatinglevel when using the power outlet.
Close the cover when not in use. Some electronic devices can cause electronic interferencewhen plugged into a vehicle’s power outlet. These devices maycause excessive audio static andmalfunctions in other electronic systems or devices used in yourvehicle.
OVQ038092N
Page 195 of 356
Features of your vehicle186
3
1. FM/AM Selection Button
2. SAT Selection Button
3. CD Selection Button
4. AUX Selection Button
5. Automatic Channel Selection Button
6. Power ON/OFF & VOLUME Button
7. SCAN Selection Button
8. MUTE Selection Button
9. INFO Selection Button
10. SETUP Selection Button
11. TUNE/ENTER Knob
12. Preset Selection Button
RADIO, SET UP, VOLUME CONTROL (PA710S) (IF EQUIPPED)
A-200VQU
Page 196 of 356
3187
Features of your vehicle
1. FM/AM Selection ButtonTurns to FM mode and toggles FM1 and
FM2 and AM when the button is pressed
each time.2. SAT Selection ButtonTurns to SAT mode, and toggles in the
order of SAT1
➟SAT2
➟SAT3
➟SAT1
➟...
when the button is pressed each time.
3. CD Selection ButtonIf there is a CD in the CDP DECK it plays
the CD.
Press CD button to automatically insert
CD when the disc is ejected from the
deck by pressing CD EJECT.4. AUX Selection ButtonIf the auxiliary device is connected, it
turns to AUX MODE to play the sound
from the auxiliary player.
If no Disc and auxiliary device is con-
nected, it displays "NO Media" for 5 sec-
onds and returns to the previous mode.
5. Automatic Channel Selection Button When the [SEEK ] button is pressed,
it reduces the band frequency to auto-
matically select a channel. Stops at the
previous frequency if no channel is
found.
When the [SEEK ] button is pressed, it increases the band frequency to auto-
matically select a channel. Stops at the
previous frequency if no channel is
found.6. Power ON/OFF & Volume Control ButtonTurns the set on/off when the IGNITION
SWITCH is on ACC or ON. If the button
is turned to the right, it increases the vol-
ume and left, decreases the volume.7. SCAN Selection ButtonWhen the button is pressed, it automati-
cally only [SCAN] up. The sound hearing
for 5 seconds per all searched station
preset.
8. MUTE Selection ButtonWhen inputting [MUTE] button, indicate
"AUDIO MUTE" at the some time with
output [MUTE].9. INFO Selection ButtonDisplays the information of the channel
currently played by SAT.10. SETUP Selection ButtonPress this button to turn to the SCROLL,
SDVC, SIRIUS and adjustment mode.
If no action is taken for 5 seconds after
pressing the button, it will return to the play
mode.(After entering SETUP mode, move
between items using the left, right and
PUSH functions of the [TUNE] button.)
The setup item changes from SCROLL
➟
SDVC
➟SIRIUS
➟SCROLL
➟...
Page 197 of 356
Features of your vehicle188
311. TUNE/ENTER KnobTurn this button clockwise by one notch
to increase frequency by 200KHz(AM:
10KHz) from current frequency.
Turn this button counterclockwise by one
notch to decrease frequency by 200KHz
(AM:10KHz)from current frequency.
Press this button while holding SETUP
button to activate / inactivate the item to.
Select SETUP item using left and right
function of the Tune button.12. Preset Selection ButtonPush [1]~[6] buttons less than 0.8 second
to play the channel saved in each button.
Push preset button for 0.8 second or
longer to save current channel to the
respective button with a beep.