2009 KIA Sedona fuel cap
[x] Cancel search: fuel capPage 39 of 356
Features of your vehicle30
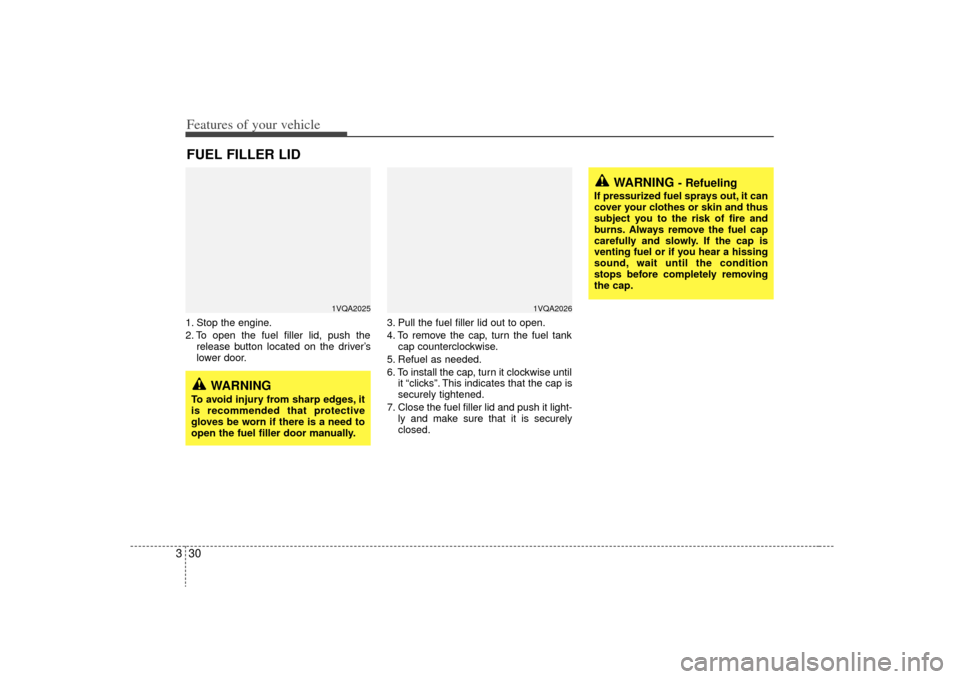
31. Stop the engine.
2. To open the fuel filler lid, push the
release button located on the driver’s
lower door. 3. Pull the fuel filler lid out to open.
4. To remove the cap, turn the fuel tank
cap counterclockwise.
5. Refuel as needed.
6. To install the cap, turn it clockwise until it “clicks”. This indicates that the cap is
securely tightened.
7. Close the fuel filler lid and push it light- ly and make sure that it is securely
closed.FUEL FILLER LID
1VQA2026
WARNING
To avoid injury from sharp edges, it
is recommended that protective
gloves be worn if there is a need to
open the fuel filler door manually.
WARNING
- Refueling
If pressurized fuel sprays out, it can
cover your clothes or skin and thus
subject you to the risk of fire and
burns. Always remove the fuel cap
carefully and slowly. If the cap is
venting fuel or if you hear a hissing
sound, wait until the condition
stops before completely removing
the cap.
1VQA2025
Page 40 of 356

331
Features of your vehicle
WARNING -
Refueling dan-
gers
Automotive fuels are flammable
materials. When refueling, please
note the following guidelines care-
fully. Failure to follow these guide-
lines may result in severe personal
injury, severe burns or death by fire
or explosion.
Before refueling note the locationof the Emergency Gasoline Shut-
Off, if available, at the gas station
facility.
Before touching the fuel nozzle, you should eliminate potentially
dangerous static electricity dis-
charge by touching another metal
part of the vehicle, a safe distance
away from the fuel filler neck, noz-
zle, or other gas source.
(Continued)
(Continued)
Do not get back into a vehicleonce you have begun refueling
since you can generate static
electricity by touching, rubbing or
sliding against any item or fabric
(polyester, satin, nylon, etc.)
capable of producing static elec-
tricity. Static electricity discharge
can ignite fuel vapors resulting in
rapid burning. If you must re-
enter the vehicle, you should
once again eliminate potentially
dangerous static electricity dis-
charge by touching a metal part
of the vehicle, away from the fuel
filler neck, nozzle or other gaso-
line source.
When using a portable fuel con- tainer be sure to place the con-
tainer on the ground prior to refu-
eling. Static electricity discharge
from the container can ignite fuel
vapors causing a fire. Once refu-
eling has begun, contact with the
vehicle should be maintained
until the filling is complete.
(Continued)
(Continued)Use only portable plastic fuel
containers designed to carry and
store gasoline.
Do not use cellular phones while refueling. Electric current and/or
electronic interference from cellu-
lar phones can potentially ignite
fuel vapors causing a fire.
When refueling, always shut the engine off. Sparks produced by
electrical components related to
the engine can ignite fuel vapors
causing a fire. Once refueling is
complete, check to make sure the
filler cap and filler door are
securely closed, before starting
the engine.
DO NOT use matches or a lighter and DO NOT SMOKE or leave a lit
cigarette in your vehicle while at a
gas station especially during
refueling. Automotive fuel is high-
ly flammable and can, when ignit-
ed, result in fire.
(Continued)
Page 41 of 356

Features of your vehicle32
3
When fuel filler lid does not open
with the release buttonIf the fuel filler lid does not open using
the remote fuel filler lid release, you can
open it manually. Unsnap and remove the
panel in the cargo area. Pull the handle
outward.
(Continued)
If a fire breaks out during refuel-
ing, leave the vicinity of the vehi-
cle, and immediately contact the
manager of the gas station and
then contact the local fire depart-
ment or 911. Follow any safety
instructions they provide.
CAUTION
Make sure to refuel with unleaded fuel only.
Check to make sure the fuel filler cap is securely closed after refu-eling. A loose fuel filler cap may cause the "Check Engine"(Malfunction Indicator) light in theinstrument panel to illuminate unnecessarily.
If the fuel filler cap requires replacement, use only a genuineKia cap or the equivalent speci- fied for your vehicle. An incorrectfuel filler cap can result in a seri-ous malfunction of the fuel sys-tem or emission control system.
Do not spill fuel on the exterior surfaces of the vehicle. Any typeof fuel spilled on painted surfacesmay damage the paint.
If the fuel filler lid will not open in cold weather because the areaaround it is frozen, push or lightly tap the lid.
OVQ036007N
Page 122 of 356
3 113
Features of your vehicle
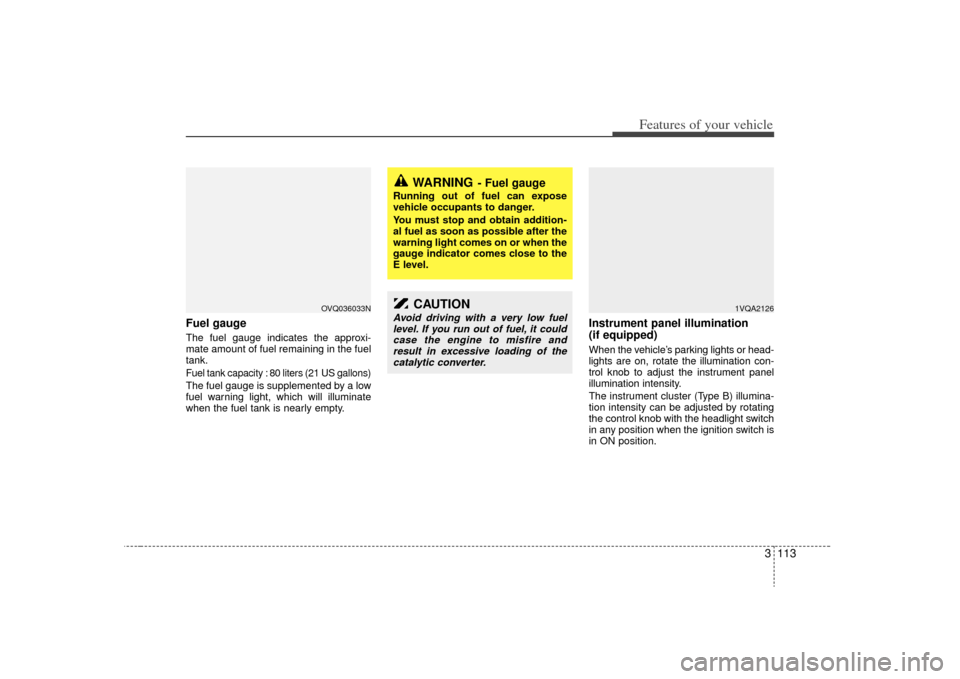
Fuel gaugeThe fuel gauge indicates the approxi-
mate amount of fuel remaining in the fuel
tank.Fuel tank capacity : 80 liters (21 US gallons)The fuel gauge is supplemented by a low
fuel warning light, which will illuminate
when the fuel tank is nearly empty.
Instrument panel illumination
(if equipped)When the vehicle’s parking lights or head-
lights are on, rotate the illumination con-
trol knob to adjust the instrument panel
illumination intensity.
The instrument cluster (Type B) illumina-
tion intensity can be adjusted by rotating
the control knob with the headlight switch
in any position when the ignition switch is
in ON position.
OVQ036033N
WARNING
- Fuel gauge
Running out of fuel can expose
vehicle occupants to danger.
You must stop and obtain addition-
al fuel as soon as possible after the
warning light comes on or when the
gauge indicator comes close to the
E level.
1VQA2126
CAUTION
Avoid driving with a very low fuellevel. If you run out of fuel, it couldcase the engine to misfire and result in excessive loading of thecatalytic converter.
Page 132 of 356
3 123
Features of your vehicle
Immobilizer indicator
(if equipped)This light illuminates when the immobiliz-
er key is inserted and turned to the ON
position to start the engine.
At this time, you can start the engine. The
light goes out after the engine is running.
If this light blinks when the ignition switch
is in the ON position before starting the
engine, have the system checked by an
authorized Kia Dealer.Low fuel level
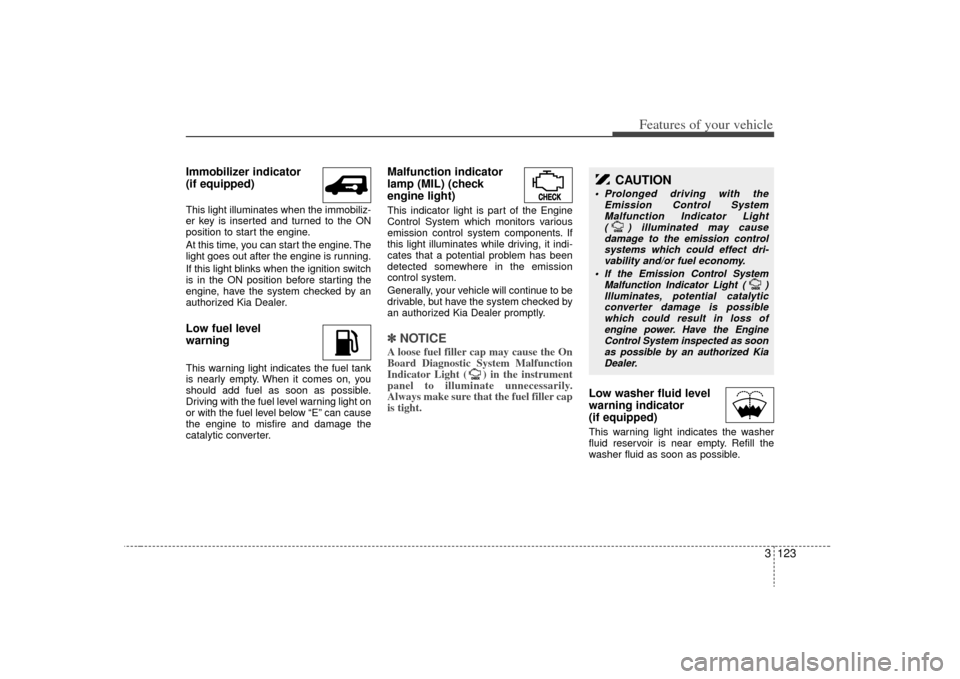
warningThis warning light indicates the fuel tank
is nearly empty. When it comes on, you
should add fuel as soon as possible.
Driving with the fuel level warning light on
or with the fuel level below “E” can cause
the engine to misfire and damage the
catalytic converter.
Malfunction indicator
lamp (MIL) (check
engine light)This indicator light is part of the Engine
Control System which monitors various
emission control system components. If
this light illuminates while driving, it indi-
cates that a potential problem has been
detected somewhere in the emission
control system.
Generally, your vehicle will continue to be
drivable, but have the system checked by
an authorized Kia Dealer promptly.✽ ✽NOTICE A loose fuel filler cap may cause the On
Board Diagnostic System Malfunction
Indicator Light ( ) in the instrument
panel to illuminate unnecessarily.
Always make sure that the fuel filler cap
is tight.
Low washer fluid level
warning indicator
(if equipped) This warning light indicates the washer
fluid reservoir is near empty. Refill the
washer fluid as soon as possible.
CAUTION
Prolonged driving with the
Emission Control SystemMalfunction Indicator Light ( ) illuminated may cause damage to the emission controlsystems which could effect dri-vability and/or fuel economy.
If the
Emission
Control System
Malfunction Indicator Light ( ) Illuminates, potential catalytic converter damage is possiblewhich could result in loss ofengine power. Have the Engine Control System inspected as soonas possible by an authorized KiaDealer.
Page 277 of 356
429
Driving your vehicle
Your vehicle can tow a trailer. To identify
what the vehicle trailering capacity is for
your vehicle, you should read the infor-
mation in “Weight of the Trailer” that
appears later in this section.
Remember that trailering is different than
just driving your vehicle by itself.
Trailering means changes in handling,
durability, and fuel economy. Successful,
safe trailering requires correct equip-
ment, and it has to be used properly.This section contains many time-tested,
important trailering tips and safety rules.
Many of these are important for your
safety and that of your passengers.
Please read this section carefully before
you pull a trailer.
Load-pulling components such as the
engine, transaxle, wheel assemblies, and
tires are forced to work harder against
the load of the added weight. The engine
is required to operate at relatively higher
speeds and under greater loads. This
additional burden generates extra heat.
The trailer also adds considerably to
wind resistance, increasing the pulling
requirements.
Hitches It's important to have the correct hitch
equipment. Crosswinds, large trucks
going by, and rough roads are a few rea-
sons why you’ll need the right hitch. Here
are some rules to follow:
Will you have to make any holes in the
body of your vehicle when you install a
trailer hitch? If you do, then be sure to
seal the holes later when you remove
the hitch.
If you don’t seal them, deadly carbon
monoxide (CO) from your exhaust can
get into your vehicle, as well as dirt and
water.
The bumpers on your vehicle are not intended for hitches. Do not attach
rental hitches or other bumper-type
hitches to them. Use only a frame-
mounted hitch that does not attach to
the bumper.
Item kg (lbs.)
Maximum trailer Without trailer brakes 453 (1000)
weight With trailer brakes 1587 (3500)
Maximum permissible static vertical
load on the coupling device 158 (350)
CAUTION
Pulling a trailer improperly can
damage your vehicle and result in costly repairs not covered by yourwarranty. To pull a trailer correctly,follow the advice in this section.
Page 305 of 356

63
Maintenance
MAINTENANCE SCHEDULE
MAINTENANCEINTERVALS
MAINTENANCE
ITEM
Engine control system
Kilometers or time in months, whichever comes first
× 1,000 km 8 16 24 32 40 48 56 64 72 80 88 96 104 112 120 128
# Months 4 8 12 16 20 24 28 32 36 40 44 48 52 56 60 64
Engine oil & engine oil filter (1) R R R R R R RRRRRRR RRR
Drive belts (tension) I I I I
Cooling system hoses & connections I I I I I
Engine coolant (1) I I I I I R IIIIIRI III
Fuel filter RR
Fuel tank cap, lines, EVAP canister and hoses
II
Fuel tank air filter I R I R I
Air cleaner element (2) I I I I I R IIIIIRI III
Ignition wires I I
Spark plugs
PCV valve (if equipped) I I I I
Idle speed I I I I I
Valve clearance (3) IReplace every 160,000 km
Page 342 of 356
Maintenance40
6Cold Tire Pressure: The amount of
air pressure in a tire, measured in
kilopascals (kPa) or pounds per
square inch (psi) before a tire has
built up heat from driving.
Curb Weight: This means the weight
of a motor vehicle with standard and
optional equipment including the
maximum capacity of fuel, oil and
coolant, but without passengers and
cargo.
DOT Markings: The DOT code
includes the Tire Identification
Number (TIN), an alphanumeric des-
ignator which can also identify the
tire manufacturer, production plant,
brand and date of production.
GVWR: Gross Vehicle Weight Rating
GAWR FRT: Gross Axle Weight
Rating for the front Axle.
GAWR RR: Gross Axle Weight
Rating for the rear axle. Intended Outboard Sidewall
: The
side of an asymmetrical tire, that
must always face outward when
mounted on a vehicle.
Kilopascal (kPa): The metric unit for
air pressure.
Load Index: An assigned number
ranging from 1 to 279 that corre-
sponds to the load carrying capacity
of a tire.
Maximum Inflation Pressure : The
maximum air pressure to which a
cold tire may be inflated. The maxi-
mum air pressure is molded onto the
sidewall.
Maximum Load Rating : The load
rating for a tire at the maximum per-
missible inflation pressure for that
tire.
Maximum Loaded Vehicle Weight:
The sum of curb weight; accessory
weight; vehicle capacity weight; and
production options weight.
Normal Occupant Weight:The
number of occupants a vehicle is
designed to seat multiplied by 68 kg
(150 pounds). Occupant Distribution
: Designated
seating positions.
Outward Facing Sidewall: The side
of a asymmetrical tire that has a par-
ticular side that faces outward when
mounted on a vehicle. The outward
facing sidewall bears white lettering
or bears manufacturer, brand, and/or
model name molding that is higher or
deeper than the same moldings on
the inner facing sidewall.
Passenger (P-Metric) Tire : A tire
used on passenger cars and some
light duty trucks and multipurpose
vehicles.
Recommended Inflation Pressure :
Vehicle manufacturer's recommend-
ed tire inflation pressure and shown
on the tire placard.
Radial Ply tire: A pneumatic tire in
which the ply cords that extend to the
beads are laid at 90 degrees to the
centerline of the tread.
Rim: A metal support for a tire and
upon which the tire beads are seat-
ed.
Sidewall: The portion of a tire
between the tread and the bead.