Page 98 of 321
Knowing your vehicle86
3Outside rearview mirror heater
(if equipped) The outside rearview mirror heater is
actuated in connection with the rear win-
dow defroster. To heat the outside
rearview mirror glass, push the button for
the rear window defroster.
The outside rearview mirror glass will be
heated for defrosting or defogging and
will give you improved rear vision in
inclement weather conditions. Push the
button again to turn the heater off. The
outside rearview mirror heater automati-
cally turns off after 20 minutes.
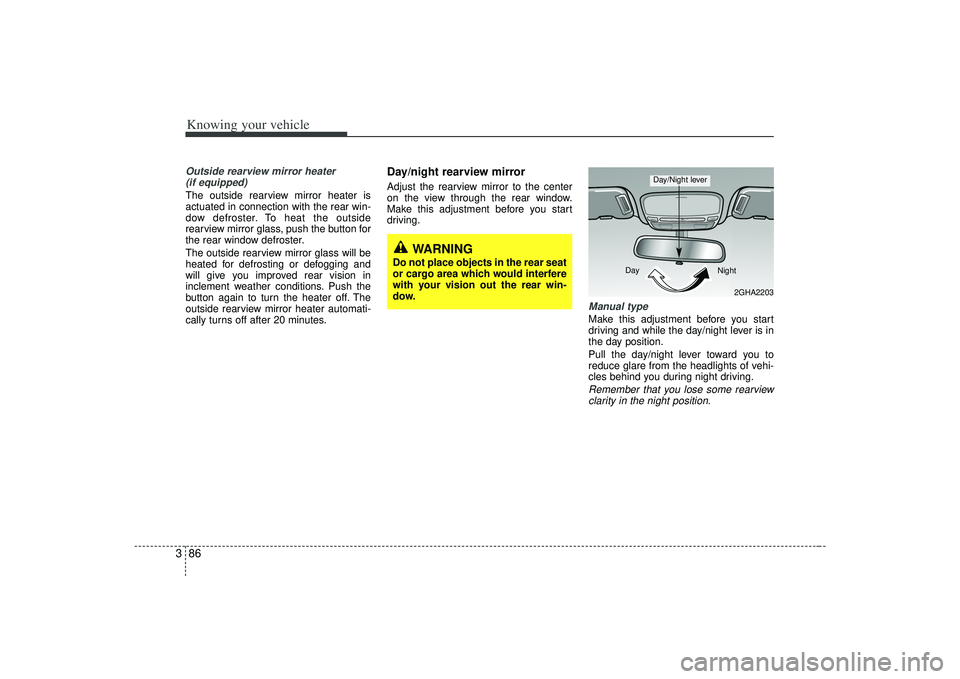
Day/night rearview mirror Adjust the rearview mirror to the center
on the view through the rear window.
Make this adjustment before you start
driving.
Manual type Make this adjustment before you start
driving and while the day/night lever is in
the day position.
Pull the day/night lever toward you to
reduce glare from the headlights of vehi-
cles behind you during night driving.Remember that you lose some rearviewclarity in the night position.
WARNING
Do not place objects in the rear seat
or cargo area which would interfere
with your vision out the rear win-
dow.
2GHA2203
Day
Night
Day/Night lever
Page 100 of 321
Knowing your vehicle88
3Map light Front (if equipped)The lights are turned ON or OFF by
pressing the corresponding switch.
Dome light (if equipped)➀
OFF - The light stays off even when a
door is open.
➁ DOOR - The light turns on when a door
is opened or when a door is
unlocked by the transmitter (if
equipped). Interior light goes
out slowly after 30 seconds if
the door is closed. However if
the ignition switch is ON or all
vehicle doors are locked when
the door is closed, interior light
will turn off even within 30 sec-
onds.
➂
ON - The light turns on and stays oneven when the doors are all
closed.
Door courtesy lamp The door courtesy lamp comes ON when
the door is opened to assist entering or
exiting the vehicle. It also serves as a
warning to passing vehicles that the
vehicle door is open.
INTERIOR LIGHTS
2GHA2060
OFF DOOR
ON
E2BLA324
2GHB3004
Page 138 of 321
Driving your vehicle24Illuminated ignition switchWhenever a door is opened, the ignition
switch will be illuminated for your con-
venience, provided the ignition switch is
not in the ON position. The light will go off
approximately 10 seconds after closing
the door or when the ignition switch is
turned on.
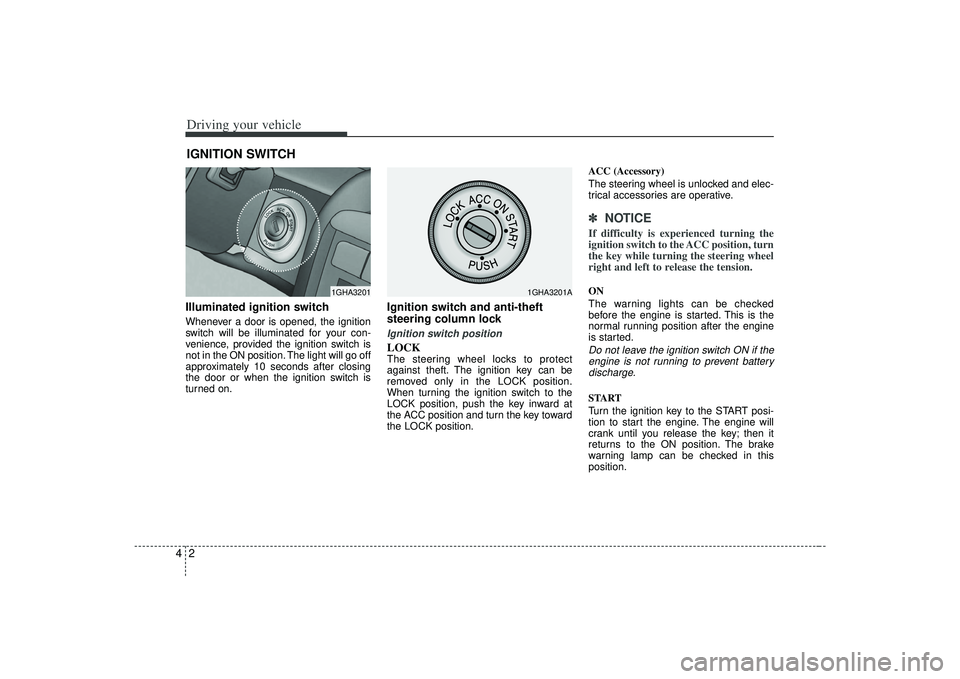
Ignition switch and anti-theft
steering column lock Ignition switch positionLOCKThe steering wheel locks to protect
against theft. The ignition key can be
removed only in the LOCK position.
When turning the ignition switch to the
LOCK position, push the key inward at
the ACC position and turn the key toward
the LOCK position.ACC (Accessory)
The steering wheel is unlocked and elec-
trical accessories are operative.
✽ ✽
NOTICEIf difficulty is experienced turning the
ignition switch to the ACC position, turn
the key while turning the steering wheel
right and left to release the tension.ON
The warning lights can be checked
before the engine is started. This is the
normal running position after the engine
is started.Do not leave the ignition switch ON if the
engine is not running to prevent batterydischarge.START
Turn the ignition key to the START posi-
tion to start the engine. The engine will
crank until you release the key; then it
returns to the ON position. The brake
warning lamp can be checked in this
position.
IGNITION SWITCH
1GHA3201
1GHA3201A
Page 154 of 321
Driving your vehicle18
4Tilt steering (if equipped)A tilt steering wheel allows you to adjust
the steering wheel before you drive.You
can also raise it to the highest level to
give your legs more room when you exit
and enter the vehicle.
The steering wheel should be positioned
so that it is comfortable for you to drive,
while permitting you to see the instru-
ment panel warning lights and gauges.
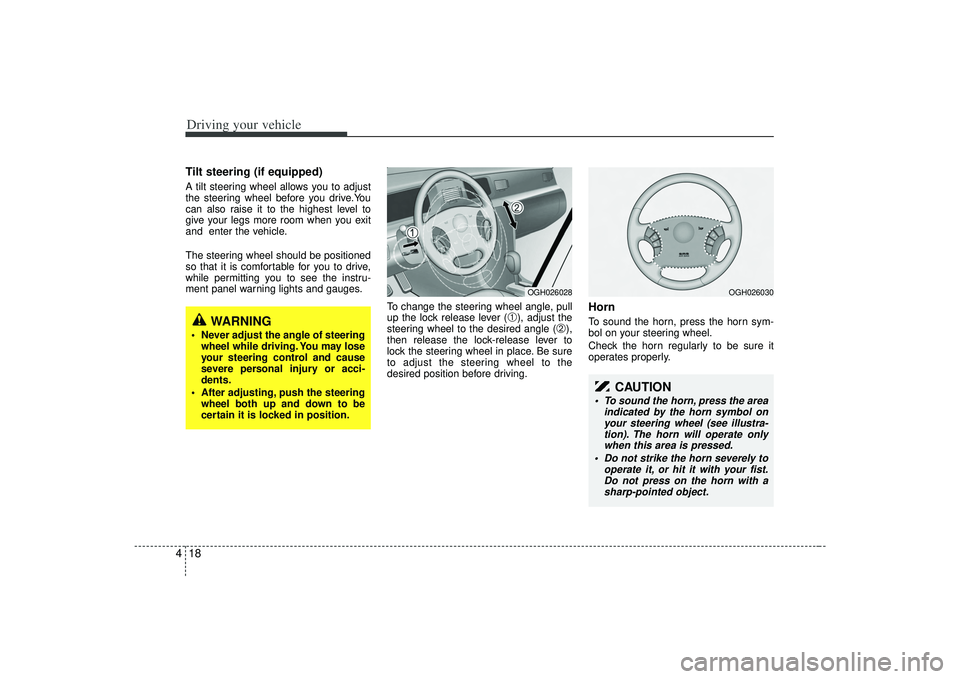
To change the steering wheel angle, pull
up the lock release lever (
➀), adjust the
steering wheel to the desired angle (
➁),
then release the lock-release lever to
lock the steering wheel in place. Be sure
to adjust the steering wheel to the
desired position before driving.
HornTo sound the horn, press the horn sym-
bol on your steering wheel.
Check the horn regularly to be sure it
operates properly.
WARNING
Never adjust the angle of steering wheel while driving. You may lose
your steering control and cause
severe personal injury or acci-
dents.
After adjusting, push the steering wheel both up and down to be
certain it is locked in position.
OGH026028
OGH026030
CAUTION
To sound the horn, press the area indicated by the horn symbol onyour steering wheel (see illustra-tion). The horn will operate onlywhen this area is pressed.
Do not strike the horn severely to operate it, or hit it with your fist.Do not press on the horn with asharp-pointed object.
Page 161 of 321
425
Driving your vehicle
INSTRUMENT CLUSTER
OGH029034N
1. Tachometer
2. Turn signal indicators
3. Speedometer
4. Engine temperature gauge
5. Warning and indicator lights
6. Odometer / Tripmeter
7. Shift position indicator
8. Fuel gauge
9. LCD screen
\b
Page 162 of 321
Driving your vehicle26
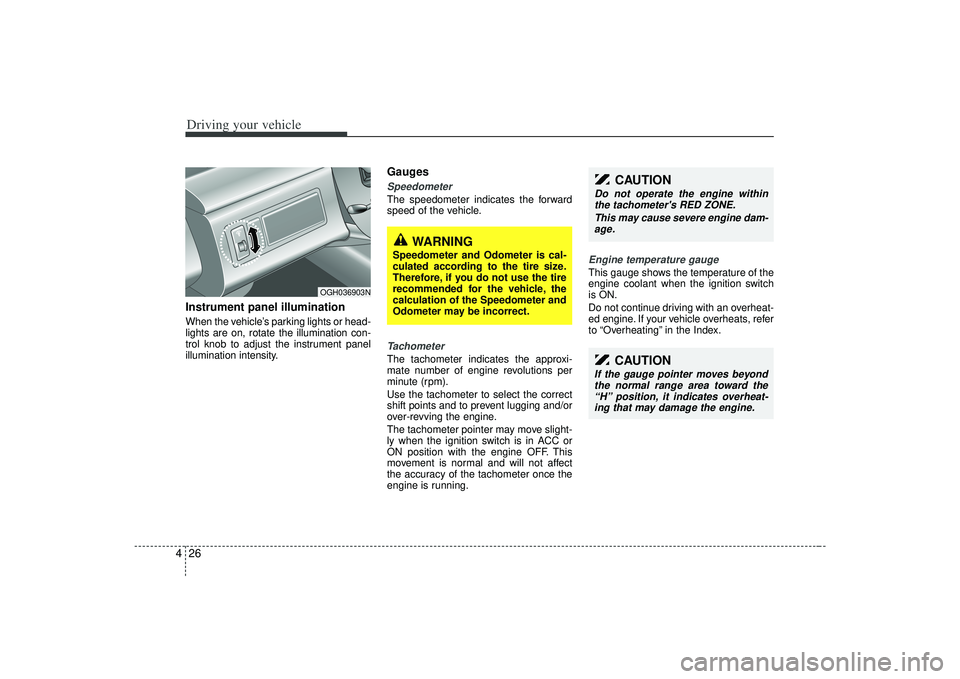
4Instrument panel illuminationWhen the vehicle’s parking lights or head-
lights are on, rotate the illumination con-
trol knob to adjust the instrument panel
illumination intensity.
GaugesSpeedometer The speedometer indicates the forward
speed of the vehicle.Tachometer The tachometer indicates the approxi-
mate number of engine revolutions per
minute (rpm).
Use the tachometer to select the correct
shift points and to prevent lugging and/or
over-revving the engine.
The tachometer pointer may move slight-
ly when the ignition switch is in ACC or
ON position with the engine OFF. This
movement is normal and will not affect
the accuracy of the tachometer once the
engine is running.
Engine temperature gauge This gauge shows the temperature of the
engine coolant when the ignition switch
is ON.
Do not continue driving with an overheat-
ed engine. If your vehicle overheats, refer
to “Overheating” in the Index.
CAUTION
Do not operate the engine within
the tachometer's RED ZONE.
This may cause severe engine dam-age.
CAUTION
If the gauge pointer moves beyond the normal range area toward the“H” position, it indicates overheat- ing that may damage the engine.
OGH036903N
WARNING
Speedometer and Odometer is cal-
culated according to the tire size.
Therefore, if you do not use the tire
recommended for the vehicle, the
calculation of the Speedometer and
Odometer may be incorrect.
Page 167 of 321
431
Driving your vehicle
Warning lights / audible indica-
tors Checking operation All warning lights are checked by turning
the ignition switch ON (do not start the
engine). Any light that does not illuminate
should be checked by an Authorized Kia
Dealer.
After starting the engine, check to make
sure that all warning lights are off. If any
are still on, this indicates a situation that
needs attention. When releasing the
parking brake, the brake system warning
light should go off. The fuel warning light
will stay on if the fuel level is low.
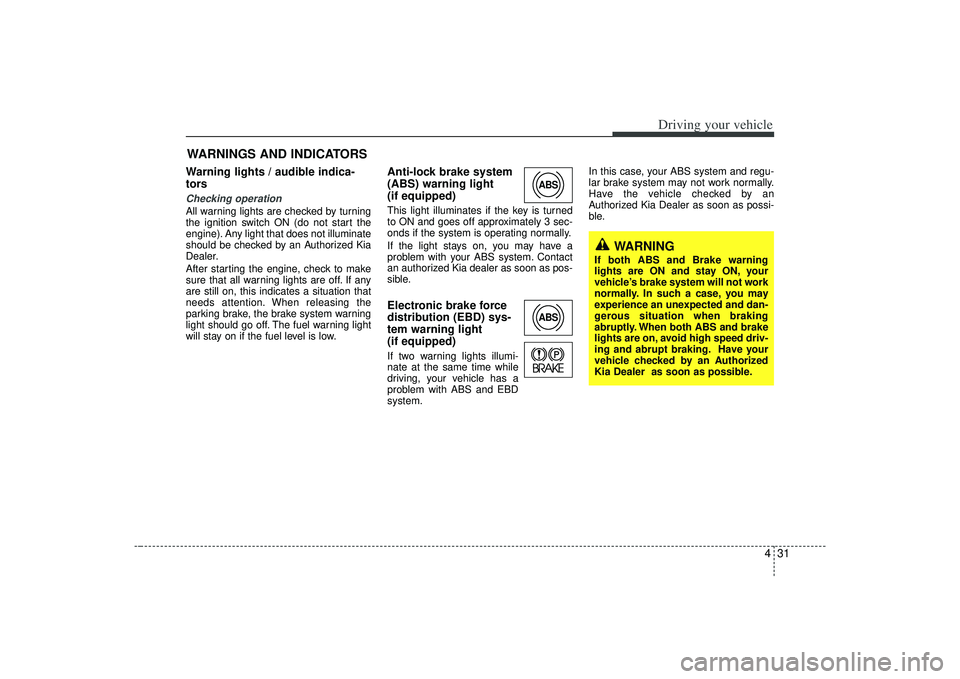
Anti-lock brake system
(ABS) warning light
(if equipped) This light illuminates if the key is turned
to ON and goes off approximately 3 sec-
onds if the system is operating normally.
If the light stays on, you may have a
problem with your ABS system. Contact
an authorized Kia dealer as soon as pos-
sible.Electronic brake force
distribution (EBD) sys-
tem warning light
(if equipped)If two warning lights illumi-
nate at the same time while
driving, your vehicle has a
problem with ABS and EBD
system.In this case, your ABS system and regu-
lar brake system may not work normally.
Have the vehicle checked by an
Authorized Kia Dealer as soon as possi-
ble.
WARNINGS AND INDICATORS
ABSABS
WARNING
If both ABS and Brake warning
lights are ON and stay ON, your
vehicle’s brake system will not work
normally. In such a case, you may
experience an unexpected and dan-
gerous situation when braking
abruptly. When both ABS and brake
lights are on, avoid high speed driv-
ing and abrupt braking. Have your
vehicle checked by an Authorized
Kia Dealer as soon as possible.
Page 169 of 321
433
Driving your vehicle
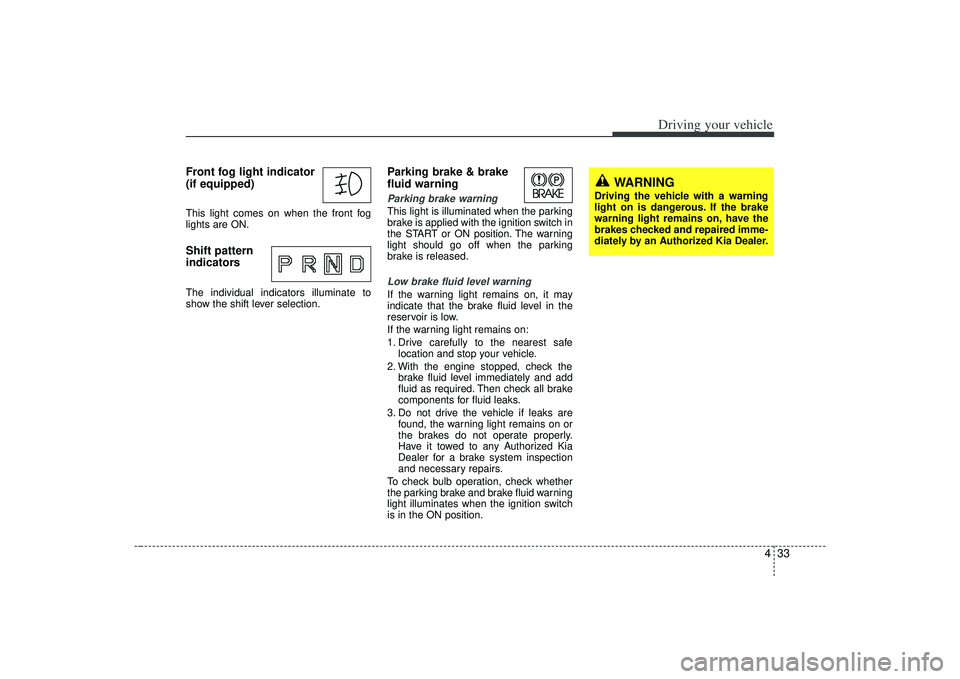
Front fog light indicator
(if equipped) This light comes on when the front fog
lights are ON.Shift pattern
indicatorsThe individual indicators illuminate to
show the shift lever selection.
Parking brake & brake
fluid warning Parking brake warning This light is illuminated when the parking
brake is applied with the ignition switch in
the START or ON position. The warning
light should go off when the parking
brake is released.Low brake fluid level warningIf the warning light remains on, it may
indicate that the brake fluid level in the
reservoir is low.
If the warning light remains on:
1. Drive carefully to the nearest safelocation and stop your vehicle.
2. With the engine stopped, check the brake fluid level immediately and add
fluid as required. Then check all brake
components for fluid leaks.
3. Do not drive the vehicle if leaks are found, the warning light remains on or
the brakes do not operate properly.
Have it towed to any Authorized Kia
Dealer for a brake system inspection
and necessary repairs.
To check bulb operation, check whether
the parking brake and brake fluid warning
light illuminates when the ignition switch
is in the ON position.
WARNING
Driving the vehicle with a warning
light on is dangerous. If the brake
warning light remains on, have the
brakes checked and repaired imme-
diately by an Authorized Kia Dealer.