Page 167 of 506
GARAGE DOOR OPENER — IF EQUIPPED
HomeLink�replaces up to three remote controls (hand-
held transmitters) that operate devices such as garage
door openers, motorized gates, lighting, or home security
systems. The HomeLink� unit operates off your vehicle’s
battery.
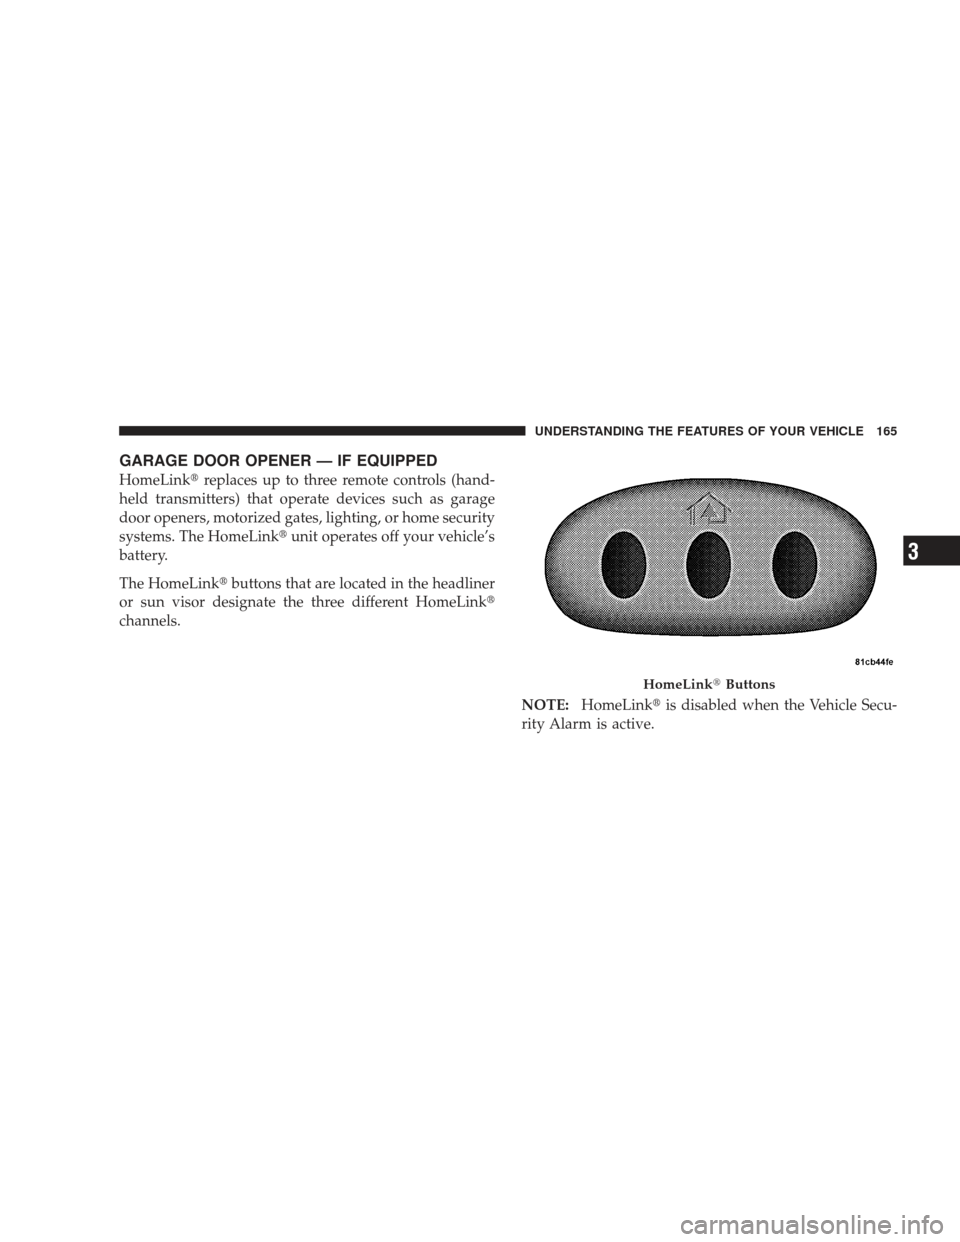
The HomeLink� buttons that are located in the headliner
or sun visor designate the three different HomeLink �
channels.
NOTE:HomeLink� is disabled when the Vehicle Secu-
rity Alarm is active.
HomeLink� Buttons
UNDERSTANDING THE FEATURES OF YOUR VEHICLE 165
3
Page 168 of 506

WARNING!
•Your motorized door or gate will open and close
while you are training the Universal Transceiver.
Do not train the transceiver if people or pets are in
the path of the door or gate. Only use this trans-
ceiver with a garage door opener that has a “stop
and reverse” feature as required by Federal safety
standards. This includes most garage door opener
models manufactured after 1982. Do not use a
garage door opener without these safety features.
Call toll-free 1–800–355–3515 or, on the Internet at
www.HomeLink.com for safety information or as-
sistance.
•Vehicle exhaust contains carbon monoxide, a dan-
gerous gas. Do not run your vehicle in the garage
while training the transceiver. Exhaust gas can
cause serious injury or death.
Programming HomeLink�
Before You Begin
If you have not trained any of the HomeLink� buttons,
erase all channels before you begin training.
To do this, press and hold the two outside buttons for
20 seconds until the red indicator flashes.
It is recommended that a new battery be placed in the
hand-held transmitter of the device being programmed
to HomeLink� for more efficient training and accurate
transmission of the radio-frequency signal.
Your vehicle should be parked outside of the garage
when programming.
1. Turn the ignition switch to the ON/RUN position.
2. Hold the battery side of the hand-held transmitter
away from the HomeLink� button you wish to program.
166 UNDERSTANDING THE FEATURES OF YOUR VEHICLE
Page 169 of 506
 away
from the HomeLink�button you wish to program while
keeping the indicator light in view.
3. Simultaneously press and hold both the chosen
HomeLink")
Place the hand-held transmitter 1–3 in (3-8 cm) away
from the HomeLink�button you wish to program while
keeping the indicator light in view.
3. Simultaneously press and hold both the chosen
HomeLink� button and the hand-held transmitter button
until the HomeLink� indicator changes from a slow to a
rapidly blinking light, then release both the HomeLink�
and hand-held transmitter buttons.
Watch for the HomeLink� indicator to change flash rates.
When it changes, it is programmed. It may take up to
30 seconds, or longer in rare cases. The garage door may
open and close while you train.
NOTE:
•Some gate operators and garage door openers may
require you to replace Step 3 with procedures noted in
the “Gate Operator/Canadian Programming” section.
•After training a HomeLink� channel, if the garage
door does not operate with HomeLink� and the ga-
rage door opener was manufactured after 1995, the
garage door opener may have a rolling code. If so,
proceed to the heading “Programming A Rolling Code
System.”
4. Press and hold the just-trained HomeLink� button
and observe the indicator light.
If the indicator light stays on constantly, programming is
complete and the garage door (or device) should activate
when the HomeLink� button is pressed.
If the indicator light blinks rapidly for two seconds, and
then turns to a constant light, continue with program-
ming for a Rolling Code.
5. PROGRAMMING A ROLLING CODE SYSTEM
At the garage door opener motor (in the garage), locate
the “Learn” or “Training” button.
UNDERSTANDING THE FEATURES OF YOUR VEHICLE 167
3
Page 170 of 506
.6. Firmly press and release the “")
This can usually be found where the hanging antenna
wire is attached to the garage door opener motor (it is
NOT the button normally used to open and close the
door).6. Firmly press and release the “Learn” or “Training”
button. The name and color of the button may vary by
manufacturer.
NOTE:
There are 30 seconds in which to initiate the next
step after the “Learn” button has been pressed.
7. Return to the vehicle and press the programmed
HomeLink� button twice (holding the button for two
seconds each time). If the device is plugged in and
activates, programming is complete.
If the device does not activate, press the button a third
time (for two seconds) to complete the training.
If you have any problems, or require assistance, please
call toll-free 1–800–355–3515 or, on the Internet at
www.HomeLink.com for information or assistance.
To program the remaining two HomeLink� buttons,
repeat each step for each remaining button. DO NOT
erase the channels.
1 — Garage Door Opener
2 — Training Button
168 UNDERSTANDING THE FEATURES OF YOUR VEHICLE
Page 172 of 506

Reprogramming A Single HomeLink�Button
To re-program a channel that has been previously
trained, follow these steps:
1. Turn the ignition switch to the ON/RUN position.
2. Press and hold the desired HomeLink� button until
the indicator light begins to flash after 20 seconds. Do not
release the button.
3. Without releasing the button, proceed with Program-
ming Homelink� Step 2 and follow all remaining steps.
Security
It is advised to erase all channels before you sell or turn
in your vehicle.
To do this, press and hold the two outside buttons for
20 seconds until the red indicator flashes. Note that all
channels will be erased. Individual channels cannot be
erased. The HomeLink�
Universal Transceiver is disabled when
the Vehicle Security Alarm is active.
Troubleshooting Tips
If you are having trouble programming HomeLink�, here
are some of the most common solutions:
•Replace the battery in the original transmitter.
•Press the “Learn” button on the Garage Door Opener
to complete the training for a Rolling Code.
•Did you unplug the device for training, and remember
to plug it back in?
If you have any problems, or require assistance, please
call toll-free 1–800–355–3515 or, on the Internet at
www.HomeLink.com for information or assistance.
170 UNDERSTANDING THE FEATURES OF YOUR VEHICLE
Page 218 of 506

This system conveniently allows the driver to select a
variety of useful information by pressing the switches
mounted on the steering wheel. The EVIC consists of the
following:
•System Status
•Vehicle information warning message displays
•Tire Pressure Monitor System (if equipped)
•Personal Settings (Customer-Programmable Features)
•Compass display
•Outside temperature display
•Trip computer functions
•Navigation system screens (if equipped)
•Audio mode displayThe system allows the driver to select information by
pressing the following buttons mounted on the steering
wheel:
Press and release the MENU button and the
mode displayed will change between Trip
Functions, Navigation (if equipped), System
Status, Personal Settings.
Press the SCROLL button to scroll through Trip
Functions, Navigation (if equipped), System
Status Messages, and Personal Settings
(Customer-Programmable Features).
Press and release the COMPASS/TEMPERA-
TURE button to display one of eight compass
readings and the outside temperature.
MENUButton
SCROLL Button
216 UNDERSTANDING YOUR INSTRUMENT PANEL
Page 230 of 506

Push the ON/VOLUME control knob to turn on the
radio. Press the ON/VOLUME control knob a second
time to turn off the radio.
Electronic Volume Control
The electroni")
Power Switch/Volume Control (Rotary)
Push the ON/VOLUME control knob to turn on the
radio. Press the ON/VOLUME control knob a second
time to turn off the radio.
Electronic Volume Control
The electronic volume control turns continuously (360
degrees) in either direction without stopping. Turning the
ON/VOLUME control knob to the right increases the
volume and to the left decreases it.
When the audio system is turned ON, the sound will be
set at the same volume level as last played.
SEEK Buttons
Press and release the SEEK buttons to search for the next
listenable station in AM/FM mode. Press the right switch
to seek up and the left switch to seek down. The radio
will remain tuned to the new station until you make
another selection. Holding either button will bypass
stations without stopping until you release it.
SCAN Button
Pressing the SCAN button causes the tuner to search for
the next listenable station in AM, FM or Satellite (if
equipped) frequencies, pausing for five seconds at each
listenable station before continuing to the next. To stop
the search, press the SCAN button a second time.
Voice Recognition Button uconnect�phone — If
Equipped
Press this button to operate the uconnect� phone feature
(if equipped). Refer to “uconnect� phone” in Section 3.
If your vehicle is not equipped with or this feature is not
available on your vehicle, a “Not Equipped With
uconnect” message will display on the radio screen.
Phone Button uconnect� phone — If Equipped
Press this button to operate the uconnect� phone feature
(if equipped). Refer to “uconnect� phone” in Section 3.
228 UNDERSTANDING YOUR INSTRUMENT PANEL
Page 231 of 506

If your vehicle is not equipped with or this feature is not
available on your vehicle, a “Not Equipped With
uconnect” message will display on the radio screen.
TIME Button
Press the TIME button to alternate locations of the time
and frequency display.
Clock Setting Procedure
1. Press and hold the TIME button until the hours blink.
2. Adjust the hours by turning the right side TUNE/
SCROLL control knob.
3. After adjusting the hours, press the right side TUNE/
SCROLL control knob to set the minutes. The minutes
will begin to blink.
4. Adjust the minutes using the right side TUNE/
SCROLL control knob. Press the TUNE/SCROLL control
knob to save the time change.5. To exit, press any button/knob or wait five seconds.
The clock can also be set by pressing the SETUP button
and selecting the “SET HOME CLOCK” entry. Once in
this display follow the above procedure, starting at
step 2.
INFO Button
Press the INFO button for an RDS station (one with call
letters displayed). The radio will return a Radio Text
message broadcast from an FM station (FM mode only).
RW/FF
Pressing the RW (Rewind) or FF (Fast Forward) buttons
causes the tuner to search for the next frequency in the
direction of the arrows. This feature operates in AM, FM
or Satellite (if equipped) frequencies.
TUNE Control
Turn the rotary TUNE/SCROLL control knob clockwise
to increase or counterclockwise to decrease the frequency.
UNDERSTANDING YOUR INSTRUMENT PANEL 229
4