Page 73 of 521

Airbag Warning Light
The light should come on and remain on for six to eight
seconds as a bulb check when the ignition switch is first
turned ON. If the light is not lit during starting, see your
authorized dealer. If the light stays on, flickers, or comes
on while driving, have the system checked by an autho-
rized dealer.
Defroster
Check operation by selecting the defrost mode and place
the blower control on high speed. You should be able to
feel the air directed against the windshield. See your
authorized dealer for service if your defroster is
inoperable.
Periodic Safety Checks You Should Make Outside
The Vehicle
Tires
Examine tires for excessive tread wear and uneven wear
patterns. Check for stones, nails, glass, or other objectslodged in the tread. Inspect the tread and sidewall for
cuts and cracks. Check the wheel nuts for tightness.
Check the tires (including spare) for proper pressure.
Lights
Have someone observe the operation of exterior lights
while you work the controls. Check turn signal and high
beam indicator lights on the instrument panel.
Door Latches
Check for positive closing, latching, and locking.
Fluid Leaks
Check area under vehicle after overnight parking for fuel,
engine coolant, oil, or other fluid leaks. Also, if gasoline
fumes are detected or if fuel, power steering fluid, or
brake fluid leaks are suspected, the cause should be
located and corrected immediately.
THINGS TO KNOW BEFORE STARTING YOUR VEHICLE 71
2
Page 77 of 521

▫Headlights And Parking Lights.......... 130
▫Automatic Headlight System —
If Equipped........................ 131
▫SmartBeams — If Equipped............. 132
▫Daytime Running Lights — If Equipped.... 133
▫Automatic Headlight Leveling — HID
Headlights Only..................... 133
▫Instrument Panel And Interior Lights...... 134
▫Battery Saver Feature................. 135
▫Lights-On Reminder.................. 135
▫Fog Lights — If Equipped.............. 135
▫Turn Signals........................ 136
▫High Beam Switch................... 137
▫Flash-To-Pass....................... 137▫Headlight Time Delay................. 137
▫Interior Lights...................... 137
▫Front Map/Reading Lights............. 138
�Windshield Wipers And Washers.......... 139
▫Mist............................. 140
▫Speed Sensitive Intermittent Wiper System . . 140
▫Rain Sensing Wipers — If Equipped....... 141
�Tilt/Telescoping Steering Column.......... 142
�Adjustable Pedals — If Equipped.......... 143
�Electronic Speed Control — If Equipped..... 144
▫To Activate......................... 145
▫To Set At A Desired Speed.............. 145
▫To Deactivate....................... 145
UNDERSTANDING THE FEATURES OF YOUR VEHICLE 75
3
Page 101 of 521

Turning Confirmation Prompts ON/OFF
Turning confirmation prompts off will stop the system
from confirming your choices (e.g., the uconnect�phone
will not repeat a phone number before you dial it).
•Press the PHONE button to begin.
•After the�Ready�prompt and the following beep, say
�Setup Confirmations.�The uconnect�phone will play
the current confirmation prompt status and you will
be given the choice to change it.
Phone and Network Status Indicators
If available on the radio and/or on a premium display
such as the instrument panel cluster, and supported by
your cellular phone, the uconnect�phone will provide
notification to inform you of your phone and network
status when you are attempting to make a phone call
using uconnect�phone. The status is given for roaming,
network signal strength, phone battery strength, etc.
Dialing Using the Cellular Phone Keypad
You can dial a phone number with your cellular phone
keypad and still use the uconnect�phone (while dialing
via the cellular phone keypad, the user must exercise
caution and take precautionary safety measures). By
dialing a number with your paired Bluetooth�cellular
phone, the audio will be played through your vehicle’s
audio system. The uconnect�phone will work the same
as if you dial the number using voice recognition.
NOTE:Certain brands of cellular phones do not send
the dial ring to the uconnect�phone to play it on the
vehicle audio system, so you will not hear it. Under this
situation, after successfully dialing a number the user
may feel that the call did not go through even though the
call is in progress. Once your call is answered, you will
hear the audio.
UNDERSTANDING THE FEATURES OF YOUR VEHICLE 99
3
Page 120 of 521
NOTE:The four-way seat does not have an up/down
adjustment.
Head Restraints
Head restraints can reduce the risk of whiplash injury in
the event of impact from the rear. Adjustable head
restraints should be adjusted so that the upper edge is as
High as practical. The head restraints have a locking
button which must be pushed in to lower the head
restraint to all positions. The restraints may be raised
without pushing in the button.
Front Heated Seats — If Equipped
The front driver and passenger seats are heated. The
controls for each heater are located near the bottom
center of the instrument panel (below the heater/air
conditioning controls). The heaters provide the same
average heat level for both the cushion and the seatback.
Adjustable Head Restraints
118 UNDERSTANDING THE FEATURES OF YOUR VEHICLE
Page 131 of 521
TO OPEN AND CLOSE THE HOOD
To open the hood, two latches must be released.
1. Pull the release lever located below the instrument
panel and in front of the driver’s door.
2. Reach under the hood, move safety latch to the left,
and lift the hood.
CAUTION!
To prevent possible damage, do not slam the hood to
close it. Use a firm downward push at the center of
the hood to ensure that both latches engage.
Hood Release
Safety Latch Location
UNDERSTANDING THE FEATURES OF YOUR VEHICLE 129
3
Page 133 of 521

Automatic Headlight System — If Equipped
Turn the end of the multifunction lever to the third detent
to activate the automatic headlight system.
This system performs two functions. With the engine
running and the multifunction lever in the AUTO posi-
tion, the headlights will turn on and off based on the
surrounding light levels.
Headlights On Automatically With Wipers
If your vehicle is equipped with Automatic Headlights, it
also has this customer programmable feature. When your
headlights are in the automatic mode and the engine is
running, they will automatically turn on when the wiper
system is on.If your vehicle is equipped with a “Rain Sensitive Wiper
System” and it is activated, the headlights will automati-
cally turn on after the wipers complete five wipe cycles
within approximately one minute, and they will turn off
approximately four minutes after the wipers completely
stop. Refer to “Windshield Wipers and Washers” in this
section.
NOTE:When your headlights come on during the
daytime, the instrument panel lights will automatically
dim to the lower nighttime intensity. Refer to “Instru-
ment Panel and Interior Lights” for setting the instru-
ment panel lights to full daytime intensity.
UNDERSTANDING THE FEATURES OF YOUR VEHICLE 131
3
Page 136 of 521
Instrument Panel and Interior Lights
When the multifunction lever is in the parking light,
headlight, or AUTO position (if equipped), rotating the
center portion of the lever up and down will increase and
decrease the brightness (dimmer control) of the instru-
ment panel lights. Full daytime brightness on all elec-
tronic displays (odometer, overhead console, radio, and
Automatic Climate Control (if equipped) is obtained by
rotating the center portion of the control to the first
detent above the dimmer range. Rotating the control to
the second detent above the dimmer range turns the
interior lights on. Rotating the control to the “Off”
(extreme bottom) position disables all the interior lights,
even when the doors and liftgate are open. While in the
“Off” position the instrument panel lighting is at the
lowest light level and may not be suitable for night
driving.
Dimmer Control
134 UNDERSTANDING THE FEATURES OF YOUR VEHICLE
Page 139 of 521

High Beam Switch
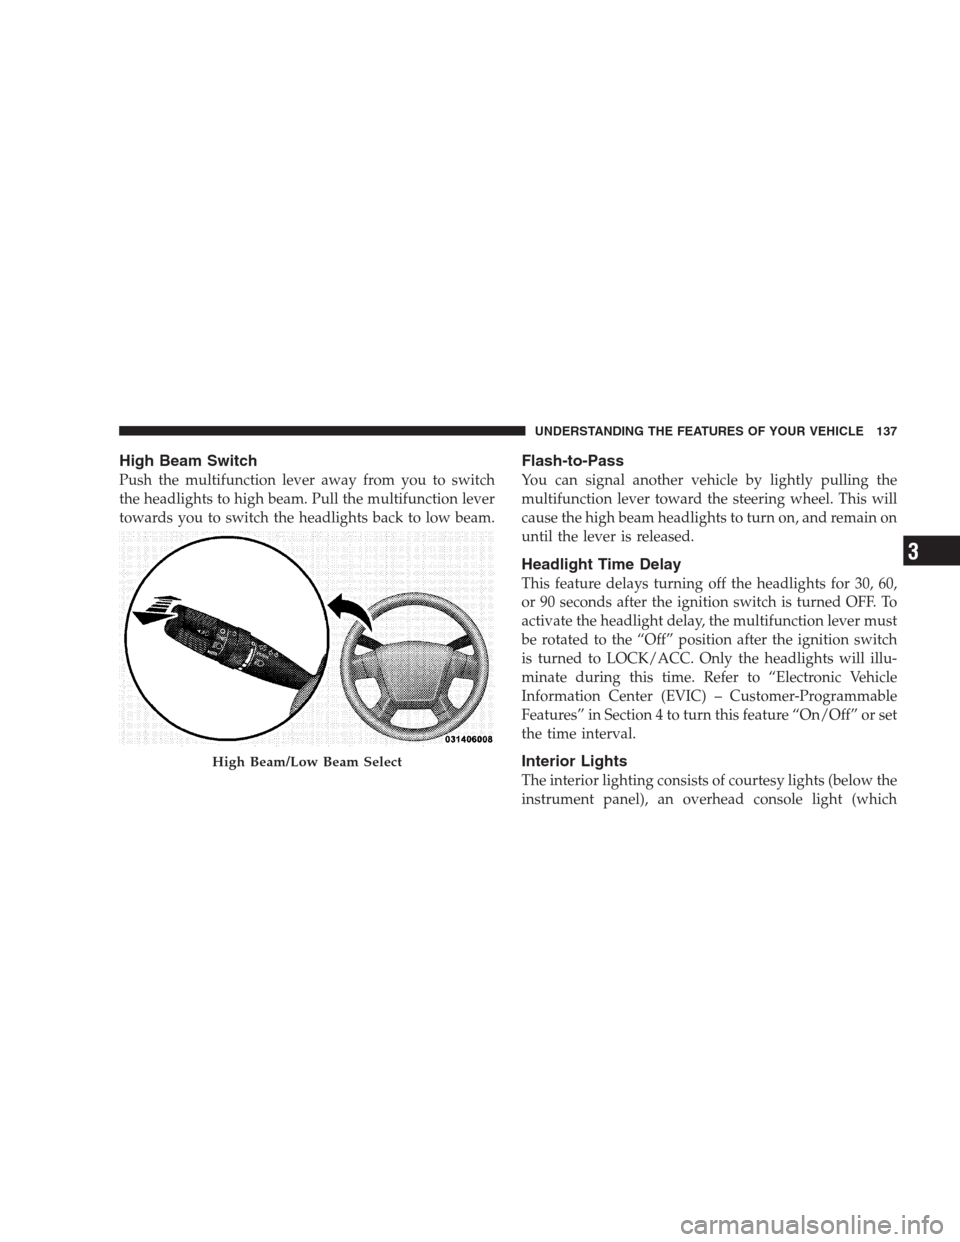
Push the multifunction lever away from you to switch
the headlights to high beam. Pull the multifunction lever
towards you to switch the headlights back to low beam.
Flash-to-Pass
You can signal another vehicle by lightly pulling the
multifunction lever toward the steering wheel. This will
cause the high beam headlights to turn on, and remain on
until the lever is released.
Headlight Time Delay
This feature delays turning off the headlights for 30, 60,
or 90 seconds after the ignition switch is turned OFF. To
activate the headlight delay, the multifunction lever must
be rotated to the “Off” position after the ignition switch
is turned to LOCK/ACC. Only the headlights will illu-
minate during this time. Refer to “Electronic Vehicle
Information Center (EVIC) – Customer-Programmable
Features” in Section 4 to turn this feature “On/Off” or set
the time interval.
Interior Lights
The interior lighting consists of courtesy lights (below the
instrument panel), an overhead console light (which
High Beam/Low Beam Select
UNDERSTANDING THE FEATURES OF YOUR VEHICLE 137
3