2009 JAGUAR XF fascia
[x] Cancel search: fasciaPage 60 of 391

Child safety
60
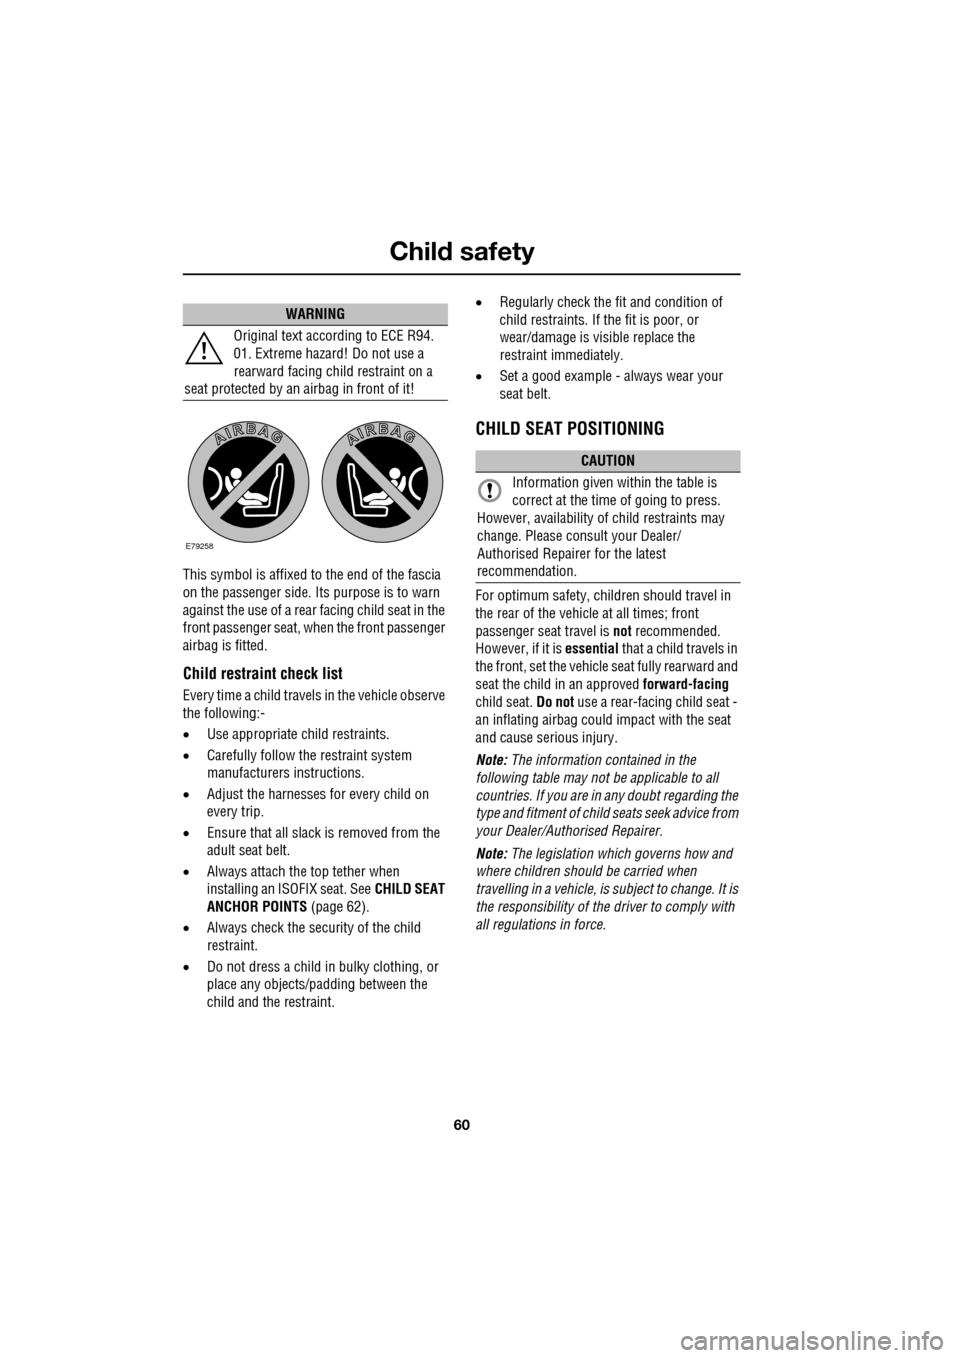
This symbol is affixed to the end of the fascia
on the passenger side. Its purpose is to warn
against the use of a rear facing child seat in the
front passenger seat, when the front passenger
airbag is fitted.
Child restraint check list
Every time a child travels in the vehicle observe
the following:-
•Use appropriate ch ild restraints.
• Carefully follow the restraint system
manufacturers instructions.
• Adjust the harnesses for every child on
every trip.
• Ensure that all slack is removed from the
adult seat belt.
• Always attach the top tether when
installing an ISOFIX seat. See CHILD SEAT
ANCHOR POINTS (page 62).
• Always check the security of the child
restraint.
• Do not dress a child in bulky clothing, or
place any objects/padding between the
child and the restraint. •
Regularly check the fit and condition of
child restraints. If the fit is poor, or
wear/damage is visible replace the
restraint immediately.
• Set a good example - always wear your
seat belt.
CHILD SEAT POSITIONING
For optimum safety, child ren should travel in
the rear of the vehicle at all times; front
passenger seat travel is not recommended.
However, if it is essential that a child travels in
the front, set the vehicle seat fully rearward and
seat the child in an approved forward-facing
child seat. Do not use a rear-facing child seat -
an inflating airbag could impact with the seat
and cause serious injury.
Note: The information contained in the
following table may not be applicable to all
countries. If you are in any doubt regarding the
type and fitment of child seats seek advice from
your Dealer/Authorised Repairer.
Note: The legislation which governs how and
where children should be carried when
travelling in a vehicle, is subject to change. It is
the responsibility of the driver to comply with
all regulations in force.
WARNING
Original text according to ECE R94.
01. Extreme hazard! Do not use a
rearward facing child restraint on a
seat protected by an airbag in front of it!
E79258
CAUTION
Information given within the table is
correct at the time of going to press.
However, availability of child restraints may
change. Please consult your Dealer/
Authorised Repairer for the latest
recommendation.
Page 76 of 391

Lighting
76
Daylight running lamps
In certain countries it is a legal requirement for
the lamps to be on during the hours of daylight.
With the rotary collar in the OFF position, low
beam headlamps, side lamps, tail, number
plate lamps and, where fitted, side marker
lamps will switch on automatically with the
following conditions:
• The ignition is on (market dependent).
• The vehicle gear selector out of park.
• The park brake is not applied (is released).
Condensation
In certain circumstances, misting may occur
on the inside of a lamp lens. This is caused by
natural changes in environmental conditions.
This misting is not detrimental to lamp
performance and will clear during normal
usage.
AUTOLAMPS
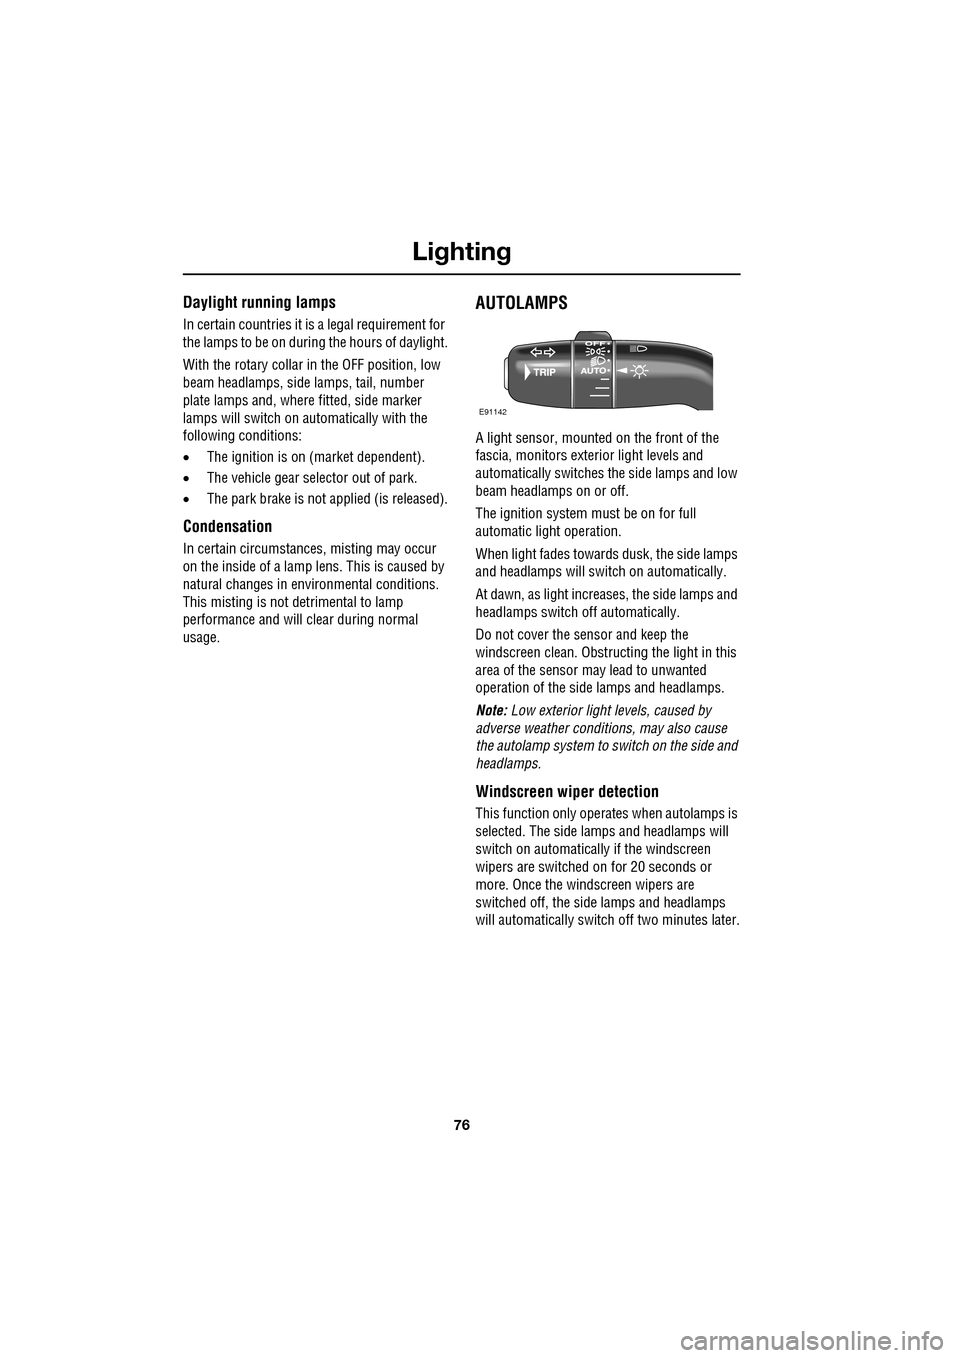
A light sensor, mounted on the front of the
fascia, monitors exteri or light levels and
automatically switches the side lamps and low
beam headlamps on or off.
The ignition system must be on for full
automatic light operation.
When light fades towards dusk, the side lamps
and headlamps will sw itch on automatically.
At dawn, as light increases, the side lamps and
headlamps switch off automatically.
Do not cover the sensor and keep the
windscreen clean. Obstruct ing the light in this
area of the sensor may lead to unwanted
operation of the side lamps and headlamps.
Note: Low exterior light levels, caused by
adverse weather conditi ons, may also cause
the autolamp system to switch on the side and
headlamps.
Windscreen wiper detection
This function only operat es when autolamps is
selected. The side lamps and headlamps will
switch on automatically if the windscreen
wipers are switched on for 20 seconds or
more. Once the windscreen wipers are
switched off, the side lamps and headlamps
will automatically switch off two minutes later.
E91142
Page 115 of 391

115
Climate control
AIR VENTS
1.Air volume adjust.
2. Air direction adjust.
3. Solar sensor.
The rotating air vents acti vate and rotate out of
the fascia when the engine START/STOP
button is pressed, provided the climate system
has not been manually switched off. Adjust the
volume of air usi ng the thumbwheels ( 1) and
the direction of the air using the direction
controls ( 2), to suit your requirements.
It is possible to set the air vents so that they
remain permanently on view, even when the
ignition is switched off. From the touch-screen Climate menu, select
Settings
. Select Vent rotation Always open .
Rear vents
The temperature of the air supplied by the rear
air vents is dependent on the combined
temperature settings for the driver and front
passenger. For example, if the driver
temperature is set to 21°C (70°F) and 20°C
(68°F) for the front passenger, the temperature
of the air supplied to the rear of the vehicle will
be approximately 20.5°C (69°F).
AkI t F1 k
E95077
11
1
23
2
1
2
2
CAUTIONS
Do not obstruct the solar sensor ( 3) or
the temperature a nd humidity sensor,
located adjacent to the glove box.
Do not obstruct the extract vents for the
climate system, located in the trim panel
behind the rear seats.
Climate
SensitivityAuto
Climate seat settings
Vent rotation
12 : 26 pm
Auto Always
open
Change units External 15˚c
Left Right
Auto
E95447
Page 120 of 391

Climate control
120
Note: If the air vents are programmed to rotate,
they will rotate into th e fascia when climate
control is turned off.
External temperature
The external temperature is displayed at the top
of the Climate menu.
Smog/pollution filter
The smog filter operates in conjunction with
the air recirculation feature, to reduce
pollutants entering the vehicle.
When pollution is detected by the smog
sensor, air recirculation is selected
automatically, to help prevent pollution
entering the vehicle.
The sensitivity of the smog sensor can be
adjusted for personal preference or the sensor
can be switched off entirely, as follows:
1. Select Settings from the Climate menu.
2. Touch the + or - buttons to increase or
decrease the sensitivity of the smog
sensor.
There are five sensitivit y settings, indicated by
the five bars between the + and - buttons. To
switch the smog filter off, touch the - button
until none of the five bars are illuminated.
This icon appears at the top of the
touch-screen when the smog filter
is on. When the smog sensor is
switched off, this icon will not be displayed.
Air conditioning
on/off. When the air
conditioning is
switched off, Economy
mode is selected automatically. Economy
mode turns off the air conditioning
compressor and redu ces power consumed
by the climate control system. This will
reduce air conditioning performance.
Prolonged use of Econom y mode, may cause
the windows to mist.
Climate control on/off
button.
Aut o
12:26 pm
Aut oClimate
Vent RotationExternal
Sensitivity
Change unitsAlways
open
Auto
15C
JAG1519
Aut o
Page 125 of 391

125
Convenience features
AUXILIARY POWER SOCKETS
The auxiliary power socket is located in the
cubby box.
GLOVE BOX
The glove box is opened using the
JaguarSense proximity sensor on the fascia
(arrowed). To open the glove box, place the tip
of your finger close to and directly over the
sensor, as shown in the left-hand inset of the
illustration.
The sensor is able to distinguish between a
finger approach and an accidental finger rub
approach from a knee or other large items,
including being wiped for cleaning purposes.
Under these conditions, the sensor will not
react to the input and th e glove box will remain
closed.
Note: When the vehicle alarm is armed or Valet
mode is selected, the proximity sensor is
disabled, preventing the glove box from being
opened.
Note: The wearing of gloves may interfere with
the operation of the prox imity sensor. If gloves
are worn, it may be necessary to touch the
sensor to open the glove box.
CAUTIONS
Only Jaguar approv ed accessories
should be plugged into the power
sockets. Using any other equipment may
damage the vehicle's electrical system. If you
are in any doubt contact your Dealer/
Authorised Repairer.
The engine should be running when
using accessories for long periods.
Failure to do so can discharge the battery.
E95111
JAG1653
Page 133 of 391

133
Starting the engine
KEYLESS STARTING
With the Jaguar Smart Key inside the vehicle
and the brake pedal depressed, press and
release the START/STOP button to start the
engine.
Note: On diesel models, Smart Start in
progress is displayed in the message centre. If
the brake pedal is released, a gear change is
made or if a fault occurs, Smart Start
cancelled is displayed in the message centre
and the start procedure is cancelled.
Starting a petrol engine
With the brake pedal applied and with a valid
Jaguar Smart Key in the vehicle, press and
release the START/STOP button. The engine
will start, the JaguarDrive selector will elevate
out of the centre console and the air vents in
the front fascia will ro tate to the open position.
Starting a diesel engine
With the brake pedal applied and with a valid
Jaguar Smart Key in the vehicle, press and
release the START/STOP button. In ambient
conditions, after 3 seconds, the engine will
start to crank. The JaguarDrive selector will
elevate out of the centre console and the air
vents in the front fascia will rotate to the open
position.
Note: Smart Start in progress is displayed in
the message centre prior to the engine
cranking. If, during the start procedure, the
brake pedal is released, a gear change is made
or if a fault occurs, Smart Start cancelled is
displayed in the message centre and the start
procedure is cancelled.
Cold climates
In very cold conditions, the delay between
pressing the START/STOP button and the
engine cranking, can be up to 12 seconds.
During this delay, keep the brake pedal applied
and do not press the START/STOP button
again, as this will switch off the ignition. Also in
very cold conditions, expect engine cranking
times to increase.
WARNING
Never start the engine or leave it
running, when the vehicle is in an
enclosed space. Exhaust gases are
poisonous and can cause unconsciousness
and death if inhaled.
E94136
Page 190 of 391

Vehicle care
190
Leather
Leather is an easy to maintain natural product.
However, dust and subs tances can penetrate
the pores and crease the leather, causing
surface wear and brittleness.
To prevent ingrained dirt and staining, inspect
the seat upholstery regularly and clean every
one to two months, as follows:
• Wipe off fine dust from the seat surfaces
using a clean, damp, non-coloured cloth.
Change frequently to a clean area of cloth,
to avoid abrasive action on the leather
surface. Avoid over-wetting.
• If this is not suffic ient, use a cloth which
has been dampened with warm soapy
water and then wrung out. Use only mild
non-caustic soap.
• Use Jaguar Leather Cleaner for heavily
soiled areas. Dry off and rub with a clean
soft cloth, changing surfaces regularly.
When staining (e.g. from clothing) or spillage
occurs, clean the affected area immediately as
described above.
Use Jaguar Leather Cleaner several times a
year to maintain its appearance and
suppleness. The clea ner will nourish and
moisturise and help to improve the surface
protective film agains t dust and substances.
• Do not use solvents. Do not use
detergents, furniture polish or household
cleaners. While these products may
initially give impressi ve results, their use
will lead to rapid deterioration of the
leather and will inva lidate the warranty.
Jaguar recommend a basic set of products
that have been specially selected for the
type of leather in your vehicle.
• Dark clothing may stain leather seats just
like other upholstery products. •
Sharp objects such as belts, zip fasteners,
rivets, etc., can leave permanent scratches
and scratch marks on the leather surface.
• Unless spillages such as tea, coffee or ink
are washed away immediately, permanent
staining may have to be accepted.
If a valet service is used, ensure that the
specialist concerned is aware of, and follows,
these instructions precisely.
Cloth and fabric
Use Jaguar Upholstery Cleaner, following the
instructions. Avoid over-wetting.
Removing stains
Most stains on woollen fabric can be removed
if treatment is carried out immediately, before
the stain has a chance to dry-in.
Most stains can be treated with one of three
cleaning fluids: Jaguar U pholstery Cleaner, dry
cleaning fluid or clean water. Follow the
instructions on the package.
Instrument pack, clock, and audio
equipment
Only use a soft dry cloth to clean the
instrument pack, clock and audio equipment.
Do not use cleaning fluids or sprays.
CAUTIONS
Never use soap, ammonia, bleach or
other cleaners intended for use on hard
surfaces.
Do not use upholst ery cleaner on
electrical equipment such as fascia
switches.
When cleaning around electrical
equipment such as switches, ensure
that fluids do not leak into any gaps around the
components or between panels or trim.
Page 232 of 391

Wheels and tyres
232
Using the Jaguar tyre repair kit
Note: All vehicle drivers and occupants should
be made aware that a temporary repair has
been made to a tyre fitted to the vehicle. They
should also be made aware of the special
driving conditions im posed when using a
repaired tyre.
Repair procedure
1. Open the tyre repair kit and peel off the
maximum speed label. Attach the label to
the fascia in the driver's field of vision.
Take care not to obstruct any of the
instruments or warning lights.
2. Uncoil the compressor power cable and
the inflation hose.
3. Unscrew the orange cap from the sealant
bottle receiver and the sealant bottle cap.
4. Screw the sealant bottle into the receiver
(clockwise) until tight.
•Screwing the bottle onto the receiver will
pierce the bottle's se al. Do not unscrew
a full, or partly us ed bottle from the
receiver. Doing so will result in sealant
leaking from the bottle.
5. Remove the valve cap from the damaged
tyre.
6. Remove the protective cap from the
inflation hose and connect the inflation
hose to the tyre valve. Ensure that the hose
is screwed on firmly.
7. Ensure that the compressor switch is in
the off (0) position.
8. Insert the power cable connector into the
auxiliary power socket. See AUXILIARY
POWER SOCKETS (page 125).
WARNINGS
Avoid skin contact with the sealant
which contains natu ral rubber latex.
If the tyre inflati on pressure does not
reach 1.8 bar (26 lbf/in², 180 kPa)
within seven minutes, the tyre may
have suffered excessive damage. A temporary
repair will not be poss ible, and the vehicle
should not be driven until the tyre has been
replaced.
CAUTIONS
Before attempting a ty re repair, ensure
that the vehicle is parked safely, as far
away from passing traffic as possible.
Ensure that the parki ng brake is applied
and P (Park) is selected.
Do not attempt to remove foreign
objects such as nails, screws, etc. from
the tyre.
Always run the engine when using the
compressor, unless the vehicle is in an
enclosed or poorly ventil ated space, as this
may cause asphyxiation.
To prevent overheating, do not operate
the compressor continuously for longer
than ten minutes.
WARNING
Check the tyre sidewall prior to
inflation. If there are any cracks,
bumps or similar damage, do not
attempt to inflate the tyre. Do not stand
directly beside the tyre while the compressor
is pumping. Watch the ty re sidewall. If any
cracks, bumps or simila r damage appear, turn
off the compressor and let the air out by
means of the pressure relief valve. Do not
continue to use the tyre.