2009 Hyundai Santa Fe power steering
[x] Cancel search: power steeringPage 10 of 353
F9
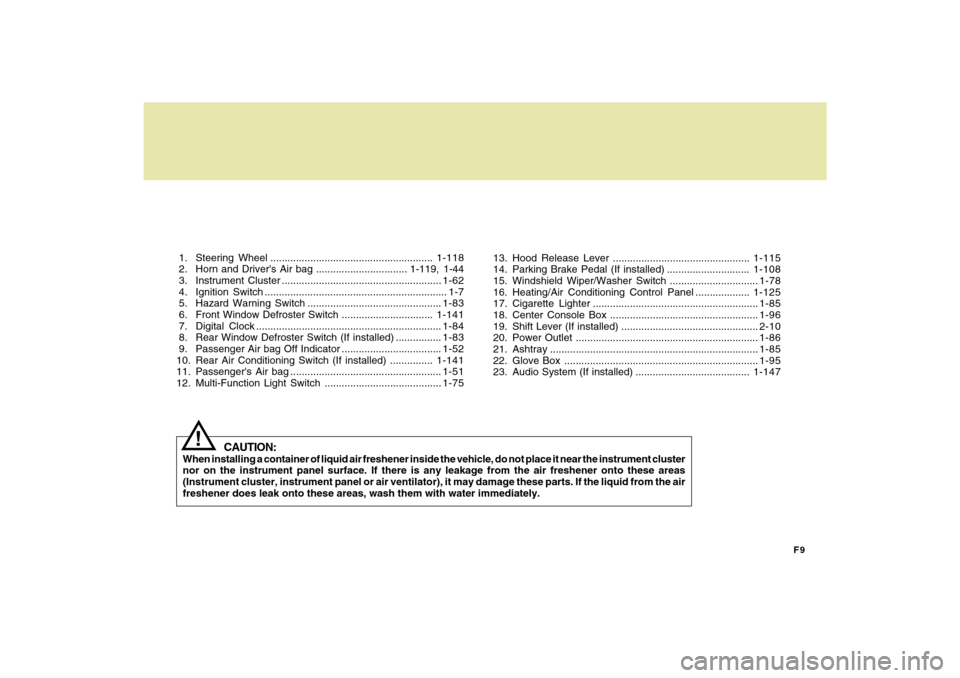
1. Steering Wheel .........................................................1-118
2. Horn and Driver's Air bag ................................ 1-119, 1-44
3. Instrument Cluster ........................................................1-62
4. Ignition Switch ................................................................ 1-7
5. Hazard Warning Switch ...............................................1-83
6. Front Window Defroster Switch ................................1-141
7. Digital Clock .................................................................1-84
8. Rear Window Defroster Switch (If installed) ................1-83
9. Passenger Air bag Off Indicator ...................................1-52
10. Rear Air Conditioning Switch (If installed) ...............1-141
11. Passenger's Air bag .....................................................1-51
12. Multi-Function Light Switch .........................................1-7513. Hood Release Lever ................................................1-115
14. Parking Brake Pedal (If installed) .............................1-108
15. Windshield Wiper/Washer Switch ...............................1-78
16. Heating/Air Conditioning Control Panel ...................1-125
17. Cigarette Lighter ..........................................................1-85
18. Center Console Box ....................................................1-96
19. Shift Lever (If installed) ................................................2-10
20. Power Outlet ................................................................1-86
21. Ashtray.........................................................................1-85
22. Glove Box ....................................................................1-95
23. Audio System (If installed) ........................................1-147
CAUTION:
When installing a container of liquid air freshener inside the vehicle, do not place it near the instrument cluster
nor on the instrument panel surface. If there is any leakage from the air freshener onto these areas
(Instrument cluster, instrument panel or air ventilator), it may damage these parts. If the liquid from the air
freshener does leak onto these areas, wash them with water immediately.
!
Page 31 of 353
1FEATURES OF YOUR HYUNDAI20
!
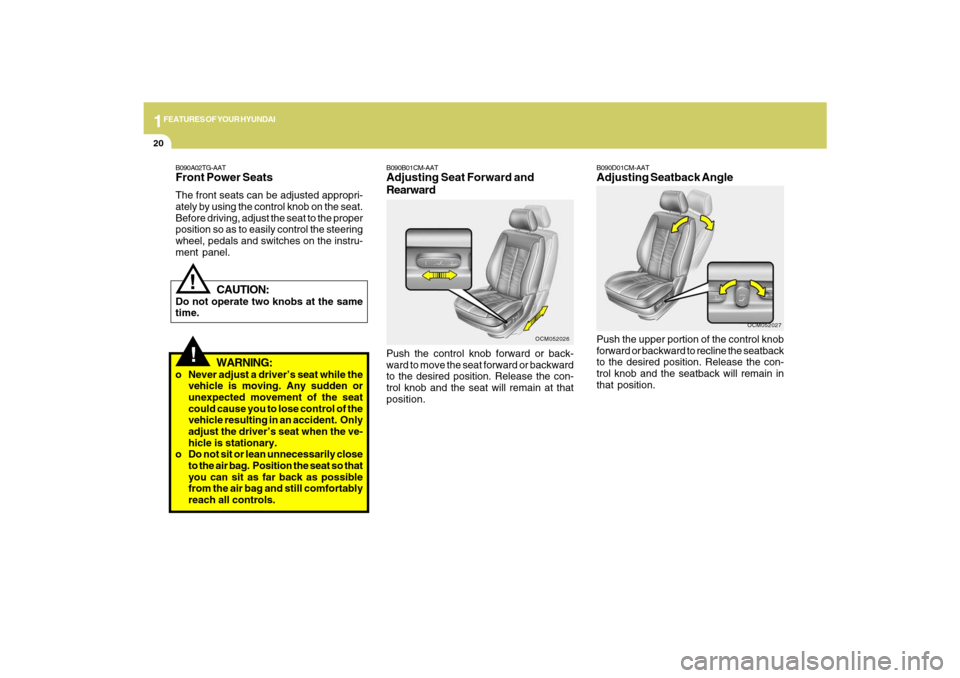
B090A02TG-AATFront Power SeatsThe front seats can be adjusted appropri-
ately by using the control knob on the seat.
Before driving, adjust the seat to the proper
position so as to easily control the steering
wheel, pedals and switches on the instru-
ment panel.
CAUTION:
Do not operate two knobs at the same
time.
WARNING:
o Never adjust a driver’s seat while the
vehicle is moving. Any sudden or
unexpected movement of the seat
could cause you to lose control of the
vehicle resulting in an accident. Only
adjust the driver’s seat when the ve-
hicle is stationary.
o Do not sit or lean unnecessarily close
to the air bag. Position the seat so that
you can sit as far back as possible
from the air bag and still comfortably
reach all controls.
!
B090B01CM-AATAdjusting Seat Forward and
RearwardPush the control knob forward or back-
ward to move the seat forward or backward
to the desired position. Release the con-
trol knob and the seat will remain at that
position.
OCM052026
B090D01CM-AATAdjusting Seatback AnglePush the upper portion of the control knob
forward or backward to recline the seatback
to the desired position. Release the con-
trol knob and the seatback will remain in
that position.
OCM052027
Page 76 of 353

1
FEATURES OF YOUR HYUNDAI
65
!
WARNING:
Significantly low tire pressure makes
the vehicle unstable and can contribute
to loss of vehicle control and increased
braking distances.
Continued driving on low pressure tires
may cause the tires to overheat and fail. Avoid hard braking and overcorrecting at
the steering wheel. Inflate the tires to the
proper pressure as indicated on the
vehicle’s tire information placard.
If you have a flat tire, the Low tire Pressure
and Position Telltales will illuminate.
Replace the flat tire with the spare tire(see
page 3-12)
Each wheel is equipped with a tire pres-
sure sensor mounted inside the tire be-
hind the valve stems. You must use TPMS
specific wheels. IT is recommended that
you always have tires serviced by your
Hyundai dealer or qualified technician.
After you replace the flat tire, the Low Tire
Pressure and Position Telltales remain
illuminated. This is normal; the system is
not monitoring the spare tire pressure.
Check the spare tire pressure to make sure
it is correct.B260T01O-GAT
AWD (All Wheel Drive)
System Warning Light
(If installed)
When the key is turned to the "ON" position,
the AWD(All Wheel Drive) system warning
light will illuminate and then go off in a few
seconds.
CAUTION:
If the AWD system warning light ( )
blinks while driving, this indicates that
there is a malfunction in the AWD sys-
tem. If this occurs, have your vehicle
checked by an authorized Hyundai dealer
as soon as possible.
!
CAUTION:
Never use a puncture-repair agent in a
flat tire. If used, the tire pressure sensor
will be damaged and will require replace-
ment. Have the flat tire repaired by a
Hyundai dealer or qualified technician
as soon as possible.
!
B260V01CM-GAT
AWD (All Wheel Drive) Lock
Indicator Light (If installed)
The AWD (All Wheel Drive) lock indicator
light in the instrument cluster is illuminated
when the AWD lock switch is pushed.
The purpose of this switch is to increase
the drive power when driving on wet pave-
ment, snow-covered roads and/or off-road.
The AWD lock indicator light is turned off by
pushing the switch again.NOTE:Do not use AWD LOCK on normal dry
pavement conditions.
Page 111 of 353
1FEATURES OF YOUR HYUNDAI
100
If the vehicle’s compass headings become
inaccurate, the compass should be cali-
brated as follows:
1. Ensure the vehicle is not located near
large steel structures or under electric
power lines.
2. Turn on the compass by pressing the
button.
3. Press and hold the
button for more
than 6 but less than 9 seconds. The
current zone number will appear in the
display. Release then press the
but-
ton until your zone number appears in
the display.
4. Check the mirror angle by pressing and
holding the
button for more than
12seconds. Release then press the
button to “L”(for steering wheel on the
Left side of the vehicle). (if installed)
5. Press and hold the
button between 9
and 12 seconds. Release the
button
when a “C” appears in the display.
6. Drive the vehicle in 2 complete circles
at less than 5mph(8km/h) or until the
compass heading appears.
CAUTION:
Be sure the area is free of traffic, pedes-
trians, and obstructions.
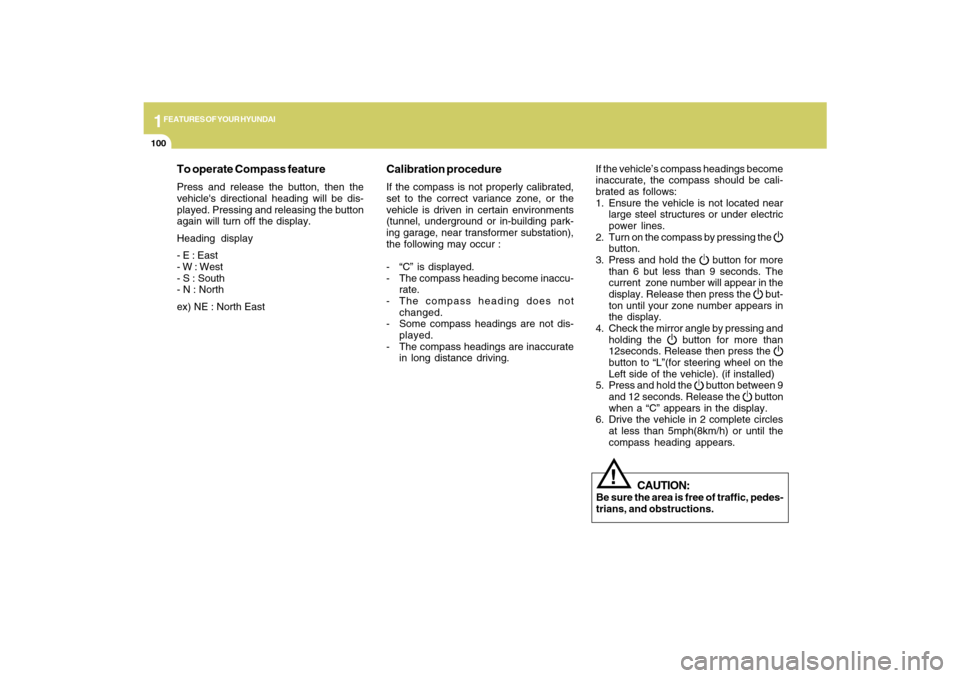
To operate Compass featurePress and release the button, then the
vehicle's directional heading will be dis-
played. Pressing and releasing the button
again will turn off the display.
Heading display
- E : East
- W : West
- S : South
- N : North
ex) NE : North East
!
Calibration procedureIf the compass is not properly calibrated,
set to the correct variance zone, or the
vehicle is driven in certain environments
(tunnel, underground or in-building park-
ing garage, near transformer substation),
the following may occur :
- “C” is displayed.
- The compass heading become inaccu-
rate.
- The compass heading does not
changed.
- Some compass headings are not dis-
played.
- The compass headings are inaccurate
in long distance driving.
Page 230 of 353
2
DRIVING YOUR HYUNDAI
20
!
CAUTION:
If one of the front or rear wheels begins
to spin in mud, snow, etc., the vehicle can
sometimes be driven out by depressing
the accelerator pedal further; however,
avoid running the engine continuously at
high rpm because doing so could dam-
age the AWD system. (10)When using tire chains, always at-
tach them to the four wheels. In some
unavoidable circumstances, install
them on only the front wheels, not the
rear wheels.
(11) If the front or rear wheels get stuck in
the mud, do not spin them recklessly.
The AWD system could be damaged.
!
WARNING:
o Avoid high cornering speeds.
o Do not make quick steering wheel
movements, such as sharp lane
charges or fast, sharp turns.
o The risk of rollover is greatly in-
creased if you lose control of your
vehicle at highway speeds.
o While the full-time AWD vehicle is
being raised on a jack, never start the
engine or cause the tires to rotate.
There is danger that rotating tires
touching the ground could cause the
vehicle to go off the jack and to jump
forward.
o In a collision, an unbelted person is
signicantly more likely to be seriously
injured or killed than a person wearing
a seat belt.
o Loss of control may occurs if two or
more wheels drop off the roadway
and the driver oversteers to reenter
the roadway.
o In the event your vehicle leaves the
roadway, do not steer sharply. Instead,
slow down before pulling back into the
travel lanes.
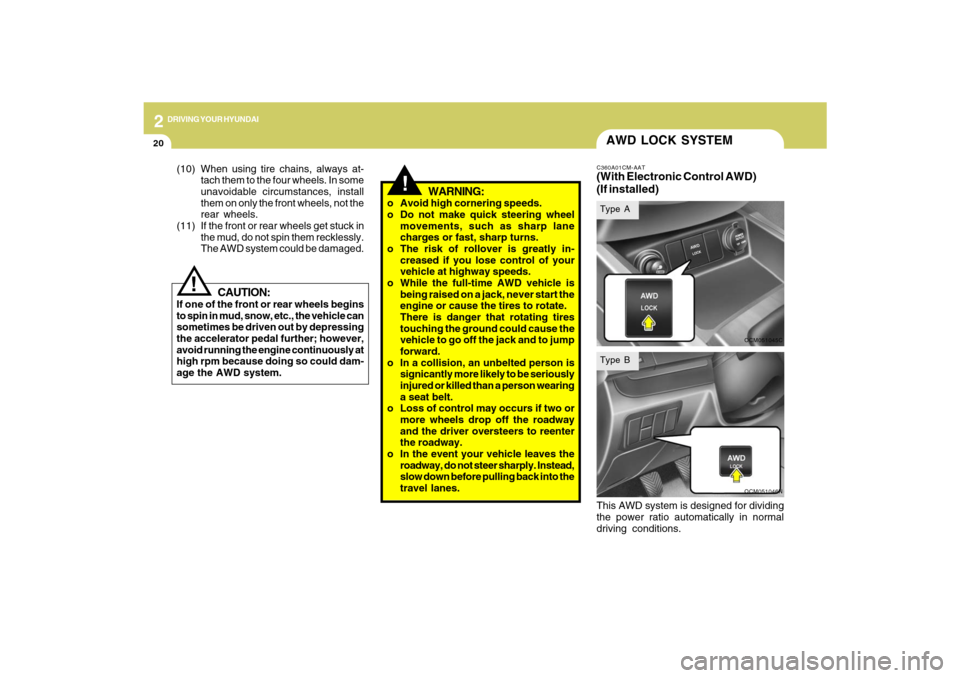
AWD LOCK SYSTEMC360A01CM-AAT(With Electronic Control AWD)
(If installed)
OCM051045COCM051046N
Type AType BThis AWD system is designed for dividing
the power ratio automatically in normal
driving conditions.
Page 267 of 353
320
WHAT TO DO IN AN EMERGENCY
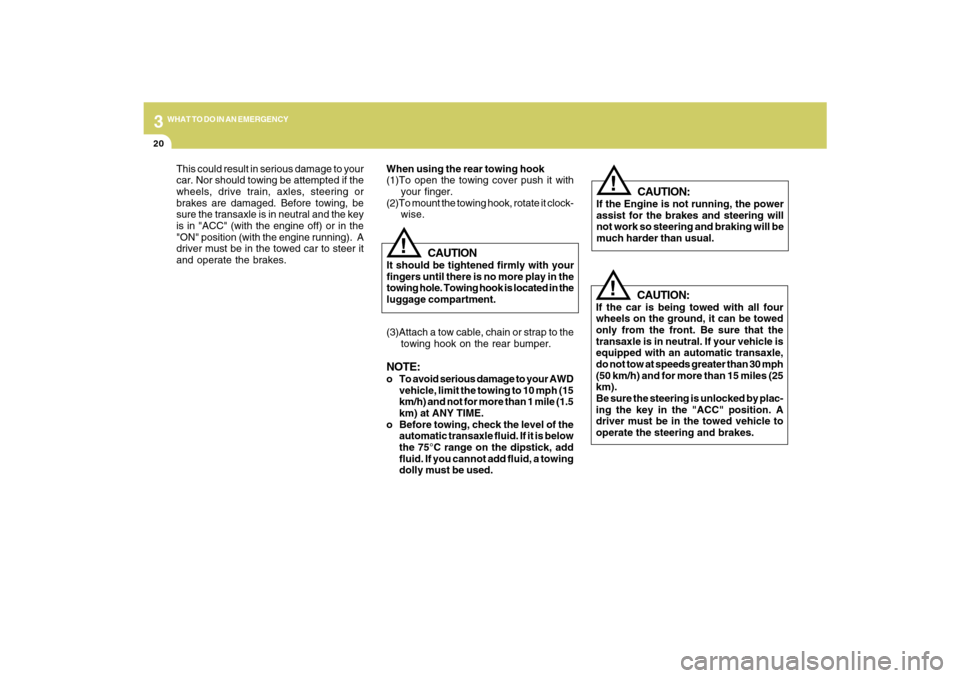
!
CAUTION:
If the car is being towed with all four
wheels on the ground, it can be towed
only from the front. Be sure that the
transaxle is in neutral. If your vehicle is
equipped with an automatic transaxle,
do not tow at speeds greater than 30 mph
(50 km/h) and for more than 15 miles (25
km).
Be sure the steering is unlocked by plac-
ing the key in the "ACC" position. A
driver must be in the towed vehicle to
operate the steering and brakes. (3)Attach a tow cable, chain or strap to the
towing hook on the rear bumper.
NOTE:o To avoid serious damage to your AWD
vehicle, limit the towing to 10 mph (15
km/h) and not for more than 1 mile (1.5
km) at ANY TIME.
o Before towing, check the level of the
automatic transaxle fluid. If it is below
the 75°C range on the dipstick, add
fluid. If you cannot add fluid, a towing
dolly must be used.
CAUTION:
If the Engine is not running, the power
assist for the brakes and steering will
not work so steering and braking will be
much harder than usual.
!
This could result in serious damage to your
car. Nor should towing be attempted if the
wheels, drive train, axles, steering or
brakes are damaged. Before towing, be
sure the transaxle is in neutral and the key
is in "ACC" (with the engine off) or in the
"ON" position (with the engine running). A
driver must be in the towed car to steer it
and operate the brakes.
CAUTION
It should be tightened firmly with your
fingers until there is no more play in the
towing hole. Towing hook is located in the
luggage compartment.
!
When using the rear towing hook
(1)To open the towing cover push it with
your finger.
(2)To mount the towing hook, rotate it clock-
wise.
Page 280 of 353
5
VEHICLE MAINTENANCE REQUIREMENTS
5
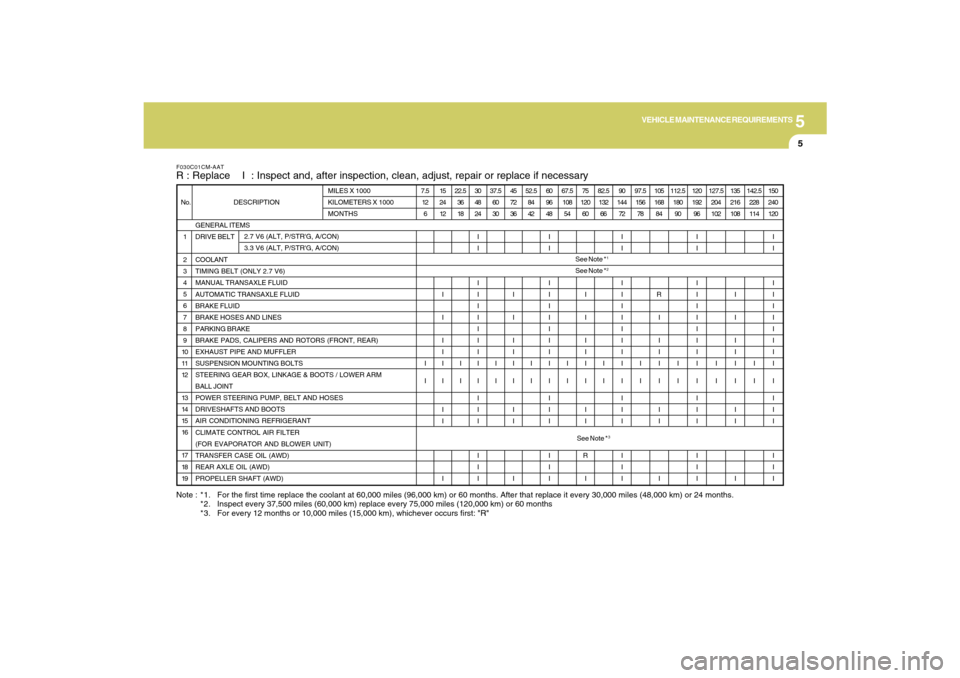
Note : *1. For the first time replace the coolant at 60,000 miles (96,000 km) or 60 months. After that replace it every 30,000 miles (48,000 km) or 24 months.
*2. Inspect every 37,500 miles (60,000 km) replace every 75,000 miles (120,000 km) or 60 months
*3. For every 12 months or 10,000 miles (15,000 km), whichever occurs first: "R"F030C01CM-AATR : Replace I : Inspect and, after inspection, clean, adjust, repair or replace if necessary
GENERAL ITEMS
DRIVE BELT
COOLANT
TIMING BELT (ONLY 2.7 V6)
MANUAL TRANSAXLE FLUID
AUTOMATIC TRANSAXLE FLUID
BRAKE FLUID
BRAKE HOSES AND LINES
PARKING BRAKE
BRAKE PADS, CALIPERS AND ROTORS (FRONT, REAR)
EXHAUST PIPE AND MUFFLER
SUSPENSION MOUNTING BOLTS
STEERING GEAR BOX, LINKAGE & BOOTS / LOWER ARM
BALL JOINT
POWER STEERING PUMP, BELT AND HOSES
DRIVESHAFTS AND BOOTS
AIR CONDITIONING REFRIGERANT
CLIMATE CONTROL AIR FILTER
(FOR EVAPORATOR AND BLOWER UNIT)
TRANSFER CASE OIL (AWD)
REAR AXLE OIL (AWD)
PROPELLER SHAFT (AWD) 1
2
3
4
5
6
7
8
9
10
11
12
13
14
15
16
17
18
19 No. DESCRIPTIONMILES X 1000
KILOMETERS X 1000
MONTHS
2.7 V6 (ALT, P/STR'G, A/CON)
3.3 V6 (ALT, P/STR'G, A/CON)7.5
12
6
I
I15
24
12
I
I
I
I
I
I
I
I
I22.5
36
18
I
I30
48
24
I
I
I
I
I
I
I
I
I
I
I
I
I
I
I
I
I37.5
60
30
I
I45
72
36
I
I
I
I
I
I
I
I
I52.5
84
42
I
I60
96
48
I
I
I
I
I
I
I
I
I
I
I
I
I
I
I
I
I67.5
108
54
I
I75
120
60
I
I
I
I
I
I
I
I
R
I82.5
132
66
I
I90
144
72
I
I
I
I
I
I
I
I
I
I
I
I
I
I
I
I
I97.5
156
78
I
I105
168
84
R
I
I
I
I
I
I
I
I112.5
180
90
I
I120
192
96
I
I
I
I
I
I
I
I
I
I
I
I
I
I
I
I
I127.5
204
102
I
I135
216
108
I
I
I
I
I
I
I
I
I142.5
228
114
I
I150
240
120
I
I
I
I
I
I
I
I
I
I
I
I
I
I
I
I
ISee Note *
1
See Note *
2
See Note *
3
Page 285 of 353
5
VEHICLE MAINTENANCE REQUIREMENTS
10
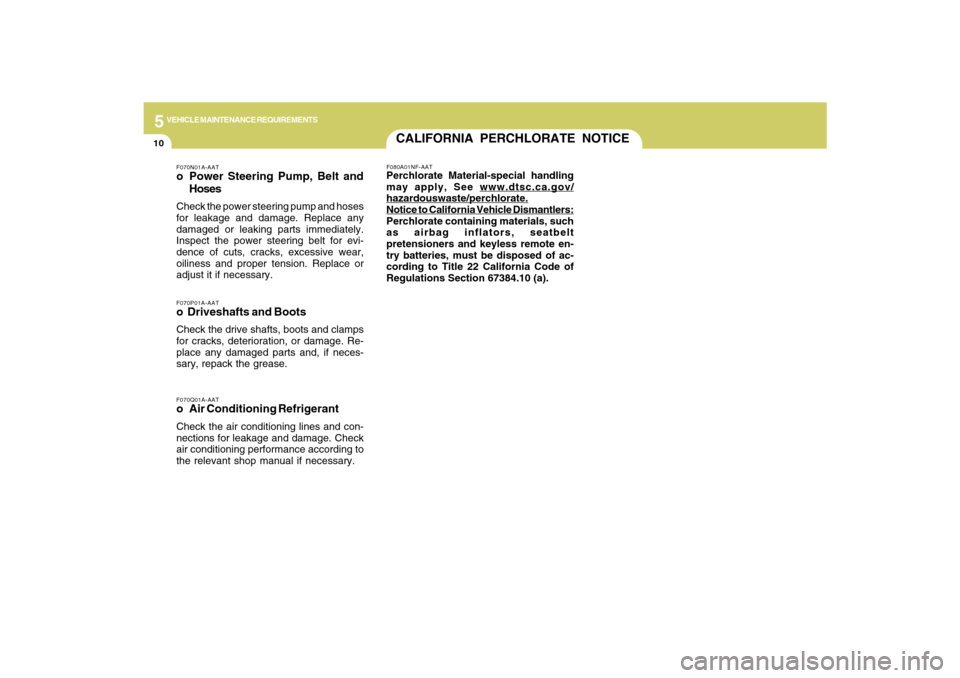
F070Q01A-AATo Air Conditioning RefrigerantCheck the air conditioning lines and con-
nections for leakage and damage. Check
air conditioning performance according to
the relevant shop manual if necessary.F070P01A-AATo Driveshafts and BootsCheck the drive shafts, boots and clamps
for cracks, deterioration, or damage. Re-
place any damaged parts and, if neces-
sary, repack the grease.F070N01A-AATo Power Steering Pump, Belt and
HosesCheck the power steering pump and hoses
for leakage and damage. Replace any
damaged or leaking parts immediately.
Inspect the power steering belt for evi-
dence of cuts, cracks, excessive wear,
oiliness and proper tension. Replace or
adjust it if necessary.
CALIFORNIA PERCHLORATE NOTICEF080A01NF-AATPerchlorate Material-special handling
may apply, See
www.dtsc.ca.gov/
hazardouswaste/perchlorate.Notice to California Vehicle Dismantlers:
Perchlorate containing materials, such
as airbag inflators, seatbelt
pretensioners and keyless remote en-
try batteries, must be disposed of ac-
cording to Title 22 California Code of
Regulations Section 67384.10 (a).