2009 Hyundai Santa Fe ECU
[x] Cancel search: ECUPage 118 of 353

1
FEATURES OF YOUR HYUNDAI
107
4. Press and hold the just-trained
HomeLink
® button and observe the red
Status Indicator LED. If the indicator
light stays on constantly, programming
is complete and your device should
activate.
5. To program the remaining two
HomeLink® buttons, follow either steps
1 through 4 above for other Rolling
Code devices or steps 2 through 5 in
Standard Programming for standard
devices.
Gate Operator & Canadian Programming
During programming, your handheld trans-
mitter may automatically stop transmitting.
Continue to press the Integrated
HomeLink
® Wireless Control System but-
ton (note steps 2 through 4 in the Standard
Programming portion of this document)
while you press and re-press ("cycle") your
handheld transmitter every two seconds
until the frequency signal has been learned.
The indicator light will flash slowly and
then rapidly after several seconds upon
successful training.Operating HomeLink
®
To operate, simply press and release the
programmed HomeLink
® button. Activa-
tion will now occur for the trained device
(i.e. garage door opener, gate operator,
security system, entry door lock, home/
office lighting, etc.). For convenience, the
hand-held transmitter of the device may
also be used at any time.
Reprogramming a Single HomeLink
®
Button
To program a new device to a previously
trained HomeLink
® button, follow these
steps:
1. Press and hold the desired HomeLink
®
button. Do NOT release until step 4 has
been completed.
2. When the indicator light begins to flash
slowly (after 20 seconds), position the
handheld transmitter 1 to 3 inches away
from the HomeLink
® surface.
3. Press and hold the handheld transmit-
ter button. The HomeLink
® indicator light
will flash, first slowly and then rapidly.
4. When the indicator light begins to flash
rapidly, release both buttons.5. Press and hold the just-trained
HomeLink
® button and observe the red
Status Indicator LED. If the indicator
light stays on constantly, programming
is complete and your new device should
activate.
Erasing HomeLink
® Buttons
Individual buttons cannot be erased. How-
ever, to erase all three programmed but-
tons:
1. Press and hold the two outer HomeLink
®
buttons until the indicator light begins to
flash-after 20 seconds.
2. Release both buttons. Do not hold for
longer than 30 seconds.
The Integrated HomeLink
® Wireless Con-
trol System is now in the training (learn)
mode and can be programmed at any time
following the appropriate steps in the Pro-
gramming sections above.
Page 120 of 353
1
FEATURES OF YOUR HYUNDAI
109
!
!TAIL GATEB540A01CM-AAT
WARNING:
The tail gate should always be kept com-
pletely closed while the vehicle is in
motion. If it is left open or ajar, poisonous
exhaust gases may enter the car result-
ing in serious illness or death to the
occupants. See additional warnings con-
cerning exhaust gases on page 2-2.
o The tail gate is opened by pulling the
outside handle up, raising the tail gate
manually.
o To close, lower the tail gate, then press
down on it until it is closed. To be sure
the tail gate is fully closed, always try to
pull it up again without using the outside
handle.
WARNING:
o Whenever leaving vehicle or parking
always set the parking brake as far as
possible and fully engage the vehicle's
transaxle into the park position. Ve-
hicles not fully engaged in park with
the parking brake set are at risk for
moving inadvertently and injuring
yourself or others.
o To prevent unintentional movement
when stopped and leaving the vehicle,
do not use the gearshift lever in place
of the parking brake. Set the parking
brake AND make sure the gearshift
lever is securely positioned in 1st
(First) gear or R (Reverse) for manual
transaxle equipped vehicles and in P
(Park) for automatic transaxle
equipped vehicles.
o Never allow a person who is unfamil-
iar with the vehicle or children to touch
the parking brake. If the parking brake
is released unintentionally, serious
injury may occur.
LUGGAGE COMPARTMENT
OCM052123L
B640A01S-AATCargo Security Screen
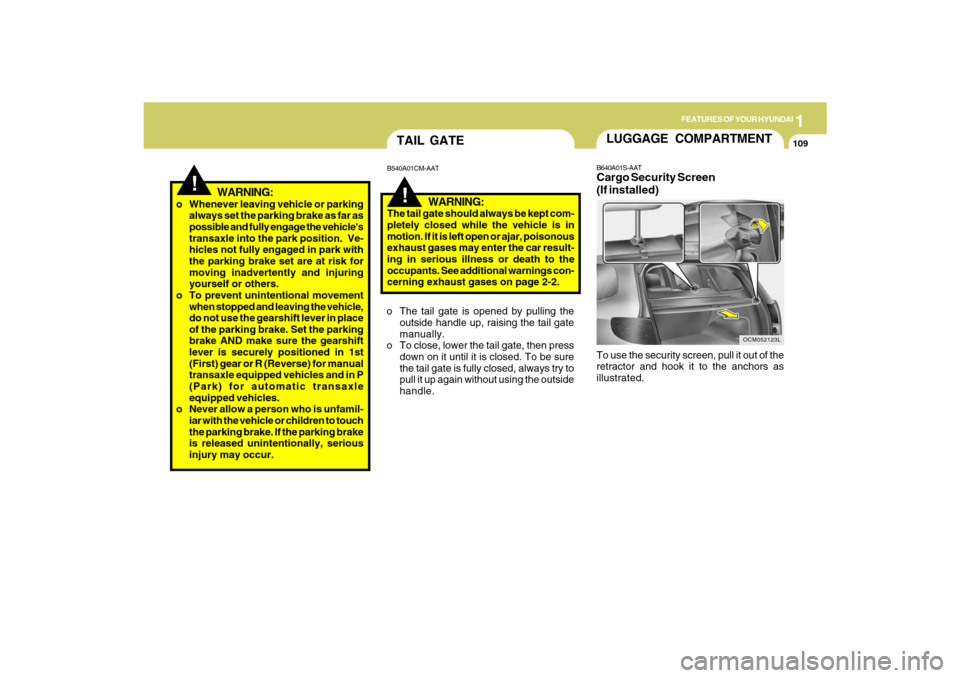
(If installed)To use the security screen, pull it out of the
retractor and hook it to the anchors as
illustrated.
Page 121 of 353
1FEATURES OF YOUR HYUNDAI
110
!
CAUTION:
To prevent damage to the goods or the
vehicle, care should be taken when car-
rying fragile or bulky objects in the lug-
gage compartment.
!
WARNING:
Avoid eye injury. DO NOT overstretch.
The luggage net ALWAYS keep your
face and body out of its recoil path. DO
NOT use when the strap has visible signs
of wear or damage.
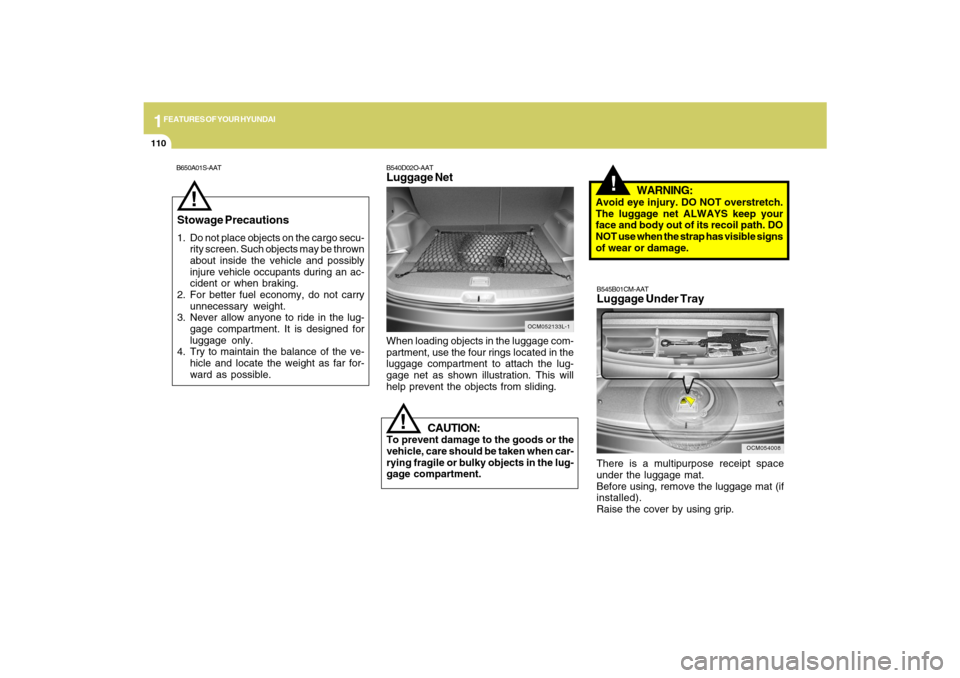
When loading objects in the luggage com-
partment, use the four rings located in the
luggage compartment to attach the lug-
gage net as shown illustration. This will
help prevent the objects from sliding.
OCM052133L-1
B540D02O-AATLuggage Net
Stowage Precautions
1. Do not place objects on the cargo secu-
rity screen. Such objects may be thrown
about inside the vehicle and possibly
injure vehicle occupants during an ac-
cident or when braking.
2. For better fuel economy, do not carry
unnecessary weight.
3. Never allow anyone to ride in the lug-
gage compartment. It is designed for
luggage only.
4. Try to maintain the balance of the ve-
hicle and locate the weight as far for-
ward as possible.
!
OCM054008
B545B01CM-AATLuggage Under TrayThere is a multipurpose receipt space
under the luggage mat.
Before using, remove the luggage mat (if
installed).
Raise the cover by using grip.
B650A01S-AAT
Page 123 of 353
1FEATURES OF YOUR HYUNDAI
112
HIGH-MOUNTED REAR
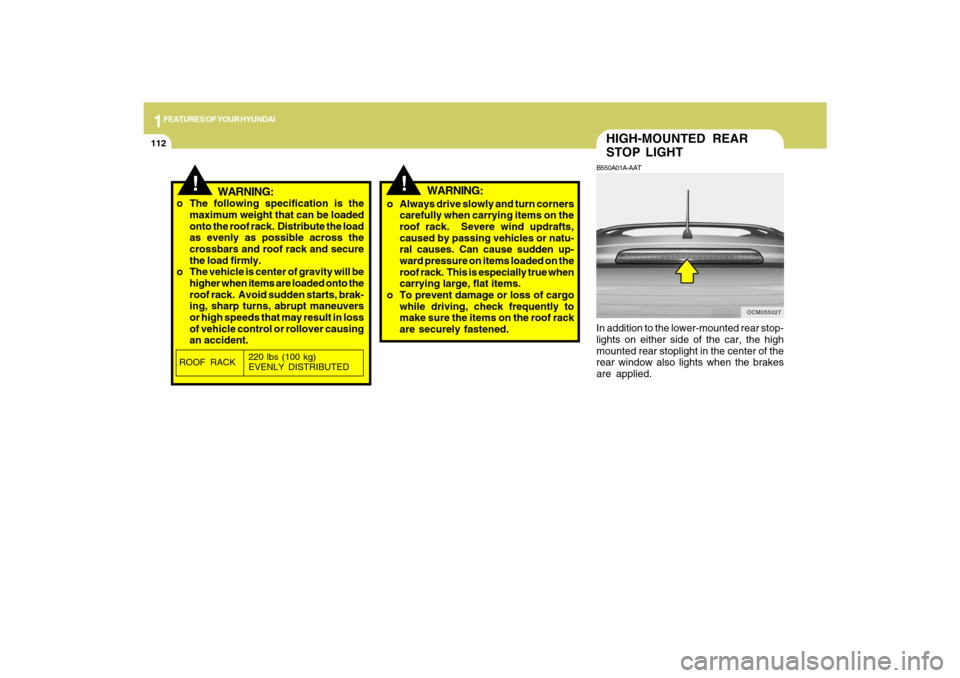
STOP LIGHTB550A01A-AATIn addition to the lower-mounted rear stop-
lights on either side of the car, the high
mounted rear stoplight in the center of the
rear window also lights when the brakes
are applied.
OCM055027
!
!
WARNING:
o The following specification is the
maximum weight that can be loaded
onto the roof rack. Distribute the load
as evenly as possible across the
crossbars and roof rack and secure
the load firmly.
o The vehicle is center of gravity will be
higher when items are loaded onto the
roof rack. Avoid sudden starts, brak-
ing, sharp turns, abrupt maneuvers
or high speeds that may result in loss
of vehicle control or rollover causing
an accident.o Always drive slowly and turn corners
carefully when carrying items on the
roof rack. Severe wind updrafts,
caused by passing vehicles or natu-
ral causes. Can cause sudden up-
ward pressure on items loaded on the
roof rack. This is especially true when
carrying large, flat items.
o To prevent damage or loss of cargo
while driving, check frequently to
make sure the items on the roof rack
are securely fastened.ROOF RACK220 lbs (100 kg)
EVENLY DISTRIBUTED
WARNING:
Page 124 of 353
1
FEATURES OF YOUR HYUNDAI
113
!
WARNING:
OCM052014
REMOTE FUEL-FILLER LID
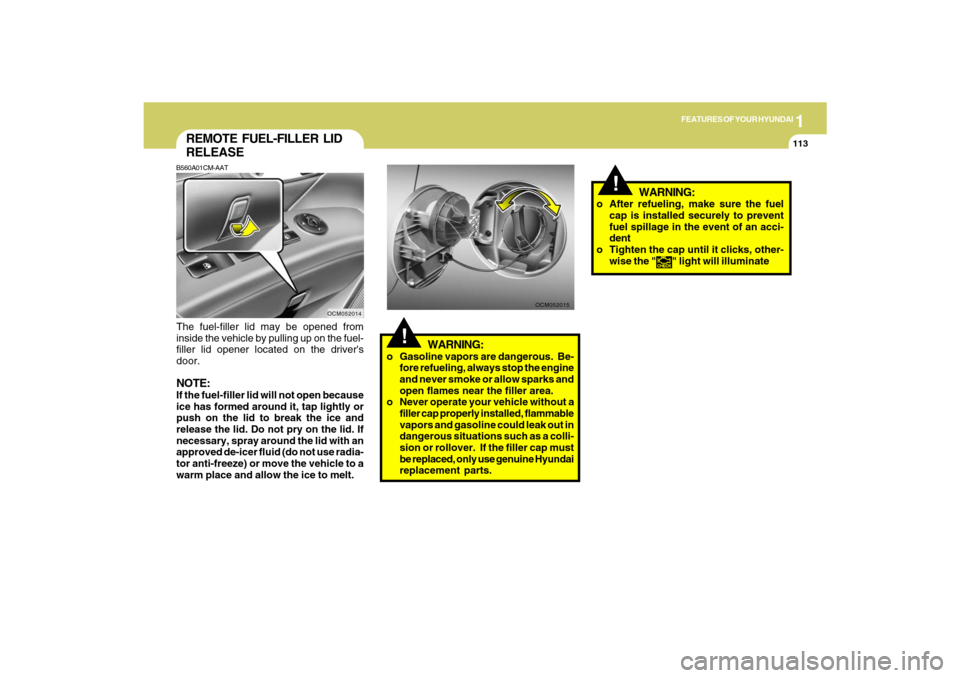
RELEASEB560A01CM-AATThe fuel-filler lid may be opened from
inside the vehicle by pulling up on the fuel-
filler lid opener located on the driver's
door.NOTE:If the fuel-filler lid will not open because
ice has formed around it, tap lightly or
push on the lid to break the ice and
release the lid. Do not pry on the lid. If
necessary, spray around the lid with an
approved de-icer fluid (do not use radia-
tor anti-freeze) or move the vehicle to a
warm place and allow the ice to melt.
OCM052015
!
WARNING:
o Gasoline vapors are dangerous. Be-
fore refueling, always stop the engine
and never smoke or allow sparks and
open flames near the filler area.
o Never operate your vehicle without a
filler cap properly installed, flammable
vapors and gasoline could leak out in
dangerous situations such as a colli-
sion or rollover. If the filler cap must
be replaced, only use genuine Hyundai
replacement parts.o After refueling, make sure the fuel
cap is installed securely to prevent
fuel spillage in the event of an acci-
dent
o Tighten the cap until it clicks, other-
wise the "
" light will illuminate
Page 125 of 353
1FEATURES OF YOUR HYUNDAI
114
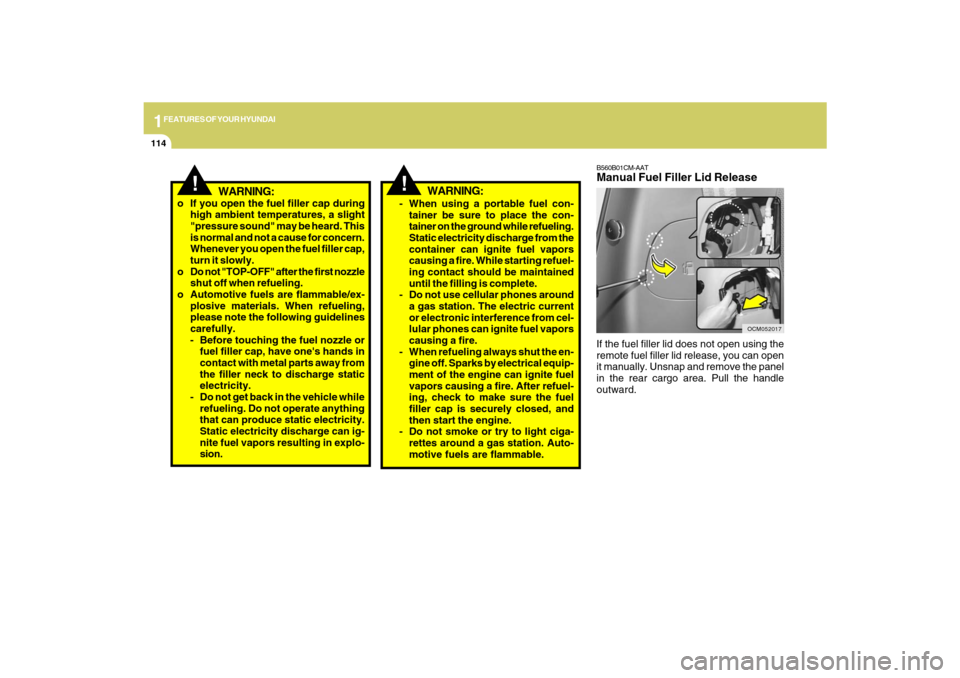
B560B01CM-AATManual Fuel Filler Lid ReleaseIf the fuel filler lid does not open using the
remote fuel filler lid release, you can open
it manually. Unsnap and remove the panel
in the rear cargo area. Pull the handle
outward.
OCM052017
!
WARNING:
o If you open the fuel filler cap during
high ambient temperatures, a slight
"pressure sound" may be heard. This
is normal and not a cause for concern.
Whenever you open the fuel filler cap,
turn it slowly.
o Do not "TOP-OFF" after the first nozzle
shut off when refueling.
o Automotive fuels are flammable/ex-
plosive materials. When refueling,
please note the following guidelines
carefully.
- Before touching the fuel nozzle or
fuel filler cap, have one's hands in
contact with metal parts away from
the filler neck to discharge static
electricity.
- Do not get back in the vehicle while
refueling. Do not operate anything
that can produce static electricity.
Static electricity discharge can ig-
nite fuel vapors resulting in explo-
sion.
- When using a portable fuel con-
tainer be sure to place the con-
tainer on the ground while refueling.
Static electricity discharge from the
container can ignite fuel vapors
causing a fire. While starting refuel-
ing contact should be maintained
until the filling is complete.
- Do not use cellular phones around
a gas station. The electric current
or electronic interference from cel-
lular phones can ignite fuel vapors
causing a fire.
- When refueling always shut the en-
gine off. Sparks by electrical equip-
ment of the engine can ignite fuel
vapors causing a fire. After refuel-
ing, check to make sure the fuel
filler cap is securely closed, and
then start the engine.
- Do not smoke or try to light ciga-
rettes around a gas station. Auto-
motive fuels are flammable.
WARNING:
!
Page 129 of 353
1FEATURES OF YOUR HYUNDAI
118
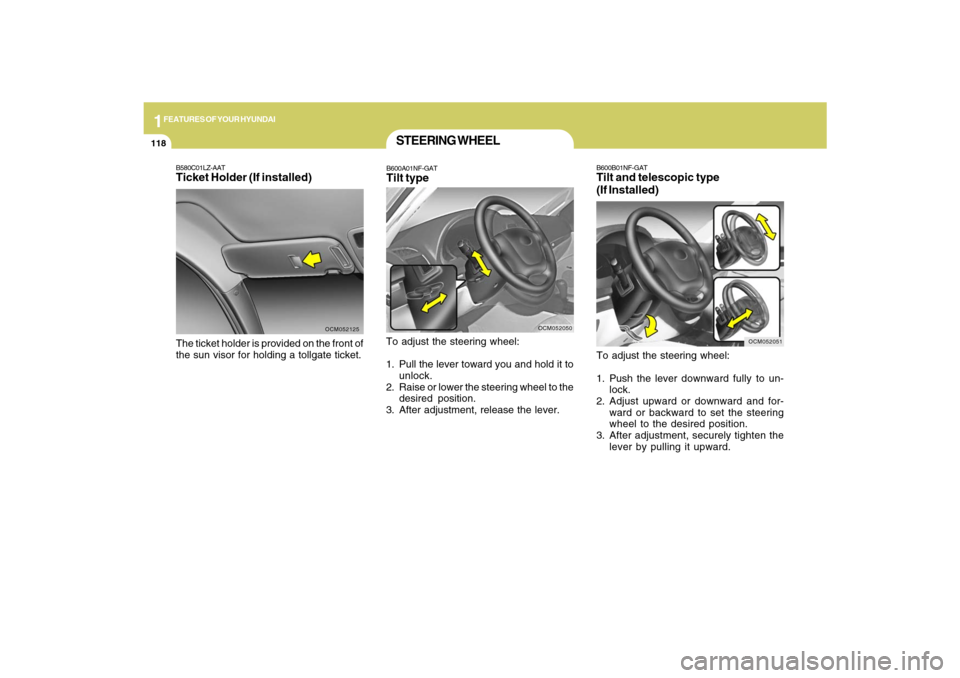
B600B01NF-GATTilt and telescopic type
(If Installed)To adjust the steering wheel:
1. Push the lever downward fully to un-
lock.
2. Adjust upward or downward and for-
ward or backward to set the steering
wheel to the desired position.
3. After adjustment, securely tighten the
lever by pulling it upward.
OCM052051
B580C01LZ-AATTicket Holder (If installed)The ticket holder is provided on the front of
the sun visor for holding a tollgate ticket.
OCM052125
STEERING WHEELB600A01NF-GATTilt typeTo adjust the steering wheel:
1. Pull the lever toward you and hold it to
unlock.
2. Raise or lower the steering wheel to the
desired position.
3. After adjustment, release the lever.
OCM052050
Page 215 of 353
2
DRIVING YOUR HYUNDAI
5
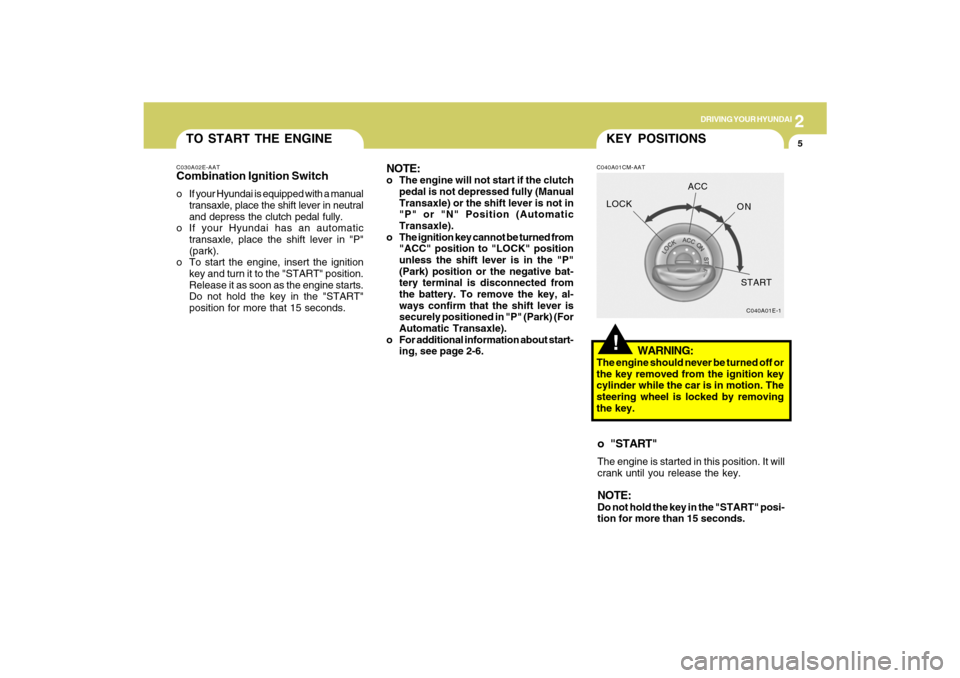
TO START THE ENGINEC030A02E-AATCombination Ignition Switcho If your Hyundai is equipped with a manual
transaxle, place the shift lever in neutral
and depress the clutch pedal fully.
o If your Hyundai has an automatic
transaxle, place the shift lever in "P"
(park).
o To start the engine, insert the ignition
key and turn it to the "START" position.
Release it as soon as the engine starts.
Do not hold the key in the "START"
position for more that 15 seconds.
NOTE:o The engine will not start if the clutch
pedal is not depressed fully (Manual
Transaxle) or the shift lever is not in
"P" or "N" Position (Automatic
Transaxle).
o The ignition key cannot be turned from
"ACC" position to "LOCK" position
unless the shift lever is in the "P"
(Park) position or the negative bat-
tery terminal is disconnected from
the battery. To remove the key, al-
ways confirm that the shift lever is
securely positioned in "P" (Park) (For
Automatic Transaxle).
o For additional information about start-
ing, see page 2-6.
!KEY POSITIONSC040A01CM-AAT
WARNING:
The engine should never be turned off or
the key removed from the ignition key
cylinder while the car is in motion. The
steering wheel is locked by removing
the key.o "START"The engine is started in this position. It will
crank until you release the key.NOTE:Do not hold the key in the "START" posi-
tion for more than 15 seconds.
C040A01E-1
LOCKACC
ON
START