2009 Hyundai Santa Fe window
[x] Cancel search: windowPage 77 of 269
1FEATURES OF YOUR HYUNDAI
66FOG LIGHT SWITCH
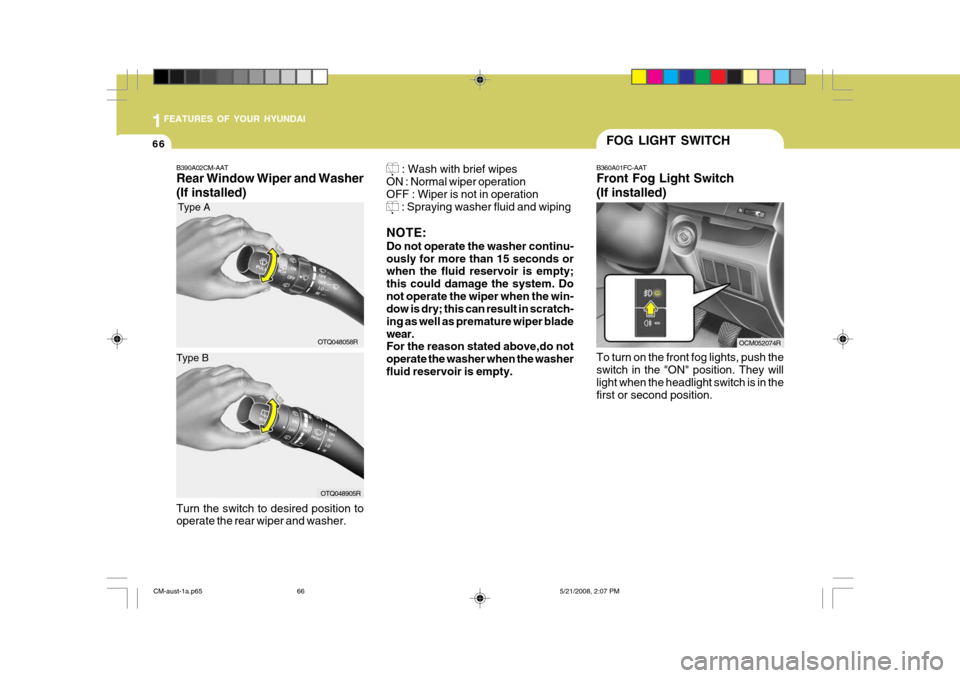
B360A01FC-AAT Front Fog Light Switch (If installed) To turn on the front fog lights, push the switch in the "ON" position. They willlight when the headlight switch is in the first or second position.
OCM052074R
B390A02CM-AAT Rear Window Wiper and Washer (If installed) : Wash with brief wipes
ON : Normal wiper operation OFF : Wiper is not in operation
: Spraying washer fluid and wiping
NOTE: Do not operate the washer continu- ously for more than 15 seconds or when the fluid reservoir is empty; this could damage the system. Donot operate the wiper when the win- dow is dry; this can result in scratch- ing as well as premature wiper bladewear. For the reason stated above,do not operate the washer when the washerfluid reservoir is empty.
OTQ048058R
Type A
Type B
OTQ048905R
Turn the switch to desired position to operate the rear wiper and washer.
CM-aust-1a.p65 5/21/2008, 2:07 PM
66
Page 78 of 269

1
FEATURES OF YOUR HYUNDAI
67
B360A01CM-GAT Rear Fog Light Switch To turn on the rear fog lights, push the switch. They will come on when theheadlight switch is in the second posi- tion or the front fog light switch is "ON" position and the key is in the "ON"position.
OCM051019R
REAR WINDOW DEMISTER SWITCH
B380A01CM-DAT The rear window demister and heated outside rearview mirrors are turned onby pushing in the switch. To turn the demister off, push the switch a second time. The rear window demister auto-matically turns itself off after about 20 minutes. To restart the demister cycle, push in the switch again after it hasturned itself off.
OCM052080R
HAZARD WARNING SYSTEM
B370A01A-AAT
The hazard warning system should be used whenever you find it necessary tostop the car in a hazardous location. When you must make such an emer- gency stop, always pull off the road asfar as possible. The hazard warning lights are turned on by pushing in the hazard switch. This causes all turnsignal lights to blink. The hazard warn- ing lights will operate even though the key is not in the ignition. To turn thehazard warning lights off, push the switch a second time.
OCM052075R
CM-aust-1a.p65 5/21/2008, 2:08 PM
67
Page 79 of 269
1FEATURES OF YOUR HYUNDAI
68
!
CAUTION:
Do not clean the inner side of the rear window glass with an abrasive typeof glass cleaner or use a scraper to remove the foreign deposits from the inner surface of the glass as thismay cause damage to the demister elements. NOTE: The engine must be running for the rear window demister to operate.
DIGITAL CLOCK
B400A01NF-AAT
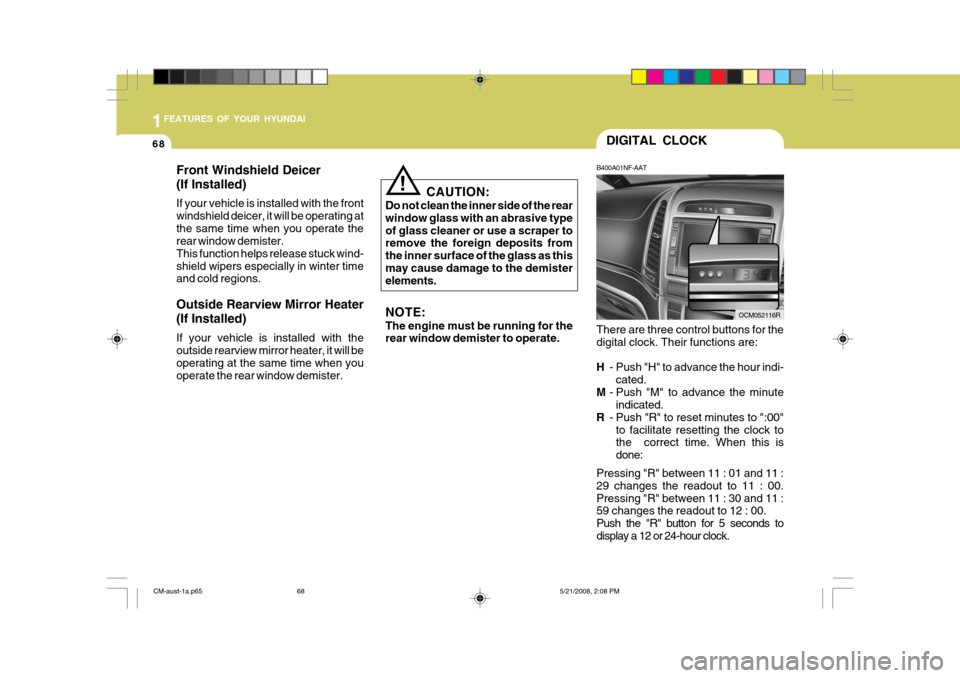
There are three control buttons for the digital clock. Their functions are: H - Push "H" to advance the hour indi-
cated.
M - Push "M" to advance the minute
indicated.
R - Push "R" to reset minutes to ":00"
to facilitate resetting the clock to the correct time. When this is done:
Pressing "R" between 11 : 01 and 11 :29 changes the readout to 11 : 00.Pressing "R" between 11 : 30 and 11 : 59 changes the readout to 12 : 00.
Push the "R" button for 5 seconds todisplay a 12 or 24-hour clock.
OCM052116R
Front Windshield Deicer (If Installed) If your vehicle is installed with the front windshield deicer, it will be operating atthe same time when you operate the rear window demister. This function helps release stuck wind-shield wipers especially in winter time and cold regions. Outside Rearview Mirror Heater (If Installed) If your vehicle is installed with the outside rearview mirror heater, it will be operating at the same time when youoperate the rear window demister.
CM-aust-1a.p65
5/21/2008, 2:08 PM
68
Page 91 of 269
1FEATURES OF YOUR HYUNDAI
80
CAUTION:
o Do not operate the switch continu- ously for an unnecessary length of time.
o Scraping ice from the mirror face could cause permanent damage.To remove any ice, use a sponge,soft cloth or approved de-icer.
!
!WARNING:
Be careful when judging the size or distance of any object seen in the passenger side rearview mirror. It isa convex mirror with a curved sur- face. Any objects seen in this mirror are closer than they appear.
!
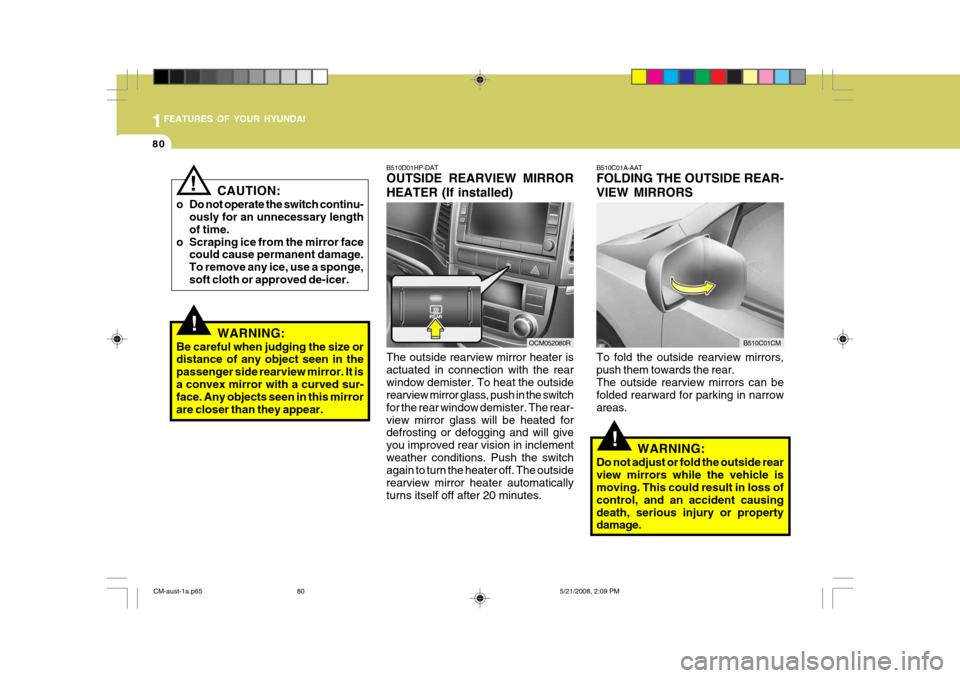
B510D01HP-DAT OUTSIDE REARVIEW MIRROR HEATER (If installed) The outside rearview mirror heater is actuated in connection with the rearwindow demister. To heat the outside rearview mirror glass, push in the switch for the rear window demister. The rear-view mirror glass will be heated for defrosting or defogging and will give you improved rear vision in inclementweather conditions. Push the switch again to turn the heater off. The outside rearview mirror heater automaticallyturns itself off after 20 minutes. B510C01A-AAT FOLDING THE OUTSIDE REAR- VIEW MIRRORS To fold the outside rearview mirrors, push them towards the rear.The outside rearview mirrors can be folded rearward for parking in narrow areas.
WARNING:
Do not adjust or fold the outside rearview mirrors while the vehicle is moving. This could result in loss of control, and an accident causingdeath, serious injury or property damage.
OCM052080RB510C01CM
CM-aust-1a.p65 5/21/2008, 2:09 PM
80
Page 92 of 269
1
FEATURES OF YOUR HYUNDAI
81
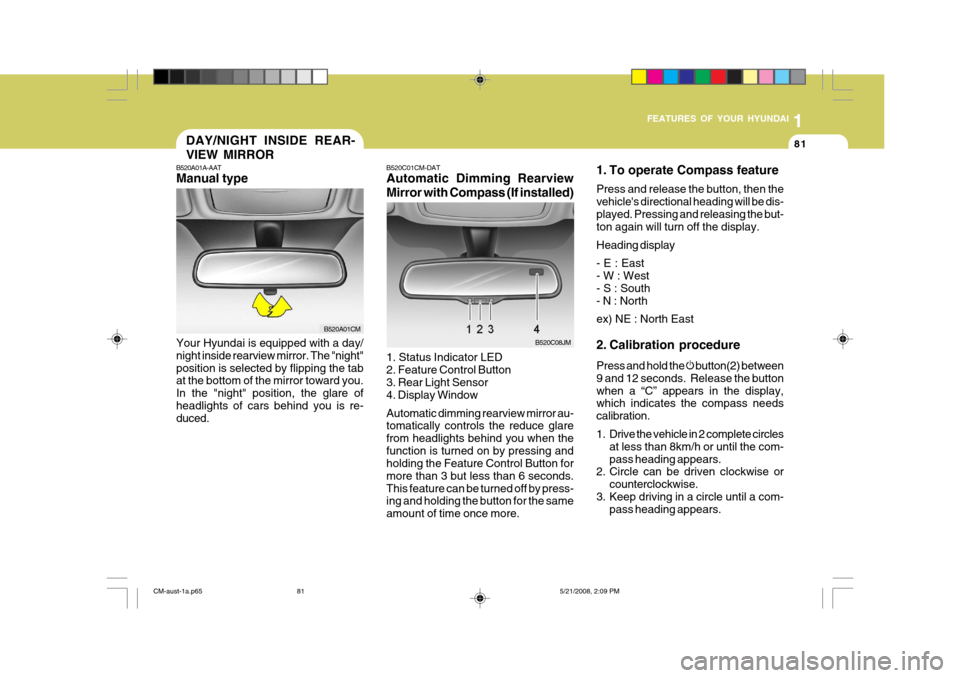
B520C01CM-DAT Automatic Dimming Rearview Mirror with Compass (If installed) 1. Status Indicator LED 2. Feature Control Button3. Rear Light Sensor 4. Display Window Automatic dimming rearview mirror au- tomatically controls the reduce glare from headlights behind you when thefunction is turned on by pressing and holding the Feature Control Button for more than 3 but less than 6 seconds.This feature can be turned off by press- ing and holding the button for the same amount of time once more.
B520C08JM 1. To operate Compass feature Press and release the button, then the vehicle's directional heading will be dis-played. Pressing and releasing the but- ton again will turn off the display. Heading display - E : East - W : West - S : South - N : North ex) NE : North East
2. Calibration procedure Press and hold the
button(2) between
9 and 12 seconds. Release the button when a “C” appears in the display, which indicates the compass needs calibration.
1. Drive the vehicle in 2 complete circles at less than 8km/h or until the com- pass heading appears.
2. Circle can be driven clockwise or
counterclockwise.
3. Keep driving in a circle until a com- pass heading appears.
DAY/NIGHT INSIDE REAR- VIEW MIRROR
B520A01A-AAT Manual type Your Hyundai is equipped with a day/ night inside rearview mirror. The "night"position is selected by flipping the tab at the bottom of the mirror toward you. In the "night" position, the glare ofheadlights of cars behind you is re- duced.
B520A01CM
CM-aust-1a.p65 5/21/2008, 2:09 PM
81
Page 98 of 269
1
FEATURES OF YOUR HYUNDAI
87HIGH-MOUNTED REAR STOP LIGHT
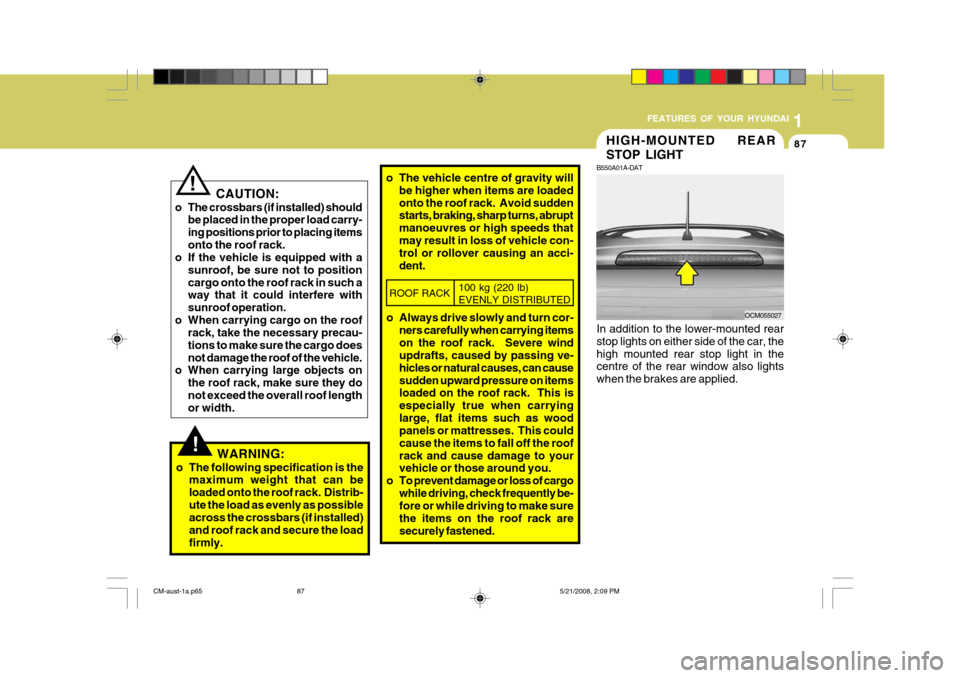
B550A01A-DAT In addition to the lower-mounted rear stop lights on either side of the car, the high mounted rear stop light in the centre of the rear window also lights when the brakes are applied. OCM055027
!WARNING:
o The following specification is the maximum weight that can be loaded onto the roof rack. Distrib-ute the load as evenly as possible across the crossbars (if installed) and roof rack and secure the loadfirmly. o The vehicle centre of gravity will
be higher when items are loadedonto the roof rack. Avoid sudden starts, braking, sharp turns, abrupt manoeuvres or high speeds thatmay result in loss of vehicle con- trol or rollover causing an acci- dent.
CAUTION:
o The crossbars (if installed) should be placed in the proper load carry-ing positions prior to placing itemsonto the roof rack.
o If the vehicle is equipped with a
sunroof, be sure not to positioncargo onto the roof rack in such a way that it could interfere with sunroof operation.
o When carrying cargo on the roof rack, take the necessary precau-tions to make sure the cargo doesnot damage the roof of the vehicle.
o When carrying large objects on
the roof rack, make sure they donot exceed the overall roof length or width.
!
ROOF RACK 100 kg (220 lb) EVENLY DISTRIBUTED
o Always drive slowly and turn cor-
ners carefully when carrying items on the roof rack. Severe wind updrafts, caused by passing ve- hicles or natural causes, can causesudden upward pressure on items loaded on the roof rack. This is especially true when carryinglarge, flat items such as wood panels or mattresses. This could cause the items to fall off the roofrack and cause damage to your vehicle or those around you.
o To prevent damage or loss of cargo while driving, check frequently be-fore or while driving to make sure the items on the roof rack aresecurely fastened.
CM-aust-1a.p65 5/21/2008, 2:09 PM
87
Page 112 of 269
1
FEATURES OF YOUR HYUNDAI
101
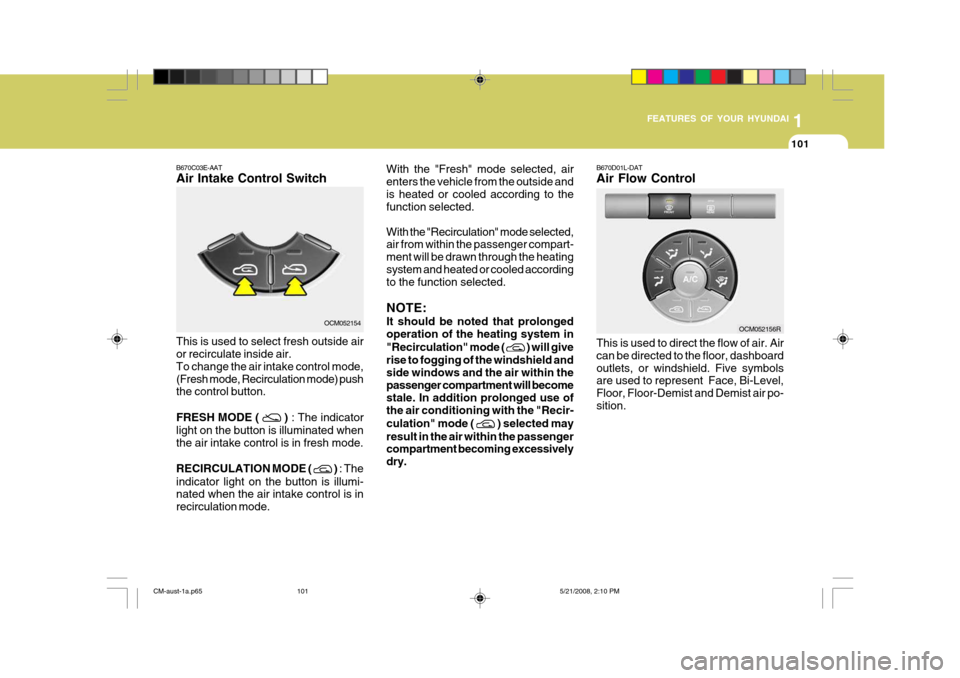
B670D01L-DAT Air Flow Control This is used to direct the flow of air. Air can be directed to the floor, dashboardoutlets, or windshield. Five symbols are used to represent Face, Bi-Level, Floor, Floor-Demist and Demist air po-sition.
With the "Fresh" mode selected, airenters the vehicle from the outside andis heated or cooled according to the function selected. With the "Recirculation" mode selected, air from within the passenger compart- ment will be drawn through the heatingsystem and heated or cooled according to the function selected. NOTE: It should be noted that prolonged operation of the heating system in "Recirculation" mode (
) will give
rise to fogging of the windshield and side windows and the air within thepassenger compartment will become stale. In addition prolonged use of the air conditioning with the "Recir- culation" mode (
) selected may
result in the air within the passenger compartment becoming excessively dry.
OCM052156R
B670C03E-AAT Air Intake Control SwitchOCM052154
This is used to select fresh outside air or recirculate inside air. To change the air intake control mode,(Fresh mode, Recirculation mode) push the control button. FRESH MODE (
) : The indicator
light on the button is illuminated when the air intake control is in fresh mode. RECIRCULATION MODE (
) : The
indicator light on the button is illumi- nated when the air intake control is in recirculation mode.
CM-aust-1a.p65 5/21/2008, 2:10 PM
101
Page 115 of 269
1FEATURES OF YOUR HYUNDAI
104VENTILATIONBI-LEVEL HEATING
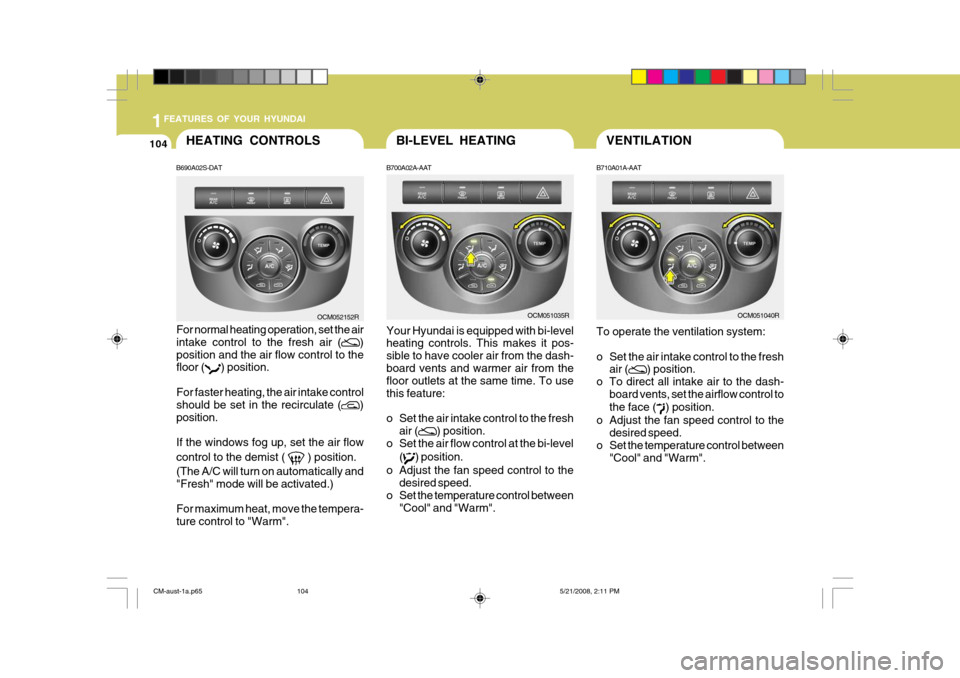
B700A02A-AAT Your Hyundai is equipped with bi-level heating controls. This makes it pos- sible to have cooler air from the dash-board vents and warmer air from the floor outlets at the same time. To use this feature:
o Set the air intake control to the fresh air (
) position.
o Set the air flow control at the bi-level
(
) position.
o Adjust the fan speed control to the desired speed.
o Set the temperature control between "Cool" and "Warm". B710A01A-AAT To operate the ventilation system:
o Set the air intake control to the fresh
air (
) position.
o To direct all intake air to the dash- board vents, set the airflow control to the face (
) position.
o Adjust the fan speed control to the desired speed.
o Set the temperature control between "Cool" and "Warm".
HEATING CONTROLS
B690A02S-DAT
For normal heating operation, set the air intake control to the fresh air (
)
position and the air flow control to the floor (
) position.
For faster heating, the air intake control should be set in the recirculate (
)
position. If the windows fog up, set the air flow control to the demist (
) position.
(The A/C will turn on automatically and "Fresh" mode will be activated.) For maximum heat, move the tempera- ture control to "Warm". OCM052152R
OCM051035ROCM051040R
CM-aust-1a.p65
5/21/2008, 2:11 PM
104