2009 Hyundai H-1 (Grand Starex) brakes
[x] Cancel search: brakesPage 5 of 303
15
Introduction
A020202AUN
Biodiesel
Commercially supplied biodiesel blends of no more than 5% biodiesel, commonly
known as "B5 biodiesel" may be used in
your vehicle if it meets EN 14214 or
equivalent specifications. (EN stands for
"European Norm"). The use of biofuels
made from rapeseed methyl ester
(RME), fatty acid methyl ester (FAME),
vegetable oil methyl ester (VME) etc. ormixing diesel with biodiesel will cause
increased wear or damage to the engine
and fuel system. Repair or replacement
of worn or damaged components due to
the use of non approved fuels will not be
covered by the manufactures warranty.A090000AEN-UK
As with other vehicles of this type, failure
to operate this vehicle correctly mayresult in loss of control, an accident or
vehicle rollover.
Specific design characteristics (higher
ground clearance, track, etc.) give this
vehicle a higher centre of gravity than
other types of vehicles. In other words
they are not designed for cornering at the
same speeds as conventional 2-wheel
drive vehicles. Avoid sharp turns or
abrupt manoeuvres. Again, failure to
operate this vehicle correctly may result
in loss of control, an accident or vehicle
rollover.
Be sure to read the “Reducing
the risk of a rollover” driving guide-
lines, in section 5 of this manual. A030000AUN-UK
No special run-in period is needed. By
following a few simple precautions for the
first 600 miles (1,000 km) you may add to
the performance, economy and life of
your vehicle.
Do not race the engine.
Whilst driving, keep your engine speed
(rpm, or revolutions per minute)
between 2,000 rpm and 4,000 rpm.
Do not maintain a single speed for long periods of time, either fast or slow.
Varying engine speed is needed to
properly run-in the engine.
Avoid hard stops, except in emergen- cies, to allow the brakes to seat prop-
erly.
Don't let the engine idle longer than 3 minutes at one time.
Don't tow a trailer/caravan during the first 1,200 miles (2,000 km) of opera-tion.
VEHICLE RUN-IN PROCESS
VEHICLE HANDLING
INSTRUCTIONS
CAUTION
Never use any fuel, whether
diesel or B5 biodiesel that fails tomeet the latest petroleum indus-try specification.
Never use any fuel additives or treatments that are not recom-mended or approved by the vehi-cle manufacturer.
Page 98 of 303
437
Features of your vehicle
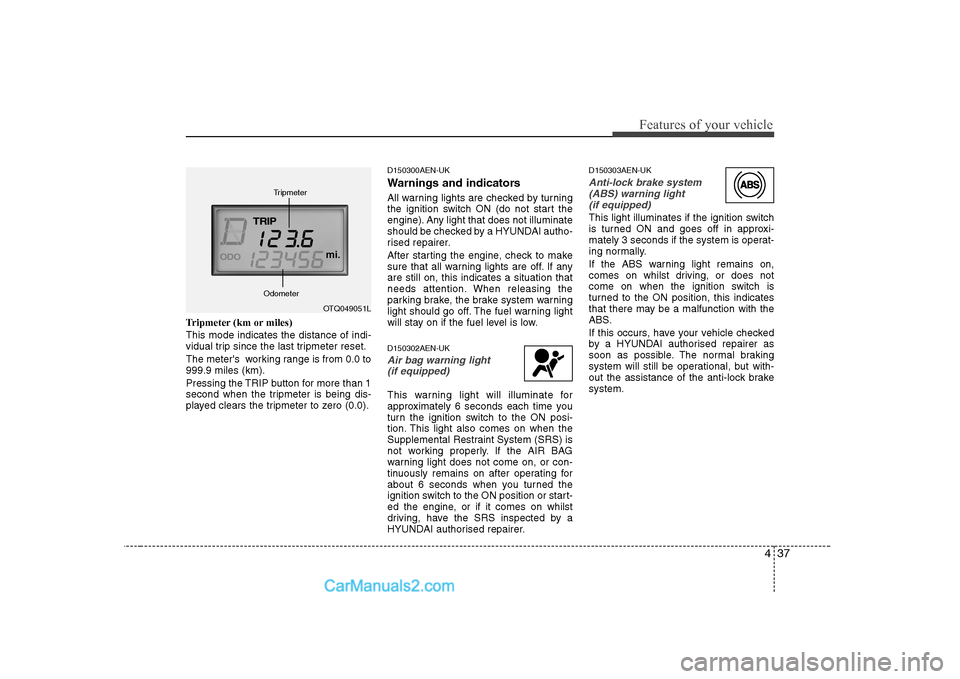
Tripmeter (km or miles) This mode indicates the distance of indi-
vidual trip since the last tripmeter reset.
The meter's working range is from 0.0 to 999.9 miles (km).
Pressing the TRIP button for more than 1
second when the tripmeter is being dis-
played clears the tripmeter to zero (0.0).D150300AEN-UK
Warnings and indicators
All warning lights are checked by turning
the ignition switch ON (do not start the
engine). Any light that does not illuminate
should be checked by a HYUNDAI autho-
rised repairer.
After starting the engine, check to make
sure that all warning lights are off. If anyare still on, this indicates a situation that
needs attention. When releasing the
parking brake, the brake system warning
light should go off. The fuel warning light
will stay on if the fuel level is low. D150302AEN-UK
Air bag warning light
(if equipped)
This warning light will illuminate for
approximately 6 seconds each time you
turn the ignition switch to the ON posi-
tion. This light also comes on when the
Supplemental Restraint System (SRS) is
not working properly. If the AIR BAG
warning light does not come on, or con-
tinuously remains on after operating for
about 6 seconds when you turned the
ignition switch to the ON position or start-
ed the engine, or if it comes on whilst
driving, have the SRS inspected by a
HYUNDAI authorised repairer. D150303AEN-UK
Anti-lock brake system
(ABS) warning light (if equipped)
This light illuminates if the ignition switch
is turned ON and goes off in approxi-
mately 3 seconds if the system is operat-
ing normally.
If the ABS warning light remains on,
comes on whilst driving, or does not
come on when the ignition switch is
turned to the ON position, this indicates
that there may be a malfunction with the
ABS.
If this occurs, have your vehicle checked
by a HYUNDAI authorised repairer as
soon as possible. The normal braking
system will still be operational, but with-
out the assistance of the anti-lock brakesystem.
OTQ049051L
Tripmeter
Odometer
Page 101 of 303
Features of your vehicle
40
4
3. Do not drive the vehicle if leaks are
found, the warning light remains on or
the brakes do not operate properly.
Have the vehicle towed to a HYUNDAI
authorised repairer for a brake system
inspection and necessary repairs.
Your vehicle is equipped with dual-diago-
nal braking systems. This means you still
have braking on two wheels even if one
of the dual systems should fail. With only
one of the dual systems working, more
than normal pedal travel and greaterpedal pressure are required to stop the
car. Also, the car will not stop in as short
a distance with only a portion of the
brake system working. If the brakes fail
whilst you are driving, shift to a lower
gear for additional engine braking and
stop the car as soon as it is safe to do so.
To check bulb operation, check whether
the parking brake and brake fluid warning
light illuminates when the ignition switchis in the ON position. Low brake vacuum pressure warning
(diesel engine only, if equipped)
If the warning light remains on, it may
indicate that the brake vacuum pump has
any problem. Therefore you should avoid
high speed driving or sudden stop, and
you should depress the brake pedal
deeper and harder than usual in braking.
Make sure to have the brake system
checked and repaired by a HYUNDAI
authorised repairer.
D150312AUNShift pattern indicator
(if equipped)
The indicator displays to show the auto-
matic transmission shift lever selection. D150339ASA
O/D OFF Indicator (if equipped)
This indicator comes on when the O/D
system is deactivated. D150313AEN-UK
Charging system warninglight
This warning light indicates a malfunction
of either the generator or electricalcharging system.
If the warning light comes on whilst the
vehicle is in motion:
1. Drive to the nearest safe location.
2. With the engine off, check the genera- tor drive belt for looseness or break-
age.
3. If the belt is adjusted properly, a prob- lem exists somewhere in the electrical
charging system. Have a HYUNDAI
authorised repairer correct the prob-
lem as soon as possible.
WARNING
Driving the vehicle with a warning
light on is dangerous. If the brake
warning light remains on, have the
brakes checked and repaired imme-
diately by a HYUNDAI authorised
repairer.
WARNING
Continuous braking whilst driv- ing on steep or long downhill
may cause to descend the vacu-
um level in brake booster for atime and turn on the warning
light. In this case, shift down the
transmission. If the warning light
illuminate continuously, stop the
vehicle in the safe location andwait until the warning light goes
off.
Driving the vehicle with a warn- ing light on is dangerous. If thebrake warning light remains on,
have the brakes checked and
repaired immediately by a
HYUNDAI authorised repairer.
O/D
OFF
Page 106 of 303
445
Features of your vehicle
D170200AEN Non-operational conditions of rear parking assist system
The rear parking assist system may
not operate properly when:
1. Moisture is frozen to the sensor. (It willoperate normally when the moisture has been cleared.)
2. The sensor is covered with foreign matter, such as snow or water, or the
sensor cover is blocked. (It will operate
normally when the material is removed
or the sensor is no longer blocked.)
3. Driving on uneven road surfaces (unpaved roads, gravel, bumps, gradi-ent).
4. Objects generating excessive noise (vehicle horns, loud motorcycle
engines, or truck air brakes) are within
range of the sensor.
5. Heavy rain or water spray exists.
6. Wireless transmitters or mobile phones are within range of the sensor.
7. The sensor is covered with snow.
8. Trailer towing The detecting range may decrease when:
1. The sensor is stained with foreign mat-
ter such as snow or water. (The sens-
ing range will return to normal when
removed.)
2. Outside air temperature is extremely hot or cold.
The following objects may not be rec-
ognized by the sensor:
1. Sharp or slim objects such as ropes, chains or small poles.
2. Objects which tend to absorb the sen- sor frequency such as clothes, spongy
material or snow.
3. Undetectable objects smaller than 40 in. (1 m) in height and narrower than 6 in.
(14 cm) in diameter. D170300AEN-UK Rear parking assist system pre- cautions
The rear parking assist system may
not sound sequentially depending on the speed and shapes of the objectsdetected.
The rear parking assist system may malfunction if the vehicle bumperheight or sensor installation has been
modified or damaged. Any non-factory
installed equipment or accessories
may also interfere with the sensor per-
formance.
The sensor may not recognize objects less than 15 in. (40 cm) from the sen-
sor, or it may sense an incorrect dis-
tance. Use caution.
When the sensor is frozen or stained with snow, dirt, or water, the sensor
may be inoperative until the stains are
removed using a soft cloth.
Do not push, scratch or strike the sen- sor. Sensor damage could occur.
Page 163 of 303
59
Driving your vehicle
E050101AUN-UK
Using the clutch
The clutch should be pressed all the way
to the floor before shifting, then released
slowly. The clutch pedal should always be
fully released whilst driving. Do not rest
your foot on the clutch pedal whilst driv-
ing. This can cause unnecessary wear.
Do not partially engage the clutch to hold
the car on an incline. This causes unnec-
essary wear. Use the foot brake or park-
ing brake to hold the car on an incline. Do
not operate the clutch pedal rapidly and
repeatedly.
E050102AUN-UK
Downshifting
When you must slow down in heavy traf-
fic or whilst driving up steep hills, down-
shift before the engine starts to labour.
Downshifting reduces the chance of
stalling and gives better acceleration
when you again need to increase your
speed. When the vehicle is travelling
down steep hills, downshifting helps
maintain safe speed and prolongs brake
life.E050200AUN Good driving practices
Never take the car out of gear and
coast down a hill. This is extremely
hazardous. Always leave the car in
gear.
Don't "ride" the brakes. This can cause them to overheat and malfunction.
Instead, when you are driving down a
long hill, slow down and shift to a lower
gear. When you do this, engine braking
will help slow the car.
Slow down before shifting to a lower gear. This will help avoid over-revving
the engine, which can cause damage.
Slow down when you encounter cross winds. This gives you much better con-
trol of your car.
Be sure the car is completely stopped before you attempt to shift into reverse.
The transmission can be damaged if
you do not. To shift into reverse,
depress the clutch, move the shift lever
to neutral, wait 3 seconds, then shift to
the reverse position.
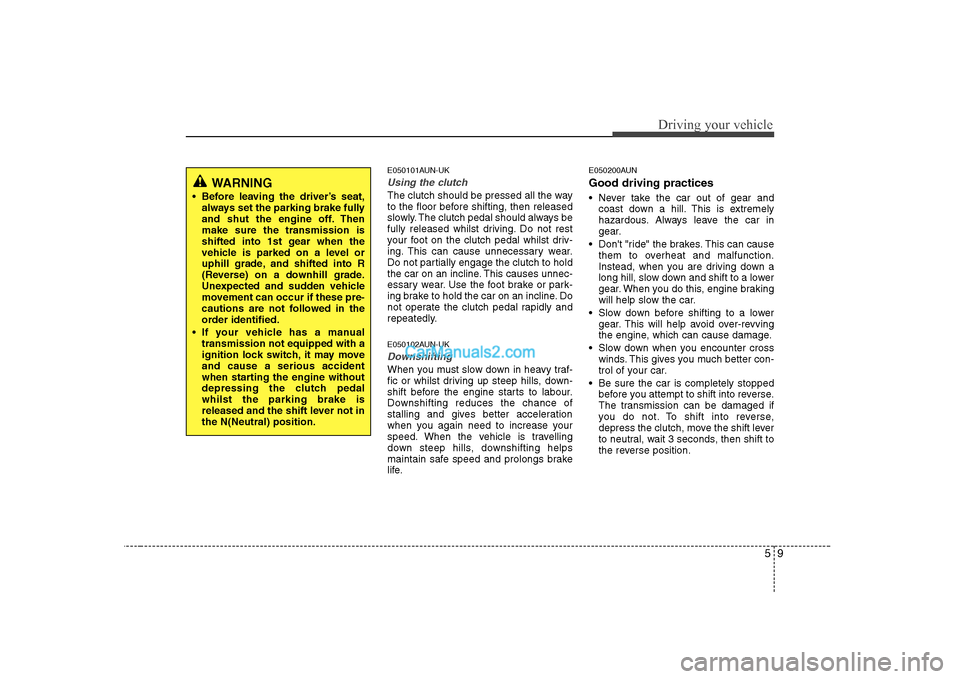
WARNING
Before leaving the driver’s seat, always set the parking brake fully
and shut the engine off. Thenmake sure the transmission is
shifted into 1st gear when the
vehicle is parked on a level or
uphill grade, and shifted into R
(Reverse) on a downhill grade.
Unexpected and sudden vehicle
movement can occur if these pre-
cautions are not followed in the
order identified.
If your vehicle has a manual transmission not equipped with a
ignition lock switch, it may moveand cause a serious accident
when starting the engine without
depressing the clutch pedalwhilst the parking brake is
released and the shift lever not inthe N(Neutral) position.
Page 166 of 303
Driving your vehicle
12
5
E060100ATQ
Automatic transmission operation
The automatic transmission has 5 (or 4)
forward speeds and one reverse speed.The individual speeds are selected auto-
matically, depending on the position of
the shift lever.
✽✽
NOTICE
The first few shifts on a new vehicle, if the battery has been disconnected, may
be somewhat abrupt. This is a normalcondition, and the shifting sequence will
adjust after shifts are cycled a few times
by the TCM (Transmission Control
Module) or PCM (Powertrain ControlModule).
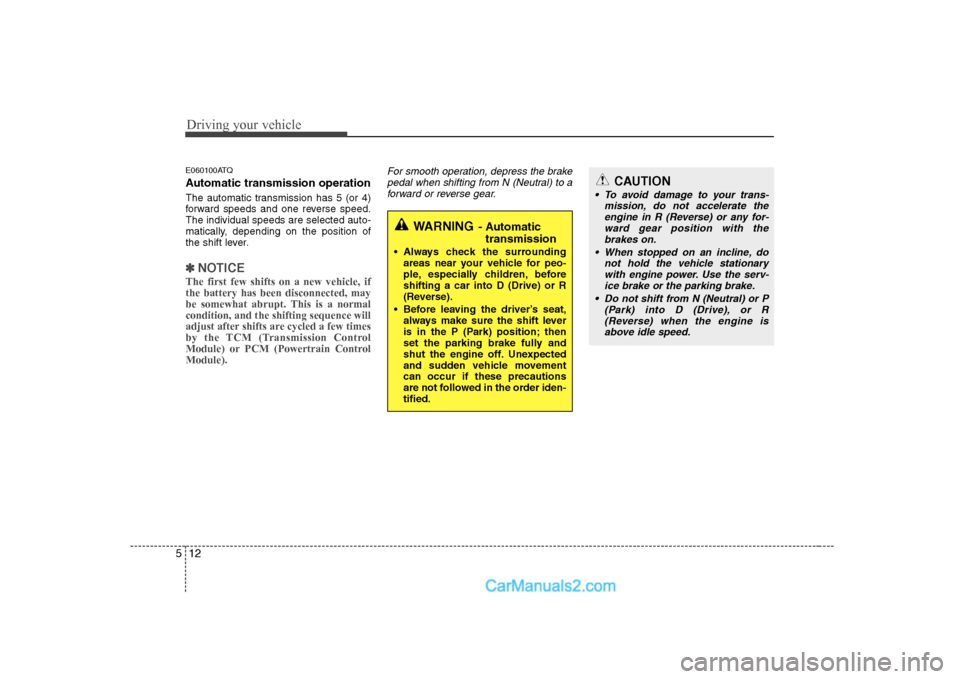
For smooth operation, depress the brake pedal when shifting from N (Neutral) to a forward or reverse gear.
WARNING - Automatic
transmission
Always check the surrounding areas near your vehicle for peo-
ple, especially children, beforeshifting a car into D (Drive) or R
(Reverse).
Before leaving the driver’s seat, always make sure the shift lever
is in the P (Park) position; then
set the parking brake fully and
shut the engine off. Unexpected
and sudden vehicle movementcan occur if these precautions
are not followed in the order iden-tified.
CAUTION
To avoid damage to your trans-
mission, do not accelerate theengine in R (Reverse) or any for- ward gear position with the
brakes on.
When stopped on an incline, do not hold the vehicle stationarywith engine power. Use the serv-ice brake or the parking brake.
Do not shift from N (Neutral) or P (Park) into D (Drive), or R(Reverse) when the engine is above idle speed.
Page 167 of 303
513
Driving your vehicle
E060101CTQ-UK
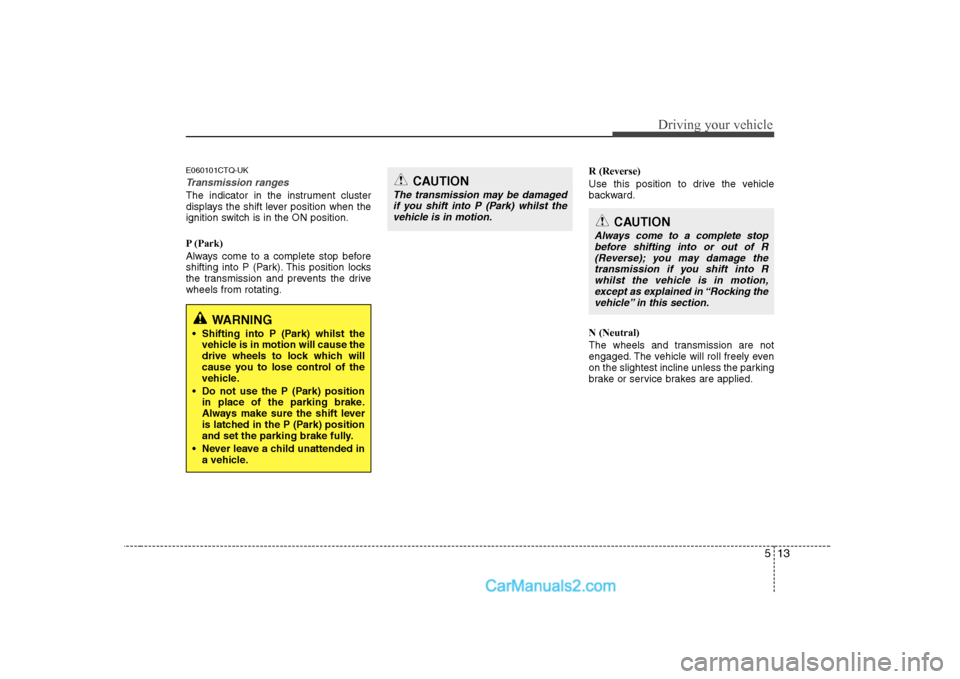
Transmission ranges
The indicator in the instrument cluster
displays the shift lever position when the
ignition switch is in the ON position.
P (Park)
Always come to a complete stop before
shifting into P (Park). This position locks
the transmission and prevents the drivewheels from rotating.R (Reverse)
Use this position to drive the vehicle
backward. N (Neutral)
The wheels and transmission are not
engaged. The vehicle will roll freely even
on the slightest incline unless the parking
brake or service brakes are applied.
CAUTION
The transmission may be damaged
if you shift into P (Park) whilst the vehicle is in motion.
CAUTION
Always come to a complete stop
before shifting into or out of R(Reverse); you may damage the transmission if you shift into Rwhilst the vehicle is in motion,
except as explained in “Rocking the vehicle” in this section.
WARNING
Shifting into P (Park) whilst the vehicle is in motion will cause the
drive wheels to lock which will
cause you to lose control of the
vehicle.
Do not use the P (Park) position in place of the parking brake.
Always make sure the shift lever
is latched in the P (Park) position
and set the parking brake fully.
Never leave a child unattended in a vehicle.
Page 169 of 303
515
Driving your vehicle
The transmission will not shift to 4th gear
until the O/D system button is pressed
again to release the switch.
When driving down a sloping road with
the transmission in O/D (4th), you can
decrease the vehicle speed without using
the brakes by pressing the O/D button.
When the ignition is switched OFF, O/D OFF mode is automatically cancelled.
O/D OFF Indicator
This indicator light illuminates in the
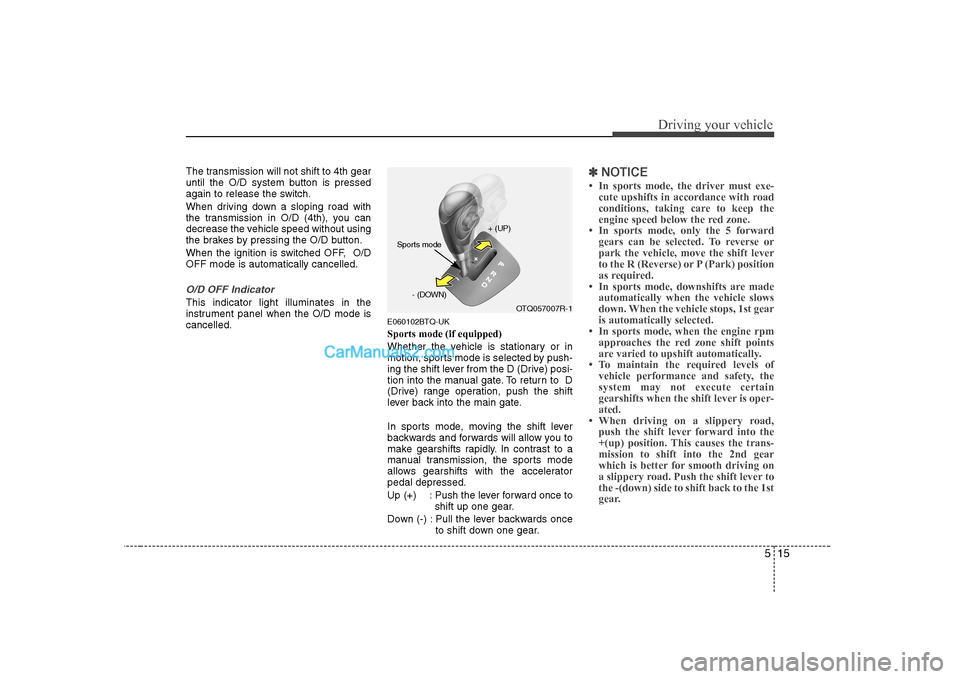
instrument panel when the O/D mode iscancelled.E060102BTQ-UK Sports mode (if equipped)
Whether the vehicle is stationary or in
motion, sports mode is selected by push-
ing the shift lever from the D (Drive) posi-
tion into the manual gate. To return to D
(Drive) range operation, push the shift
lever back into the main gate.
In sports mode, moving the shift lever
backwards and forwards will allow you to
make gearshifts rapidly. In contrast to a
manual transmission, the sports mode
allows gearshifts with the acceleratorpedal depressed.
Up (+) : Push the lever forward once to
shift up one gear.
Down (-) : Pull the lever backwards once to shift down one gear.
✽✽NOTICE