Page 118 of 332
457
Features of your vehicle
D190402AEN
Headlight position ( )
When the light switch is in the headlight position (2nd position), the head, tail,
license and instrument panel lights areON.
✽✽NOTICE
The ignition switch must be in the ON position to turn on the headlights.
D190403AUN
Auto light position (if equipped)
When the light switch is in the AUTO light position, the taillights and headlights will
be turned ON or OFF automaticallydepending on the amount of light outside
the vehicle.
OBK049048NOBK049047N
CAUTION
Never place anything over sensor (1) located on the instrumentpanel. This will ensure betterauto-light system control.
Don’t clean the sensor using a window cleaner. The cleaner mayleave a light film which couldinterfere with sensor operation.
If your vehicle has window tint or other types of coating on the
front windshield, the Auto light system may not work properly.
Page 119 of 332

Features of your vehicle
58
4
D190500AUN High beam operation
To turn on the high beam headlights,
push the lever away from you. Pull it back
for low beams. The high beam indicator will light when
the headlight high beams are switchedon.
To prevent the battery from being dis-
charged, do not leave the lights on for aprolonged time while the engine is not
running. To flash the headlights, pull the lever
towards you. It will return to the normal
(low beam) position when released. The
headlight switch does not need to be on
to use this flashing feature.
D190600AUN
Turn signals and lane change sig- nals
The ignition switch must be on for the
turn signals to function. To turn on the
turn signals, move the lever up or down
(A). The green arrow indicators on the
instrument panel indicate which turn sig-
nal is operating. They will self-cancel
after a turn is completed. If the indicator
continues to flash after a turn, manually
return the lever to the O position.
OBK049049NOBK049050NOBK049051N
Page 126 of 332

465
Features of your vehicle
DEFROSTER
D220000AUN
✽✽ NOTICE
If you want to defrost and defog the
front windshield, refer to “Windshield
defrosting and defogging” in this sec-tion.
D220100AEN
Rear window defroster
The defroster heats the window to
remove frost, fog and thin ice from the
rear window, while the engine is running.
To activate the rear window defroster,
press the rear window defroster button
located in the center facia switch panel. The indicator on the rear window
defroster button illuminates when thedefroster is ON.
If there is heavy accumulation of snow on
the rear window, brush it off before oper-
ating the rear defroster.
The rear window defroster automatically
turns off after approximately 20 minutes
or when the ignition switch is turned off.
To turn off the defroster, press the rear
window defroster button again. D220101AEN
Outside rearview mirror defroster
(if equipped)
If your vehicle is equipped with the out-
side rearview mirror defrosters, they will
operate at the same time you turn on the
rear window defroster. D220200AEN
Front windshield deicer (if equipped)
If your vehicle is equipped with the front
windshield deicer, it will be operating at
the same time you operate the rear win-
dow defroster.
CAUTION
To prevent damage to the conduc- tors bonded to the inside surface of
the rear window, never use sharpinstruments or window cleaners containing abrasives to clean the
window.
OBK049100
OBK049059
Type B
Type A
Page 130 of 332

469
Features of your vehicle
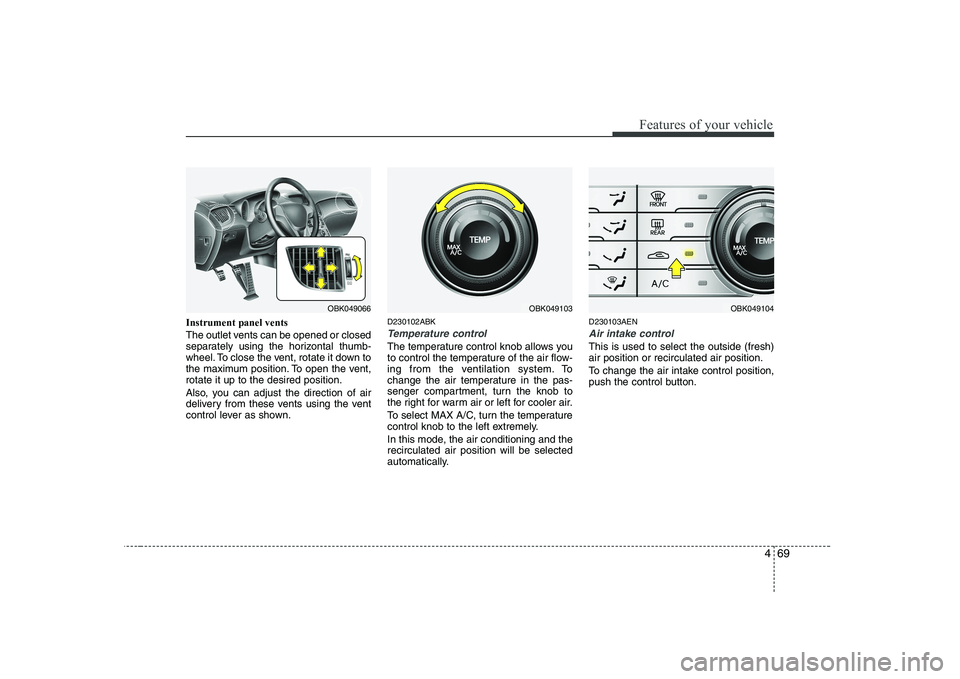
Instrument panel vents
The outlet vents can be opened or closed
separately using the horizontal thumb-
wheel. To close the vent, rotate it down to
the maximum position. To open the vent,rotate it up to the desired position.
Also, you can adjust the direction of air
delivery from these vents using the vent
control lever as shown.D230102ABK
Temperature control
The temperature control knob allows you
to control the temperature of the air flow-
ing from the ventilation system. To
change the air temperature in the pas-
senger compartment, turn the knob to
the right for warm air or left for cooler air.
To select MAX A/C, turn the temperature
control knob to the left extremely.
In this mode, the air conditioning and the recirculated air position will be selected
automatically.D230103AEN
Air intake control
This is used to select the outside (fresh) air position or recirculated air position.
To change the air intake control position,
push the control button.
OBK049103OBK049066OBK049104
Page 137 of 332

Features of your vehicle
76
4
D240100ABK
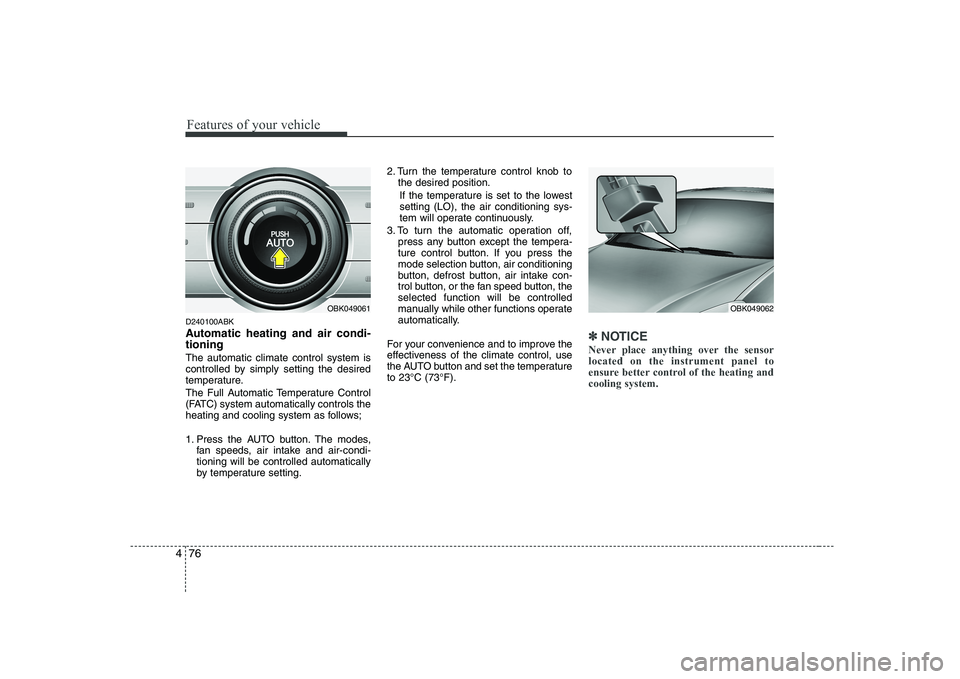
Automatic heating and air condi- tioning The automatic climate control system is
controlled by simply setting the desired
temperature.
The Full Automatic Temperature Control
(FATC) system automatically controls the
heating and cooling system as follows;
1. Press the AUTO button. The modes,
fan speeds, air intake and air-condi- tioning will be controlled automatically
by temperature setting. 2. Turn the temperature control knob to
the desired position.
If the temperature is set to the lowestsetting (LO), the air conditioning sys-
tem will operate continuously.
3. To turn the automatic operation off, press any button except the tempera-
ture control button. If you press the
mode selection button, air conditioning
button, defrost button, air intake con-
trol button, or the fan speed button, theselected function will be controlled
manually while other functions operate
automatically.
For your convenience and to improve the
effectiveness of the climate control, use
the AUTO button and set the temperatureto 23°C (73°F).
✽✽ NOTICE
Never place anything over the sensor located on the instrument panel to
ensure better control of the heating andcooling system.
OBK049062OBK049061
Page 139 of 332
Features of your vehicle
78
4
Defrost-Level (A, D)
Most of the air flow is directed to the windshield with a small amount of air
directed to the side window defrosters. Instrument panel vents
The outlet vents can be opened or closed
separately using the horizontal thumb-
wheel. To close the vent, rotate it down to
the maximum position. To open the vent,rotate it up to the desired position.
Also, you can adjust the direction of air
delivery from these vents using the vent
control lever as shown.D230102AUN
Temperature control
The temperature control knob allows you
to control the temperature of the air flow-
ing from the ventilation system. To
change the air temperature in the pas-
senger compartment, turn the knob to
the right position for warm and hot air or
left position for cooler air.
OBK049065OBK049066OBK049067
Page 201 of 332

517
Driving your vehicle
E060101ABK
Transmission ranges
The indicator in the instrument cluster
displays the shift lever position when the
ignition switch is in the ON position.
P (Park)
Always come to a complete stop before
shifting into P (Park). This position locks
the transmission and prevents the drivewheels from rotating.
CAUTION
To avoid damage to your trans-mission, do not accelerate theengine in R (Reverse) or any for-ward gear position with the
brakes on.
When stopped on an incline, do not hold the vehicle stationarywith engine power. Use the serv-ice brake or the parking brake.
Do not shift from N (Neutral) or P (Park) into D (Drive), or R(Reverse) when the engine isabove idle speed.WARNING
Shifting into P (Park) while the vehicle is in motion will cause the
drive wheels to lock which will
cause you to lose control of the
vehicle.
Do not use the P (Park) position in place of the parking brake.
Always make sure the shift lever
is latched in the P (Park) position
and set the parking brake fully.
Never leave a child unattended in a vehicle.
Before leaving the driver’s seat, always make sure the shift lever
is in the P (Park) position. Set the
parking brake fully, shut the
engine off and take the key with
you. Unexpected and sudden
vehicle movement can occur if
you do not follow these precau-
tions in the order specified.
CAUTION
The transmission may be damaged
if you shift into P (Park) while the vehicle is in motion.
Page 216 of 332

Driving your vehicle
32
5
E090000ABH
The cruise control system allows you to
program the vehicle to maintain a con-stant speed without pressing the acceler-ator pedal. This system is designed to function
above approximately 40 km/h (25 mph)
and below approximately 180 km/h (113mph).✽✽
NOTICE
During normal cruise control operation,
when the SET switch is activated or
reactivated after applying the brakes,
the cruise control will energize after
approximately 3 seconds. This delay isnormal.
CRUISE CONTROL SYSTEM (IF EQUIPPED)
WARNING
If the cruise control is left on, (CRUISE indicator light in the
instrument cluster illuminated)
the cruise control can be
switched on accidentally. Keep
the cruise control system off
(CRUISE indicator light OFF)
when the cruise control is not in
use, to avoid inadvertently set-ting a speed.
Use the cruise control system only when traveling on open
highways in good weather.
(Continued)
(Continued)
Do not use the cruise controlwhen it may not be safe to keep
the car at a constant speed, for
instance, driving in heavy or
varying traffic, or on slippery
(rainy, icy or snow-covered) or
winding roads or over 6% up-hill
or down-hill roads.
Pay particular attention to the driving conditions whenever
using the cruise control system.
Be careful when driving downhill using the cruise control system,
which may increase the vehiclespeed.