2009 Hyundai Elantra engine oil
[x] Cancel search: engine oilPage 236 of 308
711
Maintenance
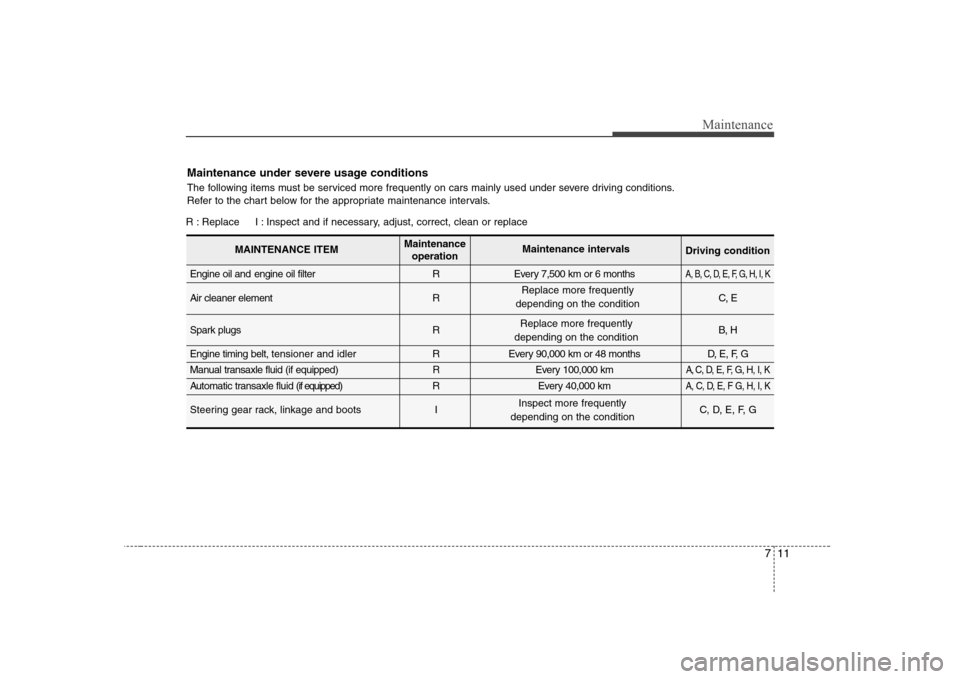
Maintenance under severe usage conditions
The following items must be serviced more frequently on cars mainly used under severe driving conditions.
Refer to the chart below for the appropriate maintenance intervals.
R : Replace I : Inspect and if necessary, adjust, correct, clean or replaceEngine oil and engine oil filter R Every 7,500 km or 6 months
A, B, C, D, E, F, G, H, I, K
Air cleaner element R C, E
Spark plugs R B, H
Engine timing belt, tensioner and idler R Every 90,000 km or 48 months D, E, F, G
Manual transaxle fluid (if equipped)
REvery 100,000 km A, C, D, E, F, G, H, I, K
Automatic transaxle fluid (if equipped)R Every 40,000 kmA, C, D, E, F G, H, I, K
Steering gear rack, linkage and boots I C, D, E, F, G
MAINTENANCE ITEMMaintenance
operation Maintenance intervals
Driving condition
Replace more frequently
depending on the condition
Inspect more frequently
depending on the condition Replace more frequently
depending on the condition
Page 238 of 308
713
Maintenance
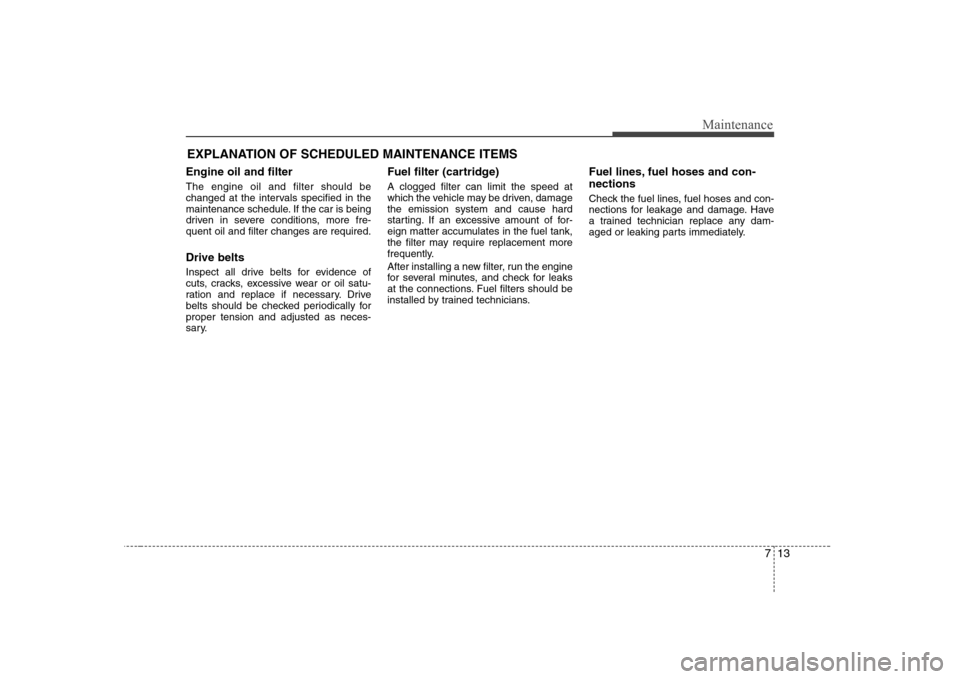
EXPLANATION OF SCHEDULED MAINTENANCE ITEMS
Engine oil and filter The engine oil and filter should be
changed at the intervals specified in the
maintenance schedule. If the car is being
driven in severe conditions, more fre-quent oil and filter changes are required. Drive belts
Inspect all drive belts for evidence of
cuts, cracks, excessive wear or oil satu-
ration and replace if necessary. Drive
belts should be checked periodically forproper tension and adjusted as neces-
sary. Fuel filter (cartridge) A clogged filter can limit the speed at
which the vehicle may be driven, damagethe emission system and cause hard
starting. If an excessive amount of for-
eign matter accumulates in the fuel tank,
the filter may require replacement more
frequently.
After installing a new filter, run the engine
for several minutes, and check for leaks
at the connections. Fuel filters should be
installed by trained technicians.
Fuel lines, fuel hoses and con- nections
Check the fuel lines, fuel hoses and con-
nections for leakage and damage. Have
a trained technician replace any dam-
aged or leaking parts immediately.
Page 240 of 308
715
Maintenance
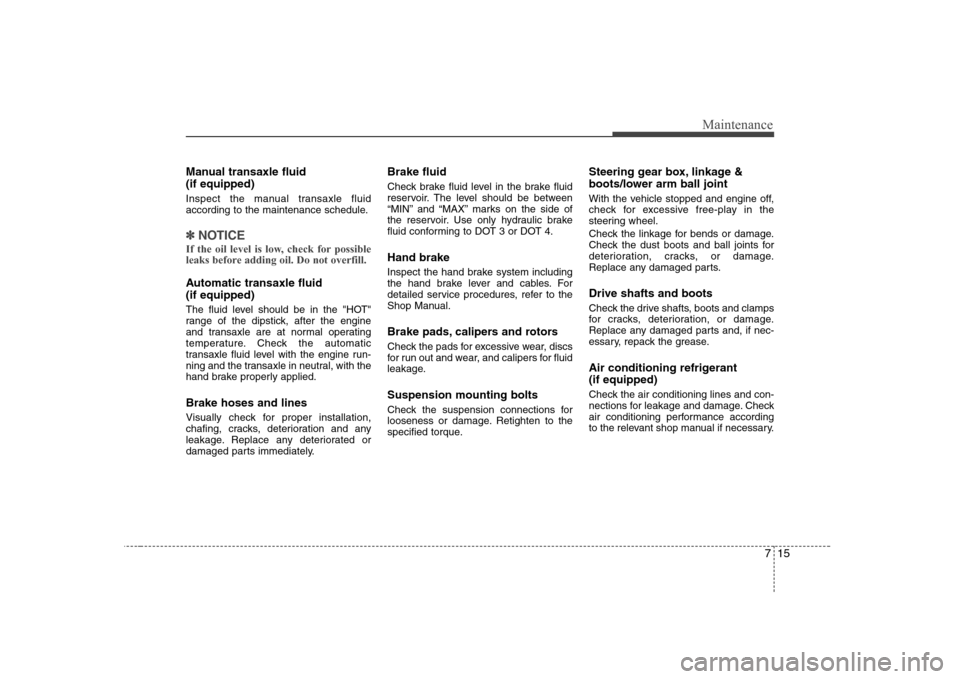
Manual transaxle fluid (if equipped)
Inspect the manual transaxle fluid
according to the maintenance schedule.
✽✽NOTICE
If the oil level is low, check for possible
leaks before adding oil. Do not overfill.
Automatic transaxle fluid (if equipped)
The fluid level should be in the "HOT"
range of the dipstick, after the engine
and transaxle are at normal operating
temperature. Check the automatic
transaxle fluid level with the engine run-
ning and the transaxle in neutral, with the
hand brake properly applied. Brake hoses and lines
Visually check for proper installation,
chafing, cracks, deterioration and any
leakage. Replace any deteriorated or
damaged parts immediately. Brake fluid
Check brake fluid level in the brake fluid
reservoir. The level should be between
“MIN” and “MAX” marks on the side of
the reservoir. Use only hydraulic brake
fluid conforming to DOT 3 or DOT 4. Hand brake
Inspect the hand brake system including
the hand brake lever and cables. For
detailed service procedures, refer to the
Shop Manual.
Brake pads, calipers and rotors
Check the pads for excessive wear, discs
for run out and wear, and calipers for fluid
leakage. Suspension mounting bolts
Check the suspension connections for
looseness or damage. Retighten to the
specified torque.
Steering gear box, linkage &
boots/lower arm ball joint
With the vehicle stopped and engine off,
check for excessive free-play in the
steering wheel.
Check the linkage for bends or damage.
Check the dust boots and ball joints for
deterioration, cracks, or damage.
Replace any damaged parts. Drive shafts and boots
Check the drive shafts, boots and clamps
for cracks, deterioration, or damage.
Replace any damaged parts and, if nec-
essary, repack the grease.
Air conditioning refrigerant (if equipped)
Check the air conditioning lines and con-
nections for leakage and damage. Check
air conditioning performance according
to the relevant shop manual if necessary.
Page 241 of 308
Maintenance
16
7
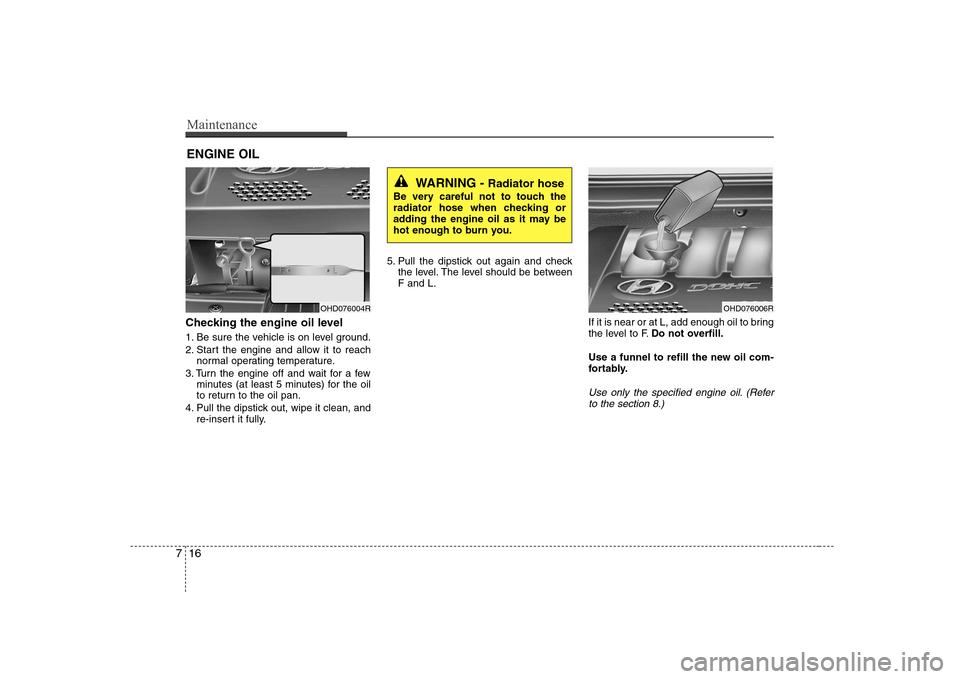
ENGINE OIL
Checking the engine oil level
1. Be sure the vehicle is on level ground.
2. Start the engine and allow it to reach normal operating temperature.
3. Turn the engine off and wait for a few minutes (at least 5 minutes) for the oil
to return to the oil pan.
4. Pull the dipstick out, wipe it clean, and re-insert it fully. 5. Pull the dipstick out again and check
the level. The level should be between F and L.
If it is near or at L, add enough oil to bring
the level to F.Do not overfill.
Use a funnel to refill the new oil com-
fortably.
Use only the specified engine oil. (Refer to the section 8.)
WARNING - Radiator hose
Be very careful not to touch the
radiator hose when checking or
adding the engine oil as it may be
hot enough to burn you.
OHD076004ROHD076006R
Page 242 of 308
717
Maintenance
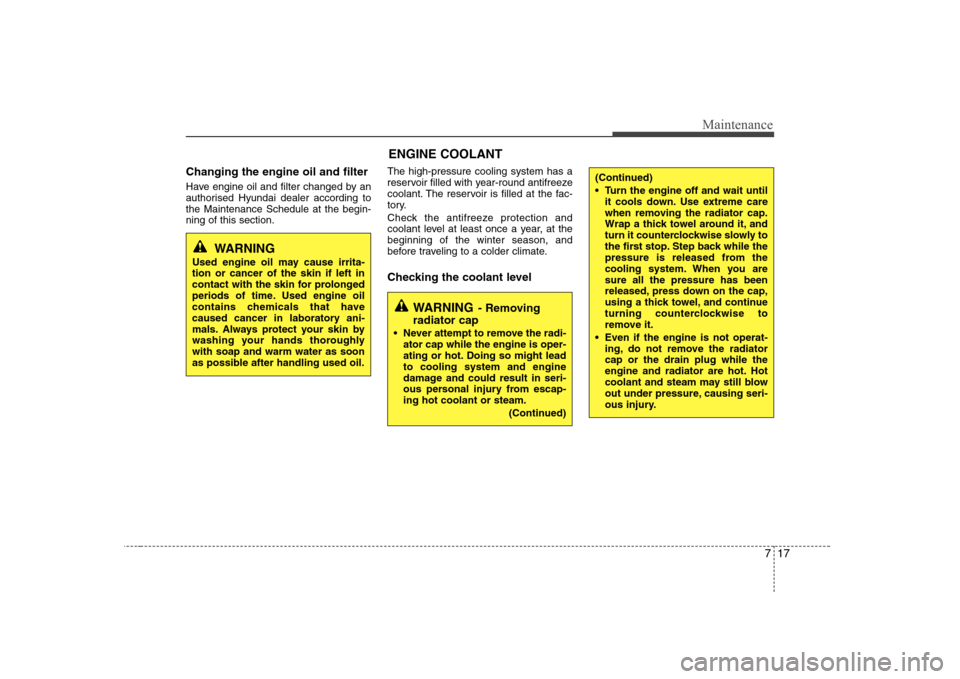
Changing the engine oil and filter
Have engine oil and filter changed by an
authorised Hyundai dealer according tothe Maintenance Schedule at the begin-ning of this section.The high-pressure cooling system has a
reservoir filled with year-round antifreeze
coolant. The reservoir is filled at the fac-
tory.
Check the antifreeze protection and
coolant level at least once a year, at thebeginning of the winter season, and
before traveling to a colder climate.
Checking the coolant level
WARNING
- Removing
radiator cap
Never attempt to remove the radi- ator cap while the engine is oper-
ating or hot. Doing so might leadto cooling system and engine
damage and could result in seri-
ous personal injury from escap-ing hot coolant or steam.
(Continued)
(Continued)
Turn the engine off and wait untilit cools down. Use extreme care
when removing the radiator cap.
Wrap a thick towel around it, and
turn it counterclockwise slowly to
the first stop. Step back while the
pressure is released from the
cooling system. When you aresure all the pressure has been
released, press down on the cap,
using a thick towel, and continue
turning counterclockwise to
remove it.
Even if the engine is not operat- ing, do not remove the radiatorcap or the drain plug while the
engine and radiator are hot. Hot
coolant and steam may still blow
out under pressure, causing seri-
ous injury.
WARNING
Used engine oil may cause irrita- tion or cancer of the skin if left in
contact with the skin for prolonged
periods of time. Used engine oil
contains chemicals that have
caused cancer in laboratory ani-
mals. Always protect your skin by
washing your hands thoroughlywith soap and warm water as soon
as possible after handling used oil.
ENGINE COOLANT
Page 244 of 308
719
Maintenance
BRAKE AND CLUTCH (IF EQUIPPED) FLUID
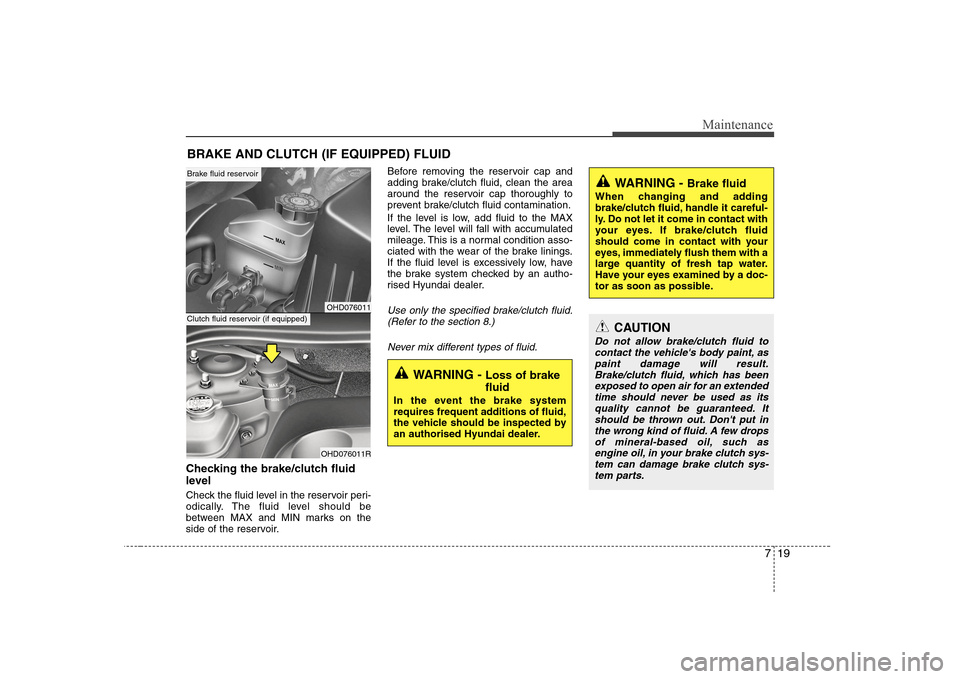
Checking the brake/clutch fluid
level
Check the fluid level in the reservoir peri-
odically. The fluid level should be
between MAX and MIN marks on the
side of the reservoir. Before removing the reservoir cap and
adding brake/clutch fluid, clean the area
around the reservoir cap thoroughly to
prevent brake/clutch fluid contamination.
If the level is low, add fluid to the MAX
level. The level will fall with accumulated
mileage. This is a normal condition asso-
ciated with the wear of the brake linings.
If the fluid level is excessively low, have
the brake system checked by an autho-
rised Hyundai dealer.
Use only the specified brake/clutch fluid.
(Refer to the section 8.)
Never mix different types of fluid.
WARNING - Brake fluid
When changing and adding
brake/clutch fluid, handle it careful-
ly. Do not let it come in contact with
your eyes. If brake/clutch fluid
should come in contact with your
eyes, immediately flush them with a
large quantity of fresh tap water.
Have your eyes examined by a doc-
tor as soon as possible.
WARNING - Loss of brake fluid
In the event the brake system
requires frequent additions of fluid,
the vehicle should be inspected by
an authorised Hyundai dealer.
CAUTION
Do not allow brake/clutch fluid to contact the vehicle's body paint, as paint damage will result.
Brake/clutch fluid, which has been exposed to open air for an extendedtime should never be used as itsquality cannot be guaranteed. Itshould be thrown out. Don't put in
the wrong kind of fluid. A few dropsof mineral-based oil, such as engine oil, in your brake clutch sys-tem can damage brake clutch sys-
tem parts.
OHD076011
OHD076011R
Brake fluid reservoir
Clutch fluid reservoir (if equipped)
Page 246 of 308
721
Maintenance
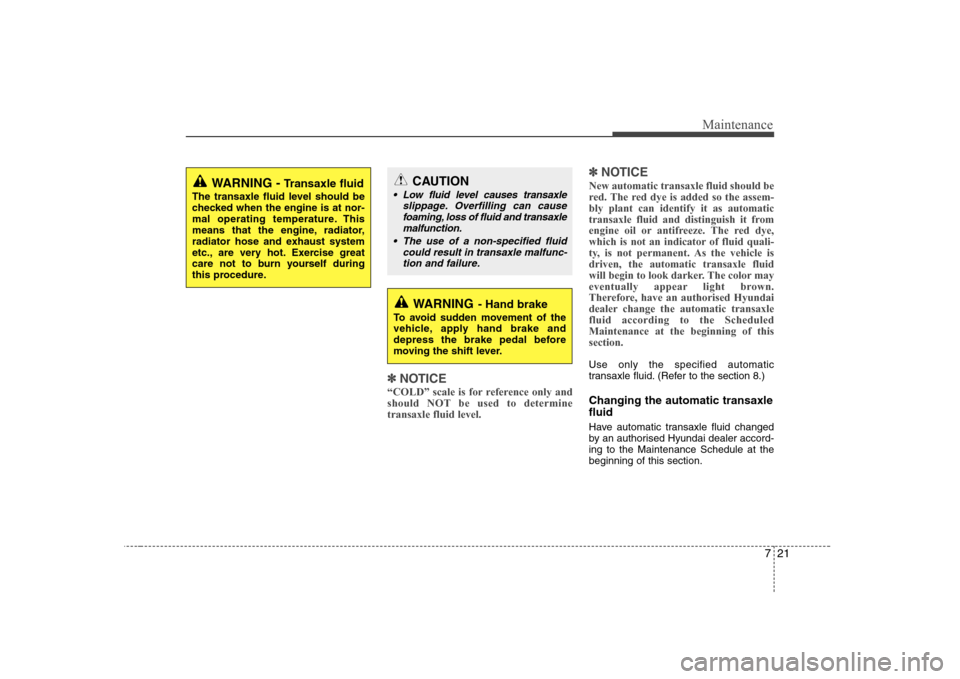
✽✽NOTICE
“COLD” scale is for reference only and
should NOT be used to determinetransaxle fluid level. ✽
✽
NOTICE
New automatic transaxle fluid should be
red. The red dye is added so the assem-bly plant can identify it as automatic
transaxle fluid and distinguish it from
engine oil or antifreeze. The red dye,
which is not an indicator of fluid quali-
ty, is not permanent. As the vehicle isdriven, the automatic transaxle fluid
will begin to look darker. The color may
eventually appear light brown.
Therefore, have an authorised Hyundai
dealer change the automatic transaxlefluid according to the ScheduledMaintenance at the beginning of thissection.
Use only the specified automatic
transaxle fluid. (Refer to the section 8.)
Changing the automatic transaxle fluid
Have automatic transaxle fluid changed
by an authorised Hyundai dealer accord-ing to the Maintenance Schedule at thebeginning of this section.
WARNING - Transaxle fluid
The transaxle fluid level should be
checked when the engine is at nor-
mal operating temperature. This
means that the engine, radiator,
radiator hose and exhaust system
etc., are very hot. Exercise great
care not to burn yourself during
this procedure.
WARNING - Hand brake
To avoid sudden movement of the
vehicle, apply hand brake and
depress the brake pedal before
moving the shift lever.
CAUTION
Low fluid level causes transaxle slippage. Overfilling can causefoaming, loss of fluid and transaxle malfunction.
The use of a non-specified fluid could result in transaxle malfunc-tion and failure.
Page 256 of 308
731
Maintenance
WARNING- Recharging
battery
When recharging the battery,
observe the following precautions:
The battery must be removed from the vehicle and placed in an area with good ventilation.
Do not allow cigarettes, sparks, or flame near the battery.
Watch the battery during charg- ing, and stop or reduce the charg-
ing rate if the battery cells begin
gassing (boiling) violently or if
the temperature of the electrolyte
of any cell exceeds 49°C (120°F).
Wear eye protection when check- ing the battery during charging.
(Continued)(Continued)
Disconnect the battery charger inthe following order.
1. Turn off the battery charger main switch.
2. Unhook the negative clamp from the negative battery terminal.
3. Unhook the positive clamp from the positive battery terminal.WARNING
Before performing maintenance or recharging the battery, turn off all accessories and stop the
engine.
The negative battery cable must be removed first and installed
last when the battery is discon-nected.