Page 164 of 532

To open, pull the inside or outside
door handle, and slide the door back.
It will latch in the f ully open position.
When opening f rom the inside, the
childproof door lock must be
unlocked.
To close, pull either handle, and slide
the door closed. Make sure the door
is closed and latched securely bef ore
driving, and all passengers are clear
of the sliding doors bef ore closing
them.
When opening a sliding door, it stops
about halfway if the window is open
morethan3in(8cm).If thevehicle
is f acing downhill, the sliding door
will slam shut when you release the
door handle. Always close the
window f ully bef ore opening the
sliding door.
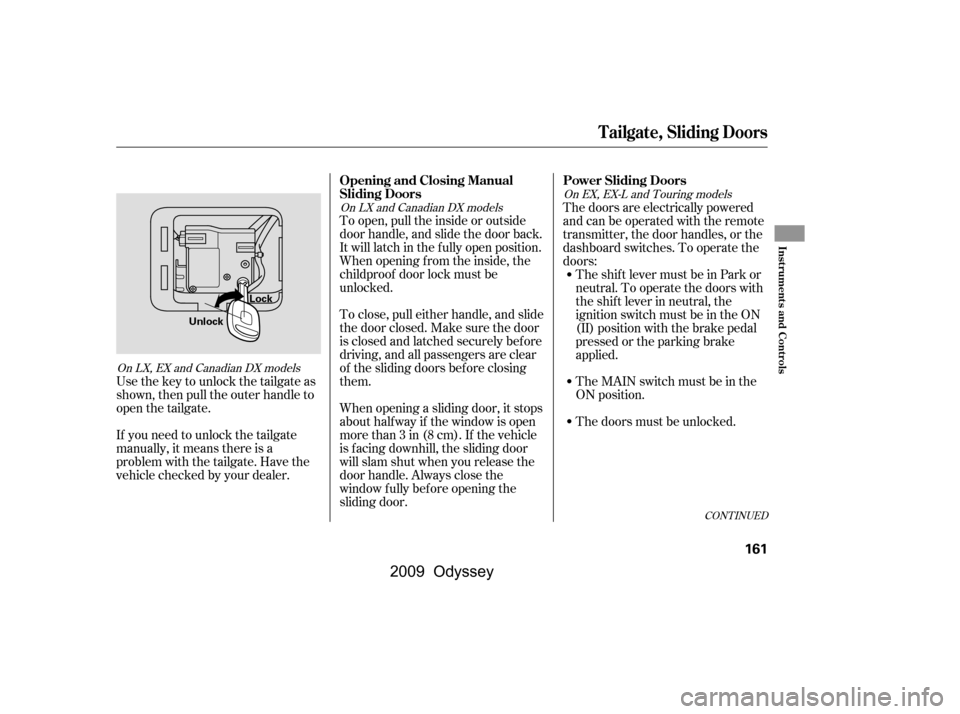
Usethekeytounlockthetailgateas
shown, then pull the outer handle to
open the tailgate.
If you need to unlock the tailgate
manually, it means there is a
problem with the tailgate. Have the
vehicle checked by your dealer. The doors are electrically powered
and can be operated with the remote
transmitter, the door handles, or the
dashboard switches. To operate the
doors:
The shift lever must be in Park or
neutral. To operate the doors with
the shift lever in neutral, the
ignition switch must be in the ON
(II) position with the brake pedal
pressed or the parking brake
applied.
TheMAINswitchmustbeinthe
ON position.
The doors must be unlocked.
CONT INUED
On LX and Canadian DX models
On LX, EX and Canadian DX models On EX, EX-L and Touring models
Power Sliding Doors
Opening and Closing Manual
Sliding Doors
T ailgate, Sliding Doors
Inst rument s and Cont rols
161
Unlock Lock
�\f���—�\f���—���
�y�
�
�����������y���
�(���������\f�y�\f�
�����y
2009 Odyssey
Page 210 of 532
The ignition switch light comes on
when you open the driver’s door, and
stays on several seconds af ter you
close the door.
The cargo area light has a three-
position switch. In the OFF position,
the light does not come on. In the
center position, it comes on when
you open the tailgate. In the ON
position, it stays on continuously. Ignition Switch L ight
Cargo Area Light
Interior Lights
Inst rument s and Cont rols
207
OFF
ON
Rear
�\f���—�\f���—���
�y�
�
����
������y���
�(���������\f�y�\f���
���y
2009 Odyssey
Page 321 of 532

Once the security system is set,
opening any door, the tailgate, or the
hood without using the key or the
remote transmitter, will cause it to
alarm. It also alarms if the audio unit
is removed f rom the dashboard or
the wiring is cut.The alarm will also be activated if a
passenger inside the locked vehicle
turns the ignition switch on.
The security system will not set if
the hood, tailgate, or any door is not
f ully closed. Bef ore you leave the
vehicle, make sure the doors,
tailgate, and hood are securely
closed.
To see if the system is set
af ter you exit the vehicle, press the
LOCK button on the remote
transmitter within 5 seconds. If the
system is set, the horn will beep
once.
Do not attempt to alter this system
or add other devices to it.
The security system automatically
sets 15 seconds after you lock the
doors, hood, and the tailgate. For the
system to activate, you must lock the
doorsandthetailgatefromthe
outside with the key, driver’s lock
tab, door lock master switch, or
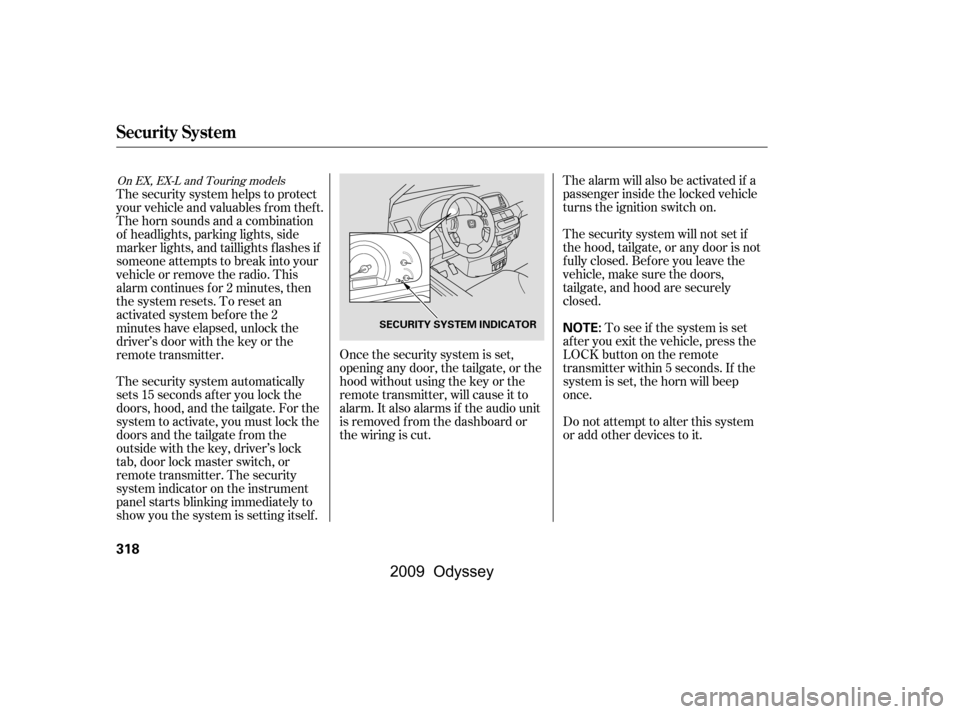
remote transmitter. The security
system indicator on the instrument
panel starts blinking immediately to
show you the system is setting itself .
The security system helps to protect
your vehicle and valuables f rom thef t.
The horn sounds and a combination
of headlights, parking lights, side
marker lights, and taillights f lashes if
someone attempts to break into your
vehicleorremovetheradio.This
alarm continues f or 2 minutes, then
the system resets. To reset an
activated system before the 2
minutes have elapsed, unlock the
driver’s door with the key or the
remote transmitter.
On EX, EX-L and Touring models
Security System
318
NOTE:SECURITY SYSTEM INDICATOR
�\f���—�\f���—���
�y�
�
�����������y���
�(���������\f�y�\f�������y
2009 Odyssey
Page 384 of 532

Store or secure all items that could
be thrown around and hurt
someone during a crash.
Be sure items placed on the f loor
behind the f ront seats cannot roll
under the seats and interf ere with
the pedals, the seat operation, or
the proper operation of the
sensors under the seats.
Keep the glove boxes closed while
driving. If either are open, a
passenger could be injured during
a crash or sudden stop.If you remove or f old the rear seats
down, tie down items that could be
thrown about the vehicle during a
crash or sudden stop. Also, keep all
cargo below the bottom of the
windows. If it is higher than the
windows, it could interf ere with the
proper operation of the side curtain
airbags.
Distribute cargo evenly on the
f loor of the cargo area, placing the
heaviest items on the bottom and
as far forward as possible. Tie
down items that could be thrown
about the vehicle during a crash or
sudden stop.
If you carry large items that
prevent you f rom closing the
tailgate, exhaust gas can enter the
passenger area. To avoid the
possibility of
, f ollow the instructions
on page . 60
Carrying Cargo
Carrying Items in the Passenger
Compartment Carrying Cargo in the Cargo A rea
or on a Roof Rack
carbon monoxide
poisoning
Bef ore Driving
381
�\f���—�\f���—���
�y�
����\f��������y���
�(���������\f�y�\f�������y
2009 Odyssey
Page 387 of 532

Youshoulddothefollowingchecks
and adjustments bef ore you drive
your vehicle.Make sure all windows, mirrors,
and outside lights are clean and
unobstructed. Remove f rost, snow,
or ice.
Check that the hood is f ully closed.
Check that any items you may be
carrying are stored properly or
f astened down securely. Check the seat adjustment (see
page ).
Check the adjustment of the
inside and outside mirrors (see
page ).
Check the steering wheel
adjustment (see page ).
Make sure the doors and the
tailgate are securely closed and
locked.
Visually check the tires. If a tire
looks low, use a gauge to check its
pressure (see page ). Fasten your seat belt. Check that
your passengers have f astened
their seat belts (see page ).
When you start the engine, check
the gauges and indicators in the
instrument panel, and the
messages on the inf ormation
display or multi-inf ormation
display (depending on models)
(seepages,,,and
).
3. 2.
1.
4. 5.
6.
7.
8. 9.
10. 15
65 66 77
87
169
190 141
451
Preparing to Drive
384
�����—�����—���
�y�
�������������y���
�(�����������y���������y
2009 Odyssey
Page 393 of 532

Always use the parking brake when
you park your vehicle. Make sure
the parking brake is set f irmly, or
your vehicle may roll if it is parked
on an incline.
Set the parking brake bef ore you put
the transmission in Park. This keeps
the vehicle from moving and putting
pressure on the parking mechanism
in the transmission.If the vehicle is f acing uphill, turn
the front wheels away from the
curb.
If the vehicle is f acing downhill,
turn the front wheels toward the
curb.
Make sure the parking brake is
f ully released bef ore driving away.
Driving with the parking brake
partially set can overheat or
damage the rear brakes.
Make sure the moonroof (if
equipped) and the windows are
closed.
Never park over dry leaves, tall
grass, or other f lammable
materials. The hot three way
catalytic converter could cause
these materials to catch on fire.
Check the indicator on the
instrument panel to verif y that the
security system is set.
Lock the doors and the tailgate.
Place any packages, valuables, etc.
in the cargo area or take them
with you.
Turn of f the lights.
Parking T ips
Parking
390
�\f���—�\f���—���
�y�
����\f��������y���
�(���������\f�y�\f�������y
2009 Odyssey
Page 444 of 532
Open the tailgate.Install the rear light assembly in
the rear pillar. Tighten the two
bolts. Snap the bolt covers into
position.
Put the socket back into the light
assembly, and turn it clockwise to
lock it in place.
Testthelightstomakesurethe
new bulb is working.
Remove the two bolt covers on the
rear pillar by prying on the bottom
edge with a flat-tip screwdriver.
Remove the bolts with a Phillips-
head screwdriver, and remove the
light assembly f rom the rear pillar. Push the new bulb straight into
the socket until it bottoms.
Remove the bulb by pulling it
straight out of its socket.
Remove the socket by turning it
one-quarter turn counterclockwise.
Determine which of the two bulbs
is burned out: turn signal or
brake/taillight.
2. 3.
5.6.
1. 4.7.
8.
Lights
Replacing Rear Bulbs (in Rear
Pillar)
Maint enance
441
COVER
BOLTS BULBS
SOCKETS
�\f���—�\f���—���
�y�
����
����
���y���
�(���������\f�y�\f�������y
2009 Odyssey
Page 445 of 532
Open the tailgate. Place a cloth on
the edge of the light assembly
cover. Remove the cover by
caref ully prying in the notch on its
middle edge with a f lat-tip
screwdriver.
Determine which of the two bulbs
is burned out: taillight or back-up
light.Remove the socket by turning it
one-quarter turn counterclockwise.
Pull the bulb straight out of its
socket. Push the new bulb straight
into the socket until it bottoms.Turn on the lights to make sure
the new bulb is working.
Reinstall the socket into the light
assembly by turning it clockwise
until it locks.
Reinstall the light assembly cover.
1.
2. 3.
4.5.
7.
6.
Lights
Replacing Rear Bulbs
(in Tailgate)
442
COVER
BULBS
SOCKETS
�\f���—�\f���—���
�y�
����
��������y���
�(���������\f�y�\f�������y
2009 Odyssey