Page 113 of 352
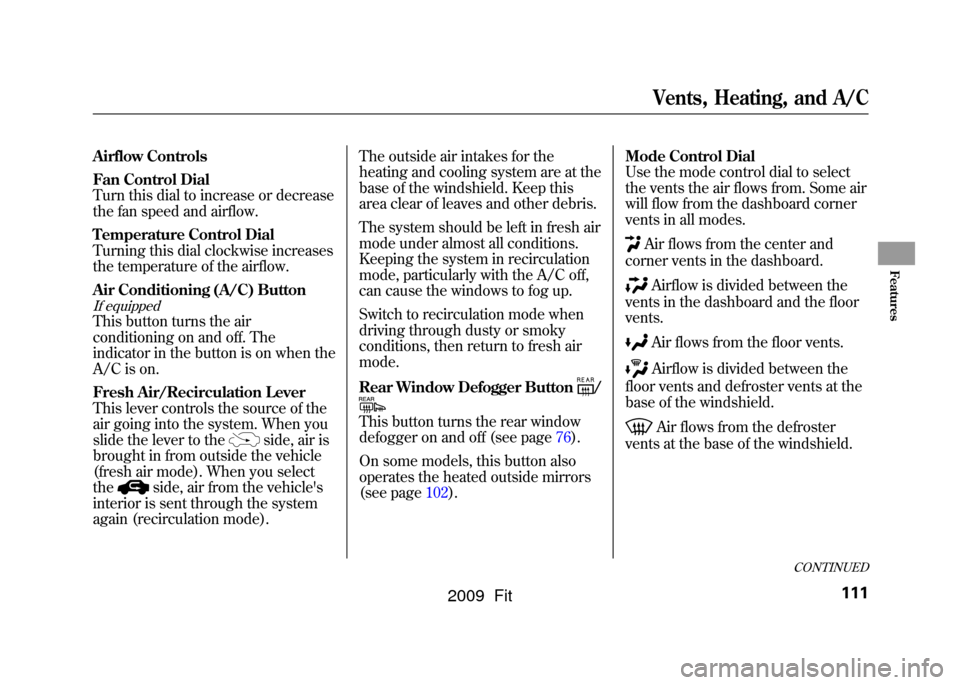
ꭧ: If equippedTEMPERATURE
CONTROL DIAL FAN CONTROL DIAL
REAR WINDOW
DEFOGGER BUTTON
AIR CONDITIONING
BUTTON
ꭧFRESH AIR/RECIRCULATION LEVER REAR WINDOW DEFOGGER/
HEATED MIRRORS BUTTON
ꭧ
MODE CONTROL DIAL
Vents, Heating, and A/C110
2009 Fit
Page 114 of 352

Airflow Controls
Fan Control Dial
Turn this dial to increase or decrease
the fan speed and airflow.
Temperature Control Dial
Turning this dial clockwise increases
the temperature of the airflow.
Air Conditioning (A/C) ButtonIf equippedThis button turns the air
conditioning on and off. The
indicator in the button is on when the
A/C is on.
Fresh Air/Recirculation Lever
This lever controls the source of the
air going into the system. When you
slide the lever to the
side, air is
brought in from outside the vehicle
(fresh air mode). When you select
the
side, air from the vehicle's
interior is sent through the system
again (recirculation mode). The outside air intakes for the
heating and cooling system are at the
base of the windshield. Keep this
area clear of leaves and other debris.
The system should be left in fresh air
mode under almost all conditions.
Keeping the system in recirculation
mode, particularly with the A/C off,
can cause the windows to fog up.
Switch to recirculation mode when
driving through dusty or smoky
conditions, then return to fresh air
mode.
Rear Window Defogger Button
/
This button turns the rear window
defogger on and off (see page76).
On some models, this button also
operates the heated outside mirrors
(see page102).
Mode Control Dial
Use the mode control dial to select
the vents the air flows from. Some air
will flow from the dashboard corner
vents in all modes.
Air flows from the center and
corner vents in the dashboard.Airflow is divided between the
vents in the dashboard and the floor
vents.Air flows from the floor vents.Airflow is divided between the
floor vents and defroster vents at the
base of the windshield.Air flows from the defroster
vents at the base of the windshield.
CONTINUED
Vents, Heating, and A/C
111
Features
2009 Fit
Page 115 of 352

When you select
or
, the
system automatically turns on the
A/C (if equipped). You cannot turn
the A/C off in this mode.
Ventilation
The flow-through ventilation system
draws in outside air, circulates it
through the interior, then discharges
it through vents near the tailgate.
1. Set the temperature to the lower limit.
2. Make sure the A/C is off.
3. Select
and
.
4. Set the fan to the desired speed. Using the Heater
The heater uses engine coolant to
warm the air. If the engine is cold, it
will be several minutes before you
feel warm air coming from the
system.
1. Select
and
.
2. Set the fan to the desired speed.
3. Adjust the warmth of the air with the temperature control dial. Using the A/C
If equippedAir conditioning places an extra load
on the engine. Check the high
temperature indicator (see page63).
If the indicator begins to blink, turn
off the A/C until the indicator goes
off.
1. Turn on the A/C by pressing the
button. The indicator in the button
comes on when a fan speed is
selected.
2. Make sure the temperature is set to maximum cool.
3. Select
.
4. If the outside air is humid, select recirculation mode. If the outside
air is dry, select
.
5. Set the fan to the desired speed.
Vents, Heating, and A/C112
2009 Fit
Page 116 of 352

If the interior is very warm,
you can
cool it down more rapidly by partially
opening the windows, turning on the
A/C, and setting the fan to maximum
speed in
.
Dehumidify the Interior
Air conditioning, as it cools, removes
moisture from the air. When used in
combination with the heater, it
makes the interior warm and dry and
can prevent the windows from
fogging up.
1. Turn the fan on.
2. If the A/C is off, turn it on (if equipped).
3. Selectand
.
Adjust the temperature to your
preference.
This setting is suitable for all driving
conditions whenever the outside
temperature is above 32°F (0°C). To Defog and Defrost
To remove fog from the inside of the
windows:
1. Set the fan to the desired speed or
high for faster defrosting.
2. Select
by sliding the lever.
3. Select. The system
automatically turns on the A/C (if
equipped). The A/C indicator will
not come on if it was previously off.
4. Adjust the temperature so the airflow feels warm.
5. Select/
to help clear the
rear window.
6. To increase airflow to the windshield, close the corner vents. When you select
or
, the
system automatically turns on the
A/C. This helps to dehumidify the air
and to defog the windshield. In either
mode, you cannot turn off the A/C.
When you switch to another mode,
the A/C returns to its original
setting, either on or off, as indicated
by the A/C indicator.
CONTINUED
Vents, Heating, and A/C
113
Features
2009 Fit
Page 117 of 352
To Remove Exterior Frost or Ice
From the Windows
1. Set the fan and temperaturecontrols to maximum level.
2. Select
. The system
automatically turns on the A/C (if
equipped). The A/C indicator does
not come on if it was previously off.
3. Select.
To clear the windows faster, you can
close the dashboard corner vents by
rotating each vent. This sends more
warm air to the windshield defroster
vents. Once the windshield is clear,
select fresh air mode to avoid
fogging the windows.
For your safety, make sure you have
a clear view through all the windows
before driving. To Turn Everything Off
Turning the fan speed control dial all
the way to the left shuts the system
off.
●Keep the system off for short
periods only.●To keep stale air and mustiness
from collecting, you should have
the fan running at all times.
Vents, Heating, and A/C114
2009 Fit
Page 220 of 352

The manual transmission is
synchronized in all forward gears for
smooth operation. It has a lockout so
you cannot shift directly from fifth to
reverse. When shifting up or down,
make sure you push the clutch pedal
down all the way, shift to the next
gear, and let the pedal up gradually.
When you are not shifting, do not
rest your foot on the clutch pedal.
This can cause the clutch to wear out
faster.Come to a full stop before you shift
into reverse. You can damage the
transmission by trying to shift into
reverse with the vehicle moving.
Push down the clutch pedal, and
pause for a few seconds before
shifting into reverse, or shift into one
of the forward gears for a moment.
This stops the gears so they won't
‘‘
grind. ’’
When slowing down, you can get
extra braking from the engine by
shifting to a lower gear. This extra
braking can help you maintain a safe
speed and prevent your brakes from
overheating while going down a
steep hill. Before downshifting, make
sure the engine speed will not go
into the tachometer's red zone in the
lower gear.
Rapid slowing or speeding up
can cause loss of control on
slippery surfaces. If you crash,
you can be injured.
Use extra care when driving on
slippery surfaces.
CONTINUED
Manual Transmission
217
Driving
2009 Fit
Page 271 of 352

If you remove the driver's floor mat,
make sure to re-anchor it when you
put it back in your vehicle.
If you use a non-Honda floor mats,
make sure they fit properly and that
they can be anchored securely. Do
not put additional floor mats on top of
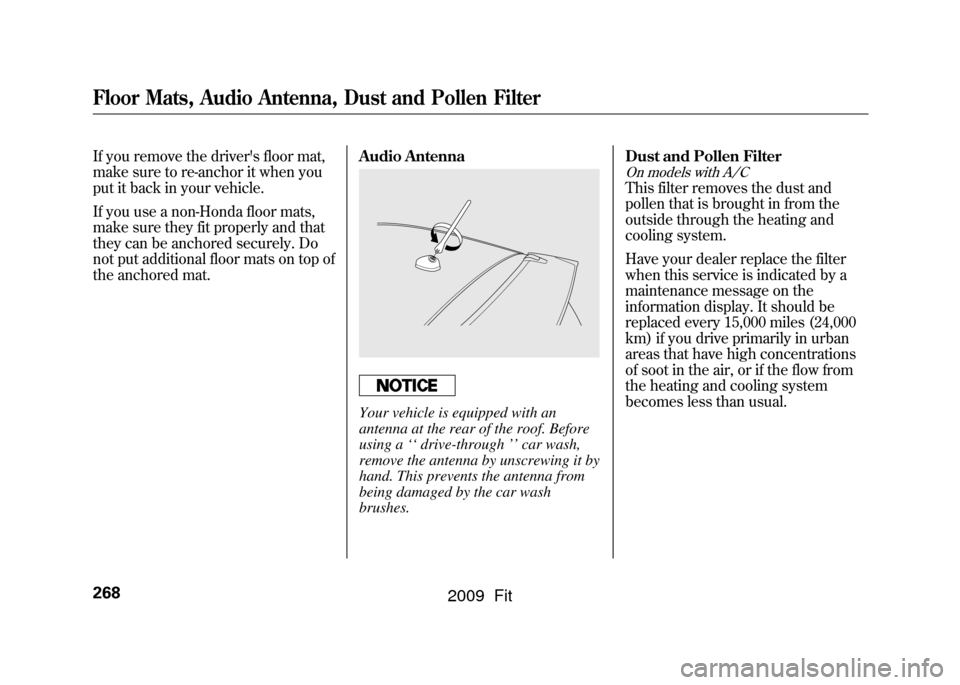
the anchored mat.Audio Antenna
Your vehicle is equipped with an
antenna at the rear of the roof. Before
using a
‘‘drive-through ’’car wash,
remove the antenna by unscrewing it by
hand. This prevents the antenna from
being damaged by the car wash
brushes. Dust and Pollen Filter
On models with A/CThis filter removes the dust and
pollen that is brought in from the
outside through the heating and
cooling system.
Have your dealer replace the filter
when this service is indicated by a
maintenance message on the
information display. It should be
replaced every 15,000 miles (24,000
km) if you drive primarily in urban
areas that have high concentrations
of soot in the air, or if the flow from
the heating and cooling system
becomes less than usual.
Floor Mats, Audio Antenna, Dust and Pollen Filter268
2009 Fit
Page 343 of 352

EngineAdding Engine Coolant
...........
256
Coolant Temperature Indicator
...............................
63
If it Won ’t Start
........................
297
Malfunction Indicator Lamp
.............................
60, 304
Oil Life Indicator
.....................
245
Oil Pressure Indicator
.......
60, 303
Oil, What Kind to Use
.............
253
Overheating
............................
301
Specifications
..........................
318
Speed Limiter
..................
218, 222
Starting
...................................
216
Ethanol in Gasoline
....................
198
Evaporative Emissions Controls
..................................
326
Exhaust Fumes
............................
53
Expectant Mothers, Use of Seat Belts by
....................................
16
F
Fan, Interior
...............................
111 Features, Comfort and
Convenience
...........................
109
Filling the Fuel Tank
..................
199
Filters Dust and Pollen
.......................
268
Oil
...........................................
254
Flashers, Hazard Warning
...........
76
Flat Tire, Changing a
.................
285
Floor Mats
.................................
267
Fluids Automatic Transmission
.........
259
Brake
......................................
261
Clutch
.....................................
261
Manual Transmission
..............
260
Windshield Washer
.................
258
FM/AM Radio Reception
...........
184
Four-way Flashers
........................
76
Front Airbags
...........................
9, 25
Front Seat Adjusting
..................................
93
Airbags
.................................
9, 25
Fuel
............................................
198
Check Fuel Cap Indicator
.........
70
Fill Door and Cap
....................
199
Gauge
......................................
70
Low Fuel Indicator
...................
62 Octane Requirement
...............
198
Oxygenated
.............................
198
Reserve Indicator
.....................
62
Tank, Filling the
......................
199
Fuel Economy
............................
203
Fuses, Checking the
..................
307
G
Gas Mileage, Improving
.............
203
Gasohol
......................................
198
Gasoline
.....................................
198
Gauge
......................................
68
Low Fuel Indicator
...................
62
Octane Requirement
...............
198
Tank, Refueling
.......................
199
Gas Station Procedures
..............
199
Gauges Fuel
..........................................
70
Speedometer
............................
68
Gearshift Lever Positions Automatic Transmission
.........
220
Manual Transmission
..............
217
Glove Box
..................................
105
IndexIV
2009 Fit