2009 GMC SIERRA roof
[x] Cancel search: roofPage 100 of 596

Park Tilt Mirrors............................................2-60
Outside Convex Mirror...................................2-61
Outside Heated Mirrors..................................2-61
Object Detection Systems...............................2-62
Ultrasonic Rear Parking
Assist (URPA)...........................................2-62
Rear Vision Camera (RVC)............................2-65
OnStar
®System.............................................2-71
Universal Home Remote System......................2-74
Universal Home Remote System Operation
(With Three Round LED).............................2-75Storage Areas................................................2-81
Glove Box...................................................2-81
Cupholders..................................................2-81
Instrument Panel Storage...............................2-81
Center Console Storage.................................2-82
Luggage Carrier...........................................2-82
Rear Seat Armrest........................................2-83
Cargo Management System...........................2-84
Sunroof.........................................................2-85
Section 2 Features and Controls
2-2
Page 121 of 596

The steering can bind with the wheels turned off center.
If this happens, move the steering wheel from right
to left while turning the key to ACC/ACCESSORY.
If this doesn’t work, then the vehicle needs service.
Notice:Using a tool to force the key to turn in
the ignition could cause damage to the switch or
break the key. Use the correct key, make sure it
is all the way in, and turn it only with your hand.
If the key cannot be turned by hand, see your
dealer/retailer.
B (ACC/ACCESSORY):This position lets things like the
radio and the windshield wipers operate while the engine
is off. Use this position if the vehicle must be pushed or
towed.
C (ON/RUN):This position can be used to operate the
electrical accessories and to display some instrument
panel cluster warning and indicator lights. The switch
stays in this position when the engine is running.
The transmission is also unlocked in this position on
automatic transmission vehicles.
If you leave the key in the ACC/ACCESSORY or ON/
RUN position with the engine off, the battery could be
drained. You may not be able to start the vehicle if the
battery is allowed to drain for an extended period of time.D (START):This is the position that starts the engine.
When the engine starts, release the key. The ignition
switch returns to ON/RUN for driving.
A warning tone will sound when the driver door is
opened, the ignition is in ACC/ACCESSORY or
LOCK/OFF and the key is in the ignition.
Retained Accessory Power (RAP)
The following vehicle accessories can be used for up to
10 minutes after the engine is turned off:
Audio System
Power Windows
OnStar®System (if equipped)
Sunroof (if equipped)
These features work when the key is in ON/RUN or
ACC/ACCESSORY. Once the key is turned from
ON/RUN to LOCK/OFF, the windows and sunroof
continue to work up to 10 minutes until any door
is opened. The radio continues to work for up to
10 minutes or until the driver door is opened.
2-23
Page 180 of 596

Center Console Storage
Vehicles with an upper and lower center console
storage area, cupholders are included.
Pull the lever (A) up to access the upper storage area.
Raise the upper storage bin, then pull the lever (B)
up to access the lower storage area. Use the key to
lock and unlock the lower storage area.
Luggage Carrier
Notice:Loading cargo on the luggage carrier that
weighs more than 200 lbs (91 kg) or hangs over the
rear or sides of the vehicle can damage the vehicle.
Load cargo so that it rests on the slats as far forward
as possible and against the side rails, making sure to
fasten it securely.
For vehicles with a luggage carrier, items can be loaded
on top of the vehicle.
The luggage carrier has siderails attached to the roof.
It can also have crossrails which can be moved back and
forth to help secure cargo. Tie the load to the siderails or
siderail supports.
Do not exceed the maximum vehicle capacity when
loading the vehicle. For more information on vehicle
capacity and loading, seeLoading the Vehicle on
page 4-32.
Make sure the cargo is properly loaded.
2-82
Page 181 of 596

To prevent damage or loss of cargo while driving,
periodically stop and check to make sure cargo is still
securely fastened.
If small heavy objects are placed on the roof, cut a
piece of 3/8 inch plywood to �t inside the crossrails
and siderails to spread the load. Tie the plywood
to the siderail supports.
Tie the load and secure it to the crossrails or the
siderail supports. Use the crossrails only to keep the
load from sliding. To move a crossrail, lift the release
lever up, on both sides of the rail. Then slide the
crossrail to the desired position balancing the force
side to side. Press the release lever down on both
sides of the rail, down to tighten it. Try to slide the
crossrail back and forth slightly to make sure it
is tight.
To carry long items, move the crossrails as far apart
as possible. Tie the load to the crossrails and the
siderails or siderail supports. Also tie the load to the
bumpers, but do not tie the load so tightly that the
crossrails or siderails are damaged.
After moving a crossrail, be sure it is securely locked
into the siderail.
A Center High-Mounted Stoplamp (CHMSL) is located
above the rear window glass.
Make sure items loaded on the roof of the vehicle do
not block or damage the CHMSL.
Rear Seat Armrest
Vehicles with a rear seat armrest, have two cupholders.
Pull the armrest down from the rear seatback to access
the cupholders.
2-83
Page 183 of 596

Sunroof
On vehicle with a power sliding sunroof, the ignition
needs to be turned to RUN, or the Retained Accessory
Power (RAP) must be activated to open or close the
sunroof. When RAP is active, the sunroof will work
for 10 minutes after the ignition is turned off, or until
the driver’s door is opened. SeeRetained Accessory
Power (RAP) on page 2-23for more information.
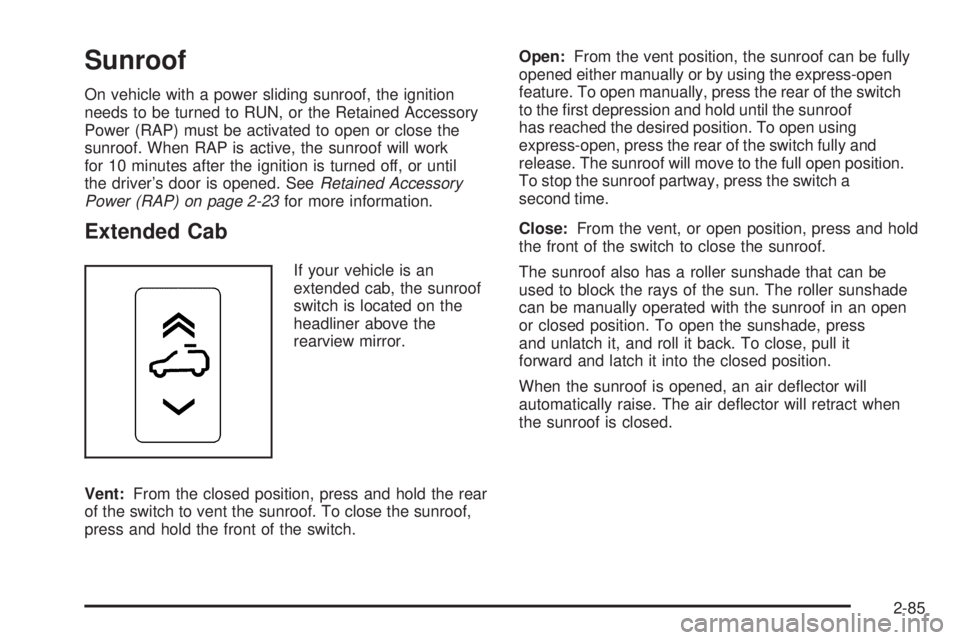
Extended Cab
If your vehicle is an
extended cab, the sunroof
switch is located on the
headliner above the
rearview mirror.
Vent:From the closed position, press and hold the rear
of the switch to vent the sunroof. To close the sunroof,
press and hold the front of the switch.Open:From the vent position, the sunroof can be fully
opened either manually or by using the express-open
feature. To open manually, press the rear of the switch
to the �rst depression and hold until the sunroof
has reached the desired position. To open using
express-open, press the rear of the switch fully and
release. The sunroof will move to the full open position.
To stop the sunroof partway, press the switch a
second time.
Close:From the vent, or open position, press and hold
the front of the switch to close the sunroof.
The sunroof also has a roller sunshade that can be
used to block the rays of the sun. The roller sunshade
can be manually operated with the sunroof in an open
or closed position. To open the sunshade, press
and unlatch it, and roll it back. To close, pull it
forward and latch it into the closed position.
When the sunroof is opened, an air de�ector will
automatically raise. The air de�ector will retract when
the sunroof is closed.
2-85
Page 184 of 596

Crew Cab
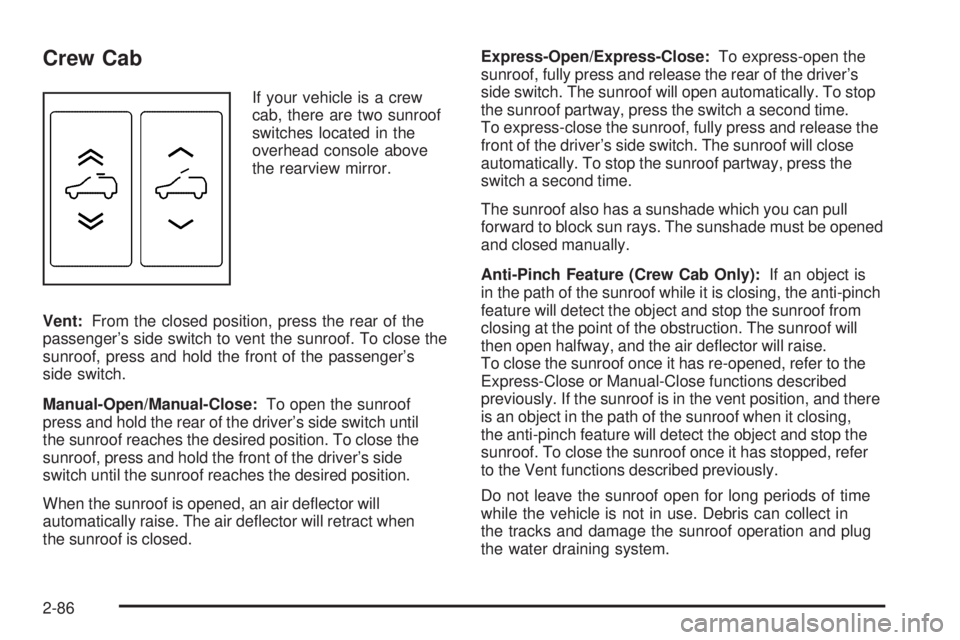
If your vehicle is a crew
cab, there are two sunroof
switches located in the
overhead console above
the rearview mirror.
Vent:From the closed position, press the rear of the
passenger’s side switch to vent the sunroof. To close the
sunroof, press and hold the front of the passenger’s
side switch.
Manual-Open/Manual-Close:To open the sunroof
press and hold the rear of the driver’s side switch until
the sunroof reaches the desired position. To close the
sunroof, press and hold the front of the driver’s side
switch until the sunroof reaches the desired position.
When the sunroof is opened, an air de�ector will
automatically raise. The air de�ector will retract when
the sunroof is closed.Express-Open/Express-Close:To express-open the
sunroof, fully press and release the rear of the driver’s
side switch. The sunroof will open automatically. To stop
the sunroof partway, press the switch a second time.
To express-close the sunroof, fully press and release the
front of the driver’s side switch. The sunroof will close
automatically. To stop the sunroof partway, press the
switch a second time.
The sunroof also has a sunshade which you can pull
forward to block sun rays. The sunshade must be opened
and closed manually.
Anti-Pinch Feature (Crew Cab Only):If an object is
in the path of the sunroof while it is closing, the anti-pinch
feature will detect the object and stop the sunroof from
closing at the point of the obstruction. The sunroof will
then open halfway, and the air de�ector will raise.
To close the sunroof once it has re-opened, refer to the
Express-Close or Manual-Close functions described
previously. If the sunroof is in the vent position, and there
is an object in the path of the sunroof when it closing,
the anti-pinch feature will detect the object and stop the
sunroof. To close the sunroof once it has stopped, refer
to the Vent functions described previously.
Do not leave the sunroof open for long periods of time
while the vehicle is not in use. Debris can collect in
the tracks and damage the sunroof operation and plug
the water draining system.
2-86
Page 185 of 596

Instrument Panel Overview...............................3-4
Instrument Panel Overview (Base/Uplevel
version).....................................................3-4
Instrument Panel Overview
(Premium version).......................................3-6
Hazard Warning Flashers................................3-8
Horn .............................................................3-8
Tilt Wheel.....................................................3-8
Turn Signal/Multifunction Lever.........................3-9
Turn and Lane-Change Signals........................3-9
Headlamp High/Low-Beam Changer.................3-10
Flash-to-Pass...............................................3-10
Windshield Wipers........................................3-10
Rainsense™ II Wipers...................................3-11
Windshield Washer.......................................3-12
Cruise Control..............................................3-13
Exterior Lamps.............................................3-16
Headlamps on Reminder................................3-17
Daytime Running Lamps (DRL).......................3-17
Automatic Headlamp System..........................3-18
Puddle Lamps..............................................3-19
Fog Lamps ..................................................3-19
Auxiliary Roof Mounted Lamp.........................3-19
Instrument Panel Brightness...........................3-20
Dome Lamps ...............................................3-20
Dome Lamp Override....................................3-20
Entry Lighting...............................................3-20Exit Lighting.................................................3-20
Reading Lamps............................................3-21
Cargo Lamp.................................................3-21
Electric Power Management...........................3-21
Battery Run-Down Protection..........................3-22
Accessory Power Outlet(s).............................3-22
Ashtray(s) and Cigarette Lighter......................3-23
Climate Controls............................................3-24
Climate Control System
(With Heater Only)....................................
.3-24
Climate Control System
(With Air Conditioning)...............................3-25
Dual Automatic Climate Control System...........3-27
Outlet Adjustment.........................................3-33
Warning Lights, Gages, and Indicators............3-33
Instrument Panel Cluster................................3-34
Speedometer and Odometer...........................3-35
Trip Odometer..............................................3-35
Tachometer.................................................3-35
Safety Belt Reminders...................................3-36
Airbag Readiness Light..................................3-37
Airbag Off Light............................................3-38
Passenger Airbag Status Indicator...................3-40
Charging System Light..................................3-41
Voltmeter Gage............................................3-41
Brake System Warning Light..........................3-42
Section 3 Instrument Panel
3-1
Page 203 of 596

Puddle Lamps
If the vehicle has puddle lamps, they come on when the
unlock button on the Remote Keyless Entry (RKE)
Transmitter is pressed. The lamps time out or turn off
once the engine is started.
Fog Lamps
For vehicles with fog lamps, the control is located next
to the exterior lamps control on the instrument panel,
to the left of the steering column.
The ignition must be in the ON/RUN position for the
fog lamps to come on.
#(Fog Lamps):Press to turn the fog lamps on or off.
A light will come on in the instrument panel cluster.
When the fog lamps are turned on, the parking lamps
automatically turn on.
When the headlamps are changed to high-beam, the
fog lamps also go off. When the high-beam headlamps
are turned off, the fog lamps will come on again.
Some localities have laws that require the headlamps to
be on along with the fog lamps.
Auxiliary Roof Mounted Lamp
If the vehicle has this feature, this button includes wiring
provisions for a dealer or a quali�ed service center to
install an auxiliary roof lamp.
This button is located on
the overhead console.
When the wiring is connected to an auxiliary roof
mounted lamp, pressing the bottom of the button will
activate the lamp and illuminate an indicator light at the
bottom of this button. Pressing the top of the button
will turn off the roof mounted lamp and indicator.
The emergency roof lamp circuit is fused at 30 amps, so
the total current draw of the attached lamps should be
less than this value. The attachment points for the roof
lamp circuits are two blunt cut wires located above the
overhead console, a dark green switched power wire and
a black ground wire.
3-19