2009 GMC SAVANA PASSENGER maintenance reset
[x] Cancel search: maintenance resetPage 162 of 406

To stop the timer, press the set/reset button briefly while
TIMER is displayed.
To reset the timer to zero, press and hold the set/reset
button while TIMER is displayed.
Average Speed
Press the trip/fuel button until AVERAGE SPEED
displays. This display shows the average speed
of the vehicle in miles per hour (mph) or kilometers
per hour (km/h). This average is calculated based on the
various vehicle speeds recorded since the last reset of
this value. To reset the value, press and hold the
set/reset button. The display will return to zero.
Digital Tachometer
Press the trip/fuel button until Tachometer ##00 RPM
displays. This display shows the engine speed in
revolutions per minute (RPM).
Blank Display
This display shows no information.
Vehicle Information Menu Items
T
(Vehicle Information):Press this button to scroll
through the following menu items:
Oil Life
Press the vehicle information button until OIL LIFE
REMAINING displays. This display shows an estimate
of the oil’s remaining useful life. If you see 99% OIL LIFE
REMAINING on the display, that means 99% of the
current oil life remains. The engine oil life system
will alert you to change the oil on a schedule consistent
with your driving conditions.
When the remaining oil life is low, the CHANGE
ENGINE OIL SOON message will appear on the display.
See “CHANGE ENGINE OIL SOON” underDIC
Warnings and Messages on page 3-48. You should
change the oil as soon as possible. SeeEngine Oil on
page 5-15. In addition to the engine oil life system
monitoring the oil life, additional maintenance is
recommended in the Maintenance Schedule in this
manual. SeeScheduled Maintenance on page 6-4for
more information.
Remember, you must reset the OIL LIFE yourself after
each oil change. It will not reset itself. Also, be careful not
to reset the OIL LIFE accidentally at any time other than
when the oil has just been changed. It cannot be reset
accurately until the next oil change. To reset the engine
oil life system, seeEngine Oil Life System on page 5-18.
3-44
Page 167 of 406

AUTOMATIC LIGHT CONTROL OFF
This message displays when the automatic headlamps
are turned off. SeeExterior Lamps on page 3-12for
more information.
AUTOMATIC LIGHT CONTROL ON
This message displays when the automatic headlamps
are turned on. SeeExterior Lamps on page 3-12for
more information.
CALIBRATING: DRIVE IN CIRCLES
This message displays when calibrating the compass.
Drive the vehicle in circles at less than 5 mph (8 km/h) to
complete the calibration. SeeDIC Compass on
page 3-46for more information.
CALIBRATION COMPLETE
This message displays when the compass calibration is
complete. SeeDIC Compass on page 3-46for more
information.
CARGO DOOR OPEN
This message displays and a chime sounds if the cargo
door is open while the ignition is in ON/RUN. Turn off
the vehicle and check the cargo door. Restart the
vehicle and check for the message on the DIC display.
CHANGE ENGINE OIL SOON
This message displays when the engine oil needs to be
changed. When you change the engine oil, be sure
to reset the CHANGE ENGINE OIL SOON message.
SeeEngine Oil Life System on page 5-18for information
on how to reset the message. SeeEngine Oil on
page 5-15andScheduled Maintenance on page 6-4for
more information.
CHECK TIRE PRESSURE
If your vehicle has the Tire Pressure Monitor System
(TPMS), this message displays when the pressure
in one or more of the vehicle’s tires needs to be
checked. This message also displays LEFT FRONT,
RIGHT FRONT, LEFT REAR, or RIGHT REAR to
indicate which tire needs to be checked. You can
receive more than one tire pressure message at a time.
To read the other messages that may have been
sent at the same time, press the set/reset button. If a
tire pressure message appears on the DIC, stop as soon
as you can. Have the tire pressures checked and set
to those shown on the Tire Loading Information
label. SeeTires on page 5-55,Loading the Vehicle on
page 4-18, andInflation - Tire Pressure on page 5-63.
The DIC also shows the tire pressure values. See
DIC Operation and Displays on page 3-41. If the tire
pressure is low, the low tire pressure warning light
comes on. SeeTire Pressure Light on page 3-34.
3-49
Page 314 of 406

SeeInflation - Tire Pressure on page 5-63and
Loading the Vehicle on page 4-18. Make certain
that all wheel nuts are properly tightened.
See “Wheel Nut Torque” underCapacities
and Specifications on page 5-110.
{CAUTION:
Rust or dirt on a wheel, or on the parts to
which it is fastened, can make wheel nuts
become loose after time. The wheel could
come off and cause an accident. When you
change a wheel, remove any rust or dirt from
places where the wheel attaches to the
vehicle. In an emergency, you can use a cloth
or a paper towel to do this; but be sure to use a
scraper or wire brush later, if needed, to get all
the rust or dirt off. SeeChanging a Flat Tire on
page 5-80.
If your vehicle has a Tire Pressure Monitor
System (TPMS), reset the TPMS sensors after
rotating the tires. SeeTire Pressure Monitor
Operation on page 5-66.
Make sure the spare tire is stored securely.
Push, pull, and then try to rotate or turn the tire.
If it moves, tighten the cable. SeeStoring a
Flat or Spare Tire and Tools on page 5-94.
When It Is Time for New Tires
Various factors, such as maintenance, temperatures,
driving speeds, vehicle loading, and road conditions,
influence when you need new tires.
One way to tell when it
is time for new tires is to
check the treadwear
indicators, which appear
when your tires have only
1/16 inch (1.6 mm) or less
of tread remaining.
Some commercial truck tires, including Goodyear
LT225/75R16 G949 RSA and Goodyear LT225/75R16
G933 RSD, may not have treadwear indicators.
If the tires do not have treadwear indicators, replace
the tires when the tread depth is down to 1/8 inch
(3.2 mm) for the front tires, or 1/16 inch (1.6 mm)
for the rear tires.
5-72
Page 358 of 406

Owner Checks and Services on page 6-10tells what
should be checked, when to check it, and what can easily
be done to help keep the vehicle in good condition.
The proper replacement parts, fluids, and lubricants to
use are listed inRecommended Fluids and Lubricants
on page 6-14andMaintenance Replacement Parts
on page 6-16. When the vehicle is serviced, make sure
these are used. All parts should be replaced and all
necessary repairs done before you or anyone else
drives the vehicle. We recommend the use of genuine
parts from your dealer/retailer.
Scheduled Maintenance
This maintenance section applies to vehicles with a
gasoline engine. For diesel engine vehicles, see the
maintenance schedule section in the DURAMAX
®Diesel
manual.
When the CHANGE ENGINE OIL SOON message
displays, service is required for the vehicle. Have the
vehicle serviced as soon as possible within the next
600 miles (1 000 km). It is possible that, if driving under
the best conditions, the engine oil life system may not
indicate that vehicle service is necessary for over a year.
However, the engine oil and filter must be changed at
least once a year and at this time the system must be
reset. Your dealer/retailer has trained service technicians
who will perform this work using genuine parts and reset
the system.If the engine oil life system is ever reset accidentally,
service the vehicle within 3,000 miles (5 000 km)
since the last service. Remember to reset the oil life
system whenever the oil is changed. SeeEngine Oil Life
System on page 5-18for information on the Engine
Oil Life System and resetting the system.
When the CHANGE ENGINE OIL SOON message
appears, certain services, checks, and inspections are
required. Required services are described in the
following for “MaintenanceI” and “MaintenanceII.”
Generally, it is recommended that the first service be
MaintenanceI, the second service be MaintenanceII,
and then alternate MaintenanceIand MaintenanceII
thereafter. However, in some cases, MaintenanceIImay
be required more often.
MaintenanceI— Use MaintenanceIif the CHANGE
ENGINE OIL SOON message displays within 10 months
since the vehicle was purchased or MaintenanceII
was performed.
MaintenanceII— Use MaintenanceIIif the previous
service performed was MaintenanceI. Always use
MaintenanceIIwhenever the message displays
10 months or more since the last service or if the
message has not come on at all for one year.
6-4
Page 359 of 406

Scheduled Maintenance
Service MaintenanceIMaintenanceII
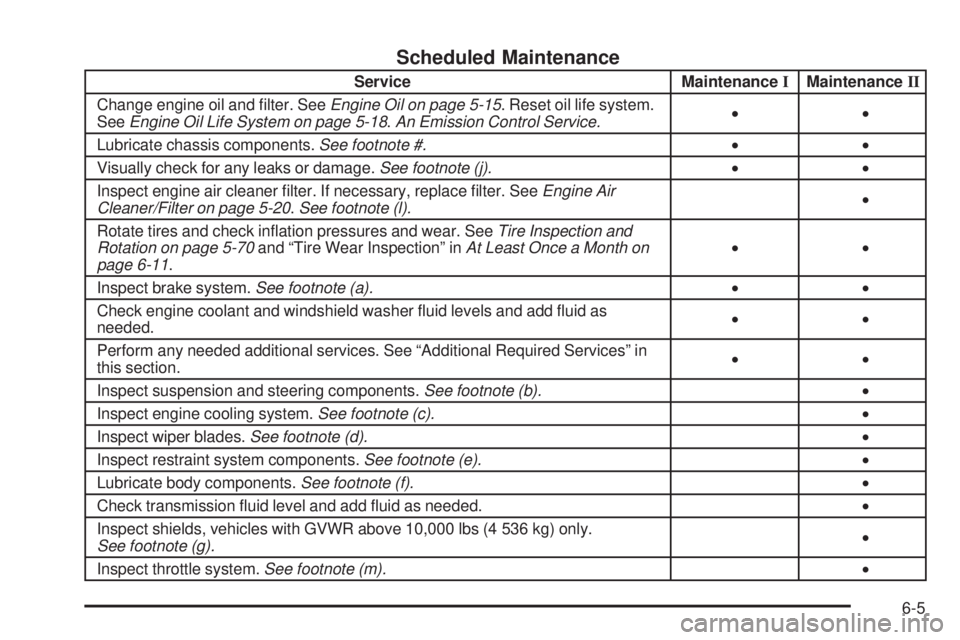
Change engine oil and filter. SeeEngine Oil on page 5-15. Reset oil life system.
SeeEngine Oil Life System on page 5-18.An Emission Control Service.••
Lubricate chassis components.See footnote #.••
Visually check for any leaks or damage.See footnote (j).••
Inspect engine air cleaner filter. If necessary, replace filter. SeeEngine Air
Cleaner/Filter on page 5-20.See footnote (l).•
Rotate tires and check inflation pressures and wear. SeeTire Inspection and
Rotation on page 5-70and “Tire Wear Inspection” inAt Least Once a Month on
page 6-11.••
Inspect brake system.See footnote (a).••
Check engine coolant and windshield washer fluid levels and add fluid as
needed.••
Perform any needed additional services. See “Additional Required Services” in
this section.••
Inspect suspension and steering components.See footnote (b).•
Inspect engine cooling system.See footnote (c).•
Inspect wiper blades.See footnote (d).•
Inspect restraint system components.See footnote (e).•
Lubricate body components.See footnote (f).•
Check transmission fluid level and add fluid as needed.•
Inspect shields, vehicles with GVWR above 10,000 lbs (4 536 kg) only.
See footnote (g).•
Inspect throttle system.See footnote (m).•
6-5