2009 GMC SAVANA warning
[x] Cancel search: warningPage 280 of 404
Brake Wear
This vehicle has disc brakes. Disc brake pads have
built-in wear indicators that make a high-pitched warning
sound when the brake pads are worn and new pads
are needed. The sound can come and go or be heard
all the time the vehicle is moving, except when applying
the brake pedal firmly.
{CAUTION:
The brake wear warning sound means that soon
the brakes will not work well. That could lead to an
accident. When the brake wear warning sound is
heard, have the vehicle serviced.
Notice:Continuing to drive with worn-out brake
pads could result in costly brake repair.Some driving conditions or climates can cause a brake
squeal when the brakes are first applied or lightly applied.
This does not mean something is wrong with the brakes.
Properly torqued wheel nuts are necessary to help
prevent brake pulsation. When tires are rotated, inspect
brake pads for wear and evenly tighten wheel nuts in
the proper sequence to torque specifications in
Capacities and Specifications on page 5-110.
Brake linings should always be replaced as complete
axle sets.Brake Pedal Travel
See your dealer/retailer if the brake pedal does not
return to normal height, or if there is a rapid increase
in pedal travel. This could be a sign that brake service
might be required.
Brake Adjustment
Every brake stop, the brakes adjust for wear.
5-38
Page 281 of 404
Replacing Brake System Parts
The braking system on a vehicle is complex. Its many
parts have to be of top quality and work well together if
the vehicle is to have really good braking. The vehicle
was designed and tested with top-quality brake parts.
When parts of the braking system are replaced — for
example, when the brake linings wear down and new
ones are installed — be sure to get new approved
replacement parts. If this is not done, the brakes might
not work properly. For example, if someone puts in brake
linings that are wrong for the vehicle, the balance
between the front and rear brakes can change — for the
worse. The braking performance expected can change in
many other ways if the wrong replacement brake parts
are installed.
Battery
This vehicle has a maintenance free battery. When it
is time for a new battery, see your dealer/retailer for one
that has the replacement number shown on the original
battery’s label. SeeEngine Compartment Overview on
page 5-14for battery location.
Warning:Battery posts, terminals, and related
accessories contain lead and lead compounds,
chemicals known to the State of California to cause
cancer and reproductive harm. Wash hands after
handling.
Vehicle Storage
{CAUTION:
Batteries have acid that can burn you and gas that
can explode. You can be badly hurt if you are not
careful. SeeJump Starting on page 5-40for tips
on working around a battery without getting hurt.
Infrequent Usage: If the vehicle is driven infrequently,
remove the black, negative (−) cable from the battery.
This helps keep the battery from running down.
Extended Storage: For extended storage of the vehicle,
remove the black, negative (−) cable from the battery or
use a battery trickle charger. This helps maintain the
charge of the battery over an extended period of time.
5-39
Page 307 of 404

Federal Communications
Commission (FCC) and
Industry and Science Canada
The Tire Pressure Monitor System (TPMS) operates
on a radio frequency and complies with Part 15 of
the FCC Rules. Operation is subject to the following
two conditions:
1. This device may not cause harmful interference.
2. This device must accept any interference received,
including interference that may cause undesired
operation.
The TPMS operates on a radio frequency and complies
with RSS-210 of Industry and Science Canada.
Operation is subject to the following two conditions:
1. This device may not cause interference.
2. This device must accept any interference received,
including interference that may cause undesired
operation of the device.
Changes or modifications to this system by other than
an authorized service facility could void authorization to
use this equipment.
Tire Pressure Monitor Operation
The Tire Pressure Monitor System (TPMS), if your
vehicle has this feature, is designed to warn the driver
when a low tire pressure condition exists. TPMS sensors
are mounted onto each tire and wheel assembly,
excluding the spare tire and wheel assembly. The TPMS
sensors monitor the air pressure in the vehicle’s tires and
transmits the tire pressure readings to a receiver located
in the vehicle.
When a low tire pressure
condition is detected, the
TPMS will illuminate the
low tire pressure warning
symbol located on the
instrument panel cluster.
At the same time a message to check the pressure in
a specific tire appears on the Driver Information Center
(DIC) display. The low tire pressure warning light and the
DIC warning message come on at each ignition cycle
until the tires are inflated to the correct inflation pressure.
If your vehicle has DIC buttons, tire pressure levels can
be viewed by the driver. For additional information and
details about the DIC operation and displays seeDIC
Operation and Displays on page 3-43andDIC Warnings
and Messages on page 3-50.
5-65
Page 308 of 404

The low tire pressure warning light may come on in
cool weather when the vehicle is first started, and then
turn off as you start to drive. This could be an early
indicator that the air pressure in the tire(s) are getting
low and need to be inflated to the proper pressure.
A Tire and Loading Information label, attached to
your vehicle, shows the size of your vehicle’s original
equipment tires and the correct inflation pressure for
your vehicle’s tires when they are cold. SeeLoading the
Vehicle on page 4-18, for an example of the Tire and
Loading Information label and its location on your vehicle.
Also seeInflation - Tire Pressure on page 5-62.
Your vehicle’s TPMS can warn you about a low tire
pressure condition but it does not replace normal
tire maintenance. SeeTire Inspection and Rotation
on page 5-69andTires on page 5-54.
Notice:Liquid tire sealants could damage the Tire
Pressure Monitor System (TPMS) sensors. Sensor
damage caused by using a tire sealant is not
covered by your warranty. Do not use liquid tire
sealants.TPMS Malfunction Light and Message
The TPMS will not function properly if one or more of
the TPMS sensors are missing or inoperable. When the
system detects a malfunction, the low tire warning light
flashes for about one minute and then stays on for the
remainder of the ignition cycle. A DIC warning message
is also displayed. The low tire warning light and DIC
warning message come on at each ignition cycle until
the problem is corrected. Some of the conditions that
can cause the malfunction light and DIC message to
come on are:
•One of the road tires has been replaced with the
spare tire. The spare tire does not have a TPMS
sensor. The TPMS malfunction light and DIC
message should go off once you re-install the
road tire containing the TPMS sensor.
•The TPMS sensor matching process was started but
not completed or not completed successfully after
rotating the vehicle’s tires. The DIC message and
TPMS malfunction light should go off once the TPMS
sensor matching process is performed successfully.
See “TPMS Sensor Matching Process” later in this
section.
5-66
Page 315 of 404
If you must replace your vehicle’s tires with those that
do not have a TPC Spec number, make sure they
are the same size, load range, speed rating, and
construction type (radial and bias-belted tires) as
your vehicle’s original tires.
Vehicles that have a tire pressure monitoring system
could give an inaccurate low-pressure warning if
non-TPC Spec rated tires are installed on your vehicle.
Non-TPC Spec rated tires may give a low-pressure
warning that is higher or lower than the proper warning
level you would get with TPC Spec rated tires.
SeeTire Pressure Monitor System on page 5-64.
Your vehicle’s original equipment tires are listed on the
Tire and Loading Information label. SeeLoading the
Vehicle on page 4-18, for more information about
the Tire and Loading Information label and its location
on your vehicle.Different Size Tires and Wheels
If you add wheels or tires that are a different size than
your original equipment wheels and tires, this could affect
the way your vehicle performs, including its braking, ride
and handling characteristics, stability, and resistance
to rollover. Additionally, if your vehicle has electronic
systems such as anti-lock brakes, rollover airbags,
traction control, and electronic stability control, the
performance of these systems can be affected.
{CAUTION:
If you add different sized wheels, your vehicle may
not provide an acceptable level of performance and
safety if tires not recommended for those wheels
are selected. You may increase the chance that you
will crash and suffer serious injury. Only use GM
specific wheel and tire systems developed for your
vehicle, and have them properly installed by a GM
certified technician.
SeeBuying New Tires on page 5-72andAccessories
and Modifications on page 5-3for additional information.
5-73
Page 317 of 404
Traction – AA, A, B, C
The traction grades, from highest to lowest, are
AA, A, B, and C. Those grades represent the tire’s
ability to stop on wet pavement as measured under
controlled conditions on specified government test
surfaces of asphalt and concrete. A tire marked C
may have poor traction performance.
{WARNING:
The traction grade assigned to this tire is
based on straight-ahead braking traction
tests, and does not include acceleration,
cornering, hydroplaning, or peak traction
characteristics.
Temperature – A, B, C
The temperature grades are A (the highest), B,
and C, representing the tire’s resistance to the
generation of heat and its ability to dissipate heat
when tested under controlled conditions on a
specified indoor laboratory test wheel. Sustained
high temperature can cause the material of the tire
to degenerate and reduce tire life, and excessive
temperature can lead to sudden tire failure.
The grade C corresponds to a level of performance
which all passenger car tires must meet under the
Federal Motor Vehicle Safety Standard No. 109.
Grades B and A represent higher levels of
performance on the laboratory test wheel than
the minimum required by law.
{WARNING:
The temperature grade for this tire is
established for a tire that is properly inflated
and not overloaded. Excessive speed,
underinflation, or excessive loading, either
separately or in combination, can cause
heat buildup and possible tire failure.
5-75
Page 322 of 404

Changing a Flat Tire
If a tire goes flat, avoid further tire and wheel damage
by driving slowly to a level place. Turn on the hazard
warning flashers. SeeHazard Warning Flashers
on page 3-6.
{CAUTION:
Changing a tire can be dangerous. The vehicle
can slip off the jack and roll over or fall on you or
other people. You and they could be badly injured
or even killed. Find a level place to change your
tire. To help prevent the vehicle from moving:
1. Set the parking brake firmly.
2. Put the shift lever in P (Park).
3. Turn off the engine and do not restart while
the vehicle is raised.
4. Do not allow passengers to remain in the
vehicle.
CAUTION: (Continued)
CAUTION: (Continued)
To be even more certain the vehicle will not move,
you should put blocks at the front and rear of the
tire farthest away from the one being changed.
That would be the tire, on the other side, at the
opposite end of the vehicle.
When the vehicle has a flat tire (B), use the following
example as a guide to assist you in the placement
of wheel blocks (A).
A. Wheel Block
B. Flat Tire
The following information explains how to use the jack
and change a tire.
5-80
Page 393 of 404
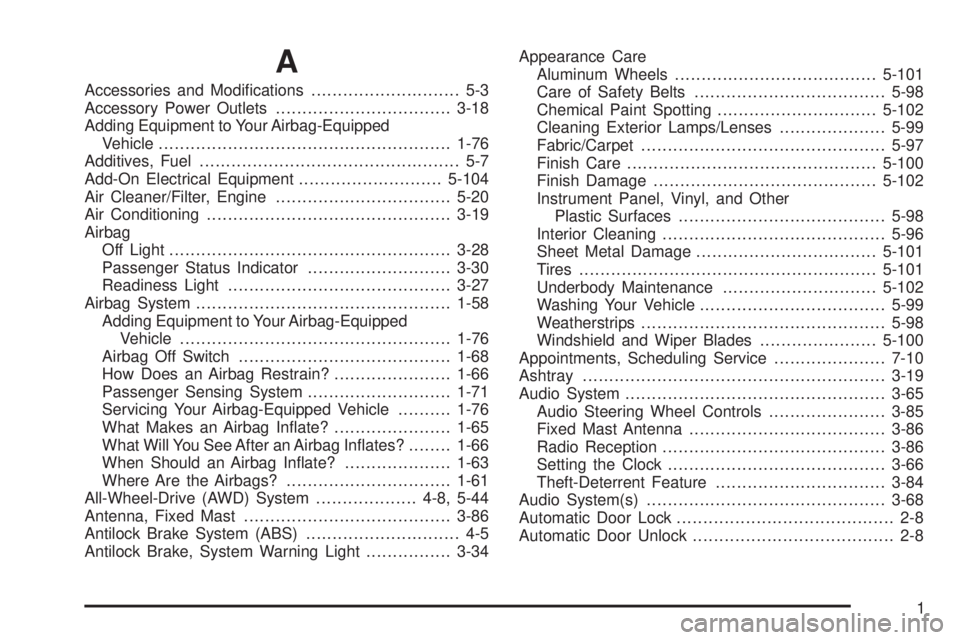
A
Accessories and Modifications............................ 5-3
Accessory Power Outlets.................................3-18
Adding Equipment to Your Airbag-Equipped
Vehicle.......................................................1-76
Additives, Fuel................................................. 5-7
Add-On Electrical Equipment...........................5-104
Air Cleaner/Filter, Engine.................................5-20
Air Conditioning..............................................3-19
Airbag
Off Light.....................................................3-28
Passenger Status Indicator...........................3-30
Readiness Light..........................................3-27
Airbag System................................................1-58
Adding Equipment to Your Airbag-Equipped
Vehicle...................................................1-76
Airbag Off Switch........................................1-68
How Does an Airbag Restrain?......................1-66
Passenger Sensing System...........................1-71
Servicing Your Airbag-Equipped Vehicle..........1-76
What Makes an Airbag Inflate?......................1-65
What Will You See After an Airbag Inflates?........1-66
When Should an Airbag Inflate?....................1-63
Where Are the Airbags?...............................1-61
All-Wheel-Drive (AWD) System...................4-8, 5-44
Antenna, Fixed Mast.......................................3-86
Antilock Brake System (ABS)............................. 4-5
Antilock Brake, System Warning Light................3-34Appearance Care
Aluminum Wheels......................................5-101
Care of Safety Belts....................................5-98
Chemical Paint Spotting..............................5-102
Cleaning Exterior Lamps/Lenses....................5-99
Fabric/Carpet..............................................5-97
Finish Care...............................................5-100
Finish Damage..........................................5-102
Instrument Panel, Vinyl, and Other
Plastic Surfaces.......................................5-98
Interior Cleaning..........................................5-96
Sheet Metal Damage..................................5-101
Tires........................................................5-101
Underbody Maintenance.............................5-102
Washing Your Vehicle...................................5-99
Weatherstrips..............................................5-98
Windshield and Wiper Blades......................5-100
Appointments, Scheduling Service.....................7-10
Ashtray.........................................................3-19
Audio System.................................................3-65
Audio Steering Wheel Controls......................3-85
Fixed Mast Antenna.....................................3-86
Radio Reception..........................................3-86
Setting the Clock.........................................3-66
Theft-Deterrent Feature................................3-84
Audio System(s).............................................3-68
Automatic Door Lock......................................... 2-8
Automatic Door Unlock...................................... 2-8
1