2009 GMC SAVANA stop start
[x] Cancel search: stop startPage 200 of 404

Preprogrammed Playlists
Preprogrammed playlists that were created using
WinAmp™, MusicMatch™, or Real Jukebox™ software
can be accessed, however, they cannot be edited
using the radio. These playlists are treated as special
folders containing compressed audio song files.
Playing an MP3
Insert a CD-R or CD-RW partway into the slot (Single
CD Player), or press the load button and wait for the
message to insert disc (Six-Disc CD Player), label side
up. The player pulls it in, and the CD-R or CD-RW should
begin playing.
If the ignition or radio is turned off with a CD-R or
CD-RW in the player, it stays in the player. When the
ignition or radio is turned on, the CD-R or CD-RW starts
to play where it stopped, if it was the last selected
audio source.
As each new track starts to play, the track number and
song title displays.
ZEJECT:Press this button to eject CD-R(s) or
CD-RW(s). To eject the CD-R or CD-RW that is currently
playing, press and release this button. A beep sounds
and Ejecting Disc displays. Once the disc is ejected,
Remove Disc displays. The CD-R or CD-RW can be
removed. If the CD-R or CD-RW is not removed, after
several seconds, the CD-R or CD-RW automatically pulls
back into the player and begins playing.
For the Six-Disc CD player, press and hold this button for
two seconds to eject all discs.
f(Tune):Turn this knob to select MP3 files on the
CD-R or CD-RW currently playing.
©SEEK¨:Press the left SEEK arrow to go to the
start of the current MP3 file, if more than 10 seconds
have played. Press the right arrow to go to the next MP3
file. If either SEEK arrow is held or pressed multiple
times, the player continues moving backward or forward
through MP3 files on the CD.
3-82
Page 209 of 404

Antilock Brake System (ABS)
Your vehicle has the Antilock Brake System (ABS), an
advanced electronic braking system that will help prevent
a braking skid.
When you start the engine and begin to drive away,
ABS will check itself. You might hear a momentary
motor or clicking noise while this test is going on. This
is normal.
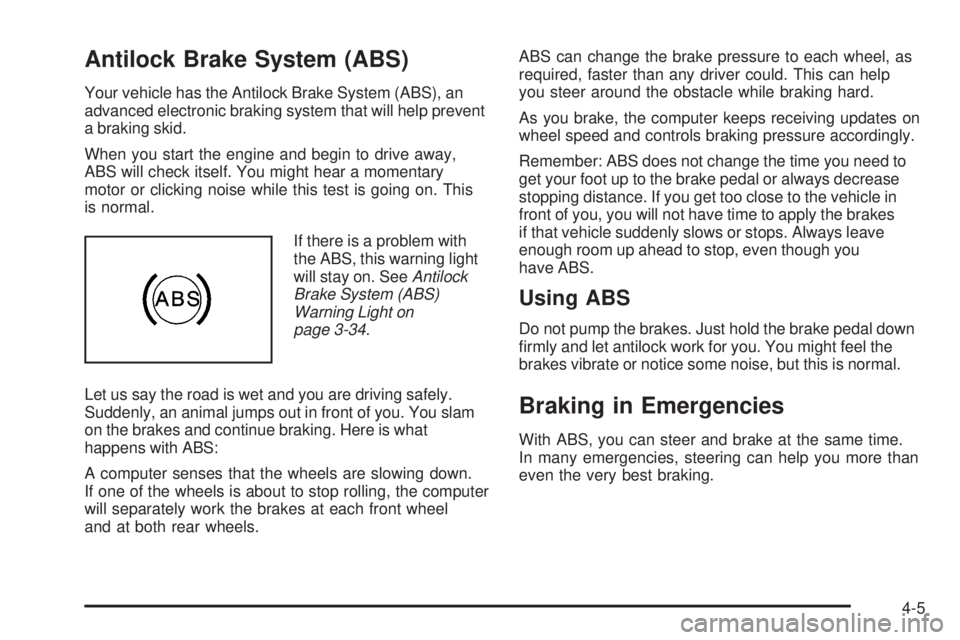
If there is a problem with
the ABS, this warning light
will stay on. SeeAntilock
Brake System (ABS)
Warning Light on
page 3-34.
Let us say the road is wet and you are driving safely.
Suddenly, an animal jumps out in front of you. You slam
on the brakes and continue braking. Here is what
happens with ABS:
A computer senses that the wheels are slowing down.
If one of the wheels is about to stop rolling, the computer
will separately work the brakes at each front wheel
and at both rear wheels.ABS can change the brake pressure to each wheel, as
required, faster than any driver could. This can help
you steer around the obstacle while braking hard.
As you brake, the computer keeps receiving updates on
wheel speed and controls braking pressure accordingly.
Remember: ABS does not change the time you need to
get your foot up to the brake pedal or always decrease
stopping distance. If you get too close to the vehicle in
front of you, you will not have time to apply the brakes
if that vehicle suddenly slows or stops. Always leave
enough room up ahead to stop, even though you
have ABS.
Using ABS
Do not pump the brakes. Just hold the brake pedal down
firmly and let antilock work for you. You might feel the
brakes vibrate or notice some noise, but this is normal.
Braking in Emergencies
With ABS, you can steer and brake at the same time.
In many emergencies, steering can help you more than
even the very best braking.
4-5
Page 215 of 404

Skidding
In a skid, a driver can lose control of the vehicle.
Defensive drivers avoid most skids by taking reasonable
care suited to existing conditions, and by not overdriving
those conditions. But skids are always possible.
The three types of skids correspond to your vehicle’s
three control systems. In the braking skid, the wheels are
not rolling. In the steering or cornering skid, too much
speed or steering in a curve causes tires to slip and lose
cornering force. And in the acceleration skid, too much
throttle causes the driving wheels to spin.
If your vehicle starts to slide, ease your foot off the
accelerator pedal and quickly steer the way you want
the vehicle to go. If you start steering quickly enough,
your vehicle may straighten out. Always be ready
for a second skid if it occurs.Of course, traction is reduced when water, snow, ice,
gravel, or other material is on the road. For safety, you
want to slow down and adjust your driving to these
conditions. It is important to slow down on slippery
surfaces because stopping distance is longer and
vehicle control more limited.
While driving on a surface with reduced traction, try
your best to avoid sudden steering, acceleration, or
braking, including reducing vehicle speed by shifting to a
lower gear. Any sudden changes could cause the tires to
slide. You might not realize the surface is slippery until
your vehicle is skidding. Learn to recognize warning
clues — such as enough water, ice, or packed snow on
the road to make a mirrored surface — and slow down
when you have any doubt.
Remember: Any Antilock Brake System (ABS) helps
avoid only the braking skid.
4-11
Page 238 of 404

Tow/Haul is designed to be most effective when the
vehicle and trailer combined weight is at least 75 percent
of the vehicle’s Gross Combined Weight Rating (GCWR).
See “Weight of the Trailer” later in the section. Tow/Haul
is most useful under the following driving conditions:
•When pulling a heavy trailer or a large or heavy load
through rolling terrain.
•When pulling a heavy trailer or a large or heavy load
in stop and go traffic.
•When pulling a heavy trailer or a large or heavy load
in busy parking lots where improved low speed
control of the vehicle is desired.
Operating the vehicle in Tow/Haul when lightly loaded
or with no trailer at all will not cause damage. However,
there is no benefit to the selection of Tow/Haul when
the vehicle is unloaded. Such a selection when unloaded
may result in unpleasant engine and transmission
driving characteristics and reduced fuel economy.
Tow/Haul is recommended only when pulling a heavy
trailer or a large or heavy load.
Trailer Brakes
A loaded trailer that weighs more than 1,500 lbs
(680 kg) needs to have its own brake system that is
adequate for the weight of the trailer. Be sure to read
and follow the instructions for the trailer brakes so
they are installed, adjusted and maintained properly.
Driving with a Trailer
{CAUTION:
When towing a trailer, exhaust gases may collect
at the rear of the vehicle and enter if the liftgate,
trunk/hatch, or rear-most window is open.
Engine exhaust contains carbon monoxide (CO)
which cannot be seen or smelled. It can cause
unconsciousness and even death.
To maximize safety when towing a trailer:
•Have the exhaust system inspected for leaks
and make necessary repairs before starting
a trip.
•Never drive with the liftgate, trunk/hatch, or
rear-most window open.
•Fully open the air outlets on or under the
instrument panel.
•Adjust the Climate Control system to a setting
that brings in only outside air and set the fan
speed to the highest setting. See Climate
Control System in the Index.
For more information about carbon monoxide, see
Engine Exhaust on page 2-30
4-34
Page 239 of 404

Towing a trailer requires a certain amount of experience.
Get to know the rig before setting out for the open
road. Get acquainted with the feel of handling and
braking with the added weight of the trailer. And always
keep in mind that the vehicle you are driving is now
longer and not as responsive as the vehicle is by itself.
Before starting, check all trailer hitch parts and
attachments, safety chains, electrical connectors, lamps,
tires and mirror adjustments. If the trailer has electric
brakes, start the vehicle and trailer moving and then
apply the trailer brake controller by hand to be sure the
brakes are working. This checks the electrical connection
at the same time.
During the trip, check occasionally to be sure that the
load is secure, and that the lamps and any trailer brakes
are still working.
Following Distance
Stay at least twice as far behind the vehicle ahead as
you would when driving the vehicle without a trailer.
This can help to avoid situations that require heavy
braking and sudden turns.
Passing
More passing distance is needed when towing a trailer.
Because the rig is longer, it is necessary to go much
farther beyond the passed vehicle before returning to
the lane.
Backing Up
Hold the bottom of the steering wheel with one hand.
Then, to move the trailer to the left, move that hand
to the left. To move the trailer to the right, move your
hand to the right. Always back up slowly and, if possible,
have someone guide you.
Making Turns
Notice:Making very sharp turns while trailering
could cause the trailer to come in contact with the
vehicle. The vehicle could be damaged. Avoid
making very sharp turns while trailering.
When turning with a trailer, make wider turns than
normal. Do this so the trailer will not strike soft shoulders,
curbs, road signs, trees or other objects. Avoid jerky or
sudden maneuvers. Signal well in advance.
Turn Signals When Towing a Trailer
The arrows on the instrument panel flash whenever
signaling a turn or lane change. Properly hooked up, the
trailer lamps also flash, telling other drivers the vehicle
is turning, changing lanes or stopping.
When towing a trailer, the arrows on the instrument panel
flash for turns even if the bulbs on the trailer are burned
out. For this reason you may think other drivers are
seeing the signal when they are not. It is important to
check occasionally to be sure the trailer bulbs are still
working.
4-35
Page 241 of 404

3. When the wheel chocks are in place, release the
brake pedal until the chocks absorb the load.
4. Reapply the brake pedal. Then apply the parking
brake and shift into P (Park) for vehicles with an
automatic transmission or into gear for vehicles with
a manual transmission.
5. Release the brake pedal.
Leaving After Parking on a Hill
1. Apply and hold the brake pedal while you:
•start the engine,
•shift into a gear, and
•release the parking brake.
2. Let up on the brake pedal.
3. Drive slowly until the trailer is clear of the chocks.
4. Stop and have someone pick up and store the
chocks.
Maintenance When Trailer Towing
The vehicle needs service more often when pulling a
trailer. See this manual’s Maintenance Schedule or Index
for more information. Things that are especially important
in trailer operation are automatic transmission fluid,
engine oil, axle lubricant, belts, cooling system and brake
system. It is a good idea to inspect these before and
during the trip.
Check periodically to see that all hitch nuts and bolts
are tight.
Trailer Wiring Harness
The optional heavy-duty trailer wiring package includes
a wiring harness, with a seven-pin connector at the
rear of the vehicle and a four-wire harness assembly
under the driver side of the instrument panel. The
four-wire harness assembly comes without a connector.
If the vehicle does not have a trailer hitch, the
seven-wire harness assembly with connector is taped
together and located in a frame pocket at the driver side
rear left corner of the frame.
4-37
Page 243 of 404

Service............................................................5-3
Accessories and Modifications..........................5-3
California Proposition 65 Warning.....................5-4
California Perchlorate Materials Requirements......5-4
Doing Your Own Service Work.........................5-4
Adding Equipment to the Outside of the
Vehicle......................................................5-5
Fuel................................................................5-5
Gasoline Octane............................................5-6
Gasoline Specifications....................................5-6
California Fuel...............................................5-6
Additives.......................................................5-7
Fuel E85 (85% Ethanol)..................................5-8
Fuels in Foreign Countries...............................5-9
Filling the Tank............................................5-10
Filling a Portable Fuel Container.....................5-12
Checking Things Under the Hood....................5-12
Hood Release..............................................5-13
Engine Compartment Overview.......................5-14
Engine Oil...................................................5-15
Engine Oil Life System..................................5-18
Engine Air Cleaner/Filter................................5-20
Automatic Transmission Fluid.........................5-21
Cooling System............................................5-24
Engine Coolant.............................................5-25Radiator Pressure Cap..................................5-31
Engine Overheating.......................................5-31
Engine Fan Noise.........................................5-33
Power Steering Fluid.....................................5-34
Windshield Washer Fluid................................5-35
Brakes........................................................5-36
Battery........................................................5-39
Jump Starting...............................................5-40
All-Wheel Drive..............................................5-44
Rear Axle
.......................................................5-45
Front Axle......................................................5-46
Noise Control System.....................................5-47
Tampering with Noise Control System
Prohibited.................................................5-47
Bulb Replacement..........................................5-48
Halogen Bulbs..............................................5-48
Headlamps..................................................5-48
Front Turn Signal, Sidemarker and
Parking Lamps..........................................5-50
Center High-Mounted
Stoplamp (CHMSL)....................................5-51
Taillamps.....................................................5-51
Replacement Bulbs.......................................5-52
Windshield Wiper Blade Replacement..............5-53
Section 5 Service and Appearance Care
5-1
Page 253 of 404

To remove the fuel cap, turn it slowly counterclockwise.
While refueling, hang the tethered fuel cap from the
hook on the fuel door.
{CAUTION:
Fuel can spray out on you if you open the fuel cap
too quickly. If you spill fuel and then something
ignites it, you could be badly burned. This spray
can happen if the tank is nearly full, and is more
likely in hot weather. Open the fuel cap slowly and
wait for any hiss noise to stop. Then unscrew the
cap all the way.
Be careful not to spill fuel. Do not top off or overfill the
tank and wait a few seconds after you have finished
pumping before removing the nozzle. Clean fuel
from painted surfaces as soon as possible.
SeeWashing Your Vehicle on page 5-99.When replacing the fuel cap, turn it clockwise until it
clicks. Make sure the cap is fully installed. The diagnostic
system can determine if the fuel cap has been left off or
improperly installed. This would allow fuel to evaporate
into the atmosphere. SeeMalfunction Indicator Lamp on
page 3-36.{CAUTION:
If a fire starts while you are refueling, do not
remove the nozzle. Shut off the flow of fuel by
shutting off the pump or by notifying the station
attendant. Leave the area immediately.
Notice:If you need a new fuel cap, be sure to
get the right type. Your dealer/retailer can get one
for you. If you get the wrong type, it may not �t
properly. This may cause the malfunction indicator
lamp to light and may damage the fuel tank and
emissions system. SeeMalfunction Indicator Lamp
on page 3-36.
5-11