Page 4 of 20

Getting to Know Your Envoy4
Fuel Information Button
• Press to scroll through the range,
fuel used, average fuel economy, and
the GM Oil Life System
TM.
• Range estimates the remaining dis-
tance you can drive without refueling.
Range is based on recent fuel econo-
my and the fuel remaining in the tank.
• Average fuel economy calculates how
many miles per gallon you are getting
based on overall driving conditions.
Press and hold the Select button
( ) while AVG. ECON is displayed
and the DIC will begin calculating the
average fuel economy from that point
in time.
• Fuel used shows the current amount
of fuel used in gallons since the last
reset.
• Engine oil life calculates an estimate
(percentage) of the engine oil’s
remaining useful life. It also will alert
you when it is time to change your oil
by illuminating the CHANGE ENG
OIL light on the DIC. Please remem-
ber to always reset the oil life system
after an oil change by pressing and
holding for four seconds while
ENGINE OIL LIFE is displayed. When
successful, the DIC will display
ENGINE OIL LIFE: 100%.
Driver Information Center
(if equipped)
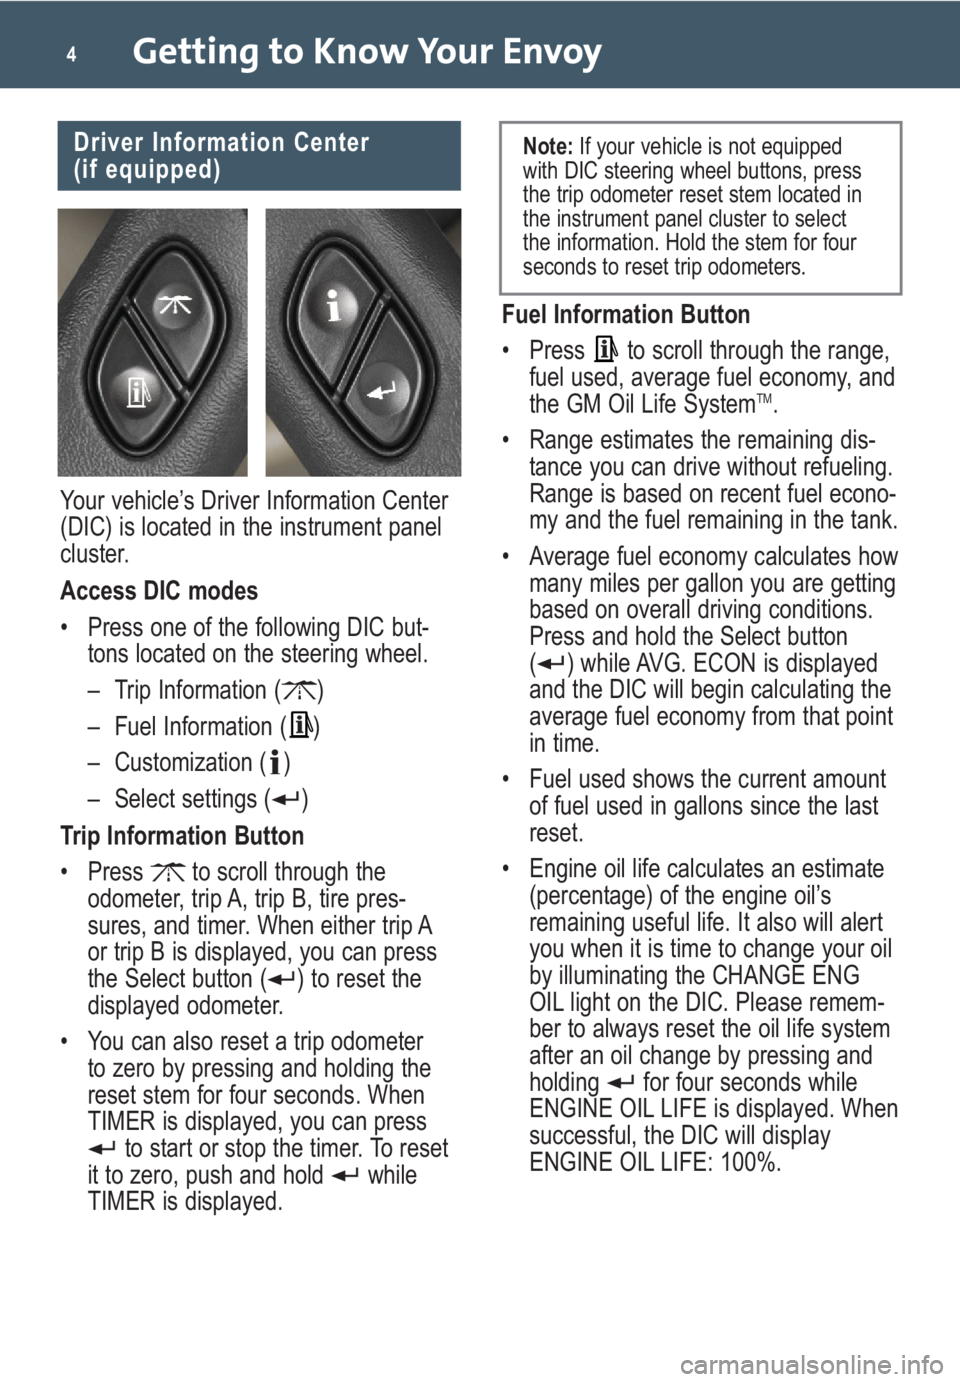
Your vehicle’s Driver Information Center
(DIC) is located in the instrument panel
cluster.
Access DIC modes
• Press one of the following DIC but-
tons located on the steering wheel.
– Trip Information ( )
– Fuel Information ( )
– Customization ( )
– Select settings ( )
Trip Information Button
• Press to scroll through the
odometer, trip A, trip B, tire pres-
sures, and timer. When either trip A
or trip B is displayed, you can press
the Select button ( ) to reset the
displayed odometer.
• You can also reset a trip odometer
to zero by pressing and holding the
reset stem for four seconds. When
TIMER is displayed, you can press
to start or stop the timer. To reset
it to zero, push and hold while
TIMER is displayed.
Note:If your vehicle is not equipped
with DIC steering wheel buttons, press
the trip odometer reset stem located in
the instrument panel cluster to select
the information. Hold the stem for four
seconds to reset trip odometers.
Page 5 of 20

5
Customization Button
• Press to scroll through the
customization features.
Select Button
• Press to select your customiza-
tion feature setting while it is
displayed on the DIC.
• The customization features can be
reset to their default mode by holding
and down for four seconds.
Language Options
• If you find that the unit displays a lan-
guage other than the one you prefer
and you are unable to change it, hold
and down until the display
begins cycling through the three
available languages. Release the
buttons when you see the preferred
language.
See Section 3 of your Owner Manual.
SAFETY & SECURITY
Lockout Protection
Prevent your ignition key from being
locked in your vehicle
• When the key is in the ignition and
a door is open, pressing any power
door lock switch unlocks the driver’s
door and locks all other doors.
See Section 2 of your Owner Manual.
OnStar®(if equipped)
Your vehicle may feature the OnStar
Safe & Sound Plan or the uplevel
OnStar Directions & Connections Plan,
with one year of OnStar service from the
date you purchased your new vehicle.
With the help of OnStar Advisors, who
are available 24 hours a day, 7 days a
week, OnStar offers a wide variety of
safety and driver assistance capabilities,
including the following services:
• Driving Directions with Turn-by-Turn
Navigation
• OnStar Vehicle Diagnostic e-mail
• Automatic Notification of Airbag
Deployment
• Automatic Advanced Crash
Notification
• Emergency Services
• Remote Door Unlock
• Stolen Vehicle Location Assistance
• Hands-Free Calling with 30 calling
minutes
• Roadside Assistance
• Fuel Station Location
• Information & Connections services
• Virtual Advisor, GPS-based Traffic &
Weather
For Remote Door Unlock or Stolen
Vehicle Location Assistance, call
1-888-4-ONSTAR (1-888-466-7827).
Press the OnStar button to ask an
OnStar Advisor about the service plan
you have or to upgrade your plan. For
more information, refer to your OnStar
Owner’s Guide or visit onstar.com.
See Section 2 of your Owner Manual.
Page 10 of 20

Getting to Know Your Envoy10
ENTERTAINMENT
Audio Systems
Memory Seat (if equipped)
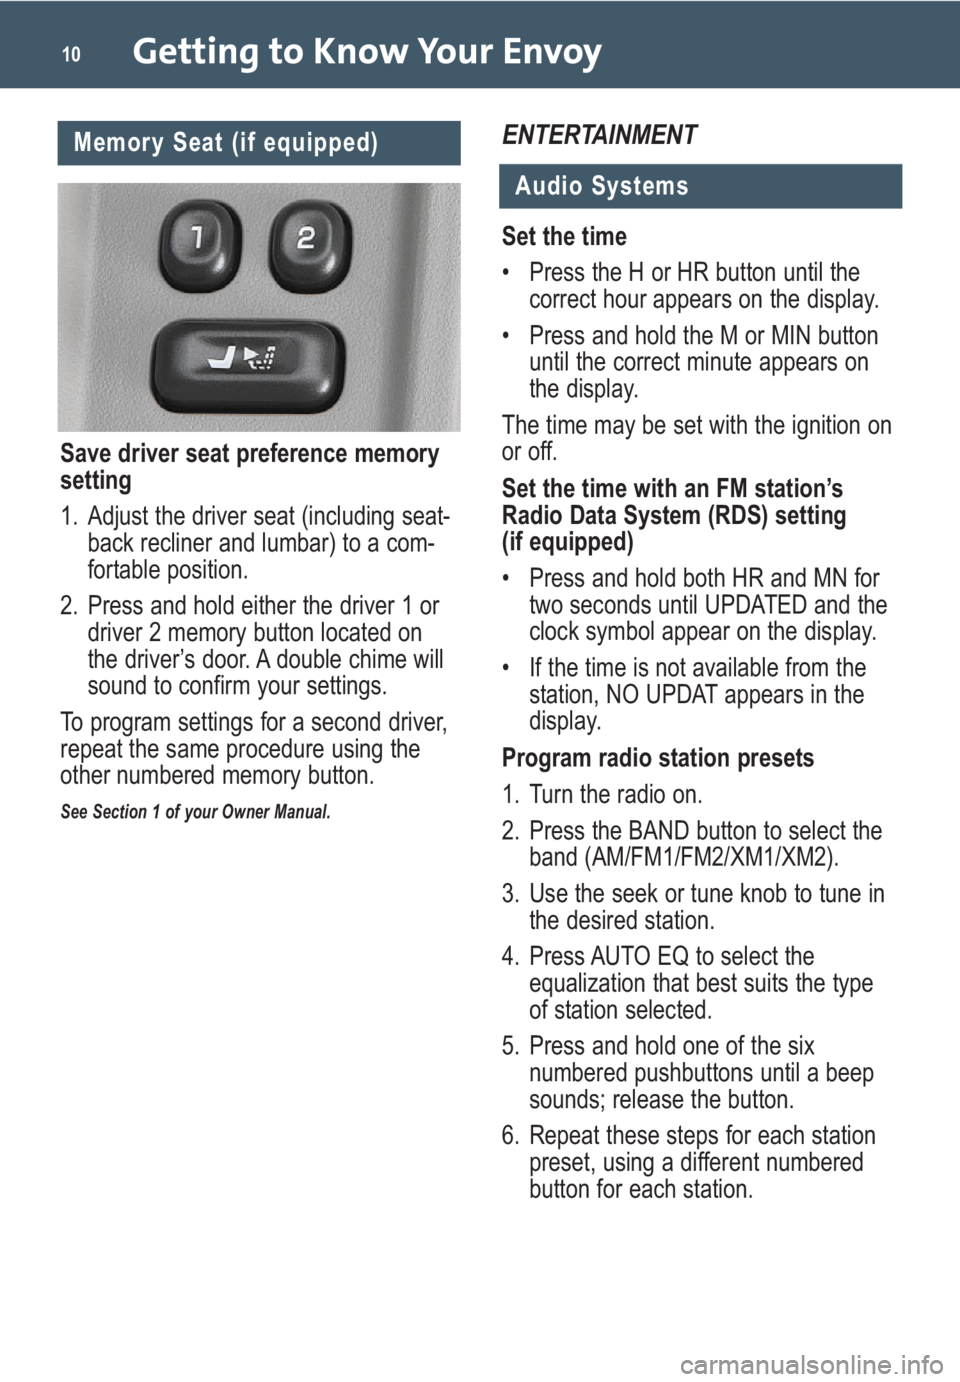
Save driver seat preference memory
setting
1. Adjust the driver seat (including seat-
back recliner and lumbar) to a com-
fortable position.
2. Press and hold either the driver 1 or
driver 2 memory button located on
the driver’s door. A double chime will
sound to confirm your settings.
To program settings for a second driver,
repeat the same procedure using the
other numbered memory button.
See Section 1 of your Owner Manual.
Set the time
• Press the H or HR button until the
correct hour appears on the display.
• Press and hold the M or MIN button
until the correct minute appears on
the display.
The time may be set with the ignition on
or off.
Set the time with an FM station’s
Radio Data System (RDS) setting
(if equipped)
• Press and hold both HR and MN for
two seconds until UPDATED and the
clock symbol appear on the display.
• If the time is not available from the
station, NO UPDAT appears in the
display.
Program radio station presets
1. Turn the radio on.
2. Press the BAND button to select the
band (AM/FM1/FM2/XM1/XM2).
3. Use the seek or tune knob to tune in
the desired station.
4. Press AUTO EQ to select the
equalization that best suits the type
of station selected.
5. Press and hold one of the six
numbered pushbuttons until a beep
sounds; release the button.
6. Repeat these steps for each station
preset, using a different numbered
button for each station.