2009 FORD TAURUS warning
[x] Cancel search: warningPage 38 of 336

5. Turn the portable music player on and adjust the volume to 1/2 the
volume.
6. Press AUX on the vehicle radio repeatedly until LINE, LINE IN or
SYNC LINE IN appears in the display.
You should hear audio from your portable music player, although it may
be low.
7. Adjust the sound on your portable music player until it reaches the
level of the FM station or CD by switching back and forth between the
AUX and FM or CD controls.
Troubleshooting:
1. Do not connect the audio input jack to a line level output. Line level
outputs are intended for connection to a home stereo and are not
compatible with the AIJ. The AIJ will only work correctly with devices
that have a headphone output with a volume control.
2. Do not set the portable music player’s volume level higher than is
necessary to match the volume of the CD or FM radio in your audio
system as this will cause distortion and will reduce sound quality. Many
portable music players have different output levels, so not all players
should be set at the same levels. Some players will sound best at full
volume and others will need to be set at a lower volume.
3. If the music sounds distorted at lower listening levels, turn the
portable music player volume down. If the problems persists, replace or
recharge the batteries in the portable music player.
4. The portable music player must be controlled in the same manner
when it is used with headphones as the AIJ does not provide control
(play, pause, etc.) over the attached portable music player.
5. For safety reasons, connecting or adjusting the settings on your
portable music player should not be attempted while the vehicle is
moving. Also, the portable music player should be stored in a secure
location, such as the center console or the glove box, when the vehicle is
in motion. The audio extension cable must be long enough to allow the
portable music player to be safely stored while the vehicle is in motion.
USB port (if equipped)
WARNING:Driving while distracted can result in loss of vehicle
control, accident and injury. Ford strongly recommends that
drivers use extreme caution when using any device that may take their
focus off the road. The driver’s primary responsibility is the safe
operation of their vehicle. Only use cell phones and other devices not
essential to the driving task when it is safe to do so.
2009 Taurus(500)
Owners Guide, 1st Printing
USA(fus)
Entertainment Systems
38
Page 45 of 336
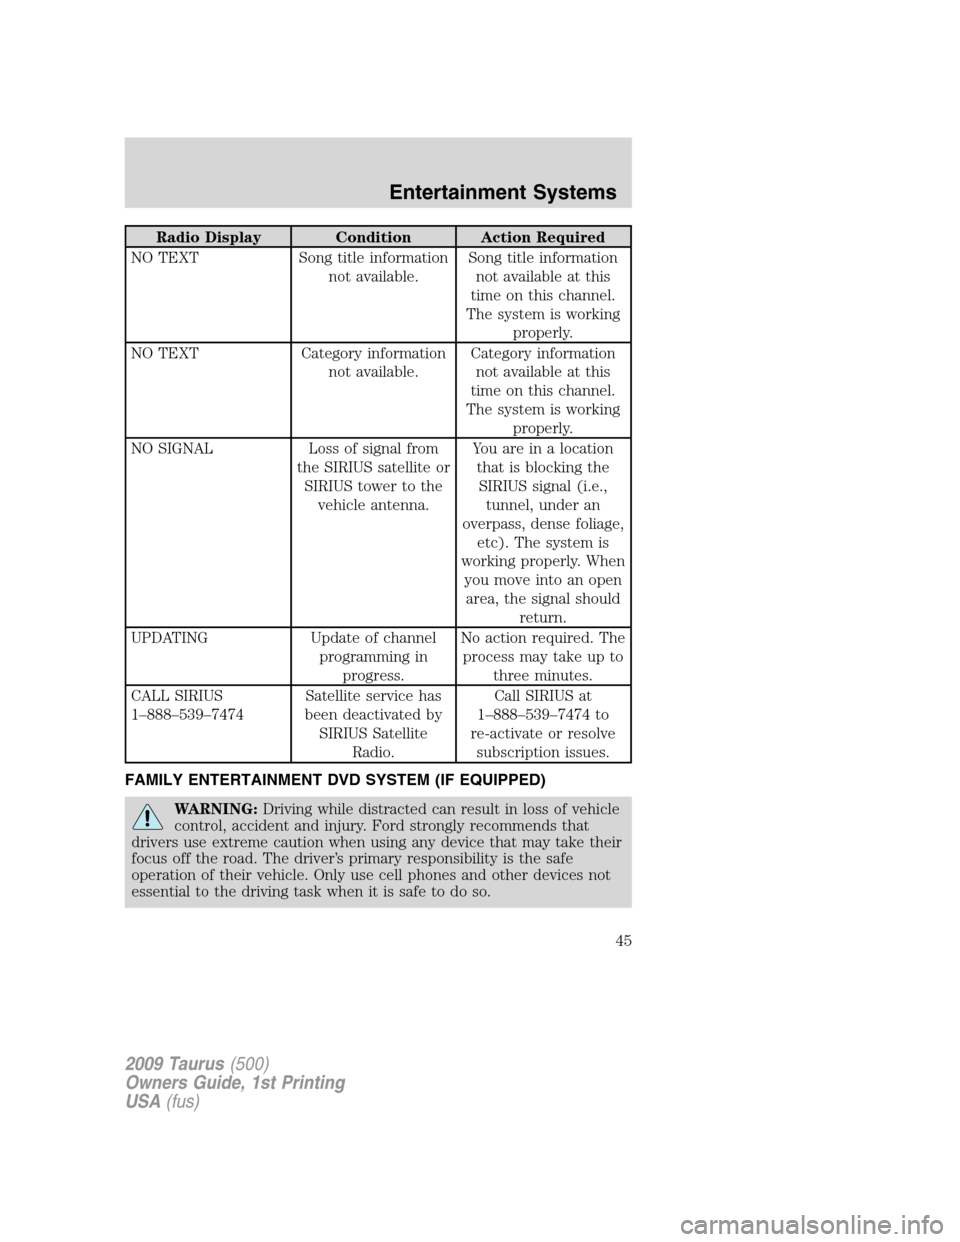
Radio Display Condition Action Required
NO TEXT Song title information
not available.Song title information
not available at this
time on this channel.
The system is working
properly.
NO TEXT Category information
not available.Category information
not available at this
time on this channel.
The system is working
properly.
NO SIGNAL Loss of signal from
the SIRIUS satellite or
SIRIUS tower to the
vehicle antenna.You are in a location
that is blocking the
SIRIUS signal (i.e.,
tunnel, under an
overpass, dense foliage,
etc). The system is
working properly. When
you move into an open
area, the signal should
return.
UPDATING Update of channel
programming in
progress.No action required. The
process may take up to
three minutes.
CALL SIRIUS
1–888–539–7474Satellite service has
been deactivated by
SIRIUS Satellite
Radio.Call SIRIUS at
1–888–539–7474 to
re-activate or resolve
subscription issues.
FAMILY ENTERTAINMENT DVD SYSTEM (IF EQUIPPED)
WARNING:Driving while distracted can result in loss of vehicle
control, accident and injury. Ford strongly recommends that
drivers use extreme caution when using any device that may take their
focus off the road. The driver’s primary responsibility is the safe
operation of their vehicle. Only use cell phones and other devices not
essential to the driving task when it is safe to do so.
2009 Taurus(500)
Owners Guide, 1st Printing
USA(fus)
Entertainment Systems
45
Page 49 of 336
2. Press MEDIA to change the audio source of the active channel (A or
B). The audio source will be shown on the display. You may change the
active channel by pressing the A or B headphone control button.
Note:Channel A can access any possible media source (AM, FM1, FM2,
SAT (if equipped), CD, DVD, AUX). Channel B can only access DVD and
AUX sources.
Note:Refer toSingle play/Dual playfor more information.
Using the infrared (IR) wireless headphones:
1. Press the power control on the earpiece to turn the headphones ON.
2. Select Channel A or B for each set of wireless headphones by using
the A/B control on the ear piece.
3. Adjust the headphone volume using the rotary dial on the earpiece.
Using wired headphones (not included):
WARNING:Do not leave children unattended in the vehicle and
do not let children operate the system while unsupervised. If
wired headphones or auxiliary systems are used, children may become
entangled in the cords and seriously injure themselves.
1. Connect the wired headphones in to the headphone jacks on either
side of the DVD system. Each side is labeled
AorB. Headphones
plugged into jack A will listen to Channel A and headphones plugged into
jack B will listen to Channel B.
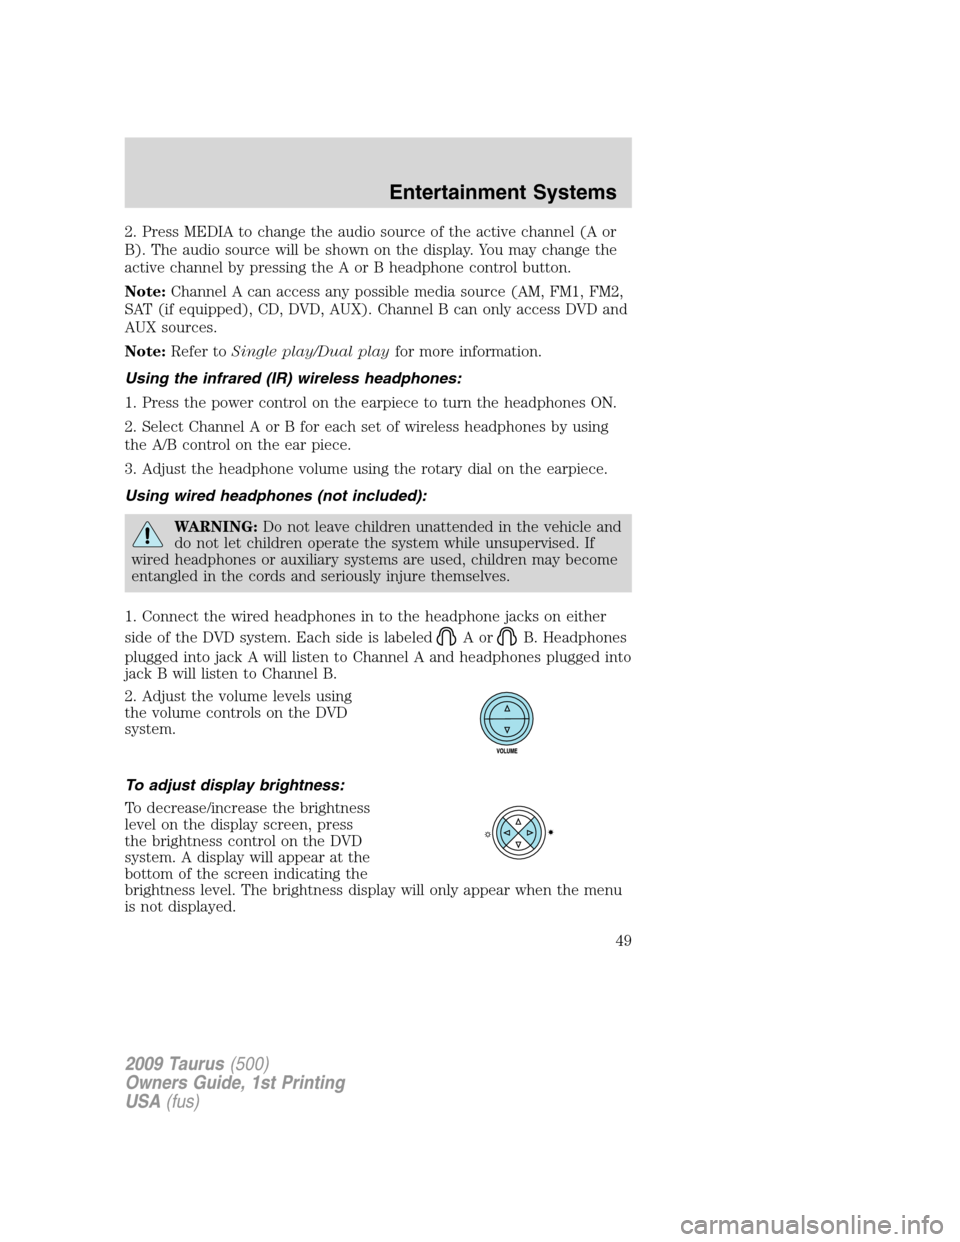
2. Adjust the volume levels using
the volume controls on the DVD
system.
To adjust display brightness:
To decrease/increase the brightness
level on the display screen, press
the brightness control on the DVD
system. A display will appear at the
bottom of the screen indicating the
brightness level. The brightness display will only appear when the menu
is not displayed.
2009 Taurus(500)
Owners Guide, 1st Printing
USA(fus)
Entertainment Systems
49
Page 56 of 336
Headphones
Wireless headphones
WARNING:The driver should never use the headphones while
driving the vehicle. Using headphones may prevent the driver
from hearing audible warnings such as horns or emergency sirens,
which could result in a crash causing serious injury. Give your full
attention to driving and to the road.
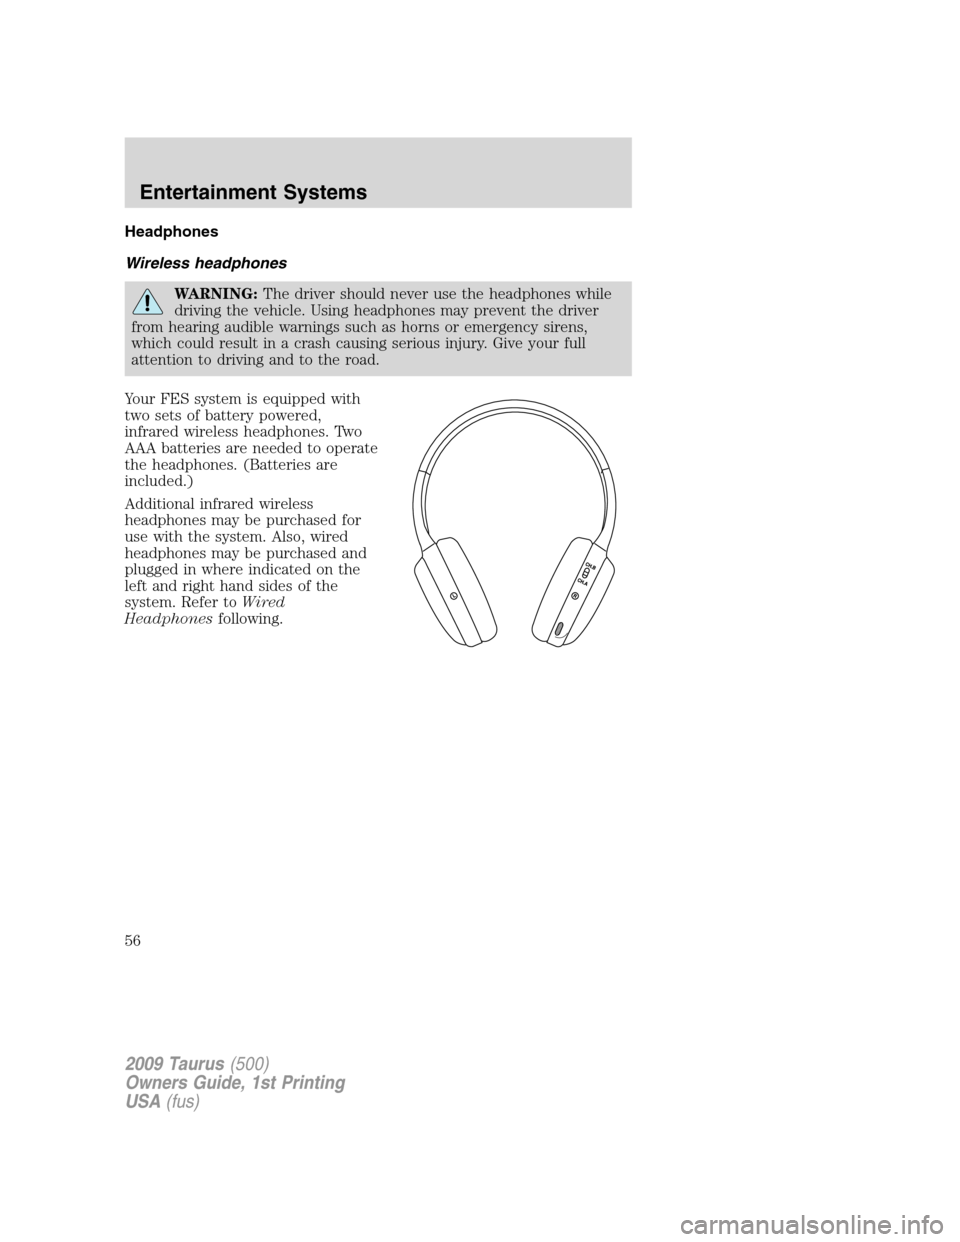
Your FES system is equipped with
two sets of battery powered,
infrared wireless headphones. Two
AAA batteries are needed to operate
the headphones. (Batteries are
included.)
Additional infrared wireless
headphones may be purchased for
use with the system. Also, wired
headphones may be purchased and
plugged in where indicated on the
left and right hand sides of the
system. Refer toWired
Headphonesfollowing.
2009 Taurus(500)
Owners Guide, 1st Printing
USA(fus)
Entertainment Systems
56
Page 59 of 336
Wired headphones
WARNING:Do not leave children unattended in the vehicle and
do not let children operate the system while unsupervised. If
wired headphones or auxiliary systems are used, children may become
entangled in the cords and seriously injure themselves.
WARNING:The driver should never use the headphones while
driving the vehicle. Using headphones may prevent the driver
from hearing audible warnings such as horns or emergency sirens,
which could result in a crash causing serious injury. Give your full
attention to driving and to the road.
You may purchase wired headphones for your FES (Family
Entertainment System). Plug them into the 3.5 mm headphone jack(s)
located on the left and right sides of the system. (Channel A is located
on the left side and Channel B is located on the right side.) These
headphones will be active when in Dual Play mode.
To listen to the audio on wired headphones (not included), connect the
wired headphones into the headphone jacks on the sides of the DVD
system. The wired headphone jack for Channel A is located on the left
side of the FES and is labeled
A. Headphones plugged into this
headphone jack will hear audio from the audio source selected to be the
Channel A source. The wired headphone jack for Channel B is located on
the right side of the FES and is labeled
B. Headphones plugged into
this headphone jack will hear audio from the audio source selected to be
the Channel B source.
Adjust the headphone volume using
the volume control on the DVD
system.
Operation
Single play/Dual play
Your DVD and audio system work together with the infrared headphones
and wired headphones (not included) to allow the rear seat passengers
to listen to the radio (and other media sources) over the headphones.
This enables the front and rear seat passengers to listen to a variety of
sources a variety of ways.
2009 Taurus(500)
Owners Guide, 1st Printing
USA(fus)
Entertainment Systems
59
Page 70 of 336
MP3:Supply of this product only conveys a license for private,
non-commercial use and does not convey a license nor imply any right to
use this product in any commercial (i.e. revenue generating) real time
broadcasting (terrestrial, satellite, cable and /or any other media)
broadcasting/streaming via internet, intranets and/or other networks or in
other electronic content distribution systems, such as pay-audio or
audio-on-demand applications. An independent license for such use is
required. For details, please visit http:// www.mp3licensing.com.
Safety information
WARNING:Driving while distracted can result in loss of vehicle
control, accident and injury. Ford strongly recommends that
drivers use extreme caution when using any device that may take their
focus off the road. The driver’s primary responsibility is the safe
operation of their vehicle. Only use cell phones and other devices not
essential to the driving task when it is safe to do so.
Read all of the safety and operating instructions before operating the
system and retain for future reference.
Do not attempt to service, repair or modify the Family Entertainment
System (FES). See your dealer.
Do not insert foreign objects into the DVD compartment.
WARNING:Do not leave children unattended in the vehicle and
do not let children operate the system while unsupervised. If
wired headphones or auxiliary systems are used, children may become
entangled in the cords and seriously injure themselves.
WARNING:The front glass on the liquid crystal display (LCD)
flip-down screen may break when hit with a hard surface. If the
glass breaks, do not touch the liquid crystalline material. In case of
contact with skin, wash immediately with soap and water.
WARNING:The driver should not attempt to operate any
function of the DVD system while the vehicle is in motion. Give
full attention to driving and to the road. Pull off the road in a safe
place before inserting or extracting DVDs from the system. A remote
control is included in the system to allow the rear seat occupants to
operate the FES functions without distracting the driver.
2009 Taurus(500)
Owners Guide, 1st Printing
USA(fus)
Entertainment Systems
70
Page 84 of 336
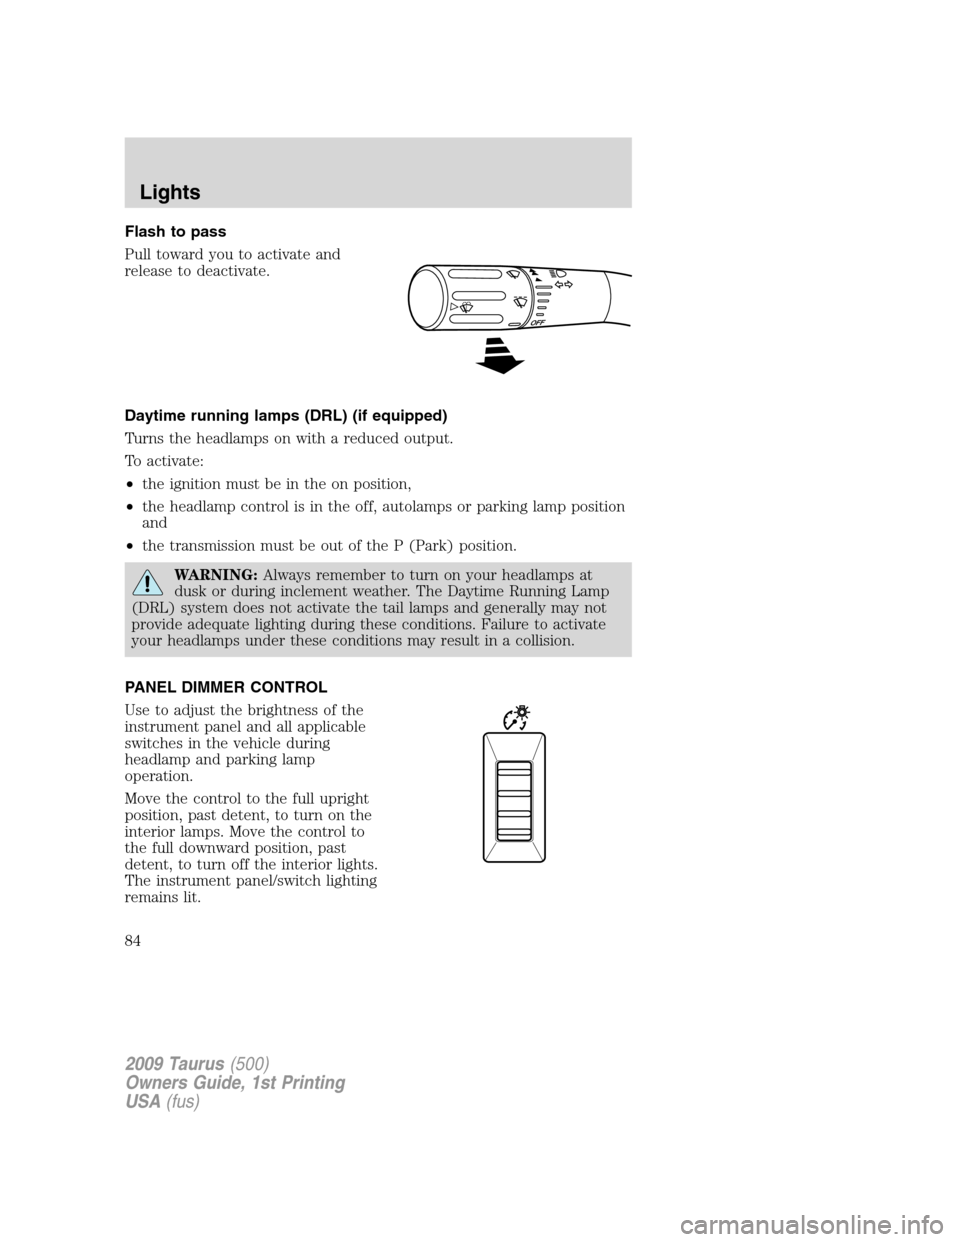
Flash to pass
Pull toward you to activate and
release to deactivate.
Daytime running lamps (DRL) (if equipped)
Turns the headlamps on with a reduced output.
To activate:
•the ignition must be in the on position,
•the headlamp control is in the off, autolamps or parking lamp position
and
•the transmission must be out of the P (Park) position.
WARNING:Always remember to turn on your headlamps at
dusk or during inclement weather. The Daytime Running Lamp
(DRL) system does not activate the tail lamps and generally may not
provide adequate lighting during these conditions. Failure to activate
your headlamps under these conditions may result in a collision.
PANEL DIMMER CONTROL
Use to adjust the brightness of the
instrument panel and all applicable
switches in the vehicle during
headlamp and parking lamp
operation.
Move the control to the full upright
position, past detent, to turn on the
interior lamps. Move the control to
the full downward position, past
detent, to turn off the interior lights.
The instrument panel/switch lighting
remains lit.
2009 Taurus(500)
Owners Guide, 1st Printing
USA(fus)
Lights
84
Page 89 of 336
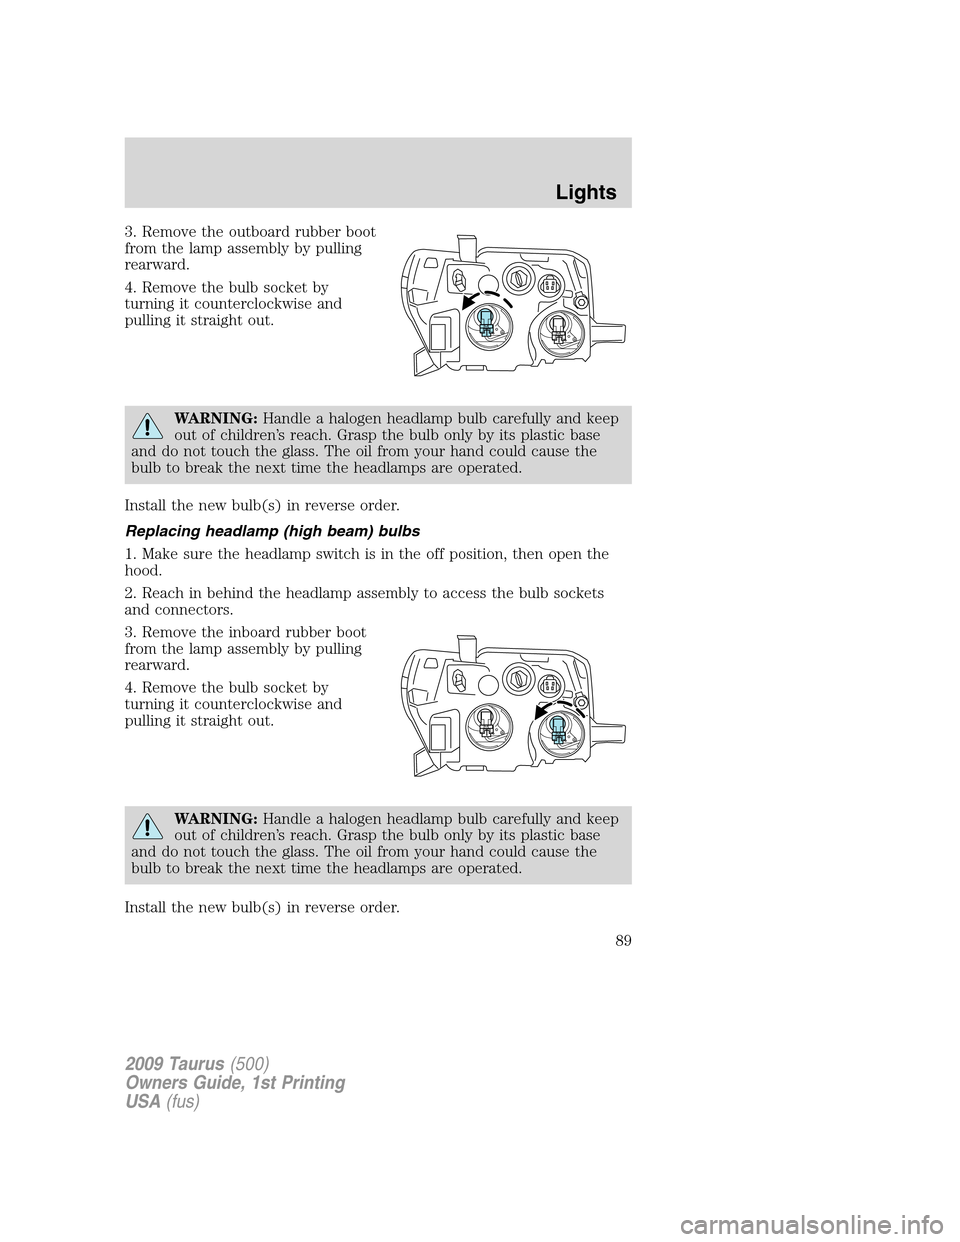
3. Remove the outboard rubber boot
from the lamp assembly by pulling
rearward.
4. Remove the bulb socket by
turning it counterclockwise and
pulling it straight out.
WARNING:Handle a halogen headlamp bulb carefully and keep
out of children’s reach. Grasp the bulb only by its plastic base
and do not touch the glass. The oil from your hand could cause the
bulb to break the next time the headlamps are operated.
Install the new bulb(s) in reverse order.
Replacing headlamp (high beam) bulbs
1. Make sure the headlamp switch is in the off position, then open the
hood.
2. Reach in behind the headlamp assembly to access the bulb sockets
and connectors.
3. Remove the inboard rubber boot
from the lamp assembly by pulling
rearward.
4. Remove the bulb socket by
turning it counterclockwise and
pulling it straight out.
WARNING:Handle a halogen headlamp bulb carefully and keep
out of children’s reach. Grasp the bulb only by its plastic base
and do not touch the glass. The oil from your hand could cause the
bulb to break the next time the headlamps are operated.
Install the new bulb(s) in reverse order.
2009 Taurus(500)
Owners Guide, 1st Printing
USA(fus)
Lights
89