Page 94 of 418

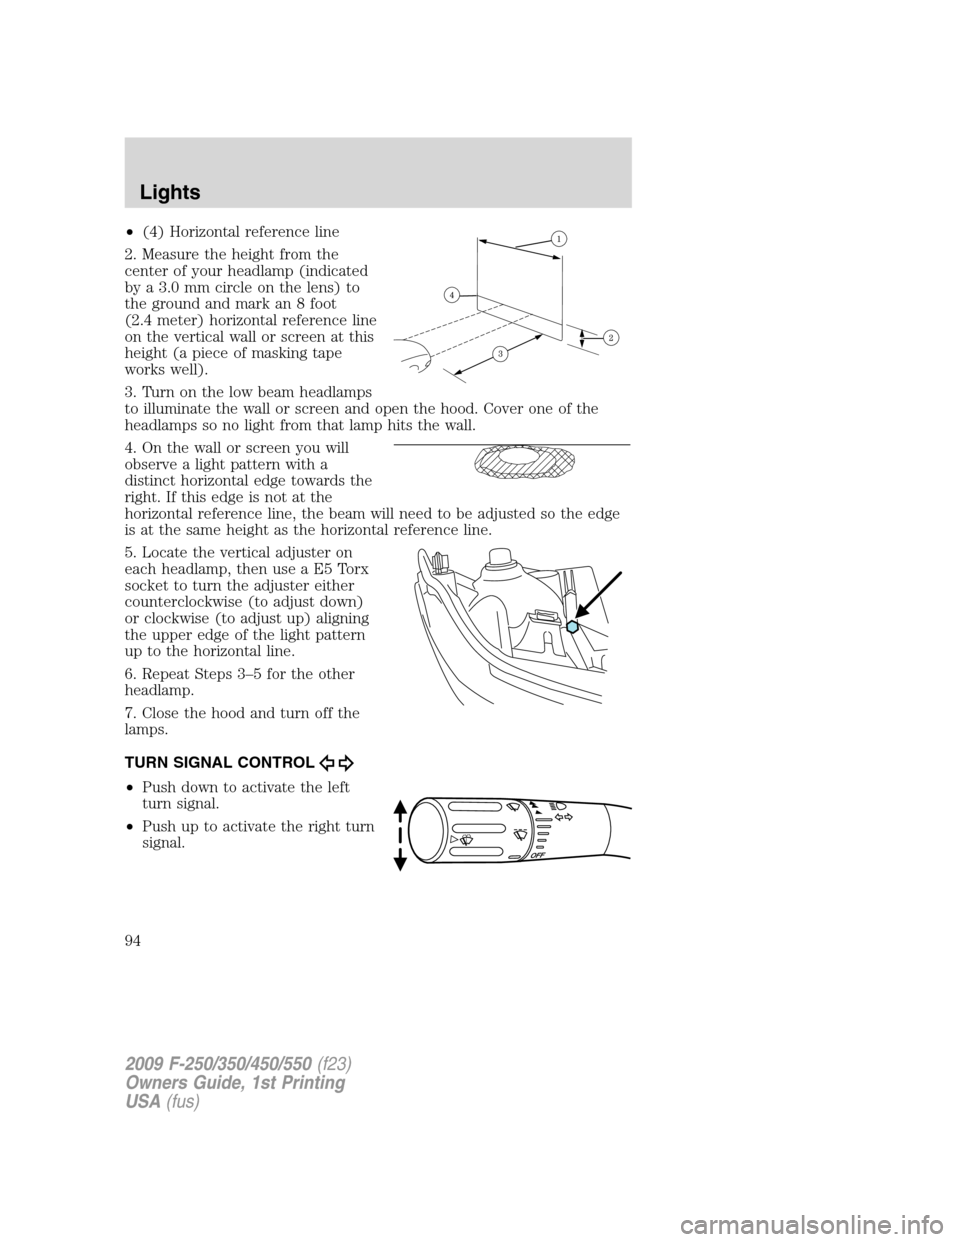
•(4) Horizontal reference line
2. Measure the height from the
center of your headlamp (indicated
by a 3.0 mm circle on the lens) to
the ground and mark an 8 foot
(2.4 meter) horizontal reference line
on the vertical wall or screen at this
height (a piece of masking tape
works well).
3. Turn on the low beam headlamps
to illuminate the wall or screen and open the hood. Cover one of the
headlamps so no light from that lamp hits the wall.
4. On the wall or screen you will
observe a light pattern with a
distinct horizontal edge towards the
right. If this edge is not at the
horizontal reference line, the beam will need to be adjusted so the edge
is at the same height as the horizontal reference line.
5. Locate the vertical adjuster on
each headlamp, then use a E5 Torx
socket to turn the adjuster either
counterclockwise (to adjust down)
or clockwise (to adjust up) aligning
the upper edge of the light pattern
up to the horizontal line.
6. Repeat Steps 3–5 for the other
headlamp.
7. Close the hood and turn off the
lamps.
TURN SIGNAL CONTROL
•Push down to activate the left
turn signal.
•Push up to activate the right turn
signal.
2009 F-250/350/450/550(f23)
Owners Guide, 1st Printing
USA(fus)
Lights
94
Page 95 of 418

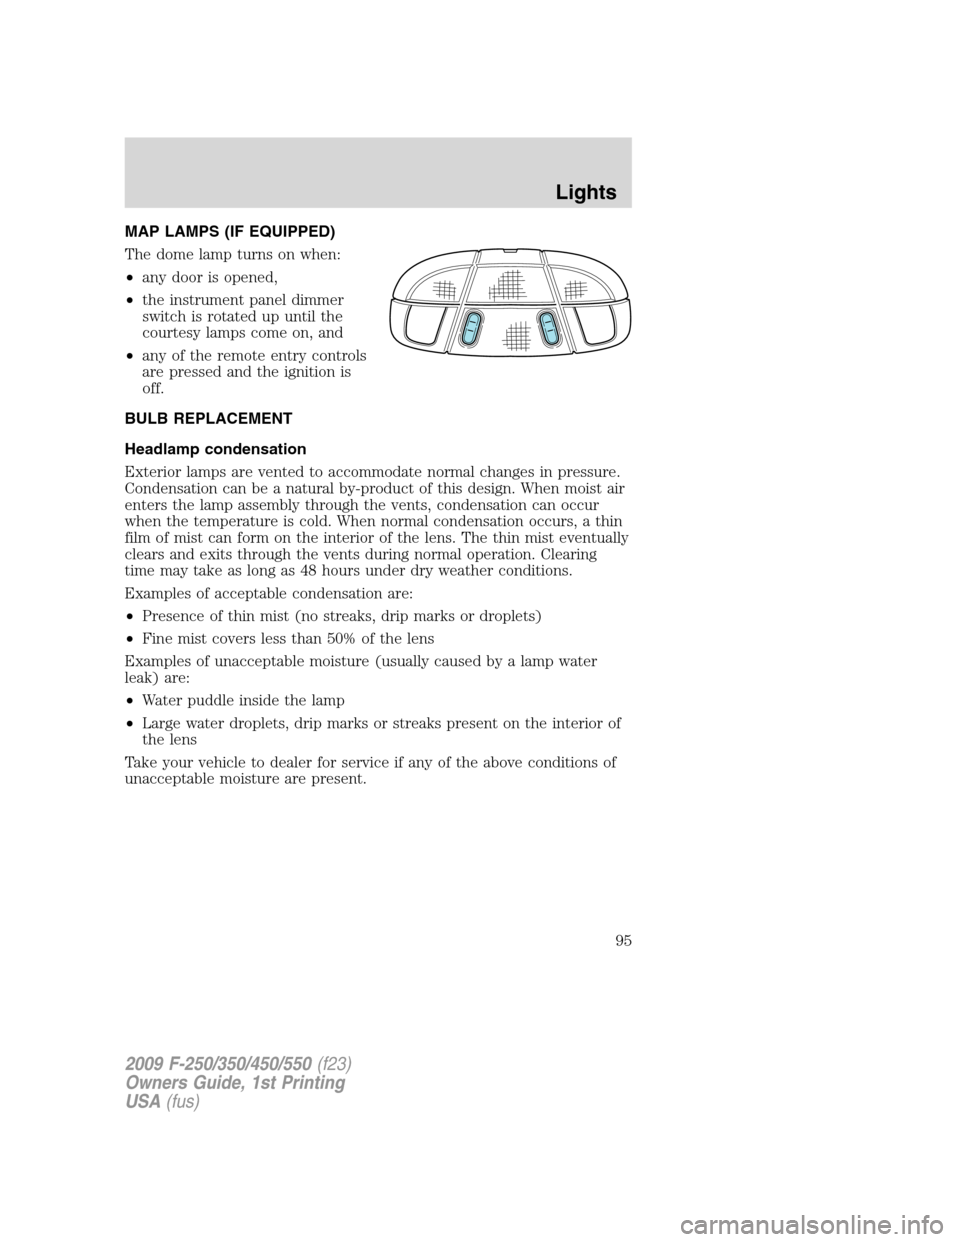
MAP LAMPS (IF EQUIPPED)
The dome lamp turns on when:
•any door is opened,
•the instrument panel dimmer
switch is rotated up until the
courtesy lamps come on, and
•any of the remote entry controls
are pressed and the ignition is
off.
BULB REPLACEMENT
Headlamp condensation
Exterior lamps are vented to accommodate normal changes in pressure.
Condensation can be a natural by-product of this design. When moist air
enters the lamp assembly through the vents, condensation can occur
when the temperature is cold. When normal condensation occurs, a thin
film of mist can form on the interior of the lens. The thin mist eventually
clears and exits through the vents during normal operation. Clearing
time may take as long as 48 hours under dry weather conditions.
Examples of acceptable condensation are:
•Presence of thin mist (no streaks, drip marks or droplets)
•Fine mist covers less than 50% of the lens
Examples of unacceptable moisture (usually caused by a lamp water
leak) are:
•Water puddle inside the lamp
•Large water droplets, drip marks or streaks present on the interior of
the lens
Take your vehicle to dealer for service if any of the above conditions of
unacceptable moisture are present.
2009 F-250/350/450/550(f23)
Owners Guide, 1st Printing
USA(fus)
Lights
95
Page 96 of 418

Replacing exterior bulbs
Check the operation of all the bulbs frequently.
Function Number
of bulbsTrade number
Headlamps (aerodynamic) 2 H13/9008
Headlamps (sealed beam) 2 H6054
Park lamp with aerodynamic headlamp 2 3157A or 3157AK
Park lamp with sealed beam headlamp 2 3157
Sidemarker 2 194
Tail/stop/turn/sidemarker (Pick-up only) 2 3157
Tail/stop/turn/sidemarker (Chassis cabs
only; if equipped)2 3157
Back-up (Pick-ups only) 2 921
Back-up (Chassis cabs only) 2 3157
High-mount stoplamp 1 922
Fog lamp 2 9145
License plate lamp 2 194
Cargo lamp 2 906
Mirror turn signal 2 2825
Mirror clearance lamp 2 2825
Front clearance lamps (2) and Front
identification lamps (3)5 194
Rear fender clearance* 4 194
Interior visor lamp (if equipped) 4 194
Rear identification 3 194
All replacement bulbs are clear in color except where noted.
To replace all instrument panel lights - see your authorized dealer
* Dual rear wheels, or if equipped.
2009 F-250/350/450/550(f23)
Owners Guide, 1st Printing
USA(fus)
Lights
96
Page 97 of 418
Replacing headlamp bulbs (aerodynamic)
1. Make sure that the headlamps are off and open the hood.
2. Remove the four bolts from the
top, side and bottom front of the
headlamp assembly.
3. Pull the assembly straight out
disengaging two snap clips to
fender.
4. Disconnect the electrical
connector by squeezing the release
tab and pushing the connector
forward and then pulling it
rearward.
5. Remove the bulb assembly by
turning it counterclockwise and
pulling it straight out.
WARNING:Handle a halogen headlamp bulb carefully and keep
out of children’s reach. Grasp the bulb only by its plastic base
and do not touch the glass. The oil from your hand could cause the
bulb to break the next time the headlamps are operated.
Install the new bulb(s) in reverse order.
2009 F-250/350/450/550(f23)
Owners Guide, 1st Printing
USA(fus)
Lights
97
Page 98 of 418
Replacing park/turn and sidemarker lamp bulbs (aerodynamic)
1. Make sure that the headlamps are off and open the hood.
2. Remove the four bolts from the
top, side and bottom front of the
headlamp assembly.
3. Pull the assembly straight out.
4. Remove the bulb assembly, (1)
sidemarker or (2) park/turn by
turning it counterclockwise and
pulling it straight out.
5. Pull the old bulb out from the
socket.
Install the new bulb(s) in reverse order.
Replacing headlamp bulbs (sealed beam)
1. Make sure that the headlamps are off and open the hood.
2009 F-250/350/450/550(f23)
Owners Guide, 1st Printing
USA(fus)
Lights
98
Page 99 of 418
2. Remove the three screws and one
bolt from the top and bottom of the
park lamp/bezel assembly.
3. Remove the four screws and the
headlamp retaining ring from
headlamp.
4. Disconnect the electrical
connector from the headlamp.
Install the new bulb(s) in reverse order.
Replacing park/turn/sidemarker bulbs (sealed beam)
1. Make sure that the headlamps are off and open the hood.
2. Remove the three screws and one
bolt from the top and bottom of the
park lamp/bezel assembly.
3. Pull the assembly straight out
disengaging snap clip.
2009 F-250/350/450/550(f23)
Owners Guide, 1st Printing
USA(fus)
Lights
99
Page 100 of 418

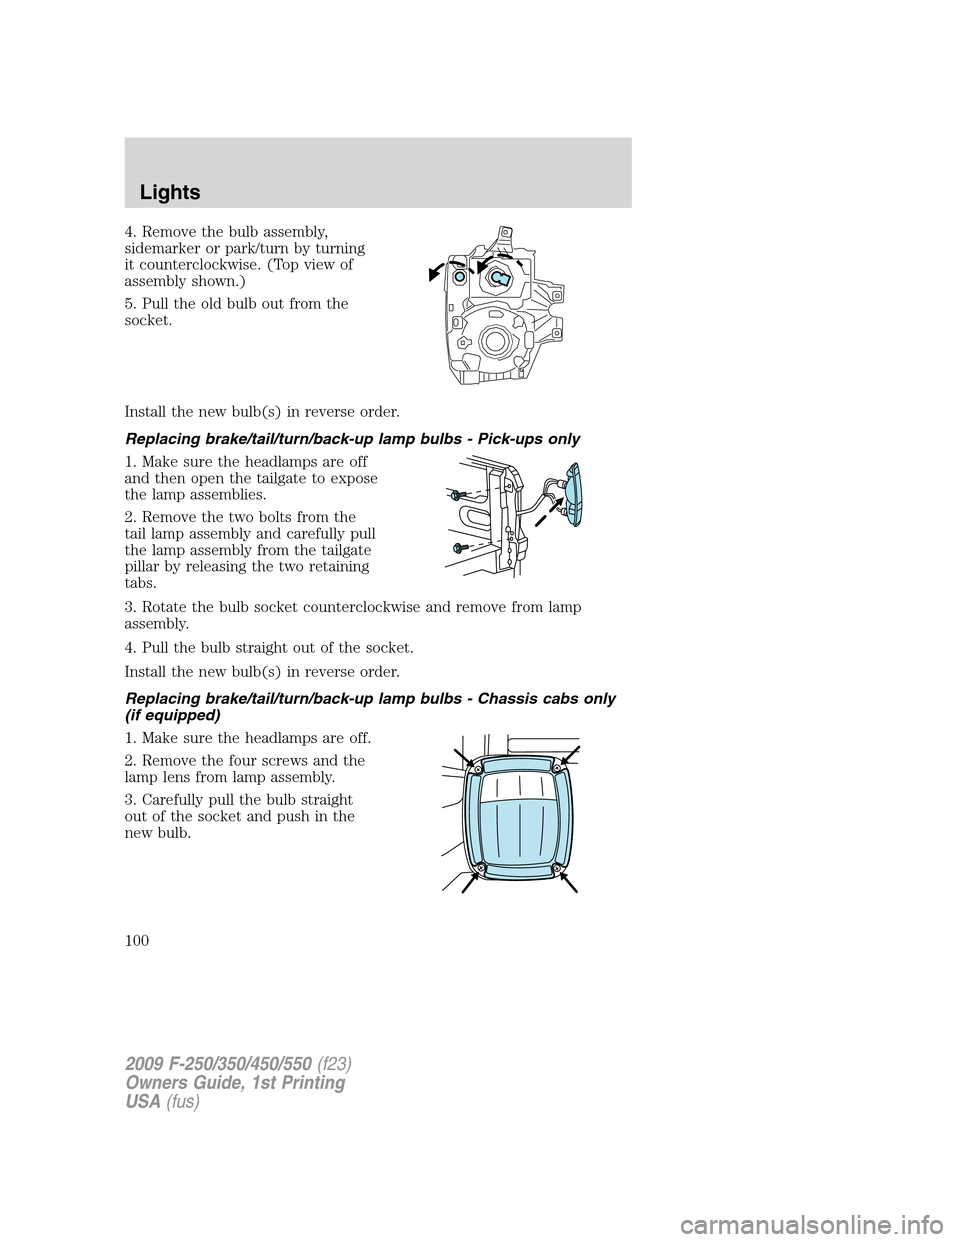
4. Remove the bulb assembly,
sidemarker or park/turn by turning
it counterclockwise. (Top view of
assembly shown.)
5. Pull the old bulb out from the
socket.
Install the new bulb(s) in reverse order.
Replacing brake/tail/turn/back-up lamp bulbs - Pick-ups only
1. Make sure the headlamps are off
and then open the tailgate to expose
the lamp assemblies.
2. Remove the two bolts from the
tail lamp assembly and carefully pull
the lamp assembly from the tailgate
pillar by releasing the two retaining
tabs.
3. Rotate the bulb socket counterclockwise and remove from lamp
assembly.
4. Pull the bulb straight out of the socket.
Install the new bulb(s) in reverse order.
Replacing brake/tail/turn/back-up lamp bulbs - Chassis cabs only
(if equipped)
1. Make sure the headlamps are off.
2. Remove the four screws and the
lamp lens from lamp assembly.
3. Carefully pull the bulb straight
out of the socket and push in the
new bulb.
2009 F-250/350/450/550(f23)
Owners Guide, 1st Printing
USA(fus)
Lights
100
Page 101 of 418
Replacing cargo lamp and high-mount brakelamp bulbs
1. Make sure the headlamps are off.
2. Remove the two screws and lamp
assembly from vehicle as wiring
permits.
3. Remove the bulb socket by
rotating counterclockwise.
4. Pull the bulb straight out of the
socket.
Replacing front clearance and identification lamp bulbs
1. Make sure the headlamps are off.
2. Remove the screw and lens from
the lamp assembly.
3. Pull the bulb straight out of the
socket.
Install the bulb(s) in reverse order.
Replacing fog lamp bulbs (if equipped)
1. Make sure the headlamps are off.
2. Remove the bulb socket from the
fog lamp by turning
counterclockwise.
3. Disconnect the electrical
connector from the fog lamp bulb.
Install the new bulb(s) in reverse order.
2009 F-250/350/450/550(f23)
Owners Guide, 1st Printing
USA(fus)
Lights
101