Page 1 of 312
Introduction 4
Instrument Cluster 10
Warning lights and chimes 10
Gauges 14
Entertainment Systems 17
How to get going 17
AM/FM stereo with CD 21
AM/FM stereo with in-dash six CD 29
Auxiliary input jack (Line in) 37
USB port 38
Satellite radio information 42
Navigation system 44
SYNC 44
Climate Controls 45
Manual heating and air conditioning 45
Automatic temperature control 47
Rear window defroster 52
Lights 53
Headlamps 53
Turn signal control 57
Bulb replacement 58
Driver Controls 68
Windshield wiper/washer control 68
Steering wheel adjustment 69
Power windows 72
Mirrors 74
Speed control 75
Moon roof 80
Message center 81
Table of Contents
1
2009 Fusion(fsn)
Owners Guide
USA(fus)
Page 10 of 312
WARNING LIGHTS AND CHIMES
Standard instrument cluster
Optional instrument cluster
Warning lights and gauges can alert you to a vehicle condition that may
become serious enough to cause extensive repairs. A warning light may
illuminate when a problem exists with one of your vehicle’s functions.
Many lights will illuminate when you start your vehicle to make sure the
bulbs work. If any light remains on after starting the vehicle, refer to the
respective system warning light for additional information.
Service engine soon:TheService
engine soonindicator light
illuminates when the ignition is first
turned to the on position to check
2009 Fusion(fsn)
Owners Guide
USA(fus)
Instrument Cluster
10
Page 14 of 312
Throttle Control/Transmission:
Illuminates when a powertrain or a
AWD fault has been detected.
Contact your authorized dealer as
soon as possible.
Turn signal:Illuminates when the
left or right turn signal or the
hazard lights are turned on. If the
indicators flash faster, check for a burned out bulb.
High beams:Illuminates when the
high beam headlamps are turned on.
Key-in-ignition warning chime:Sounds when the key is left in the
ignition in the off or accessory position and the driver’s door is opened.
Headlamps on warning chime:Sounds when the headlamps or parking
lamps are on, the ignition is off (the key is not in the ignition) and the
driver’s door is opened.
Parking brake on:Sounds when the parking brake is left on and driven.
If the warning stays on after the park brake is off, contact your
authorized dealer as soon as possible.
GAUGES
2009 Fusion(fsn)
Owners Guide
USA(fus)
Instrument Cluster
14
Page 54 of 312

3. Turn the ignition switch to on and then back to off.
4. Turn the headlamp switch to the autolamp position. The headlamps
will turn on.
5. Wait the desired amount of time for the exit delay you want (up to
three minutes), then turn the headlamp switch to off. The headlamps
will turn off.
Fog lamp control (if equipped)
With the ignition on, the fog lamps
can be turned on when the
headlamp control is pulled toward
you and is in any of the following
positions:
•Parking lamps
•Low beams
•Autolamps (when active)
The fog lamp indicator light will
illuminate when the fog lamps have been turned on. The fog lamps will
not operate when the high beams are active.
Daytime running lamps (DRL) (if equipped)
Turns the headlamps on with a reduced output.
To activate:
•the ignition must be in the on position,
•the headlamp control is in the off, autolamps or parking lamp position
and
•the transmission must be out of the P (Park) position.
WARNING:Always remember to turn on your headlamps at
dusk or during inclement weather. The Daytime Running Lamp
(DRL) system does not activate the tail lamps and generally may not
provide adequate lighting during these conditions. Failure to activate
your headlamps under these conditions may result in a collision.
2009 Fusion(fsn)
Owners Guide
USA(fus)
Lights
54
Page 61 of 312

WARNING:Handle a halogen headlamp bulb carefully and keep
out of children’s reach. Grasp the bulb only by its plastic base
and do not touch the glass. The oil from your hand could cause the
bulb to break the next time the headlamps are operated.
7. For ease of bulb socket installation into the lamp assembly, hold the
bulb socket at 15 degrees clockwise from a vertical position. Use the two
lead wires oriented up to represent the vertical reference position.
8. From the 15 degree position, rotate the bulb socket clockwise to a
locked position.
9. Tuck the two lead wires into the lamp housing to assure that they are
not pinched when installing the protective rubber cap.
10. Install the protective cap/grill to the housing circular ring by pushing
and pressing it forward.
11. Re-apply pressure around the complete circular ring on the housing
to make sure the protective cap is completely seated.
12. Reconnect the washer bottle neck by reversing Step 3 (Passenger
side only).
13. Turn the headlamps on and make sure they work properly. If the
headlamp was correctly aligned before you changed the bulb, you should
not need to align it again.
Lowbeam bulb (upper) replacement
1. Make sure headlamp switch is in the off position, then open the hood.
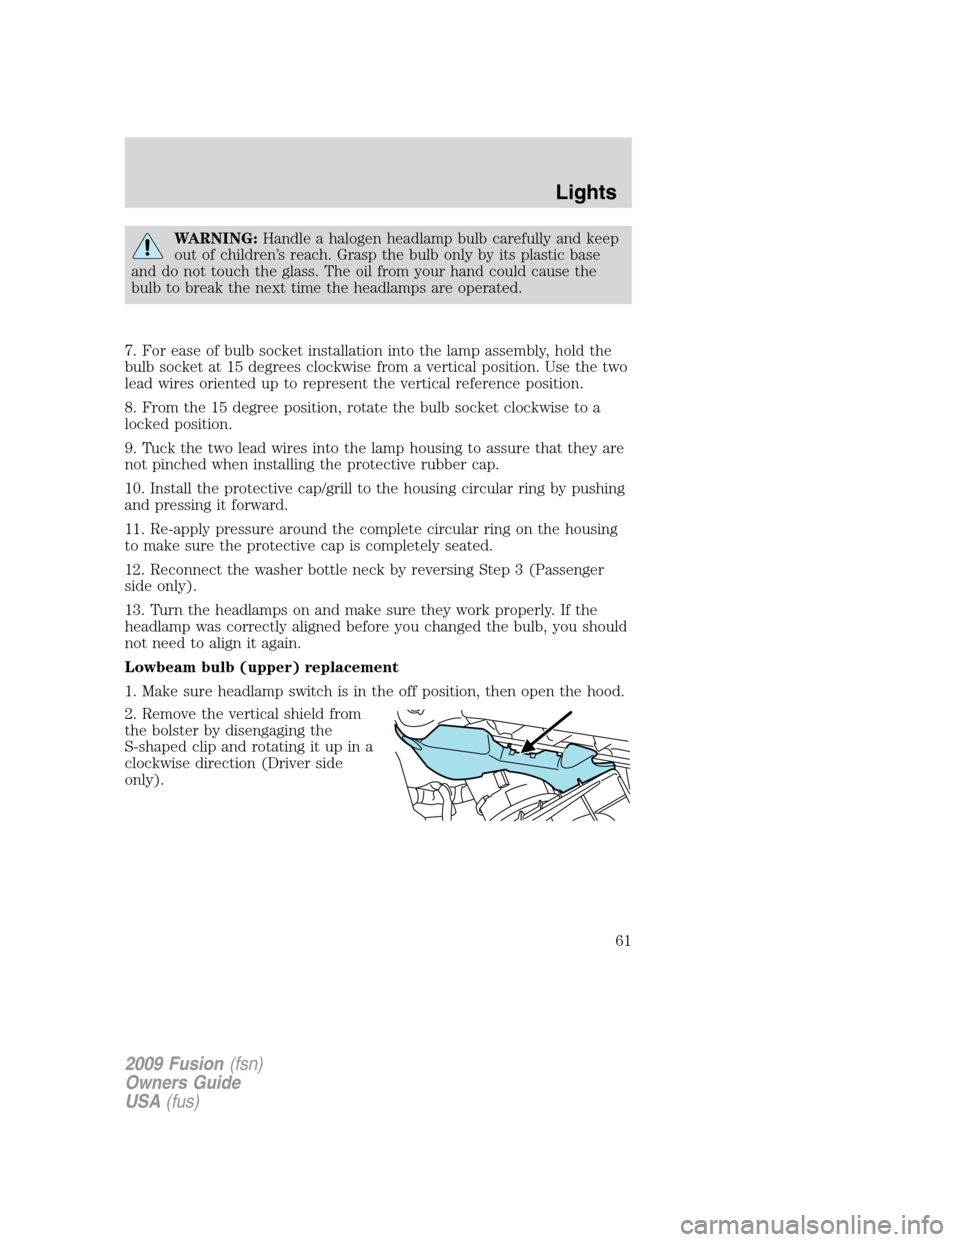
2. Remove the vertical shield from
the bolster by disengaging the
S-shaped clip and rotating it up in a
clockwise direction (Driver side
only).
2009 Fusion(fsn)
Owners Guide
USA(fus)
Lights
61
Page 63 of 312

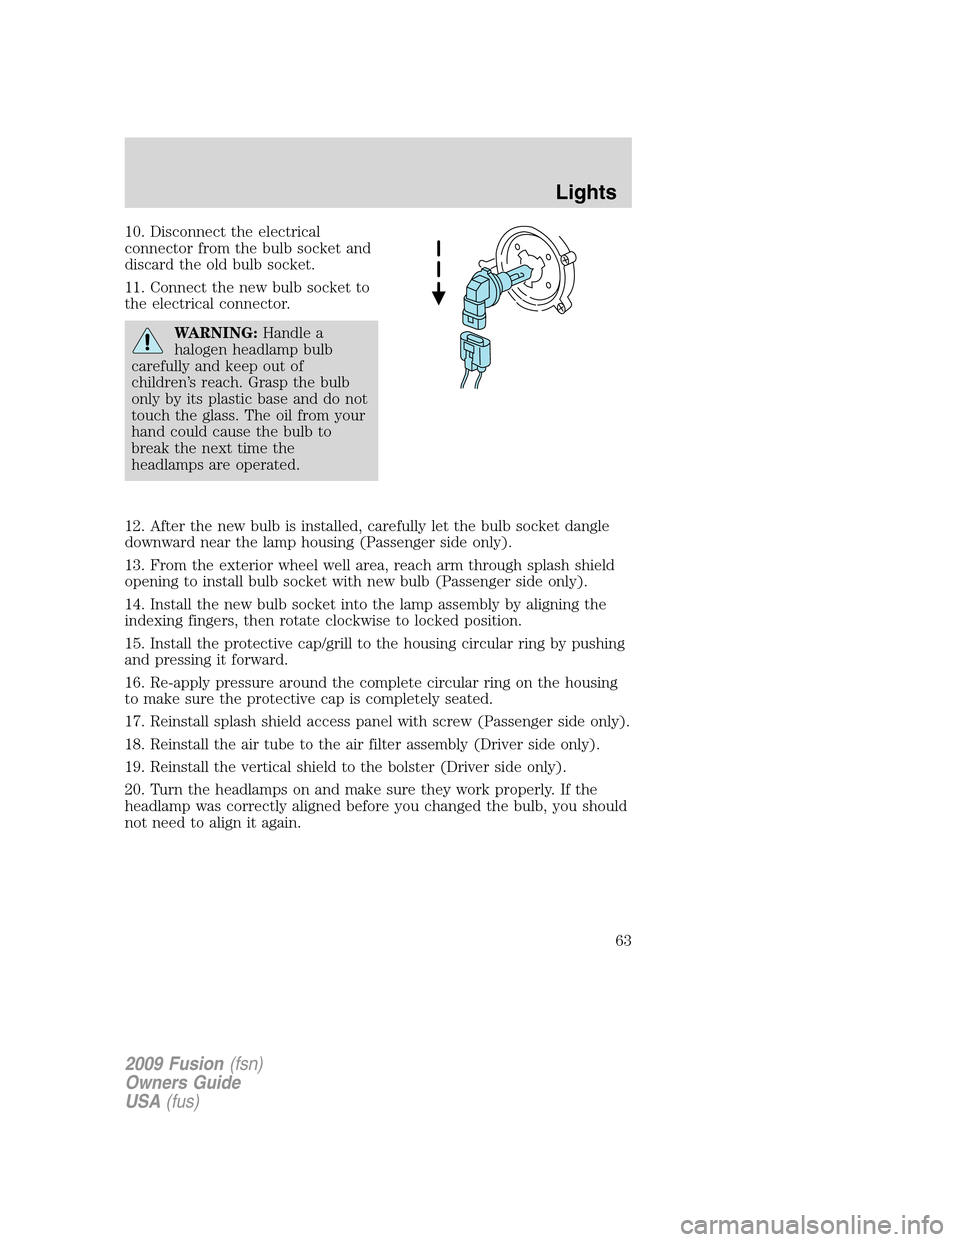
10. Disconnect the electrical
connector from the bulb socket and
discard the old bulb socket.
11. Connect the new bulb socket to
the electrical connector.
WARNING:Handle a
halogen headlamp bulb
carefully and keep out of
children’s reach. Grasp the bulb
only by its plastic base and do not
touch the glass. The oil from your
hand could cause the bulb to
break the next time the
headlamps are operated.
12. After the new bulb is installed, carefully let the bulb socket dangle
downward near the lamp housing (Passenger side only).
13. From the exterior wheel well area, reach arm through splash shield
opening to install bulb socket with new bulb (Passenger side only).
14. Install the new bulb socket into the lamp assembly by aligning the
indexing fingers, then rotate clockwise to locked position.
15. Install the protective cap/grill to the housing circular ring by pushing
and pressing it forward.
16. Re-apply pressure around the complete circular ring on the housing
to make sure the protective cap is completely seated.
17. Reinstall splash shield access panel with screw (Passenger side only).
18. Reinstall the air tube to the air filter assembly (Driver side only).
19. Reinstall the vertical shield to the bolster (Driver side only).
20. Turn the headlamps on and make sure they work properly. If the
headlamp was correctly aligned before you changed the bulb, you should
not need to align it again.
2009 Fusion(fsn)
Owners Guide
USA(fus)
Lights
63
Page 74 of 312

INTERIOR MIRROR
The interior rear view mirror has two pivot points on the support arm
which lets you adjust the mirror UP or DOWN and from SIDE to SIDE.
WARNING:Do not adjust the mirror while the vehicle is in
motion.
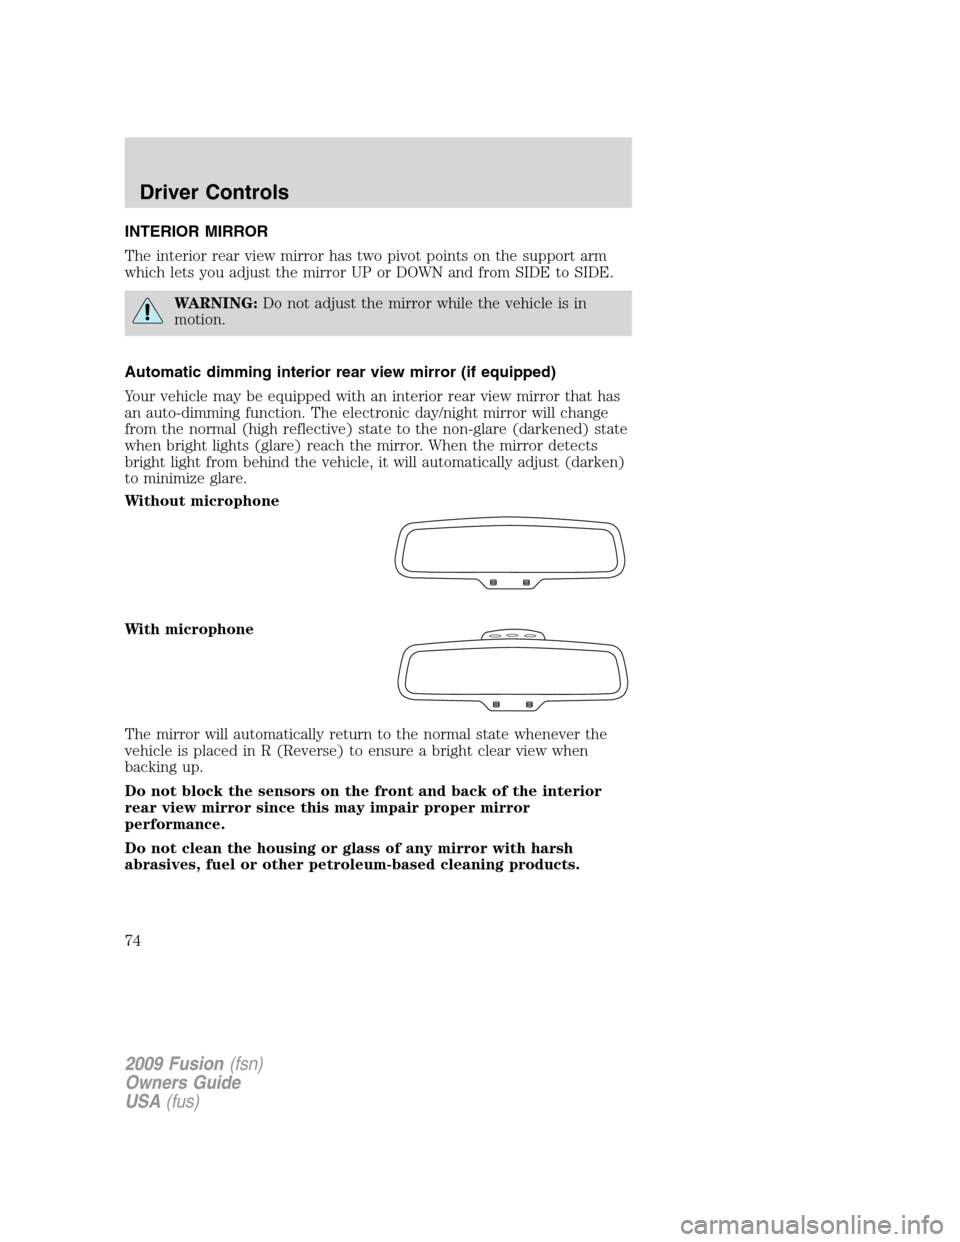
Automatic dimming interior rear view mirror (if equipped)
Your vehicle may be equipped with an interior rear view mirror that has
an auto-dimming function. The electronic day/night mirror will change
from the normal (high reflective) state to the non-glare (darkened) state
when bright lights (glare) reach the mirror. When the mirror detects
bright light from behind the vehicle, it will automatically adjust (darken)
to minimize glare.
Without microphone
With microphone
The mirror will automatically return to the normal state whenever the
vehicle is placed in R (Reverse) to ensure a bright clear view when
backing up.
Do not block the sensors on the front and back of the interior
rear view mirror since this may impair proper mirror
performance.
Do not clean the housing or glass of any mirror with harsh
abrasives, fuel or other petroleum-based cleaning products.
2009 Fusion(fsn)
Owners Guide
USA(fus)
Driver Controls
74
Page 121 of 312

Seat-mounted cup holders and armrest storage compartment
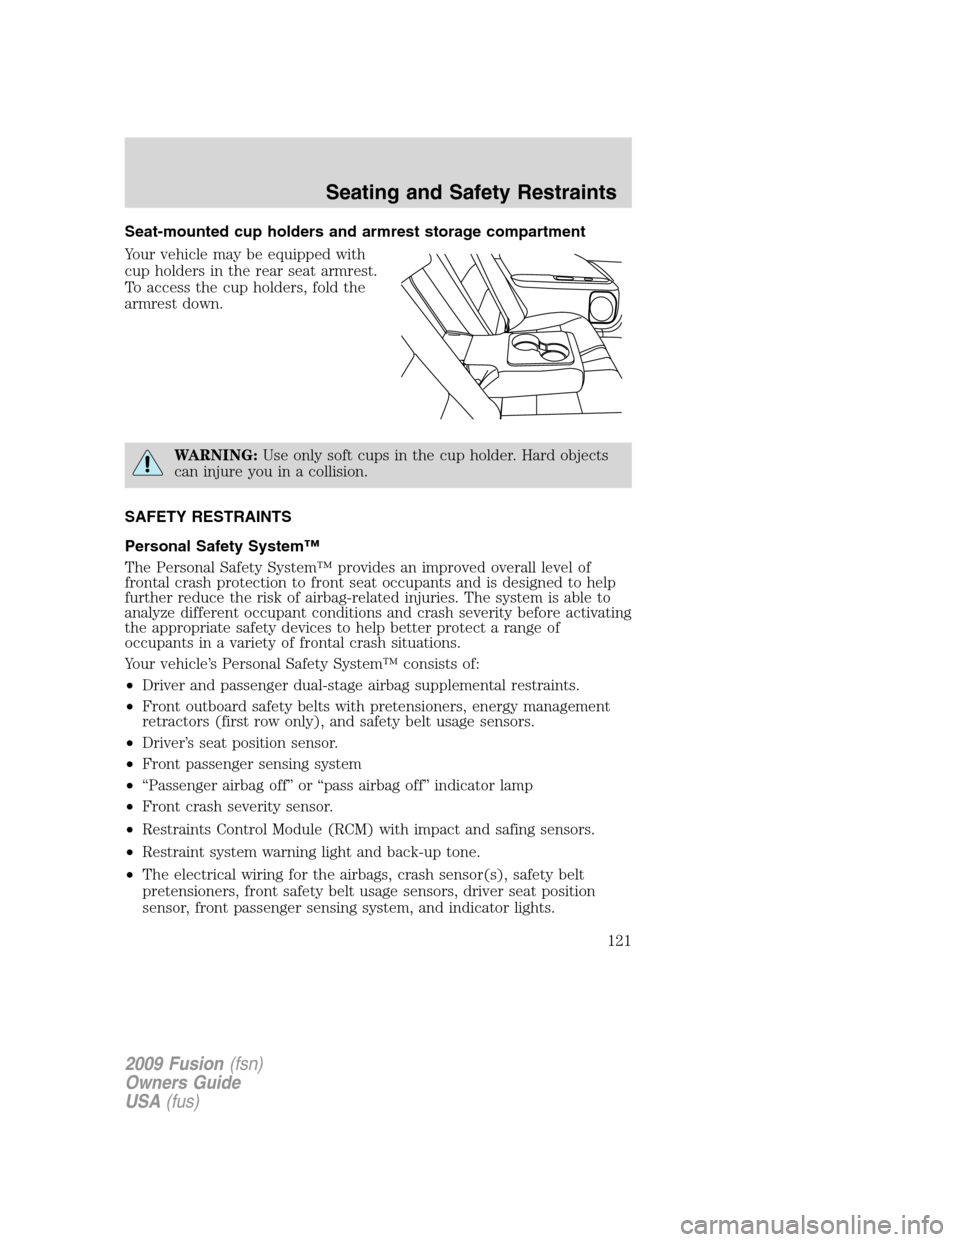
Your vehicle may be equipped with
cup holders in the rear seat armrest.
To access the cup holders, fold the
armrest down.
WARNING:Use only soft cups in the cup holder. Hard objects
can injure you in a collision.
SAFETY RESTRAINTS
Personal Safety System™
The Personal Safety System™ provides an improved overall level of
frontal crash protection to front seat occupants and is designed to help
further reduce the risk of airbag-related injuries. The system is able to
analyze different occupant conditions and crash severity before activating
the appropriate safety devices to help better protect a range of
occupants in a variety of frontal crash situations.
Your vehicle’s Personal Safety System™ consists of:
•Driver and passenger dual-stage airbag supplemental restraints.
•Front outboard safety belts with pretensioners, energy management
retractors (first row only), and safety belt usage sensors.
•Driver’s seat position sensor.
•Front passenger sensing system
•“Passenger airbag off” or “pass airbag off” indicator lamp
•Front crash severity sensor.
•Restraints Control Module (RCM) with impact and safing sensors.
•Restraint system warning light and back-up tone.
•The electrical wiring for the airbags, crash sensor(s), safety belt
pretensioners, front safety belt usage sensors, driver seat position
sensor, front passenger sensing system, and indicator lights.
2009 Fusion(fsn)
Owners Guide
USA(fus)
Seating and Safety Restraints
121