Page 66 of 312
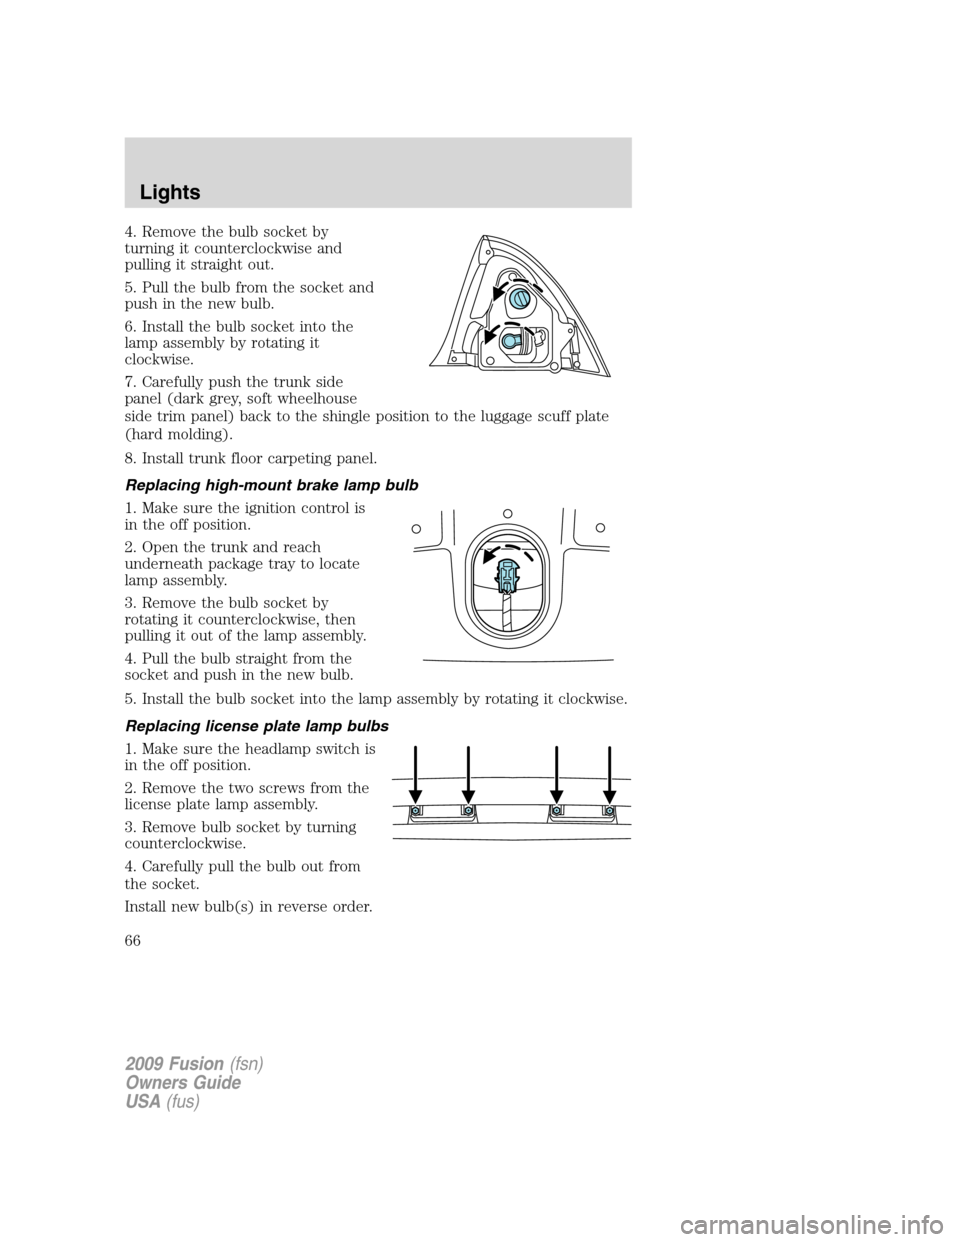
4. Remove the bulb socket by
turning it counterclockwise and
pulling it straight out.
5. Pull the bulb from the socket and
push in the new bulb.
6. Install the bulb socket into the
lamp assembly by rotating it
clockwise.
7. Carefully push the trunk side
panel (dark grey, soft wheelhouse
side trim panel) back to the shingle position to the luggage scuff plate
(hard molding).
8. Install trunk floor carpeting panel.
Replacing high-mount brake lamp bulb
1. Make sure the ignition control is
in the off position.
2. Open the trunk and reach
underneath package tray to locate
lamp assembly.
3. Remove the bulb socket by
rotating it counterclockwise, then
pulling it out of the lamp assembly.
4. Pull the bulb straight from the
socket and push in the new bulb.
5. Install the bulb socket into the lamp assembly by rotating it clockwise.
Replacing license plate lamp bulbs
1. Make sure the headlamp switch is
in the off position.
2. Remove the two screws from the
license plate lamp assembly.
3. Remove bulb socket by turning
counterclockwise.
4. Carefully pull the bulb out from
the socket.
Install new bulb(s) in reverse order.
2009 Fusion(fsn)
Owners Guide
USA(fus)
Lights
66
Page 69 of 312
TILT/TELESCOPE STEERING WHEEL
To adjust the steering wheel:
1. Pull the lever down to unlock the
steering column.
2. While the lever is in the down
position, move the steering wheel
up or down and in or out until you
find the desired position.
3. While holding the steering wheel
in place, pull the lever up to its
original position to lock the steering
column.
WARNING:Never adjust the steering wheel when the vehicle is
moving.
ILLUMINATED VISOR MIRROR (IF EQUIPPED)
Lift the mirror cover to turn on the
visor mirror lamps.
Slide on rod feature
(if equipped)
Rotate the visor towards the side
window and extend it rearward for
additional sunlight coverage.
Note:To stow the visor back into
the headliner, visor must be
retracted before moving it back
towards the windshield.
2009 Fusion(fsn)
Owners Guide
USA(fus)
Driver Controls
69
Page 76 of 312
Setting speed control
Note: The appearance of your vehicle’s speed control switches
may vary according to your option package.
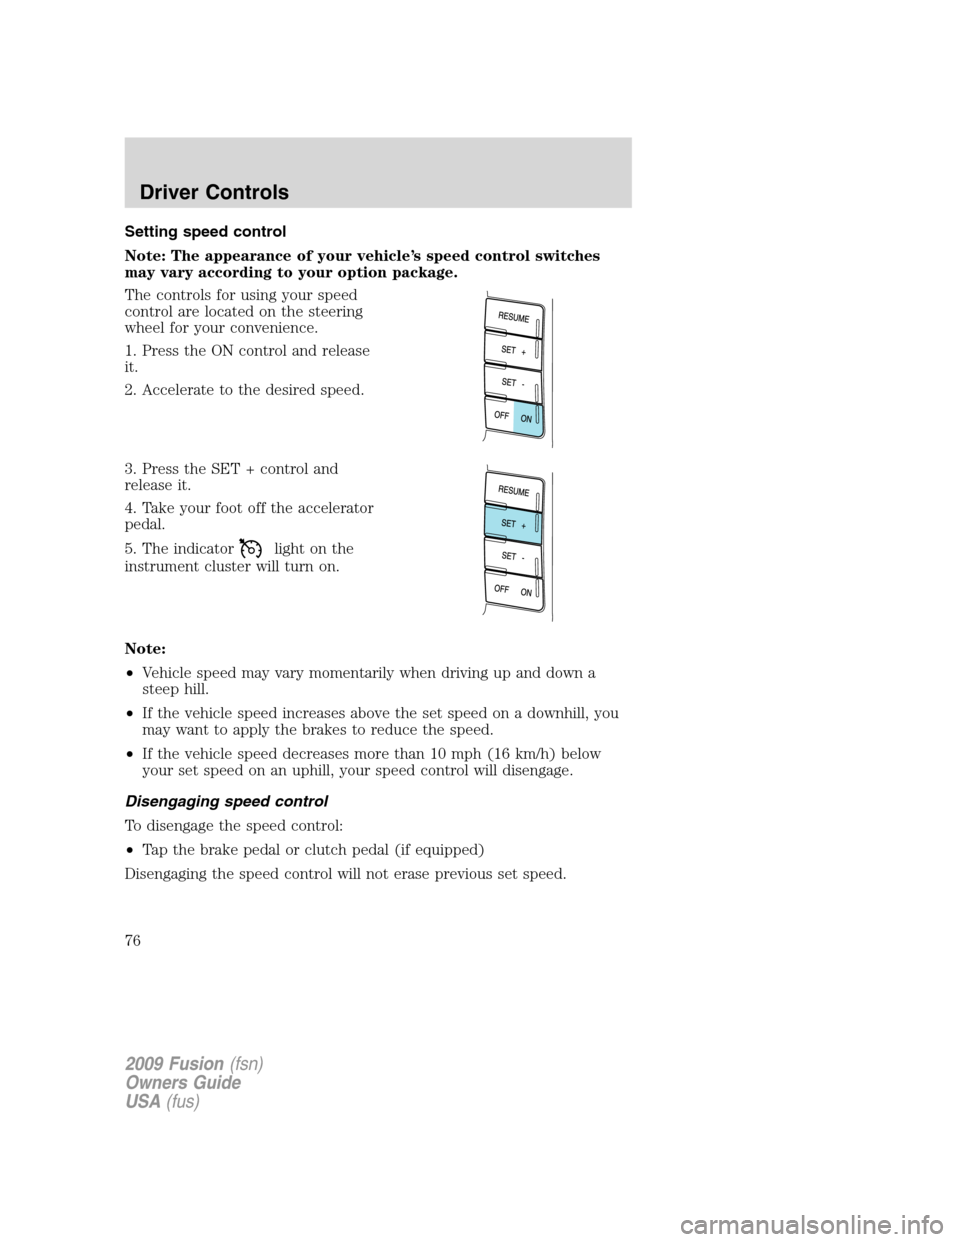
The controls for using your speed
control are located on the steering
wheel for your convenience.
1. Press the ON control and release
it.
2. Accelerate to the desired speed.
3. Press the SET + control and
release it.
4. Take your foot off the accelerator
pedal.
5. The indicator
light on the
instrument cluster will turn on.
Note:
•Vehicle speed may vary momentarily when driving up and down a
steep hill.
•If the vehicle speed increases above the set speed on a downhill, you
may want to apply the brakes to reduce the speed.
•If the vehicle speed decreases more than 10 mph (16 km/h) below
your set speed on an uphill, your speed control will disengage.
Disengaging speed control
To disengage the speed control:
•Tap the brake pedal or clutch pedal (if equipped)
Disengaging the speed control will not erase previous set speed.
2009 Fusion(fsn)
Owners Guide
USA(fus)
Driver Controls
76
Page 78 of 312
Turning off speed control
There are two ways to turn off the speed control:
•Press the OFF control.
•Turn off the ignition.
Note:When you turn off the speed
control or the ignition, your speed
control set speed memory is erased.
STEERING WHEEL CONTROLS (IF EQUIPPED)
Radio control features
Press MEDIA to select:
•AM, FM1, FM2, or CD
•SAT1, SAT2 or SAT3 (Satellite
Radio mode if equipped).
•LINE IN (Auxiliary input jack) (if
equipped)
In Radio mode:
•Press
to access the
next/previous preset station.
In CD mode:
•Press
to listen to the
next track on the disc.
In Satellite radio mode (if
equipped):
•Press
to advance through preset channels.
2009 Fusion(fsn)
Owners Guide
USA(fus)
Driver Controls
78
Page 89 of 312
Warnings Status
Check park aid (if equipped) Warning returns after the ignition key
is turned from off to on
Brake fluid level low
Low tire pressure
Tire pressure monitor fault
Tire pressure sensor fault
Trunk ajar
Remove objects near pass seat
Compass error
Intkey could not program Maximum number of Integrated Keys
exceeded
DRIVER DOOR AJAR— Displayed when the driver’s door is not
completely closed.
PASSENGER DOOR AJAR— Displayed when the passenger side door
is not completely closed.
REAR LEFT DOOR AJAR— Displayed when the rear left door is not
completely closed.
REAR RIGHT DOOR AJAR— Displayed when the rear right door is
not completely closed.
PARK BRAKE ENGAGED— Displayed when the park brake is
engaged. If the warning stays on after the park brake is off, contact your
authorized dealer as soon as possible.
CHECK BRAKE SYSTEM— Displayed when the brake system needs
servicing. If the warning stays on or continues to come on, contact your
authorized dealer as soon as possible.
FUEL LEVEL LOW— Displayed as an early reminder of a low fuel
condition.
BRAKE FLUID LEVEL LOW— Indicates the brake fluid level is low
and the brake system should be inspected immediately. Refer toBrake
fluidin theMaintenance and Specificationschapter.
CHECK PARK AID(if equipped)— Displayed when the transmission
is in R (Reverse) and the Reverse Sensing System (Park Aid) is disabled.
Refer toReverse Sensing System (Park Aid)in this section to enable.
LOW TIRE PRESSURE— Displayed when one or more tires on your
vehicle have low tire pressure. Refer toInflating your tiresin theTires,
Wheels and Loadingchapter.
2009 Fusion(fsn)
Owners Guide
USA(fus)
Driver Controls
89
Page 90 of 312
TIRE PRESSURE MONITOR FAULT— Displayed when the Tire
Pressure Monitoring System is malfunctioning. If the warning stays on or
continues to come on, have the system inspected by your authorized
dealer.
TIRE PRESSURE SENSOR FAULT— Displayed when a tire pressure
sensor is malfunctioning, or your spare tire is in use. For more
information on how the system operates under these conditions, refer to
Tire Pressure Monitoring System (TPMS)in theTires, Wheels and
Loadingchapter. If the warning stays on or continues to come on, have
the system inspected by your authorized dealer.
TRUNK AJAR— Displayed when the trunk is not completely closed.
REMOVE OBJECTS NEAR PASS SEAT— Displayed when objects
are by the passenger seat. After the objects are moved away from the
seat, if the warning stays on or continues to come on contact your
authorized dealer.
INTKEY COULD NOT PROGRAM— Displayed when an attempt is
made to program a fifth Integrated Key to the Remote Key Entry
System. For more information on Integrated Key, refer toLocks and
Securitychapter in this manual.
COMPASS ERROR (if equipped)— Displayed when the compass is
not operating properly. If the warning stays on or continues to come on,
contact your authorized dealer as soon as possible.
INTERIOR TRUNK CONTROL
Press the remote trunk release
control on the instrument panel to
the left of the steering wheel.
2009 Fusion(fsn)
Owners Guide
USA(fus)
Driver Controls
90
Page 148 of 312
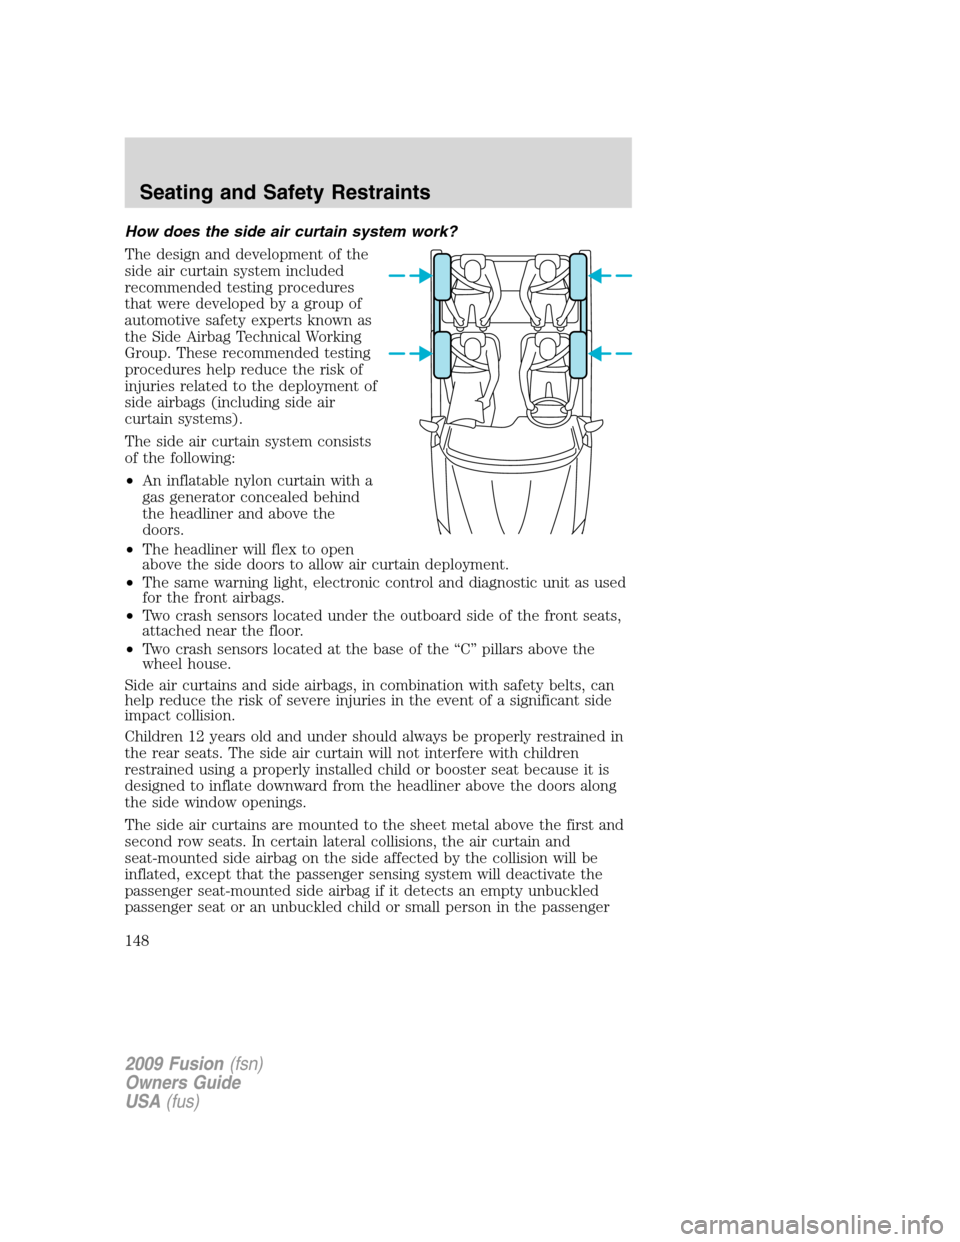
How does the side air curtain system work?
The design and development of the
side air curtain system included
recommended testing procedures
that were developed by a group of
automotive safety experts known as
the Side Airbag Technical Working
Group. These recommended testing
procedures help reduce the risk of
injuries related to the deployment of
side airbags (including side air
curtain systems).
The side air curtain system consists
of the following:
•An inflatable nylon curtain with a
gas generator concealed behind
the headliner and above the
doors.
•The headliner will flex to open
above the side doors to allow air curtain deployment.
•The same warning light, electronic control and diagnostic unit as used
for the front airbags.
•Two crash sensors located under the outboard side of the front seats,
attached near the floor.
•Two crash sensors located at the base of the “C” pillars above the
wheel house.
Side air curtains and side airbags, in combination with safety belts, can
help reduce the risk of severe injuries in the event of a significant side
impact collision.
Children 12 years old and under should always be properly restrained in
the rear seats. The side air curtain will not interfere with children
restrained using a properly installed child or booster seat because it is
designed to inflate downward from the headliner above the doors along
the side window openings.
The side air curtains are mounted to the sheet metal above the first and
second row seats. In certain lateral collisions, the air curtain and
seat-mounted side airbag on the side affected by the collision will be
inflated, except that the passenger sensing system will deactivate the
passenger seat-mounted side airbag if it detects an empty unbuckled
passenger seat or an unbuckled child or small person in the passenger
2009 Fusion(fsn)
Owners Guide
USA(fus)
Seating and Safety Restraints
148
Page 166 of 312
INFORMATION ABOUT UNIFORM TIRE QUALITY GRADING
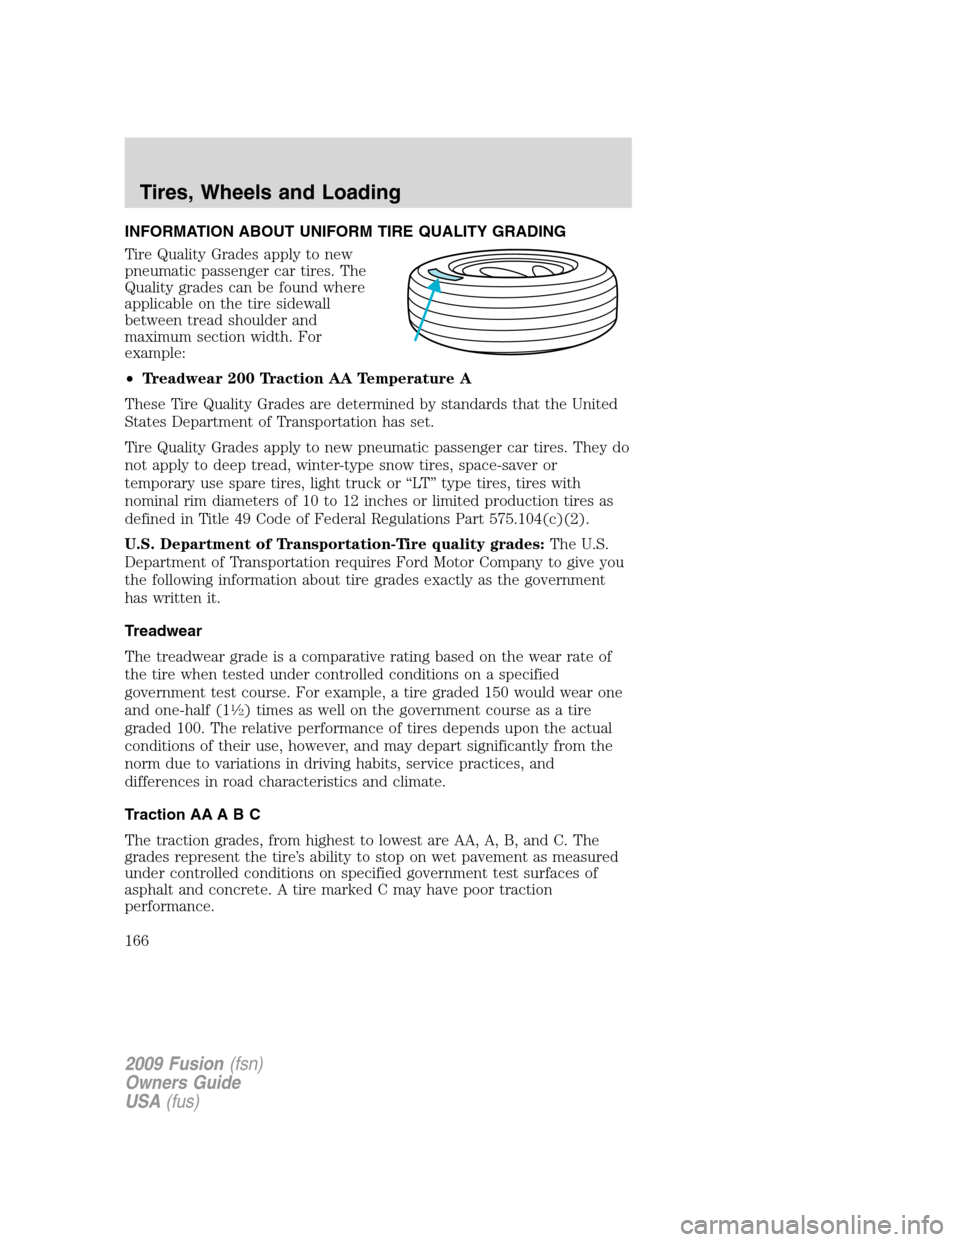
Tire Quality Grades apply to new
pneumatic passenger car tires. The
Quality grades can be found where
applicable on the tire sidewall
between tread shoulder and
maximum section width. For
example:
•Treadwear 200 Traction AA Temperature A
These Tire Quality Grades are determined by standards that the United
States Department of Transportation has set.
Tire Quality Grades apply to new pneumatic passenger car tires. They do
not apply to deep tread, winter-type snow tires, space-saver or
temporary use spare tires, light truck or “LT” type tires, tires with
nominal rim diameters of 10 to 12 inches or limited production tires as
defined in Title 49 Code of Federal Regulations Part 575.104(c)(2).
U.S. Department of Transportation-Tire quality grades:The U.S.
Department of Transportation requires Ford Motor Company to give you
the following information about tire grades exactly as the government
has written it.
Treadwear
The treadwear grade is a comparative rating based on the wear rate of
the tire when tested under controlled conditions on a specified
government test course. For example, a tire graded 150 would wear one
and one-half (1
1�2) times as well on the government course as a tire
graded 100. The relative performance of tires depends upon the actual
conditions of their use, however, and may depart significantly from the
norm due to variations in driving habits, service practices, and
differences in road characteristics and climate.
Traction AA A B C
The traction grades, from highest to lowest are AA, A, B, and C. The
grades represent the tire’s ability to stop on wet pavement as measured
under controlled conditions on specified government test surfaces of
asphalt and concrete. A tire marked C may have poor traction
performance.
2009 Fusion(fsn)
Owners Guide
USA(fus)
Tires, Wheels and Loading
166