Page 94 of 358

3. Locate the outboard (low beam)
or inboard (high beam) electrical
connector and remove it by
releasing the locking tab and pulling
it straight down.
4. Remove the bulb socket by
turning it counterclockwise and
pulling it straight out.
WARNING:Handle a halogen headlamp bulb carefully and keep
out of children’s reach. Grasp the bulb only by its plastic base
and do not touch the glass. The oil from your hand could cause the
bulb to break the next time the headlamps are operated.
Install the new bulb(s) in reverse order.
Replacing front parking lamp/turn signal bulbs
1. Make sure headlamp switch is in the off position, then open the hood.
2. Reach behind the headlamp assembly to access the bulb sockets and
connectors.
3. Remove the bulb socket by
turning it counterclockwise and
pulling it straight out.
4. To remove the bulb, pull it
straight out of the bulb socket.
Install the new bulb(s) in reverse
order.
Replacing front sidemarker bulbs
1. Make sure headlamp switch is in the off position, then open the hood.
2. Reach behind the headlamp assembly to access the bulb sockets and
connectors.
2009 Taurus X(219)
Owners Guide, 2nd Printing
USA(fus)
Lights
94
ProCarManuals.com
Page 98 of 358
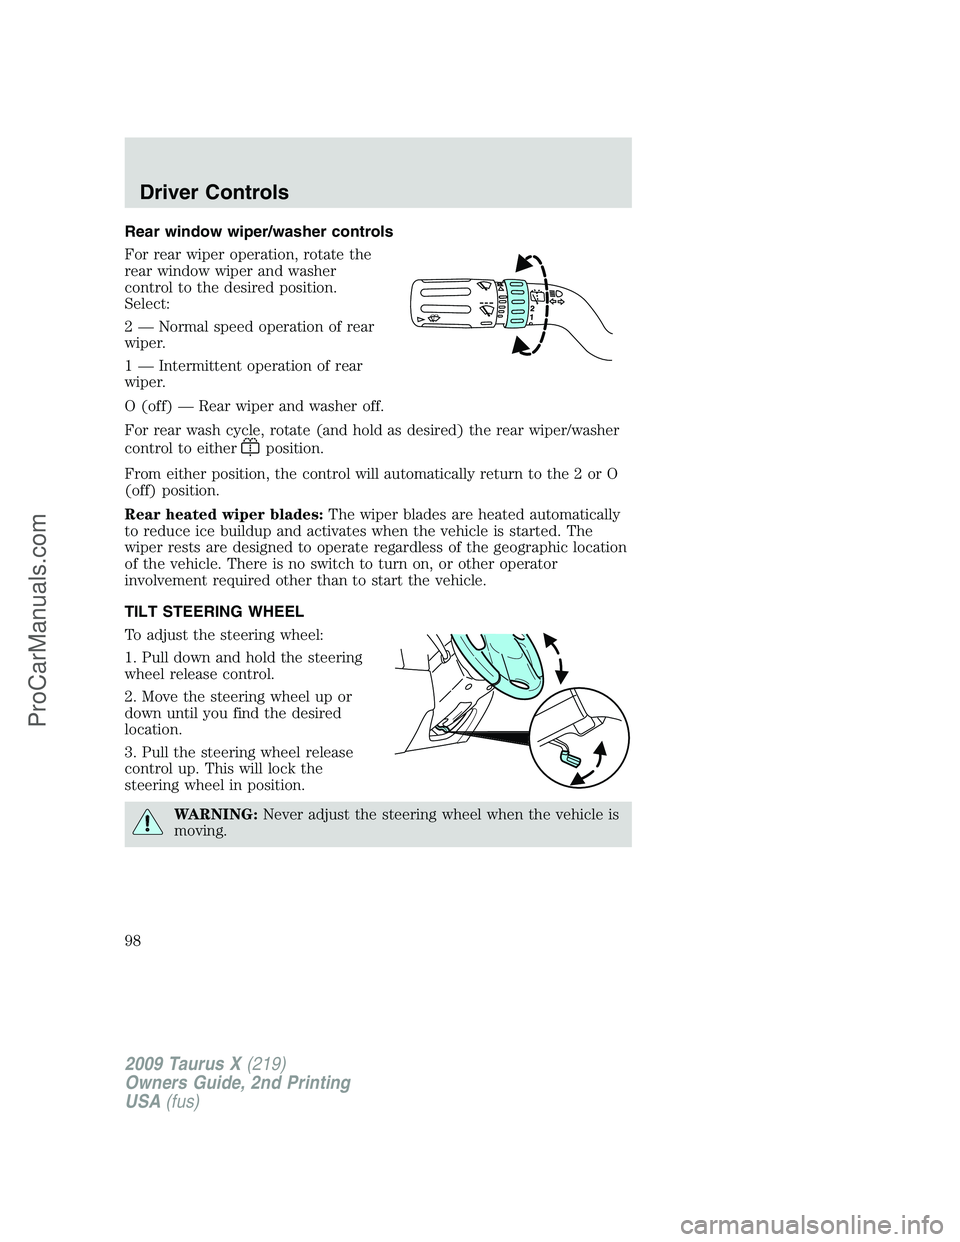
Rear window wiper/washer controls
For rear wiper operation, rotate the
rear window wiper and washer
control to the desired position.
Select:
2 — Normal speed operation of rear
wiper.
1 — Intermittent operation of rear
wiper.
O (off) — Rear wiper and washer off.
For rear wash cycle, rotate (and hold as desired) the rear wiper/washer
control to either
position.
From either position, the control will automatically return to the 2 or O
(off) position.
Rear heated wiper blades:The wiper blades are heated automatically
to reduce ice buildup and activates when the vehicle is started. The
wiper rests are designed to operate regardless of the geographic location
of the vehicle. There is no switch to turn on, or other operator
involvement required other than to start the vehicle.
TILT STEERING WHEEL
To adjust the steering wheel:
1. Pull down and hold the steering
wheel release control.
2. Move the steering wheel up or
down until you find the desired
location.
3. Pull the steering wheel release
control up. This will lock the
steering wheel in position.
WARNING:Never adjust the steering wheel when the vehicle is
moving.
2009 Taurus X(219)
Owners Guide, 2nd Printing
USA(fus)
Driver Controls
98
ProCarManuals.com
Page 100 of 358
Storage compartment
The storage compartment may be
used to store a pair of sunglasses.
Press the release area on the rear
edge of the bin door to open the
storage compartment. The door will
open to the full open position.
Conversation mirror (if equipped)
The conversation mirror allows the driver to view the rear seating area.
WARNING:Do not use the conversation mirror to view
rearward traffic, do not allow rear passengers to distract you
from the driving task, and make sure the rear view mirror has a clear
view of rearward traffic. Failure to do so could increase the risk of a
crash from an unseen vehicle, which may result in serious injury.
Pull down on the housing to lock it
in place.
The rear view mirror may have to
be adjusted to its lower arm position
to prevent interference when the
conversation mirror is extended
down.
2009 Taurus X(219)
Owners Guide, 2nd Printing
USA(fus)
Driver Controls
100
ProCarManuals.com
Page 101 of 358
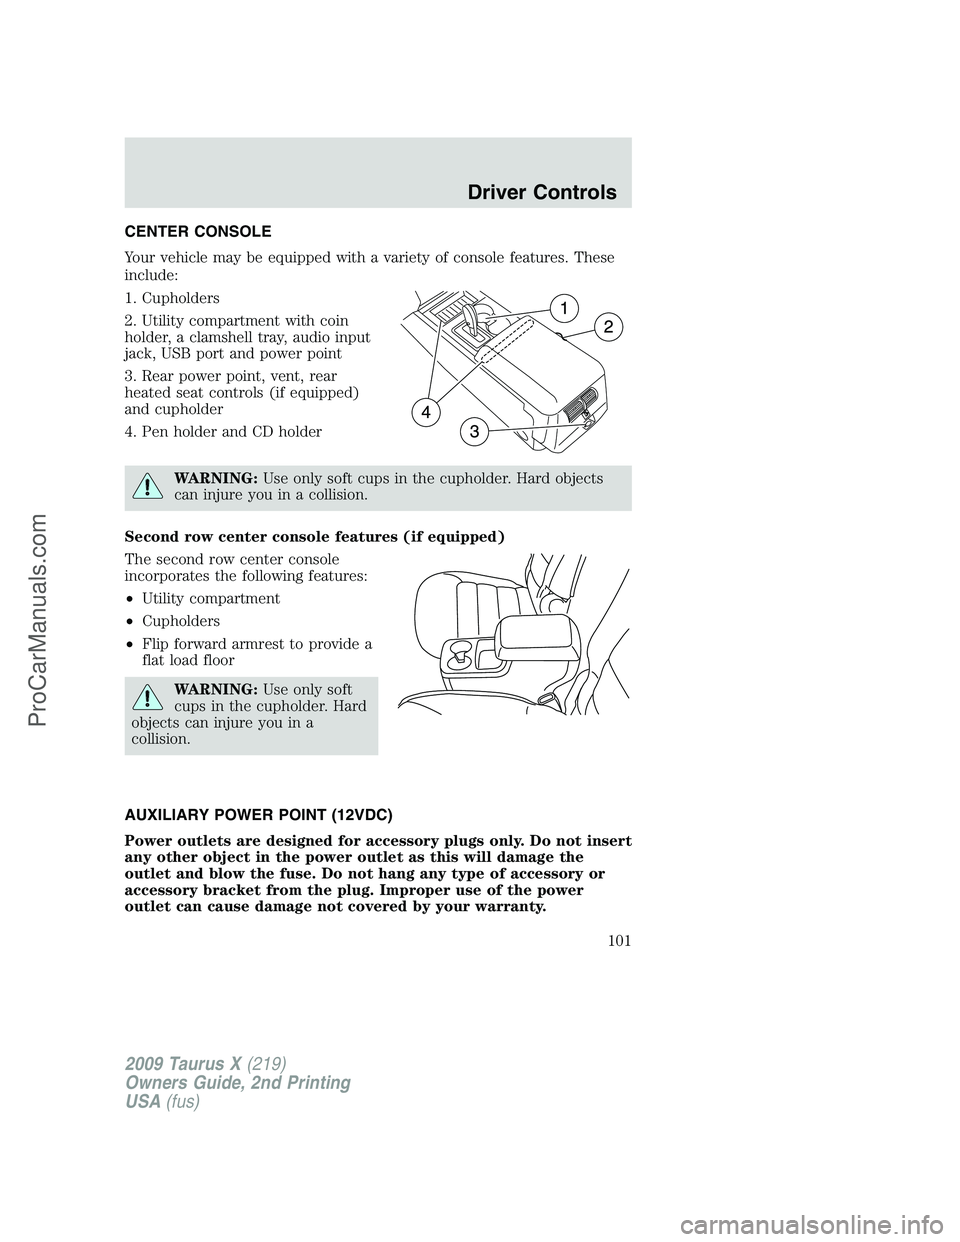
CENTER CONSOLE
Your vehicle may be equipped with a variety of console features. These
include:
1. Cupholders
2. Utility compartment with coin
holder, a clamshell tray, audio input
jack, USB port and power point
3. Rear power point, vent, rear
heated seat controls (if equipped)
and cupholder
4. Pen holder and CD holder
WARNING:Use only soft cups in the cupholder. Hard objects
can injure you in a collision.
Second row center console features (if equipped)
The second row center console
incorporates the following features:
•Utility compartment
•Cupholders
•Flip forward armrest to provide a
flat load floor
WARNING:Use only soft
cups in the cupholder. Hard
objects can injure you in a
collision.
AUXILIARY POWER POINT (12VDC)
Power outlets are designed for accessory plugs only. Do not insert
any other object in the power outlet as this will damage the
outlet and blow the fuse. Do not hang any type of accessory or
accessory bracket from the plug. Improper use of the power
outlet can cause damage not covered by your warranty.
2009 Taurus X(219)
Owners Guide, 2nd Printing
USA(fus)
Driver Controls
101
ProCarManuals.com
Page 103 of 358
Note:Improper use of the lighter can cause damage not covered by your
warranty, and can result in fire or serious injury.
POWER WINDOWS
WARNING:Do not leave children unattended in the vehicle and
do not let children play with the power windows. They may
seriously injure themselves.
WARNING:When closing the power windows, you should verify
they are free of obstructions and ensure that children and/or
pets are not in the proximity of the window openings.
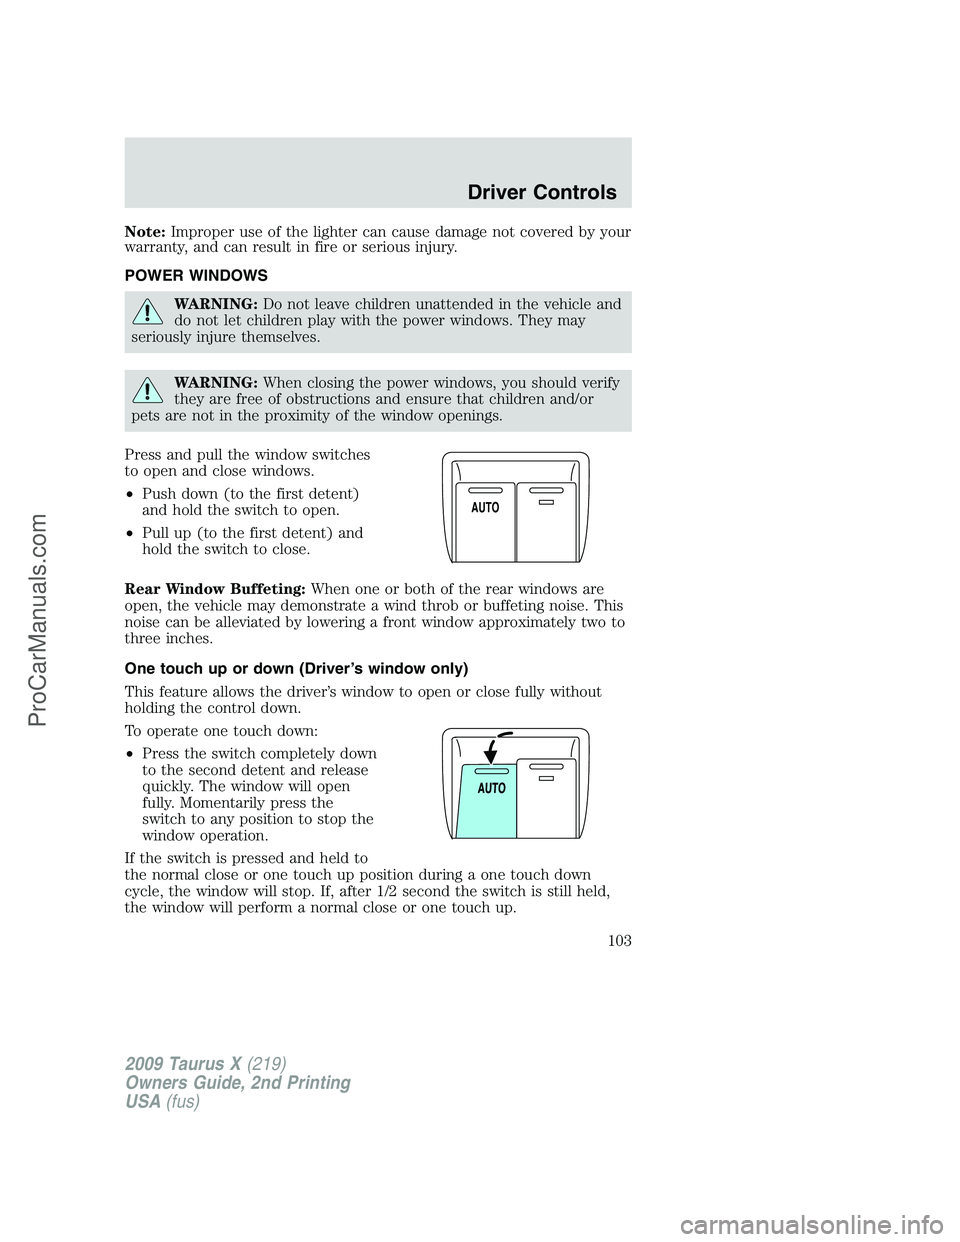
Press and pull the window switches
to open and close windows.
•Push down (to the first detent)
and hold the switch to open.
•Pull up (to the first detent) and
hold the switch to close.
Rear Window Buffeting:When one or both of the rear windows are
open, the vehicle may demonstrate a wind throb or buffeting noise. This
noise can be alleviated by lowering a front window approximately two to
three inches.
One touch up or down (Driver’s window only)
This feature allows the driver’s window to open or close fully without
holding the control down.
To operate one touch down:
•Press the switch completely down
to the second detent and release
quickly. The window will open
fully. Momentarily press the
switch to any position to stop the
window operation.
If the switch is pressed and held to
the normal close or one touch up position during a one touch down
cycle, the window will stop. If, after 1/2 second the switch is still held,
the window will perform a normal close or one touch up.
A
U
T
O
2009 Taurus X(219)
Owners Guide, 2nd Printing
USA(fus)
Driver Controls
103
ProCarManuals.com
Page 105 of 358
INTERIOR MIRROR
The interior rear view mirror has two pivot points on the support arm
which lets you adjust the mirror up or down and from side to side.
WARNING:Do not adjust the mirror while the vehicle is in
motion.
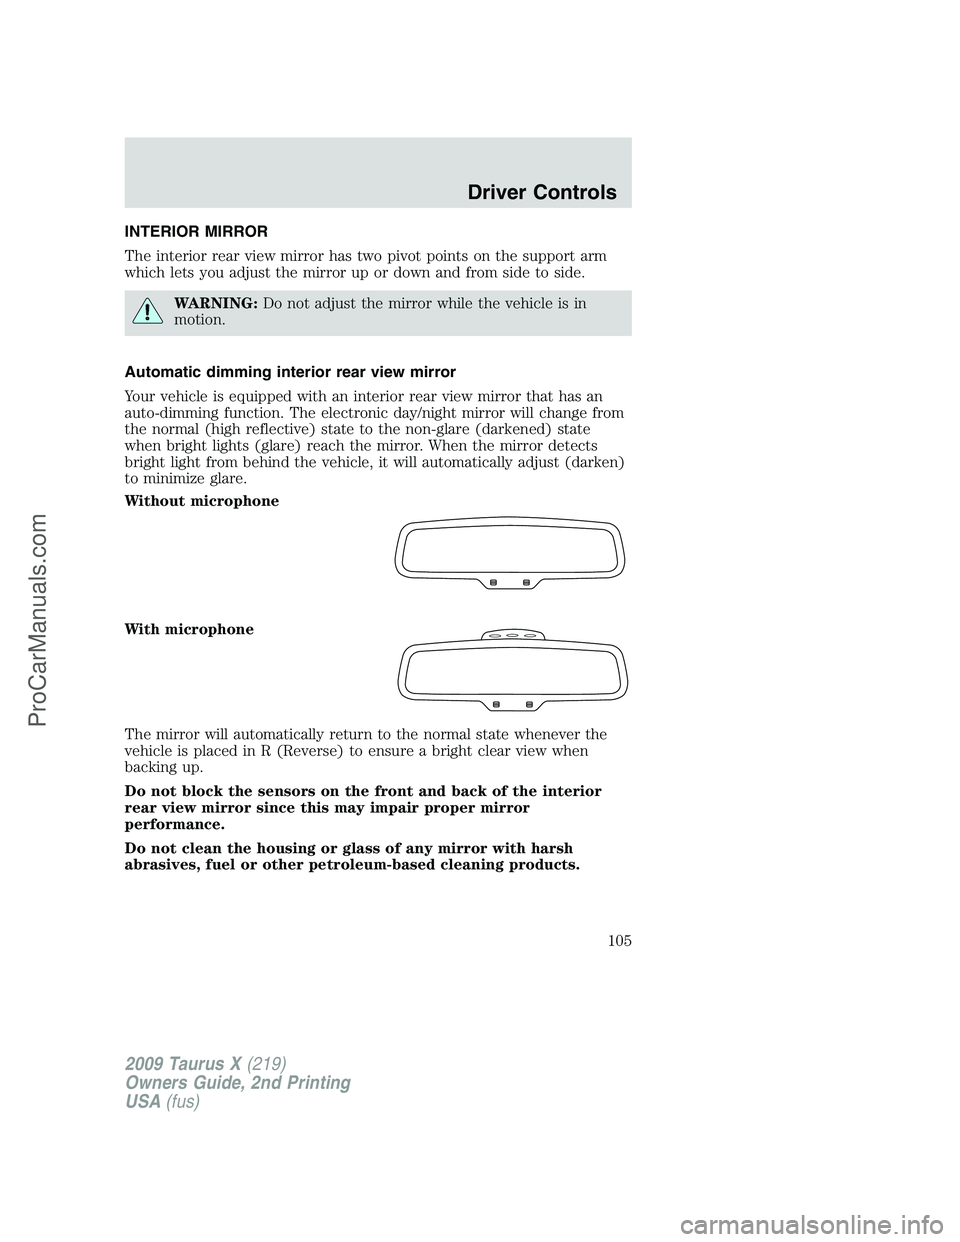
Automatic dimming interior rear view mirror
Your vehicle is equipped with an interior rear view mirror that has an
auto-dimming function. The electronic day/night mirror will change from
the normal (high reflective) state to the non-glare (darkened) state
when bright lights (glare) reach the mirror. When the mirror detects
bright light from behind the vehicle, it will automatically adjust (darken)
to minimize glare.
Without microphone
With microphone
The mirror will automatically return to the normal state whenever the
vehicle is placed in R (Reverse) to ensure a bright clear view when
backing up.
Do not block the sensors on the front and back of the interior
rear view mirror since this may impair proper mirror
performance.
Do not clean the housing or glass of any mirror with harsh
abrasives, fuel or other petroleum-based cleaning products.
2009 Taurus X(219)
Owners Guide, 2nd Printing
USA(fus)
Driver Controls
105
ProCarManuals.com
Page 106 of 358
EXTERIOR MIRRORS
Power side view mirrors
WARNING:Do not adjust the mirror while the vehicle is in
motion.
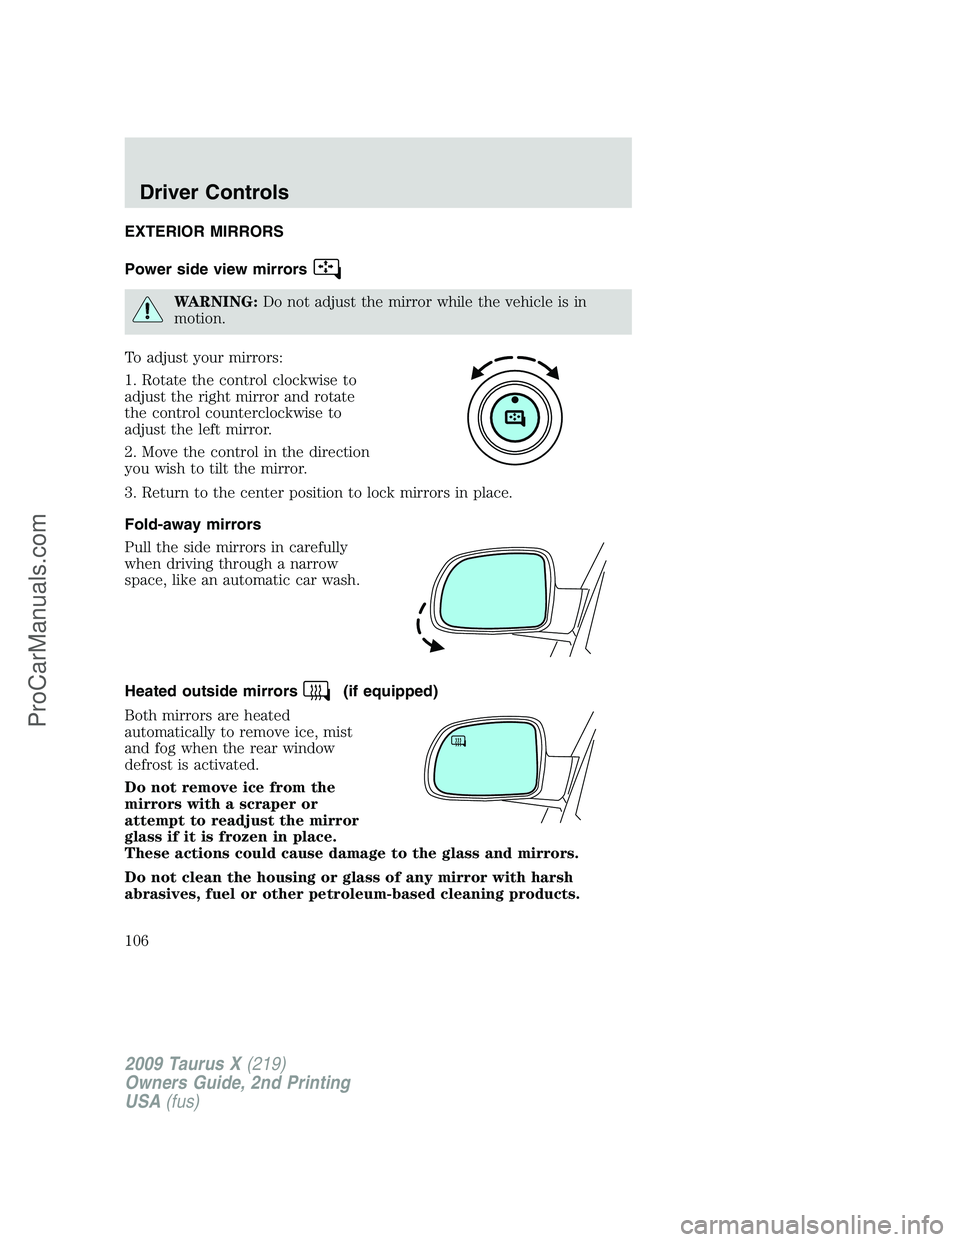
To adjust your mirrors:
1. Rotate the control clockwise to
adjust the right mirror and rotate
the control counterclockwise to
adjust the left mirror.
2. Move the control in the direction
you wish to tilt the mirror.
3. Return to the center position to lock mirrors in place.
Fold-away mirrors
Pull the side mirrors in carefully
when driving through a narrow
space, like an automatic car wash.
Heated outside mirrors
(if equipped)
Both mirrors are heated
automatically to remove ice, mist
and fog when the rear window
defrost is activated.
Do not remove ice from the
mirrors with a scraper or
attempt to readjust the mirror
glass if it is frozen in place.
These actions could cause damage to the glass and mirrors.
Do not clean the housing or glass of any mirror with harsh
abrasives, fuel or other petroleum-based cleaning products.
2009 Taurus X(219)
Owners Guide, 2nd Printing
USA(fus)
Driver Controls
106
ProCarManuals.com
Page 107 of 358
POWER ADJUSTABLE FOOT PEDALS (IF EQUIPPED)
The accelerator and brake pedal
should only be adjusted when the
vehicle is stopped and the gearshift
lever is in the P (Park) position.
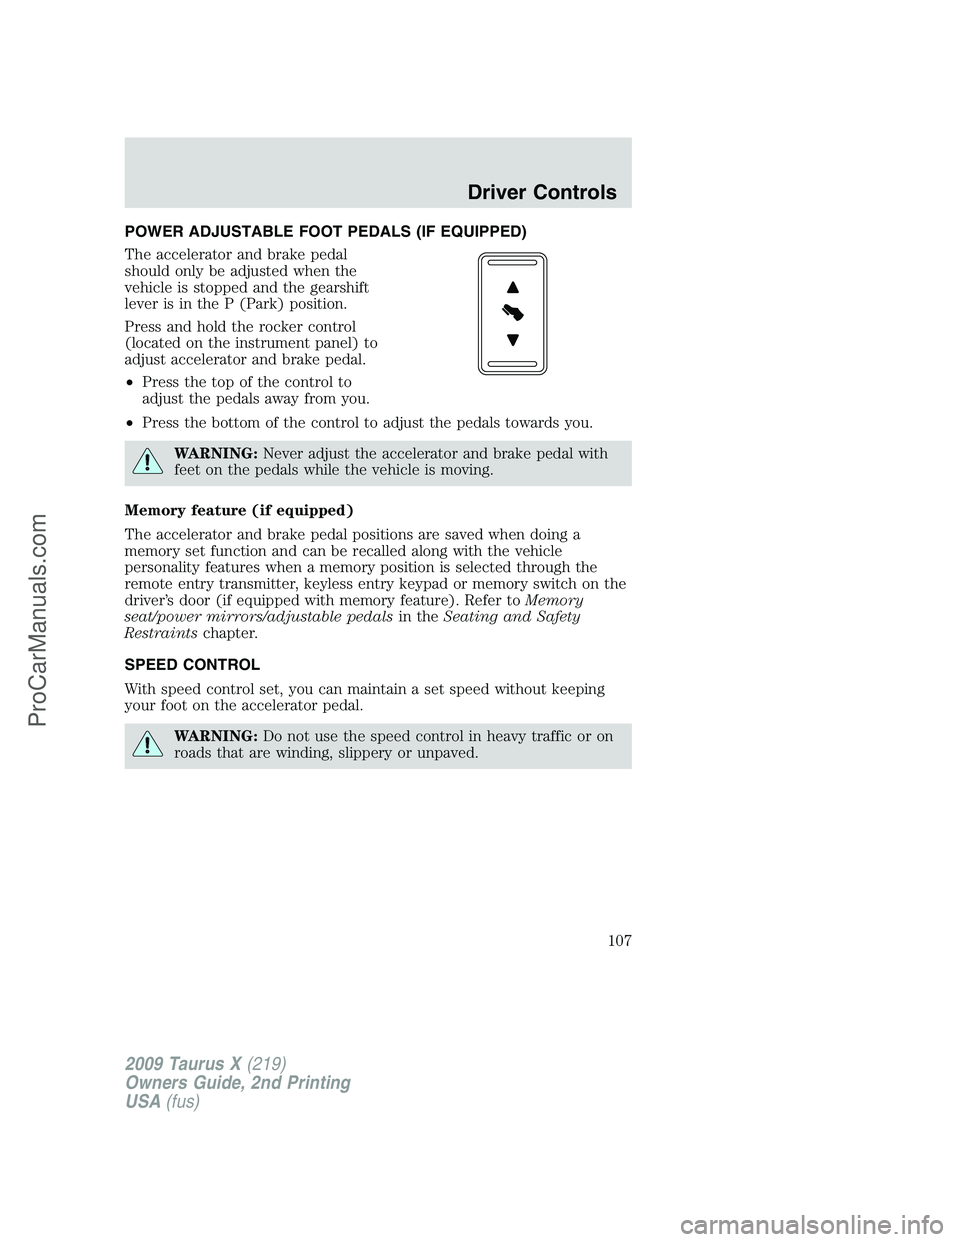
Press and hold the rocker control
(located on the instrument panel) to
adjust accelerator and brake pedal.
•Press the top of the control to
adjust the pedals away from you.
•Press the bottom of the control to adjust the pedals towards you.
WARNING:Never adjust the accelerator and brake pedal with
feet on the pedals while the vehicle is moving.
Memory feature (if equipped)
The accelerator and brake pedal positions are saved when doing a
memory set function and can be recalled along with the vehicle
personality features when a memory position is selected through the
remote entry transmitter, keyless entry keypad or memory switch on the
driver’s door (if equipped with memory feature). Refer toMemory
seat/power mirrors/adjustable pedalsin theSeating and Safety
Restraintschapter.
SPEED CONTROL
With speed control set, you can maintain a set speed without keeping
your foot on the accelerator pedal.
WARNING:Do not use the speed control in heavy traffic or on
roads that are winding, slippery or unpaved.
2009 Taurus X(219)
Owners Guide, 2nd Printing
USA(fus)
Driver Controls
107
ProCarManuals.com