2009 FORD FREESTYLE clock
[x] Cancel search: clockPage 289 of 358
Tire change procedure
WARNING:When one of the front wheels is off the ground, the
transmission alone will not prevent the vehicle from moving or
slipping off the jack, even if the vehicle is in P (Park).
WARNING:To help prevent the vehicle from moving when you
change a tire, be sure to place the transmission in P (Park), set
the parking brake and block (in both directions) the wheel that is
diagonally opposite (other side and end of the vehicle) to the tire
being changed.
WARNING:If the vehicle slips off the jack, you or someone else
could be seriously injured.
WARNING:Do not attempt to change a tire on the side of the
vehicle close to moving traffic. Pull far enough off the road to
avoid the danger of being hit when operating the jack or changing the
wheel.
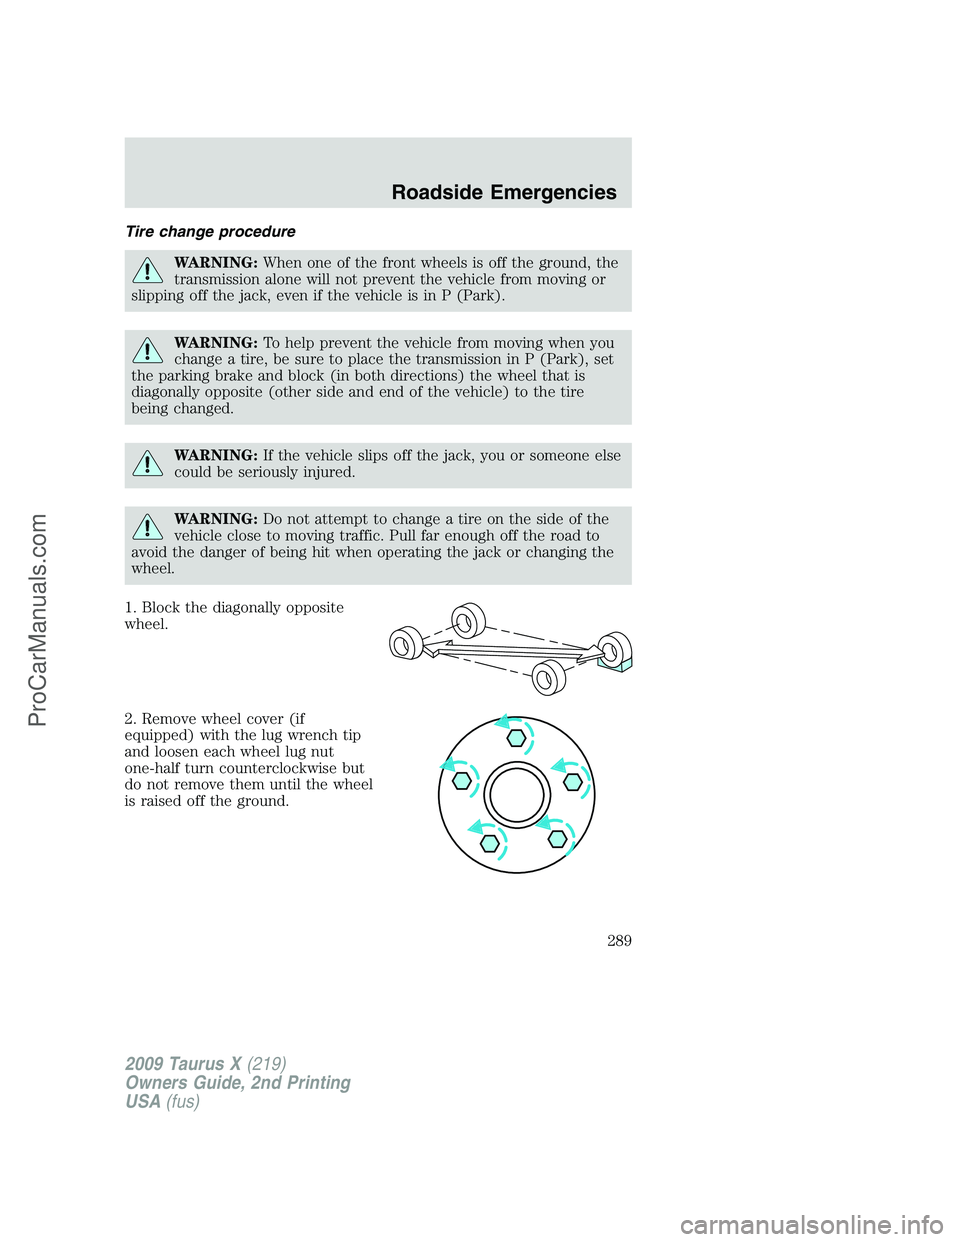
1. Block the diagonally opposite
wheel.
2. Remove wheel cover (if
equipped) with the lug wrench tip
and loosen each wheel lug nut
one-half turn counterclockwise but
do not remove them until the wheel
is raised off the ground.
2009 Taurus X(219)
Owners Guide, 2nd Printing
USA(fus)
Roadside Emergencies
289
ProCarManuals.com
Page 290 of 358
WARNING:To lessen the risk of personal injury, do not put any
part of your body under the vehicle while changing a tire. Do not
start the engine when your vehicle is on the jack. The jack is only
meant for changing the tire.
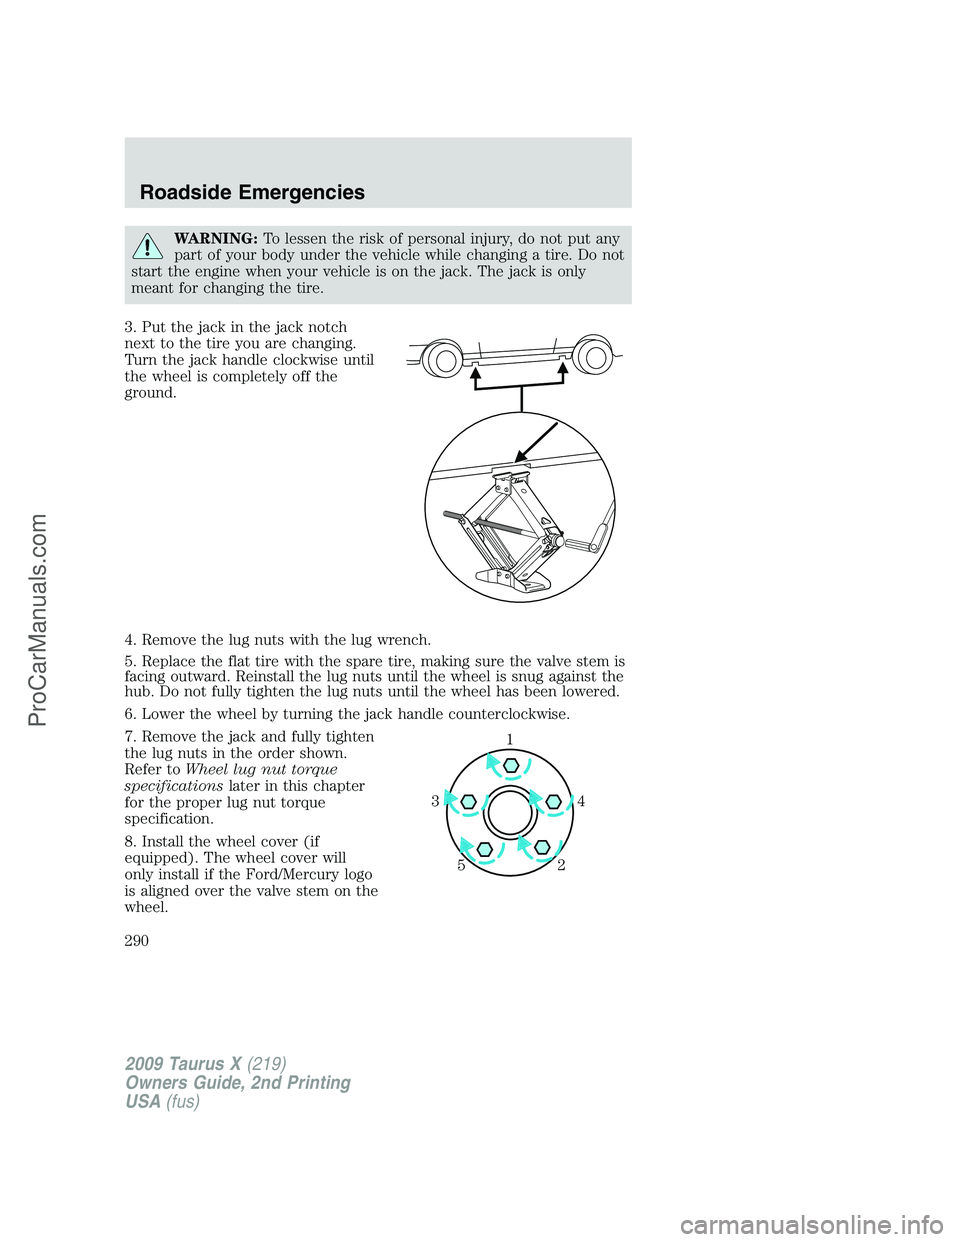
3. Put the jack in the jack notch
next to the tire you are changing.
Turn the jack handle clockwise until
the wheel is completely off the
ground.
4. Remove the lug nuts with the lug wrench.
5. Replace the flat tire with the spare tire, making sure the valve stem is
facing outward. Reinstall the lug nuts until the wheel is snug against the
hub. Do not fully tighten the lug nuts until the wheel has been lowered.
6. Lower the wheel by turning the jack handle counterclockwise.
7. Remove the jack and fully tighten
the lug nuts in the order shown.
Refer toWheel lug nut torque
specificationslater in this chapter
for the proper lug nut torque
specification.
8. Install the wheel cover (if
equipped). The wheel cover will
only install if the Ford/Mercury logo
is aligned over the valve stem on the
wheel.
1
4 3
2 5
2009 Taurus X(219)
Owners Guide, 2nd Printing
USA(fus)
Roadside Emergencies
290
ProCarManuals.com
Page 292 of 358
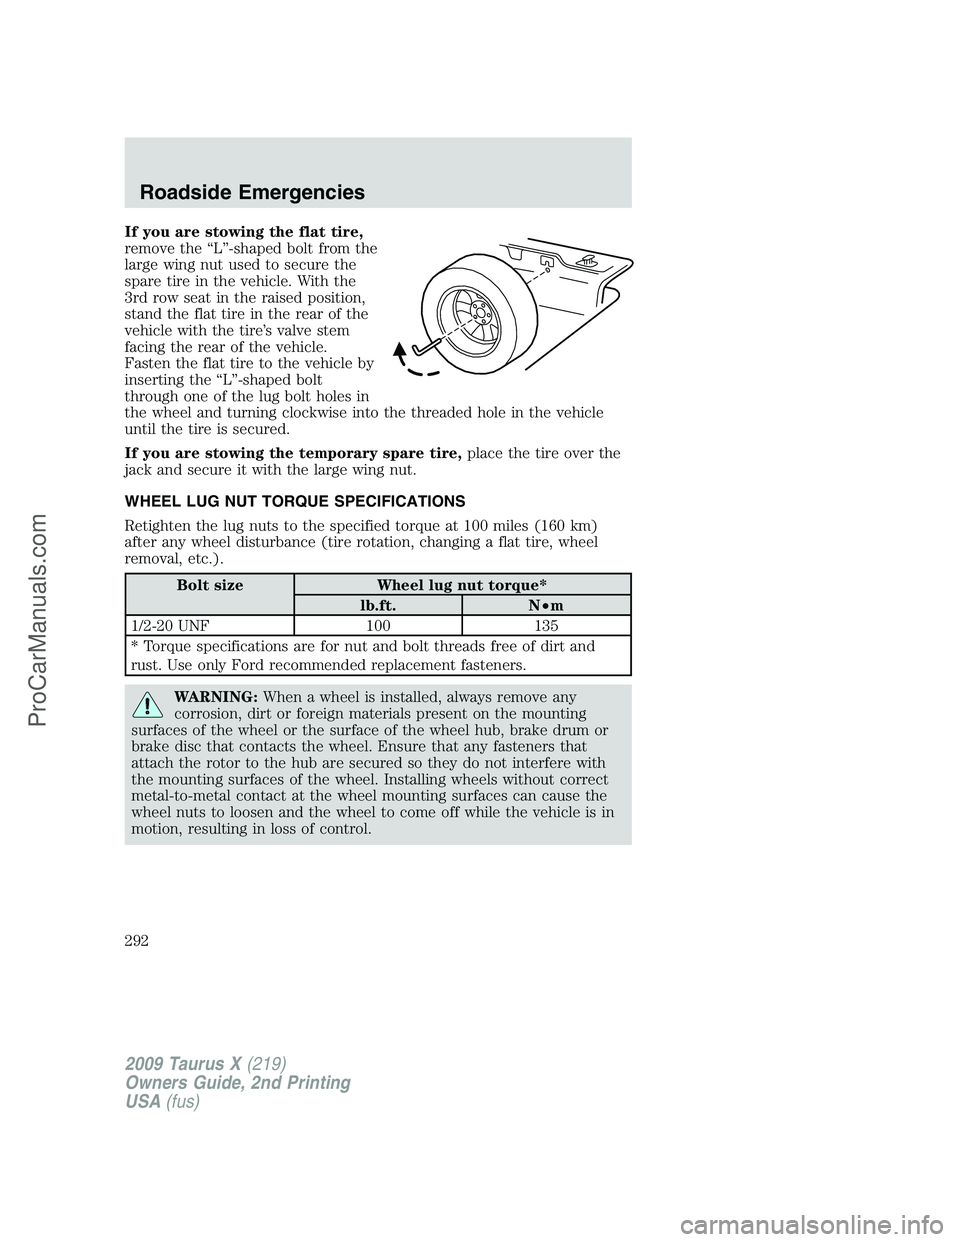
If you are stowing the flat tire,
remove the “L”-shaped bolt from the
large wing nut used to secure the
spare tire in the vehicle. With the
3rd row seat in the raised position,
stand the flat tire in the rear of the
vehicle with the tire’s valve stem
facing the rear of the vehicle.
Fasten the flat tire to the vehicle by
inserting the “L”-shaped bolt
through one of the lug bolt holes in
the wheel and turning clockwise into the threaded hole in the vehicle
until the tire is secured.
If you are stowing the temporary spare tire,place the tire over the
jack and secure it with the large wing nut.
WHEEL LUG NUT TORQUE SPECIFICATIONS
Retighten the lug nuts to the specified torque at 100 miles (160 km)
after any wheel disturbance (tire rotation, changing a flat tire, wheel
removal, etc.).
Bolt size Wheel lug nut torque*
lb.ft. N•m
1/2-20 UNF 100 135
* Torque specifications are for nut and bolt threads free of dirt and
rust. Use only Ford recommended replacement fasteners.
WARNING:When a wheel is installed, always remove any
corrosion, dirt or foreign materials present on the mounting
surfaces of the wheel or the surface of the wheel hub, brake drum or
brake disc that contacts the wheel. Ensure that any fasteners that
attach the rotor to the hub are secured so they do not interfere with
the mounting surfaces of the wheel. Installing wheels without correct
metal-to-metal contact at the wheel mounting surfaces can cause the
wheel nuts to loosen and the wheel to come off while the vehicle is in
motion, resulting in loss of control.
2009 Taurus X(219)
Owners Guide, 2nd Printing
USA(fus)
Roadside Emergencies
292
ProCarManuals.com
Page 321 of 358
4. Install the dipstick and ensure it is fully seated.
5. Fully install the engine oil filler cap by turning the filler cap clockwise
until it stops.
To avoid possible oil loss, DO NOT operate the vehicle with the
engine oil level dipstick and/or the engine oil filler cap removed.
Engine oil and filter recommendations
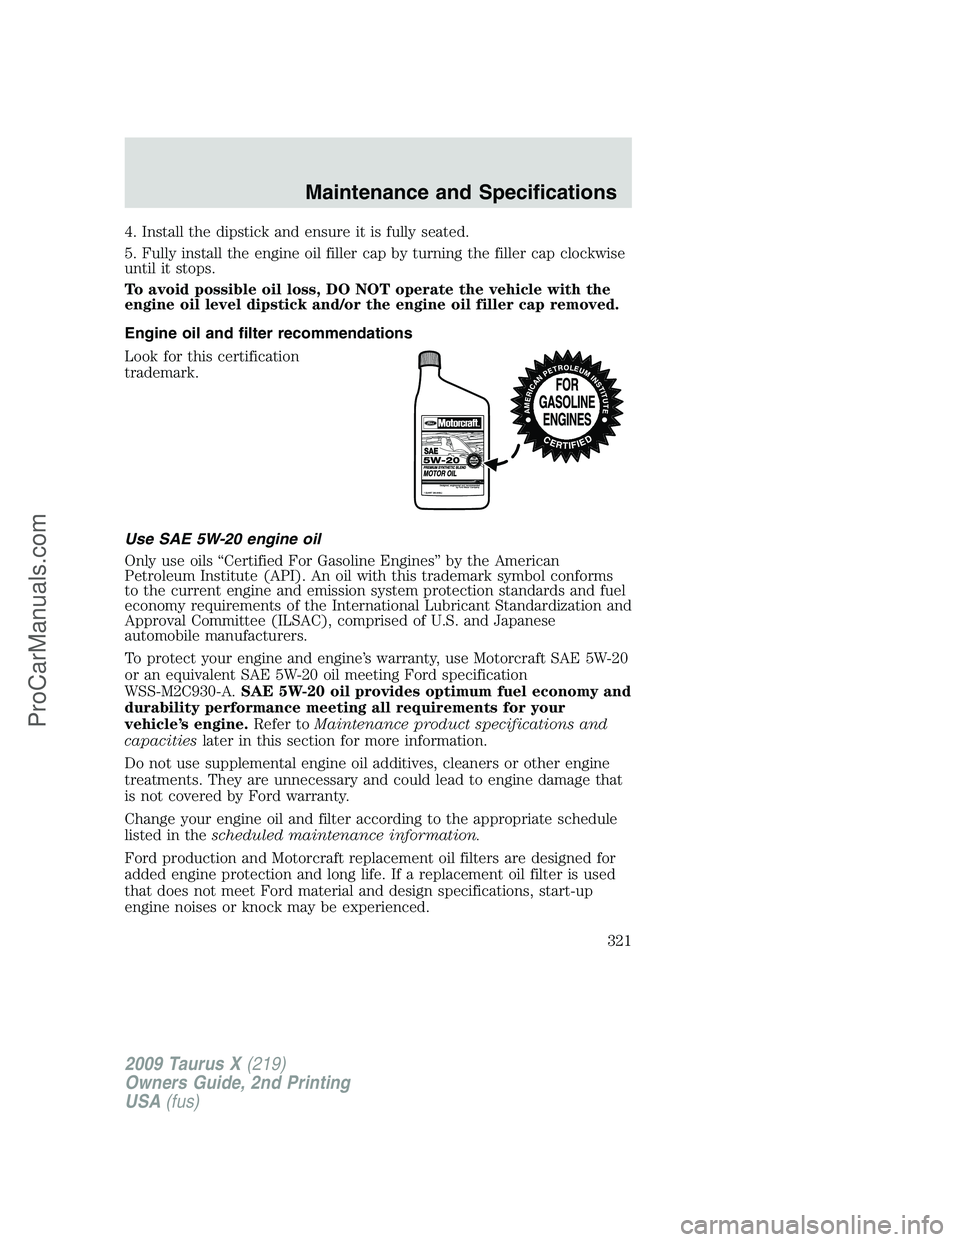
Look for this certification
trademark.
Use SAE 5W-20 engine oil
Only use oils “Certified For Gasoline Engines” by the American
Petroleum Institute (API). An oil with this trademark symbol conforms
to the current engine and emission system protection standards and fuel
economy requirements of the International Lubricant Standardization and
Approval Committee (ILSAC), comprised of U.S. and Japanese
automobile manufacturers.
To protect your engine and engine’s warranty, use Motorcraft SAE 5W-20
or an equivalent SAE 5W-20 oil meeting Ford specification
WSS-M2C930-A.SAE 5W-20 oil provides optimum fuel economy and
durability performance meeting all requirements for your
vehicle’s engine.Refer toMaintenance product specifications and
capacitieslater in this section for more information.
Do not use supplemental engine oil additives, cleaners or other engine
treatments. They are unnecessary and could lead to engine damage that
is not covered by Ford warranty.
Change your engine oil and filter according to the appropriate schedule
listed in thescheduled maintenance information.
Ford production and Motorcraft replacement oil filters are designed for
added engine protection and long life. If a replacement oil filter is used
that does not meet Ford material and design specifications, start-up
engine noises or knock may be experienced.
2009 Taurus X(219)
Owners Guide, 2nd Printing
USA(fus)
Maintenance and Specifications
321
ProCarManuals.com
Page 323 of 358
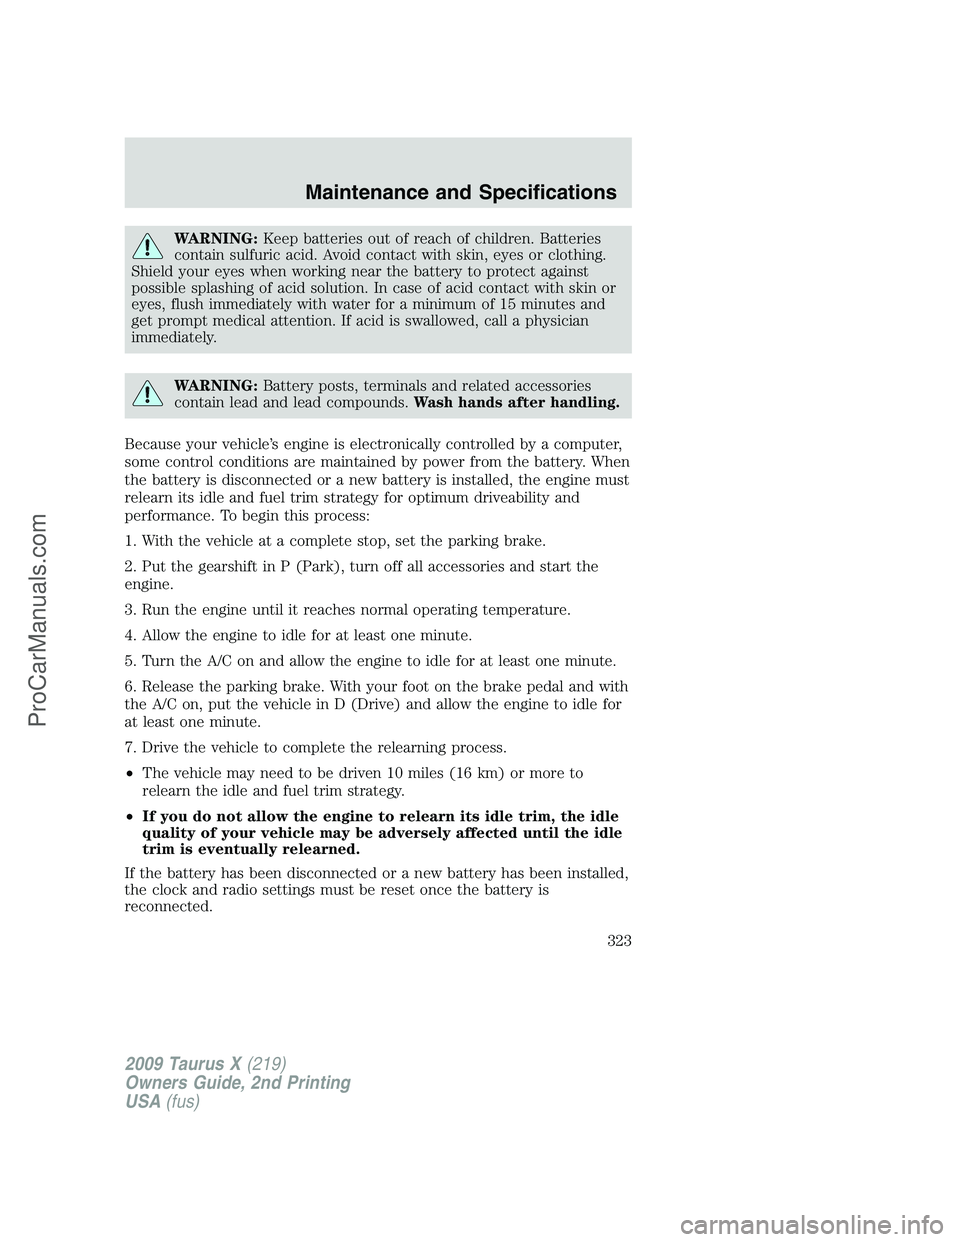
WARNING:Keep batteries out of reach of children. Batteries
contain sulfuric acid. Avoid contact with skin, eyes or clothing.
Shield your eyes when working near the battery to protect against
possible splashing of acid solution. In case of acid contact with skin or
eyes, flush immediately with water for a minimum of 15 minutes and
get prompt medical attention. If acid is swallowed, call a physician
immediately.
WARNING:Battery posts, terminals and related accessories
contain lead and lead compounds.Wash hands after handling.
Because your vehicle’s engine is electronically controlled by a computer,
some control conditions are maintained by power from the battery. When
the battery is disconnected or a new battery is installed, the engine must
relearn its idle and fuel trim strategy for optimum driveability and
performance. To begin this process:
1. With the vehicle at a complete stop, set the parking brake.
2. Put the gearshift in P (Park), turn off all accessories and start the
engine.
3. Run the engine until it reaches normal operating temperature.
4. Allow the engine to idle for at least one minute.
5. Turn the A/C on and allow the engine to idle for at least one minute.
6. Release the parking brake. With your foot on the brake pedal and with
the A/C on, put the vehicle in D (Drive) and allow the engine to idle for
at least one minute.
7. Drive the vehicle to complete the relearning process.
•The vehicle may need to be driven 10 miles (16 km) or more to
relearn the idle and fuel trim strategy.
•If you do not allow the engine to relearn its idle trim, the idle
quality of your vehicle may be adversely affected until the idle
trim is eventually relearned.
If the battery has been disconnected or a new battery has been installed,
the clock and radio settings must be reset once the battery is
reconnected.
2009 Taurus X(219)
Owners Guide, 2nd Printing
USA(fus)
Maintenance and Specifications
323
ProCarManuals.com
Page 327 of 358

Add the proper mixture of coolant and water to the cooling system by
following these steps:
1. Before you begin, turn the engine off and let it cool.
2. When the engine is cool, wrap a thick cloth around the coolant
pressure relief cap on the coolant reservoir (a translucent plastic bottle).
Slowly turn cap counterclockwise (left) until pressure begins to release.
3. Step back while the pressure releases.
4. When you are sure that all the pressure has been released, use the
cloth to turn it counterclockwise and remove the cap.
5. Fill the coolant reservoir slowly with the proper coolant mixture, to
within the “COLD FILL RANGE” or the “FULL COLD” level on the
reservoir. If you removed the radiator cap in an overflow system, fill the
radiator until the coolant is visible and radiator is almost full.
6. Replace the cap. Turn until tightly installed. Cap must be tightly
installed to prevent coolant loss.
After any coolant has been added, check the coolant concentration (refer
toChecking engine coolant). If the concentration is not 50/50
(protection to –34°F/–36°C), drain some coolant and adjust the
concentration. It may take several drains and additions to obtain a 50/50
coolant concentration.
Whenever coolant has been added, the coolant level in the coolant
reservoir should be checked the next few times you drive the vehicle. If
necessary, add enough 50/50 concentration of engine coolant and
distilled water to bring the liquid level to the proper level.
If you have to add more than 1.0 quart (1.0 liter) of engine coolant per
month, have your authorized dealer check the engine cooling system.
Your cooling system may have a leak. Operating an engine with a low
level of coolant can result in engine overheating and possible engine
damage.
Recycled engine coolant
Ford Motor Company does NOT recommend the use of recycled engine
coolant in vehicles originally equipped with Motorcraft Premium Gold
Engine Coolant since a Ford-approved recycling process is not yet
available.
Used engine coolant should be disposed of in an appropriate
manner. Follow your community’s regulations and standards for recycling
and disposing of automotive fluids.
2009 Taurus X(219)
Owners Guide, 2nd Printing
USA(fus)
Maintenance and Specifications
327
ProCarManuals.com
Page 332 of 358

Refueling
WARNING:Fuel vapor burns violently and a fuel fire can cause
severe injuries. To help avoid injuries to you and others:
•Read and follow all the instructions on the pump island;
•Turn off your engine when you are refueling;
•Do not smoke if you are near fuel or refueling your vehicle;
•Keep sparks, flames and smoking materials away from fuel;
•Stay outside your vehicle and do not leave the fuel pump unattended
when refueling your vehicle — this is against the law in some places;
•Keep children away from the fuel pump; never let children pump
fuel.
Use the following guidelines to avoid electrostatic charge build-up when
filling an ungrounded fuel container:
•Place approved fuel container on the ground.
•DO NOT fill a fuel container while it is in the vehicle (including the
cargo area).
•Keep the fuel pump nozzle in contact with the fuel container while
filling.
•DO NOT use a device that would hold the fuel pump handle in the fill
position.
Fuel filler cap
Your fuel tank filler cap has an indexed design with a 1/4 turn on/off
feature.
When fueling your vehicle:
1. Turn the engine off.
2. Carefully turn the filler cap counterclockwise until it spins off.
3. Pull to remove the cap from the fuel filler pipe.
4. To install the cap, align the tabs on the cap with the notches on the
filler pipe.
5. Turn the filler cap clockwise 1/4 of a turn until it clicks at least once.
If the check fuel cap light
or a “check fuel cap” message comes on,
the fuel filler cap may not be properly installed. The light or message can
come on after several driving events after you’ve refueled your vehicle.
2009 Taurus X(219)
Owners Guide, 2nd Printing
USA(fus)
Maintenance and Specifications
332
ProCarManuals.com
Page 354 of 358
plastic parts ............................310
washing ....................................307
waxing .....................................308
wheels ......................................308
wiper blades ............................310
Climate control
(see Air conditioning or
Heating) .....................76, 78, 80, 82
Clock adjust
6-CD in dash .............................30
AM/FM/CD .................................23
Compass, electronic
set zone adjustment ...............120
Console ......................................101
overhead ............................99–100
Controls
power seat ...............................158
steering column ......................110
Coolant
checking and adding ..............324
refill capacities ................328, 346
specifications ..........................346
Cruise control (see Speed
control) ......................................107
Customer Assistance ................276
Ford Extended Service
Plan ..........................................304
Getting assistance outside the
U.S. and Canada .....................304
Getting roadside assistance ...276
Getting the service you
need .........................................300
Ordering additional owner’s
literature .................................305
Utilizing the
Mediation/Arbitration
Program ...................................303D
Daytime running lamps (see
Lamps) .........................................89
Dipstick
automatic transmission
fluid ..........................................342
engine oil .................................319
Driving under special
conditions ..........................271, 273
sand .........................................272
snow and ice ...........................274
through water .................272, 275
DVD system .................................45
E
Electronic message center .......117
Emergencies, roadside
jump-starting ..........................293
Emission control system ..........338
Engine ........................................348
cleaning ...................................309
coolant .....................................324
fail-safe cooling .......................328
idle speed control ...................322
lubrication specifications .......346
refill capacities ........................346
service points ..........................316
starting after a collision .........278
Engine block heater .................255
Engine oil ..................................319
change oil soon warning,
message center .......................319
checking and adding ..............319
dipstick ....................................319
filter, specifications ........321, 345
recommendations ...................321
refill capacities ........................346
specifications ..........................346
2009 Taurus X(219)
Owners Guide, 2nd Printing
USA(fus)
Index
354
ProCarManuals.com