Page 131 of 358

Note:The liftgate movement direction can be reversed with a second
press of the instrument panel, or the rear cargo area control buttons, or
a second double press of the integrated keyhead transmitter button.
To manually operate the liftgate:
1. Disable the liftgate power function. Refer to theMessage centerin
this chapter.
2. Open and close the liftgate as you would a standard liftgate. Refer to
Manual liftgatein this chapter.
Note:In case of operation in extreme cold -40°F (-40°C), or on extreme
inclines, manual operation of the liftgate is suggested.
Obstacle detection:
The power liftgate system is equipped with an obstacle detection feature.
If the power liftgate is closing, the system will reverse to full open when
it detects an obstacle. A chime will sound three times when an obstacle
is detected as the liftgate begins to reopen. Once the obstacle is
removed, the liftgate can be closed under power.
If the power liftgate is opening, the system will stop and a chime will
sound three times when an obstacle is detected. Once the obstacle is
removed, the liftgate can again be operated normally.
Resetting the power liftgate:
The power liftgate may not operate properly and may need to be reset if
any of these conditions occur:
•a low voltage or dead battery
•disconnected battery
•the liftgate is manually closed and left ajar (unlatched)
To reset the power liftgate:
1. Disconnect the battery for 20 seconds then, reconnect the battery.
2. Manually close and fully latch the liftgate.
3. Power open the liftgate by using the integrated keyhead transmitter,
or the instrument panel control button.
Note:If the power liftgate system is turned off in the message center,
the system cannot be activated with the outside release handle or rear
cargo area control button. The system will need to be turned on to
resume operation with the outside release handle or rear cargo area
control button. The power liftgate is still operational through the use of
the remote entry transmitter and instrument panel button when the
power liftgate is turned off in the message center.
2009 Taurus X(219)
Owners Guide, 2nd Printing
USA(fus)
Driver Controls
131
ProCarManuals.com
Page 147 of 358

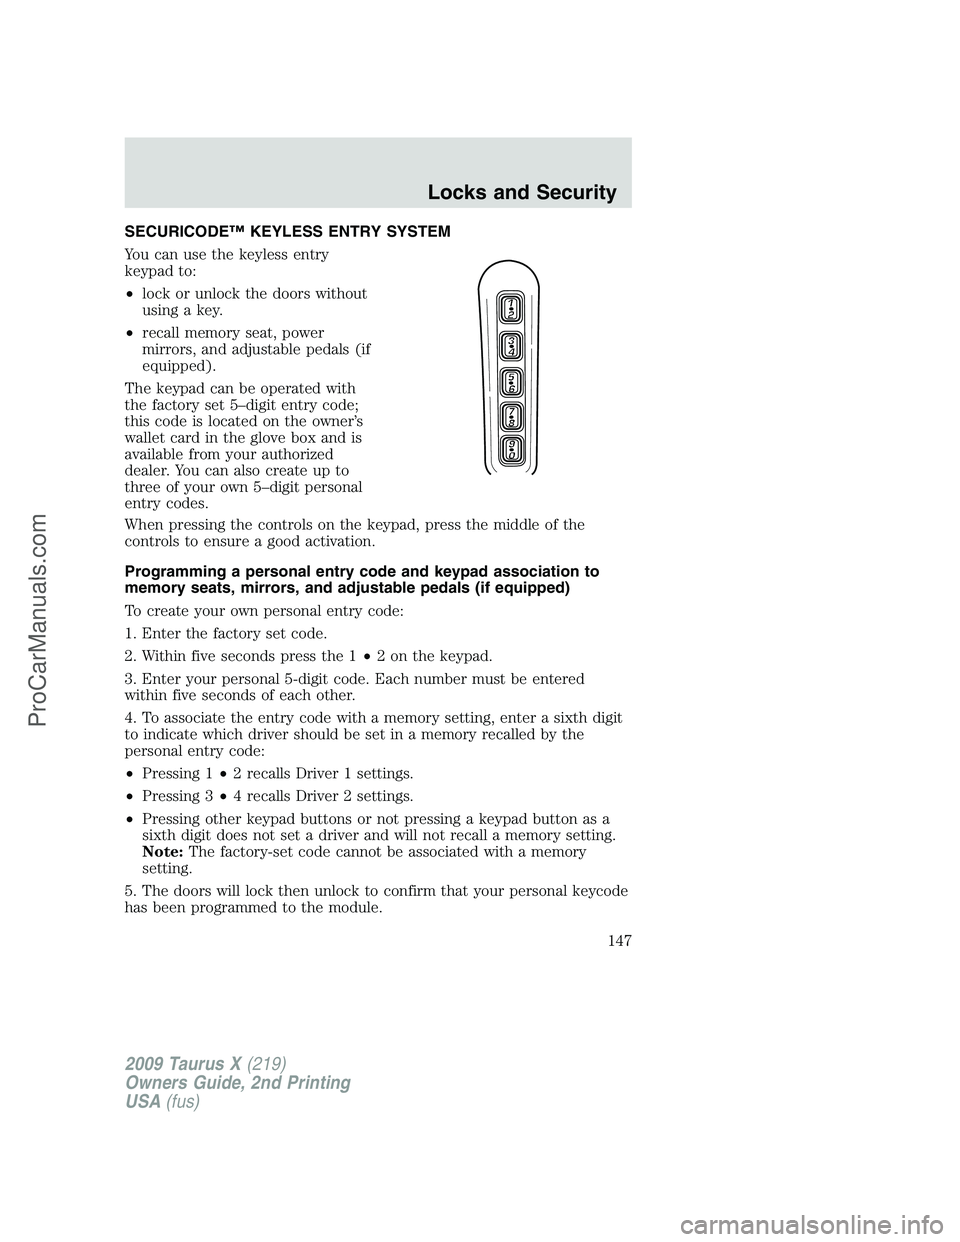
SECURICODE™ KEYLESS ENTRY SYSTEM
You can use the keyless entry
keypad to:
•lock or unlock the doors without
using a key.
•recall memory seat, power
mirrors, and adjustable pedals (if
equipped).
The keypad can be operated with
the factory set 5–digit entry code;
this code is located on the owner’s
wallet card in the glove box and is
available from your authorized
dealer. You can also create up to
three of your own 5–digit personal
entry codes.
When pressing the controls on the keypad, press the middle of the
controls to ensure a good activation.
Programming a personal entry code and keypad association to
memory seats, mirrors, and adjustable pedals (if equipped)
To create your own personal entry code:
1. Enter the factory set code.
2. Within five seconds press the 1•2 on the keypad.
3. Enter your personal 5-digit code. Each number must be entered
within five seconds of each other.
4. To associate the entry code with a memory setting, enter a sixth digit
to indicate which driver should be set in a memory recalled by the
personal entry code:
•Pressing 1•2 recalls Driver 1 settings.
•Pressing 3•4 recalls Driver 2 settings.
•Pressing other keypad buttons or not pressing a keypad button as a
sixth digit does not set a driver and will not recall a memory setting.
Note:The factory-set code cannot be associated with a memory
setting.
5. The doors will lock then unlock to confirm that your personal keycode
has been programmed to the module.
2009 Taurus X(219)
Owners Guide, 2nd Printing
USA(fus)
Locks and Security
147
ProCarManuals.com
Page 167 of 358
Note:Do not do the following:
•Place heavy objects on the seat
•Operate the seat heater if water or any other liquid is spilled on the
seat. Allow the seat to dry thoroughly.
The heated seat control is located on the back of the front console.
To operate the heated seats:
•Push the indicated side of the
control for maximum heat.
•Push again to deactivate.
•Push the indicated side of the
control for minimum heat.
•Push again to deactivate.
Stowing the third row seat
1. Stow the head restraints by
pushing the head restraint release
buttons while sliding the head
restraints fully down. Remove all
objects from the seat and stowage
tub.
2009 Taurus X(219)
Owners Guide, 2nd Printing
USA(fus)
Seating and Safety Restraints
167
ProCarManuals.com