2009 FORD F350 recommended oil
[x] Cancel search: recommended oilPage 129 of 419

Setup menu
Press and hold the SELECT/RESET
button to get into the SETUP MENU
sequence from the INFO MENU for
the following displays:
•Oil Life
•Units (English/Metric)
•Language
•Reset to English (if in another language) (See Note below)
Note:When returning to the
SETUP menu and a non-English
language has been selected, HOLD
RESET FOR ENGLISH will be
displayed to change back to English.
Press and hold the SELECT/RESET
button to change back to English.
Oil Life XXX% HOLD RESET = NEW
An oil change is required whenever indicated by the message center and
according to the recommended maintenance schedule. USE ONLY
RECOMMENDED ENGINE OILS.
To reset the oil monitoring system to 100% after each oil change
(approximately 7,500 miles [12,000 km] or six months) perform the
following:
1. Press and release the
SELECT/RESET button to display
“OIL LIFE XXX% HOLD RESET =
NEW”.
2. Press and hold the
SELECT/RESET button for two
seconds and release. Oil life is set to
100% and “OIL LIFE SET TO 100%”
is displayed.
Note:To change oil life 100% miles value from 7,500 miles (12,000 km)
or six months to another value, proceed to Step 3.
3. Once “OIL LIFE SET TO XXX%” is displayed, release and press the
SELECT/RESET button to change the oil life start value. Each release
and press will reduce the value by 10%.
2009 F-250/350/450/550(f23)
Owners Guide, 3rd Printing
USA(fus)
Driver Controls
129
ProCarManuals.com
Page 131 of 419
5. AIR FILTER (Diesel engine only)
6. DOOR AJAR
7. BRAKE SYSTEM
8. TBC GAIN = XX.X
NO TRAILER (if equipped and no trailer connected)
9. TBC GAIN = XX.X
OUTPUT = ////// (if equipped and trailer connected)
10. XX MILES TO E FUEL LEVEL XXX
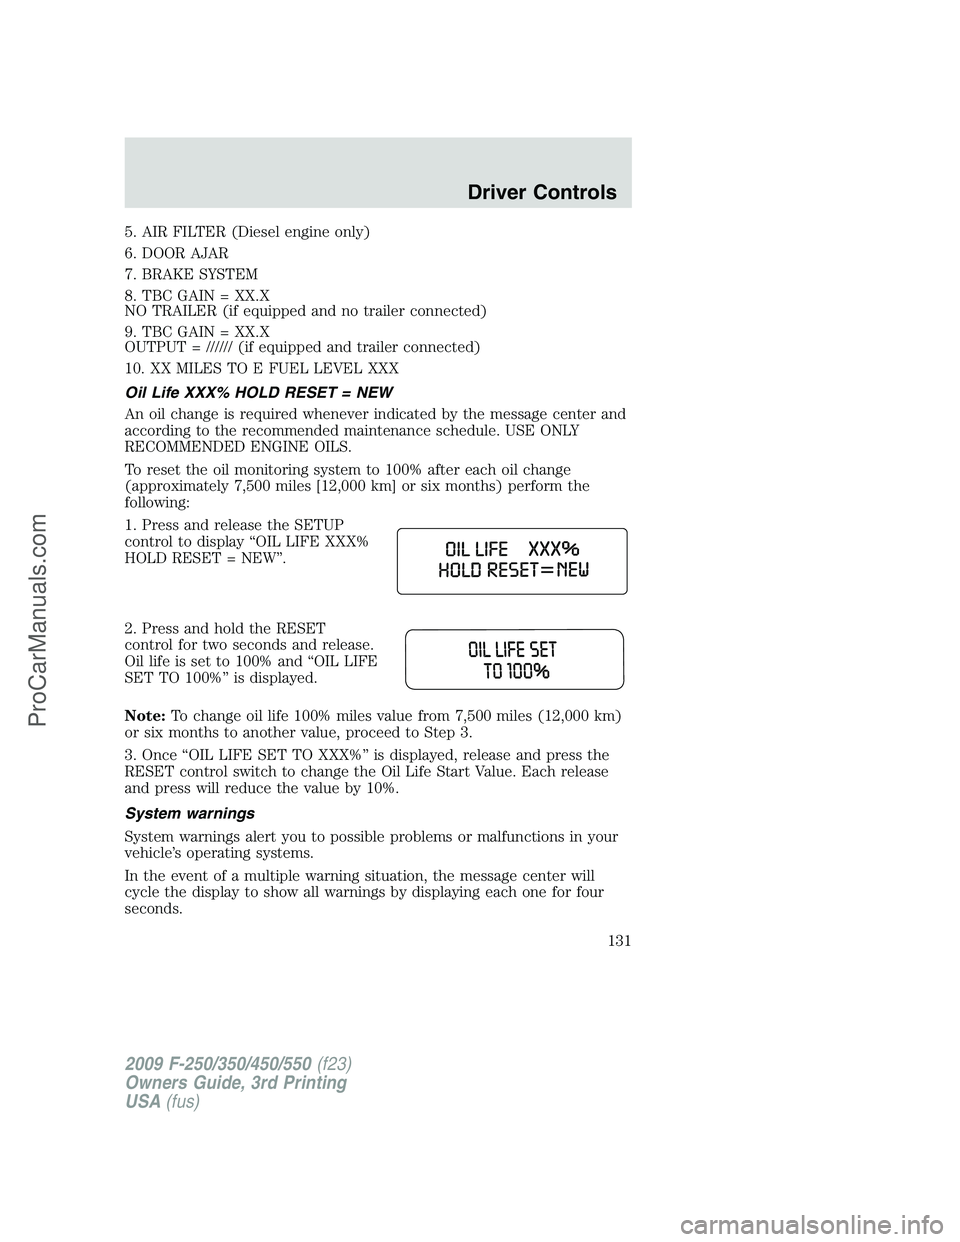
Oil Life XXX% HOLD RESET = NEW
An oil change is required whenever indicated by the message center and
according to the recommended maintenance schedule. USE ONLY
RECOMMENDED ENGINE OILS.
To reset the oil monitoring system to 100% after each oil change
(approximately 7,500 miles [12,000 km] or six months) perform the
following:
1. Press and release the SETUP
control to display “OIL LIFE XXX%
HOLD RESET = NEW”.
2. Press and hold the RESET
control for two seconds and release.
Oil life is set to 100% and “OIL LIFE
SET TO 100%” is displayed.
Note:To change oil life 100% miles value from 7,500 miles (12,000 km)
or six months to another value, proceed to Step 3.
3. Once “OIL LIFE SET TO XXX%” is displayed, release and press the
RESET control switch to change the Oil Life Start Value. Each release
and press will reduce the value by 10%.
System warnings
System warnings alert you to possible problems or malfunctions in your
vehicle’s operating systems.
In the event of a multiple warning situation, the message center will
cycle the display to show all warnings by displaying each one for four
seconds.
2009 F-250/350/450/550(f23)
Owners Guide, 3rd Printing
USA(fus)
Driver Controls
131
ProCarManuals.com
Page 141 of 419
5. AIR FILTER (Diesel engine only)
6. DOOR AJAR
7. BRAKE SYSTEM
8. TBC GAIN = XX.X
NO TRAILER (if equipped and no trailer connected)
9. TBC GAIN = XX.X
OUTPUT = ////// (if equipped and trailer connected)
10. FUEL LEVEL
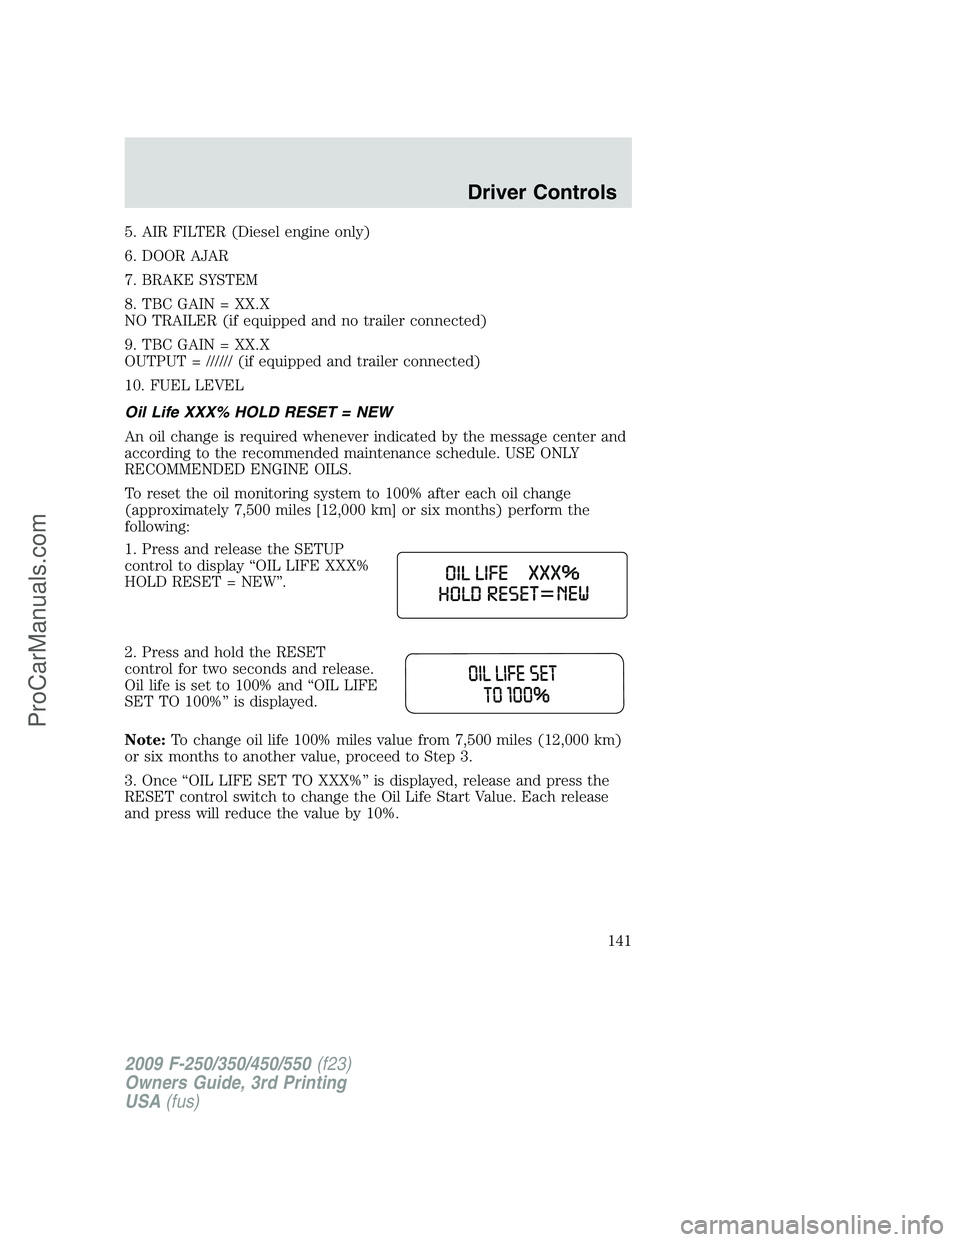
Oil Life XXX% HOLD RESET = NEW
An oil change is required whenever indicated by the message center and
according to the recommended maintenance schedule. USE ONLY
RECOMMENDED ENGINE OILS.
To reset the oil monitoring system to 100% after each oil change
(approximately 7,500 miles [12,000 km] or six months) perform the
following:
1. Press and release the SETUP
control to display “OIL LIFE XXX%
HOLD RESET = NEW”.
2. Press and hold the RESET
control for two seconds and release.
Oil life is set to 100% and “OIL LIFE
SET TO 100%” is displayed.
Note:To change oil life 100% miles value from 7,500 miles (12,000 km)
or six months to another value, proceed to Step 3.
3. Once “OIL LIFE SET TO XXX%” is displayed, release and press the
RESET control switch to change the Oil Life Start Value. Each release
and press will reduce the value by 10%.
2009 F-250/350/450/550(f23)
Owners Guide, 3rd Printing
USA(fus)
Driver Controls
141
ProCarManuals.com
Page 342 of 419
5. Repeat this tightness check procedure when servicing the spare tire
pressure (every six months, perscheduled maintenance information),
or at any time that the spare tire is disturbed through service of other
components.
6. If removed, install the spare tire lock (if equipped) into the bumper
drive tube with the spare tire lock key (if equipped) and jack handle.
WHEEL LUG NUT TORQUE SPECIFICATIONS
On vehicles equipped with single rear wheels, retighten the lug nuts to
the specified torque at 500 miles (800 km) after any wheel disturbance
(tire rotation, changing a flat tire, wheel removal, etc.).
On vehicles equipped with dual rear wheels, retighten the wheel lug nuts
to the specified torque at 100 miles (160 km), and again at 500 miles
(800 km) of new vehicle operation and after any wheel disturbance (tire
rotation, changing a flat tire, wheel removal, etc.).
Bolt size Wheel lug nut torque*
lb.ft. N•m
M14 x 1.5 165 224
* Torque specifications are for nut and bolt threads free of dirt and
rust. Use only Ford recommended replacement fasteners.
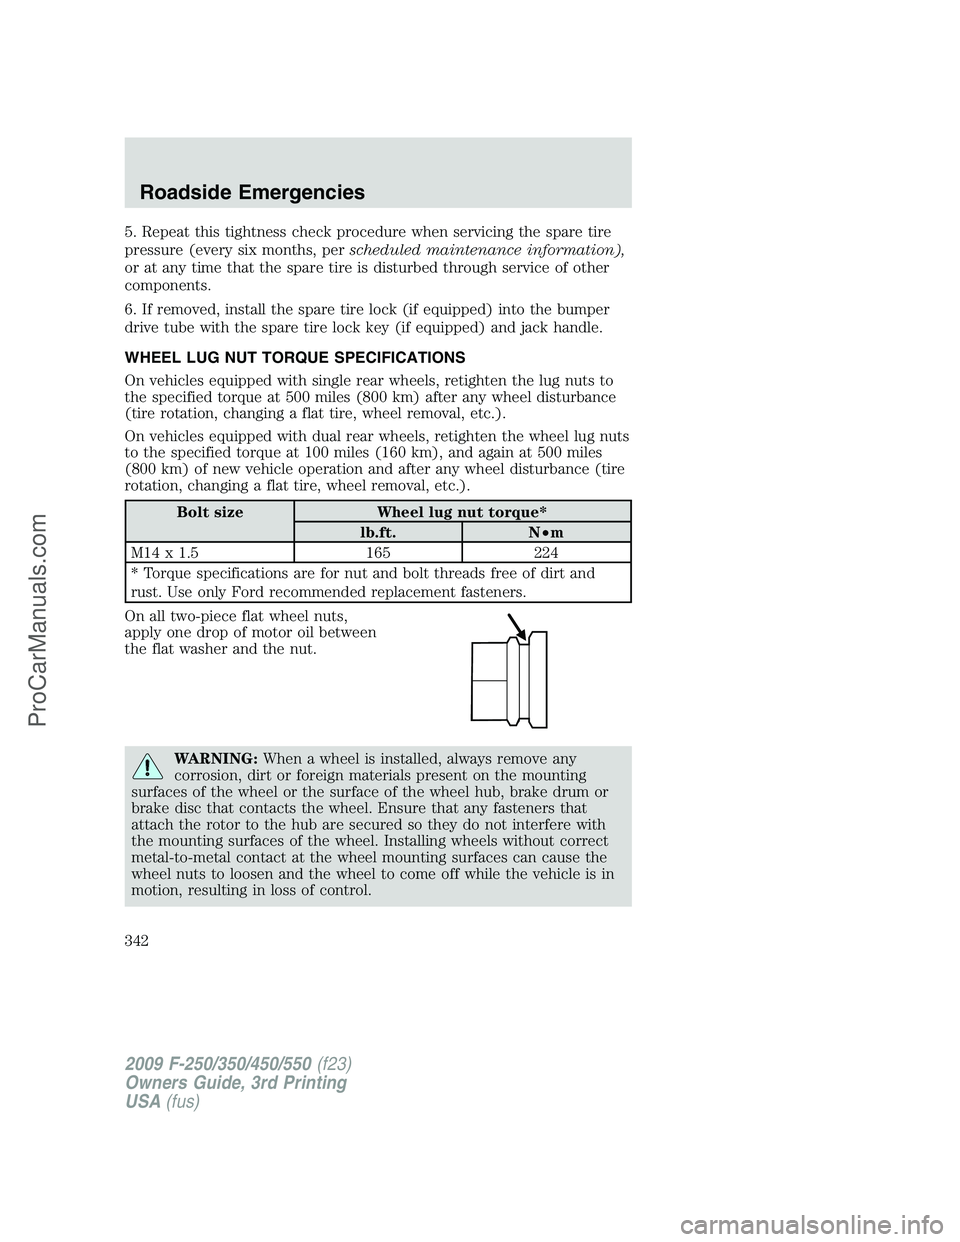
On all two-piece flat wheel nuts,
apply one drop of motor oil between
the flat washer and the nut.
WARNING:When a wheel is installed, always remove any
corrosion, dirt or foreign materials present on the mounting
surfaces of the wheel or the surface of the wheel hub, brake drum or
brake disc that contacts the wheel. Ensure that any fasteners that
attach the rotor to the hub are secured so they do not interfere with
the mounting surfaces of the wheel. Installing wheels without correct
metal-to-metal contact at the wheel mounting surfaces can cause the
wheel nuts to loosen and the wheel to come off while the vehicle is in
motion, resulting in loss of control.
2009 F-250/350/450/550(f23)
Owners Guide, 3rd Printing
USA(fus)
Roadside Emergencies
342
ProCarManuals.com
Page 372 of 419
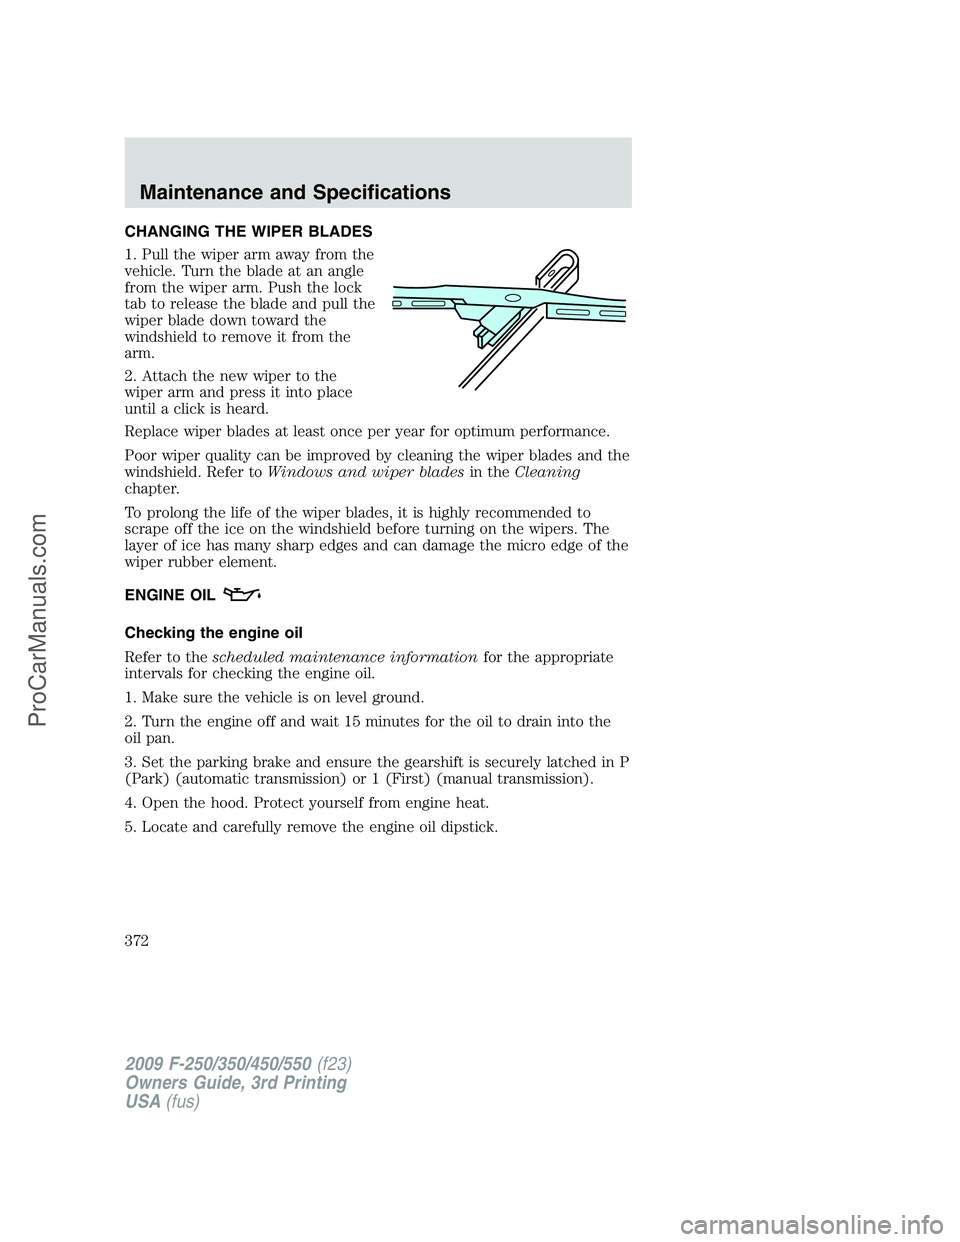
CHANGING THE WIPER BLADES
1. Pull the wiper arm away from the
vehicle. Turn the blade at an angle
from the wiper arm. Push the lock
tab to release the blade and pull the
wiper blade down toward the
windshield to remove it from the
arm.
2. Attach the new wiper to the
wiper arm and press it into place
until a click is heard.
Replace wiper blades at least once per year for optimum performance.
Poor wiper quality can be improved by cleaning the wiper blades and the
windshield. Refer toWindows and wiper bladesin theCleaning
chapter.
To prolong the life of the wiper blades, it is highly recommended to
scrape off the ice on the windshield before turning on the wipers. The
layer of ice has many sharp edges and can damage the micro edge of the
wiper rubber element.
ENGINE OIL
Checking the engine oil
Refer to thescheduled maintenance informationfor the appropriate
intervals for checking the engine oil.
1. Make sure the vehicle is on level ground.
2. Turn the engine off and wait 15 minutes for the oil to drain into the
oil pan.
3. Set the parking brake and ensure the gearshift is securely latched in P
(Park) (automatic transmission) or 1 (First) (manual transmission).
4. Open the hood. Protect yourself from engine heat.
5. Locate and carefully remove the engine oil dipstick.
2009 F-250/350/450/550(f23)
Owners Guide, 3rd Printing
USA(fus)
Maintenance and Specifications
372
ProCarManuals.com
Page 373 of 419
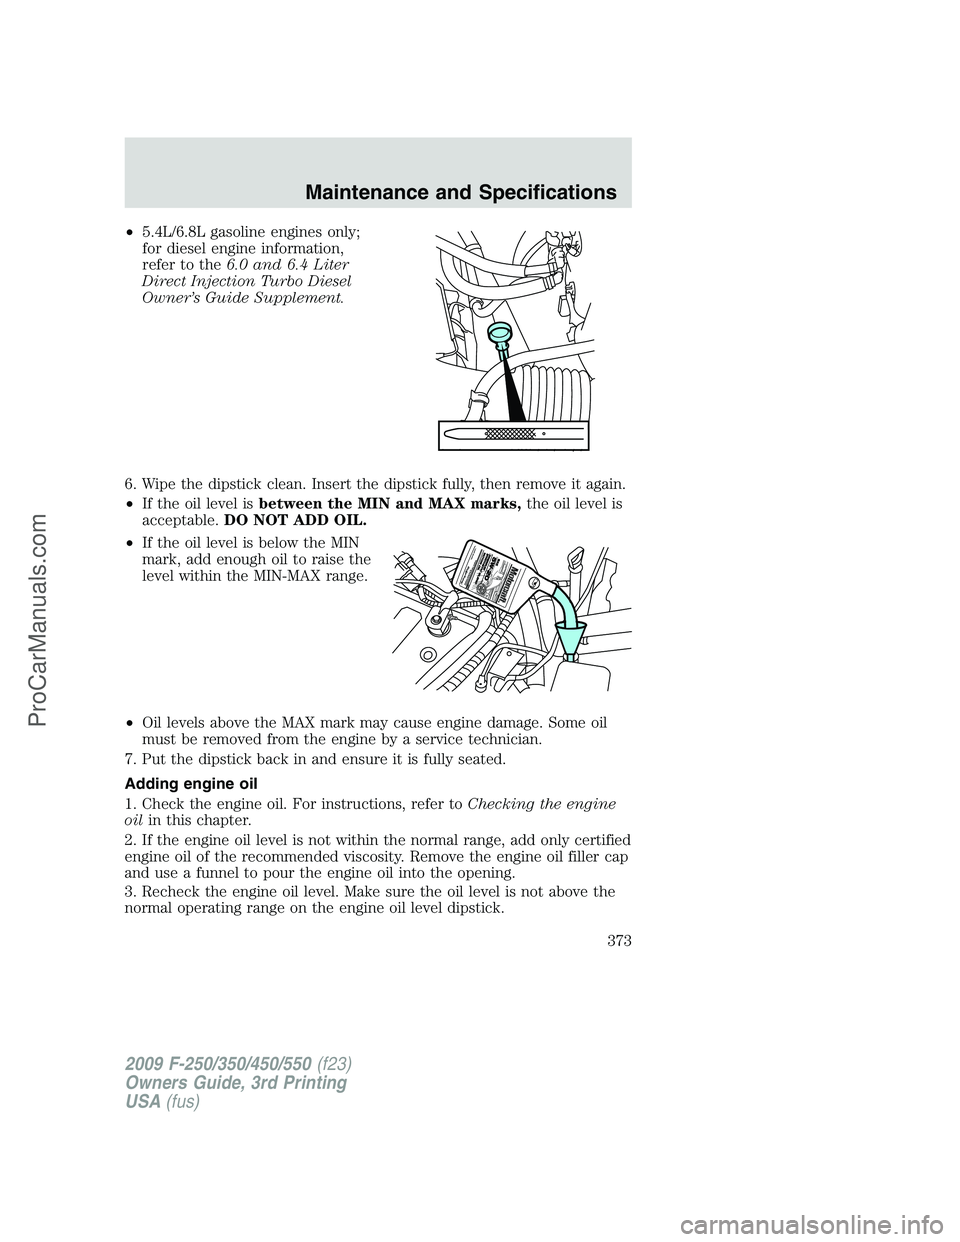
•5.4L/6.8L gasoline engines only;
for diesel engine information,
refer to the6.0 and 6.4 Liter
Direct Injection Turbo Diesel
Owner’s Guide Supplement.
6. Wipe the dipstick clean. Insert the dipstick fully, then remove it again.
•If the oil level isbetween the MIN and MAX marks,the oil level is
acceptable.DO NOT ADD OIL.
•If the oil level is below the MIN
mark, add enough oil to raise the
level within the MIN-MAX range.
•Oil levels above the MAX mark may cause engine damage. Some oil
must be removed from the engine by a service technician.
7. Put the dipstick back in and ensure it is fully seated.
Adding engine oil
1. Check the engine oil. For instructions, refer toChecking the engine
oilin this chapter.
2. If the engine oil level is not within the normal range, add only certified
engine oil of the recommended viscosity. Remove the engine oil filler cap
and use a funnel to pour the engine oil into the opening.
3. Recheck the engine oil level. Make sure the oil level is not above the
normal operating range on the engine oil level dipstick.
2009 F-250/350/450/550(f23)
Owners Guide, 3rd Printing
USA(fus)
Maintenance and Specifications
373
ProCarManuals.com
Page 375 of 419
It is recommended you use the appropriate Motorcraft oil filter or
another with equivalent performance for your engine application.
BATTERY
WARNING:This vehicle
may be equipped with more
than one battery, removal of cable
from only one battery does not
disconnect the vehicle electrical
system. Be sure to disconnect
cables from all batteries when
disconnecting power. Failure to do
so may cause serious personal
injury or property damage.
Your vehicle is equipped with a Motorcraft maintenance-free battery
which normally does not require additional water during its life of
service.
If your battery has a cover/shield, make sure it is reinstalled
after the battery has been cleaned or replaced.
For longer, trouble-free operation, keep the top of the battery clean and
dry. Also, make certain the battery cables are always tightly fastened to
the battery terminals.
If you see any corrosion on the battery or terminals, remove the cables
from the terminals and clean with a wire brush. You can neutralize the
acid with a solution of baking soda and water.
It is recommended that the negative battery cable terminal be
disconnected from the battery if you plan to store your vehicle for an
extended period of time. This will minimize the discharge of your battery
during storage.
Note: Electrical or electronic accessories or components added to
the vehicle by the dealer or the owner may adversely affect
battery performance and durability.
WARNING:Batteries normally produce explosive gases which
can cause personal injury. Therefore, do not allow flames, sparks
or lighted substances to come near the battery. When working near the
battery, always shield your face and protect your eyes. Always provide
proper ventilation.
2009 F-250/350/450/550(f23)
Owners Guide, 3rd Printing
USA(fus)
Maintenance and Specifications
375
ProCarManuals.com
Page 391 of 419

Maintenance
•Keep tires properly inflated and use only recommended size.
•Operating a vehicle with the wheels out of alignment will reduce fuel
economy.
•Use recommended engine oil. Refer toMaintenance product
specifications and capacitiesin this chapter.
•Perform all regularly scheduled maintenance items. Follow the
recommended maintenance schedule and owner maintenance checks
found inscheduled maintenance information.
Conditions
•Heavily loading a vehicle or towing a trailer may reduce fuel economy
at any speed.
•Carrying unnecessary weight may reduce fuel economy (approximately
1 mpg [0.4 km/L] is lost for every 400 lb [180 kg] of weight carried).
•Adding certain accessories to your vehicle (for example bug
deflectors, rollbars/light bars, running boards, ski/luggage racks) may
reduce fuel economy.
•To maximize the fuel economy, drive with the tonneau cover installed
(if equipped).
•Using fuel blended with alcohol may lower fuel economy.
•Fuel economy may decrease with lower temperatures during the first
8–10 miles (12–16 km) of driving.
•Driving on flat terrain offers improved fuel economy as compared to
driving on hilly terrain.
•Transmissions give their best fuel economy when operated in the top
cruise gear and with steady pressure on the gas pedal.
•Four-wheel-drive operation (if equipped) is less fuel efficient than
two-wheel-drive operation.
•Close windows for high speed driving.
EPA fuel economy estimates
Every new vehicle should have a window sticker containing EPA fuel
economy estimates. Contact your authorized dealer if the window sticker
is not supplied with your vehicle. The EPA fuel economy estimates
should be your guide for the fuel economy comparisons with other
vehicles. Your fuel economy may vary depending upon the method of
operation and conditions.
2009 F-250/350/450/550(f23)
Owners Guide, 3rd Printing
USA(fus)
Maintenance and Specifications
391
ProCarManuals.com