2009 FORD F350 horn
[x] Cancel search: hornPage 62 of 419

Headphones
Wireless headphones
WARNING:The driver should never use the headphones while
driving the vehicle. Using headphones may prevent the driver
from hearing audible warnings such as horns or emergency sirens,
which could result in a crash causing serious injury. Give your full
attention to driving and to the road.
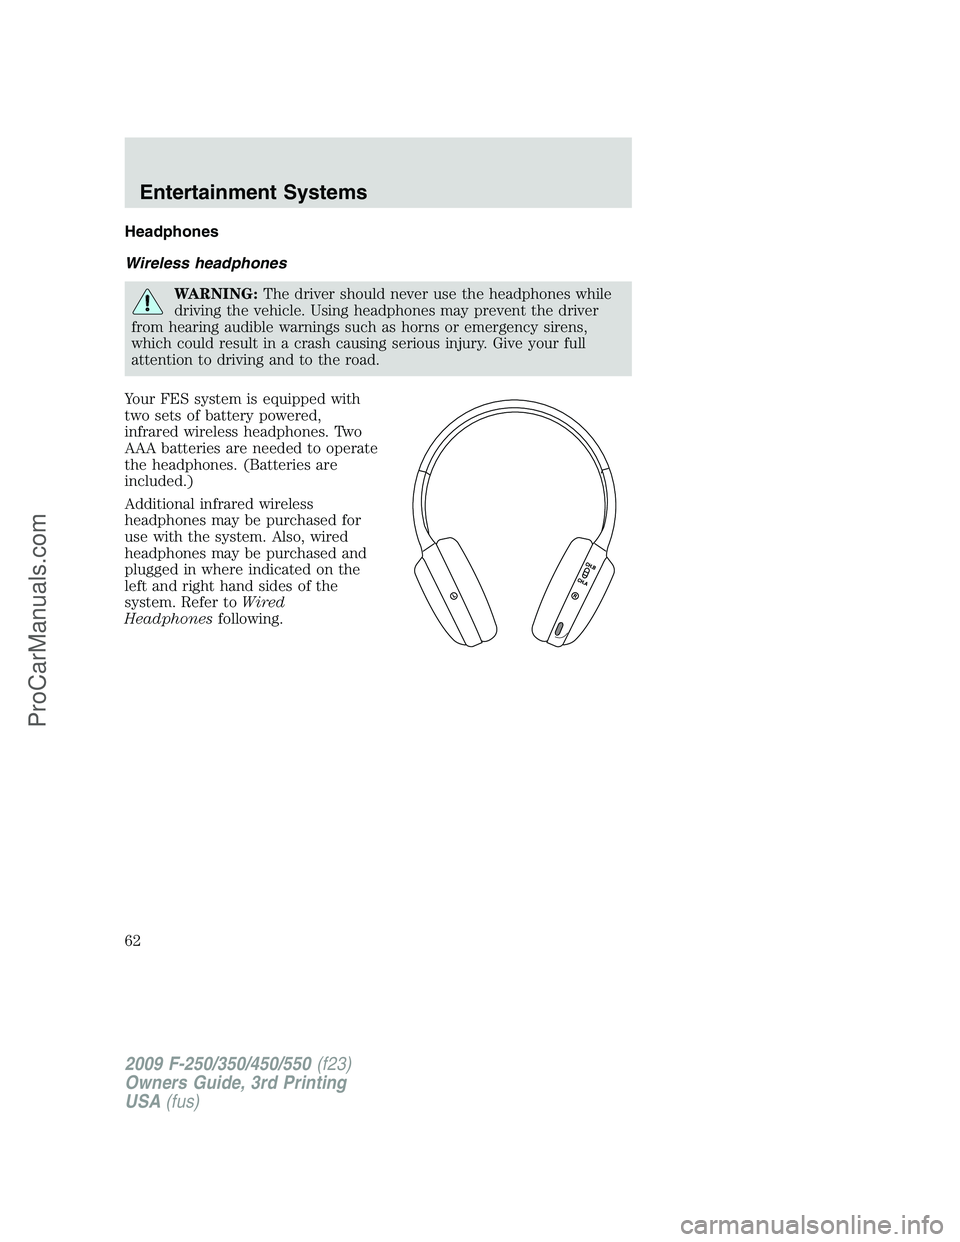
Your FES system is equipped with
two sets of battery powered,
infrared wireless headphones. Two
AAA batteries are needed to operate
the headphones. (Batteries are
included.)
Additional infrared wireless
headphones may be purchased for
use with the system. Also, wired
headphones may be purchased and
plugged in where indicated on the
left and right hand sides of the
system. Refer toWired
Headphonesfollowing.
2009 F-250/350/450/550(f23)
Owners Guide, 3rd Printing
USA(fus)
Entertainment Systems
62
ProCarManuals.com
Page 65 of 419

Wired headphones
WARNING:Do not leave children unattended in the vehicle and
do not let children operate the system while unsupervised. If
wired headphones or auxiliary systems are used, children may become
entangled in the cords and seriously injure themselves.
WARNING:The driver should never use the headphones while
driving the vehicle. Using headphones may prevent the driver
from hearing audible warnings such as horns or emergency sirens,
which could result in a crash causing serious injury. Give your full
attention to driving and to the road.
You may purchase wired headphones for your FES (Family
Entertainment System). Plug them into the 3.5 mm headphone jack(s)
located on the left and right sides of the system. (Channel A is located
on the left side and Channel B is located on the right side.) These
headphones will be active when in Dual Play mode.
To listen to the audio on wired headphones (not included), connect the
wired headphones into the headphone jacks on the sides of the DVD
system. The wired headphone jack for Channel A is located on the left
side of the FES and is labeled
A. Headphones plugged into this
headphone jack will hear audio from the audio source selected to be the
Channel A source. The wired headphone jack for Channel B is located on
the right side of the FES and is labeled
B. Headphones plugged into
this headphone jack will hear audio from the audio source selected to be
the Channel B source.
Adjust the headphone volume using
the volume control on the DVD
system.
Operation
Single play/Dual play
Your DVD and audio system work together with the infrared headphones
and wired headphones (not included) to allow the rear seat passengers
to listen to the radio (and other media sources) over the headphones.
This enables the front and rear seat passengers to listen to a variety of
sources a variety of ways.
2009 F-250/350/450/550(f23)
Owners Guide, 3rd Printing
USA(fus)
Entertainment Systems
65
ProCarManuals.com
Page 157 of 419

5. Turn the ignition back to the on position. The horn will chirp one time
to confirm programming mode has been entered and is active.
6. To enable/disable the autolock feature, press the unlock control, then
press the lock control. The horn will chirp once if autolock was
deactivated or twice (one short and one long chirp) if autolock was
activated.
7. Turn the ignition to the off position. The horn will chirp once to
confirm the procedure is complete.
Keyless entry keypad autolock enable/disable procedure
1. Turn the ignition to the off
position.
2. Close all the doors.
3. Enter factory–set 5–digit entry
code.
4. Press and hold the 3•4. While holding the 3•4pressthe7•8.
5. Release the 7•8.
6. Release the 3•4.
The user should receive ahorn chirpto indicate the system has been
disabled or a chirp followed by a honk to indicate the system has been
enabled.
Autounlock feature (if equipped)
The autounlock feature will unlock all the doors when:
•the ignition is in the on position, all the doors are closed, and the
vehicle has been in motion at a speed greater than 12 mph (20 km/h);
•the vehicle has then come to a stop and the ignition is turned to the
off ) or accessory position; and
•the driver door is opened within 10 minutes of the ignition being
transitioned to the off or accessory position.
Note:The doors will not autounlock if the vehicle has been
electronically locked before the driver door is opened.
2009 F-250/350/450/550(f23)
Owners Guide, 3rd Printing
USA(fus)
Locks and Security
157
ProCarManuals.com
Page 158 of 419

Deactivating/activating autounlock feature
There are three methods to enable/disable this feature:
•Through your authorized dealer,
•by using a power door unlock/lock sequence,
•using a keypad procedure (if equipped)
Note:The autounlock feature can be activated/deactivated
independently of the autolock feature.
Power door lock switch autounlock enable/disable procedure
Before starting, ensure the ignition is in the off position and all vehicle
doors are closed. You must complete Steps 1–5 within 30 seconds or the
procedure will have to be repeated. If the procedure needs to be
repeated, wait a minimum of 30 seconds before beginning again.
1. Place the key in the ignition and
turn the ignition to the on position.
2. Press the power door unlock
control on the door panel three
times.
3. Turn the ignition from the on
position to the off position.
4. Press the power door unlock control on the door panel three times.
5. Turn the ignition back to the on position. The horn will chirp one time
to confirm programming mode has been entered and is active.
6. To enable/disable the autounlock feature, press the lock control, then
press the unlock control. The horn will chirp once if autounlock was
deactivated or twice (one short and one long chirp) if autounlock was
activated.
7. Turn the ignition to the off position. The horn will chirp once to
confirm the procedure is complete.
Keyless entry keypad autounlock enable/disable procedure
1. Turn the ignition to the off
position.
2. Close all the doors.
3. Enter factory–set 5–digit entry
code.
2009 F-250/350/450/550(f23)
Owners Guide, 3rd Printing
USA(fus)
Locks and Security
158
ProCarManuals.com
Page 159 of 419

4. Press and hold the 3•4. While holding the 3•4, press and release
the 7•8. While still holding the 3•4, press and release the 7•8a
second time.
5. Release the 3•4.
The user should receive ahorn chirpto indicate the system has been
disabled or a chirp followed by a honk to indicate the system has been
enabled.
CHILDPROOF DOOR LOCKS (IF EQUIPPED)
•When these locks are set, the
rear doors cannot be opened from
the inside.
•The rear doors can be opened
from the outside when the doors
are unlocked.
The childproof locks are located on
rear edge of each rear door and
must be set separately for each
door. Setting the lock for one door
will not automatically set the lock
for both doors.
•Move lock control up to engage
the childproof lock.
•Move lock control down to
disengage the childproof lock.
REMOTE ENTRY SYSTEM (IF EQUIPPED)
This device complies with part 15 of the FCC rules and with RS-210 of
Industry Canada. Operation is subject to the following two conditions:
(1) This device may not cause harmful interference, and (2) This device
must accept any interference received, including interference that may
cause undesired operation.
Changes or modifications not expressly approved by the party
responsible for compliance could void the user’s authority to
operate the equipment.
2009 F-250/350/450/550(f23)
Owners Guide, 3rd Printing
USA(fus)
Locks and Security
159
ProCarManuals.com
Page 161 of 419

Switching from two step to one step door unlocking
Your vehicle comes with two step unlocking enabled. Unlocking can be
switched between two step and one step door unlocking by pressing and
holding both the
andbuttons simultaneously on the remote entry
transmitter for approximately four seconds. The hazard lamps will flash
twice to indicate that the vehicle has switched to one step unlocking.
Repeat the procedure to switch back to two-step unlocking.
Locking the doors
1. Press
and release to lock all the doors. The parking lamps will
flash if all the doors are closed and locked.
2. Press
and release again within three seconds to confirm that all
the doors are closed and locked.Note:The doors will lock again, the
horn will chirp once, and the parking lamps will flash once more.
If any of the doors are not properly closed the horn will make two quick
chirps and the parklamps will not flash.
Car finder
Press
twice within three seconds. The horn will chirp and the turn
lamps will flash. It is recommended that this method be used to locate
your vehicle, rather than using the panic alarm.
Sounding a panic alarm
Press
to activate the alarm. Press again or turn the ignition to on to
deactivate.
Note:The panic alarm will only operate when the ignition is in the off
position.
Memory seats/adjustable pedals/mirrors (if equipped)
The remote entry system can also control the memory seat/adjustable
pedals/mirrors.
Press
to automatically move the seat, adjustable pedals and mirrors to
the desired memory position (the seat position corresponds to the
transmitter being used).
2009 F-250/350/450/550(f23)
Owners Guide, 3rd Printing
USA(fus)
Locks and Security
161
ProCarManuals.com
Page 165 of 419

Deactivating/activating perimeter lamps illuminated entry
You may enable/disable this feature by having your vehicle serviced by
your authorized dealer.
You may also perform the following power door lock sequence to
enable/disable the perimeter lamps feature.
Note:Before starting, ensure the ignition is in the off position and all
vehicle doors are closed.
You must complete Steps 1–5 within 30 seconds or the procedure will
have to be repeated. If the procedure needs to be repeated, wait a
minimum of 30 seconds before beginning again.
1. Place the key in the ignition and turn the ignition to the on position.
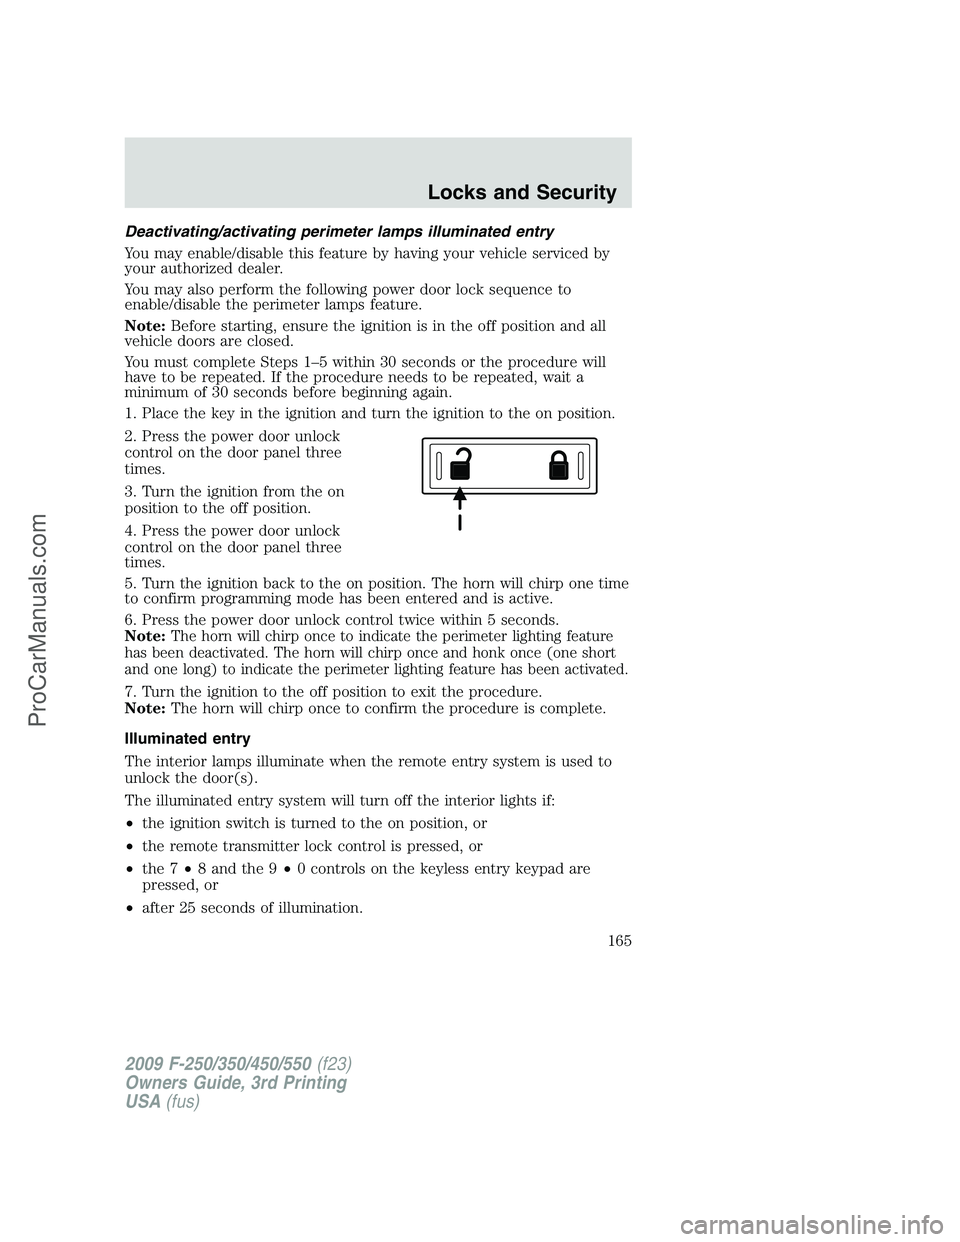
2. Press the power door unlock
control on the door panel three
times.
3. Turn the ignition from the on
position to the off position.
4. Press the power door unlock
control on the door panel three
times.
5. Turn the ignition back to the on position. The horn will chirp one time
to confirm programming mode has been entered and is active.
6. Press the power door unlock control twice within 5 seconds.
Note:
The horn will chirp once to indicate the perimeter lighting feature
has been deactivated. The horn will chirp once and honk once (one short
and one long) to indicate the perimeter lighting feature has been activated.
7. Turn the ignition to the off position to exit the procedure.
Note:The horn will chirp once to confirm the procedure is complete.
Illuminated entry
The interior lamps illuminate when the remote entry system is used to
unlock the door(s).
The illuminated entry system will turn off the interior lights if:
•the ignition switch is turned to the on position, or
•the remote transmitter lock control is pressed, or
•the 7•8 and the 9•0 controls on the keyless entry keypad are
pressed, or
•after 25 seconds of illumination.
2009 F-250/350/450/550(f23)
Owners Guide, 3rd Printing
USA(fus)
Locks and Security
165
ProCarManuals.com
Page 171 of 419

PERIMETER ALARM SYSTEM (IF EQUIPPED)
The perimeter anti-theft system will warn you in the event of an
unauthorized entry to your vehicle.
If there is any potential perimeter anti-theft problem with your vehicle,
ensureALL remote entry transmittersare taken to the authorized
dealer to aid in troubleshooting.
Arming the system
When armed, this system will respond if unauthorized entry is
attempted. When unauthorized entry occurs, the system will flash the
park/turn lamps and will sound the horn.
The system is ready to arm whenever the key is removed from the
ignition. Either of the following actions will prearm the alarm system:
•Press the
control on the remote entry transmitter.
•Open a door and press the power door lock control to lock all the
doors, and then close the door.
Disarming the system
You can disarm the system by any of the following actions:
•Unlock the doors by pressing the
control on your remote entry
transmitter.
•Unlock the doors with a key. Turn the key full travel (toward the front
of the vehicle) to ensure the alarm disarms.
•Turn the ignition to the on position with a programmed coded ignition
key.
Triggering the anti-theft system
The armed system will be triggered if any door or hood is opened
without using the key or the remote entry transmitter.
2009 F-250/350/450/550(f23)
Owners Guide, 3rd Printing
USA(fus)
Locks and Security
171
ProCarManuals.com