2009 FORD F250 oil level
[x] Cancel search: oil levelPage 13 of 419

Vehicle Symbol Glossary
Power Windows
Front/Rear
Power Window Lockout
Child Safety Door
Lock/UnlockInterior Luggage
Compartment Release
Panic AlarmEngine Oil
Engine CoolantEngine Coolant
Temperature
Do Not Open When HotBattery
Avoid Smoking, Flames,
or SparksBattery Acid
Explosive GasFan Warning
Power Steering FluidMaintain Correct Fluid
LevelMAX
MIN
Service Engine SoonEngine Air Filter
Passenger Compartment
Air FilterJack
Check Fuel CapLow Tire Pressure
Warning
2009 F-250/350/450/550(f23)
Owners Guide, 3rd Printing
USA(fus)
Introduction
13
Page 24 of 419

Engine oil pressure gauge:
Indicates engine oil pressure. The
needle should stay in the normal
operating range (between “L” and
“H”). If the needle falls below the
normal range, stop the vehicle, turn
off the engine and check the engine
oil level. Add oil if needed. If the oil
level is correct, have your vehicle checked at your authorized dealer.
Fuel gauge:Indicates
approximately how much fuel is left
in the fuel tank (when the ignition
is in the on position). The fuel
gauge may vary slightly when the
vehicle is in motion or on a grade.
The FUEL icon and arrow indicates
which side of the vehicle the fuel
filler door is located.
Refer toFilling the tankin theMaintenance and Specifications
chapter for more information.
Battery voltage gauge (manual
transmission only):Indicates the
battery voltage when the ignition is
in the on position. If the pointer
moves and stays outside the normal
operating range, have the vehicle’s
electrical system checked as soon as
possible.
2009 F-250/350/450/550(f23)
Owners Guide, 3rd Printing
USA(fus)
Instrument Cluster
24
Page 131 of 419
5. AIR FILTER (Diesel engine only)
6. DOOR AJAR
7. BRAKE SYSTEM
8. TBC GAIN = XX.X
NO TRAILER (if equipped and no trailer connected)
9. TBC GAIN = XX.X
OUTPUT = ////// (if equipped and trailer connected)
10. XX MILES TO E FUEL LEVEL XXX
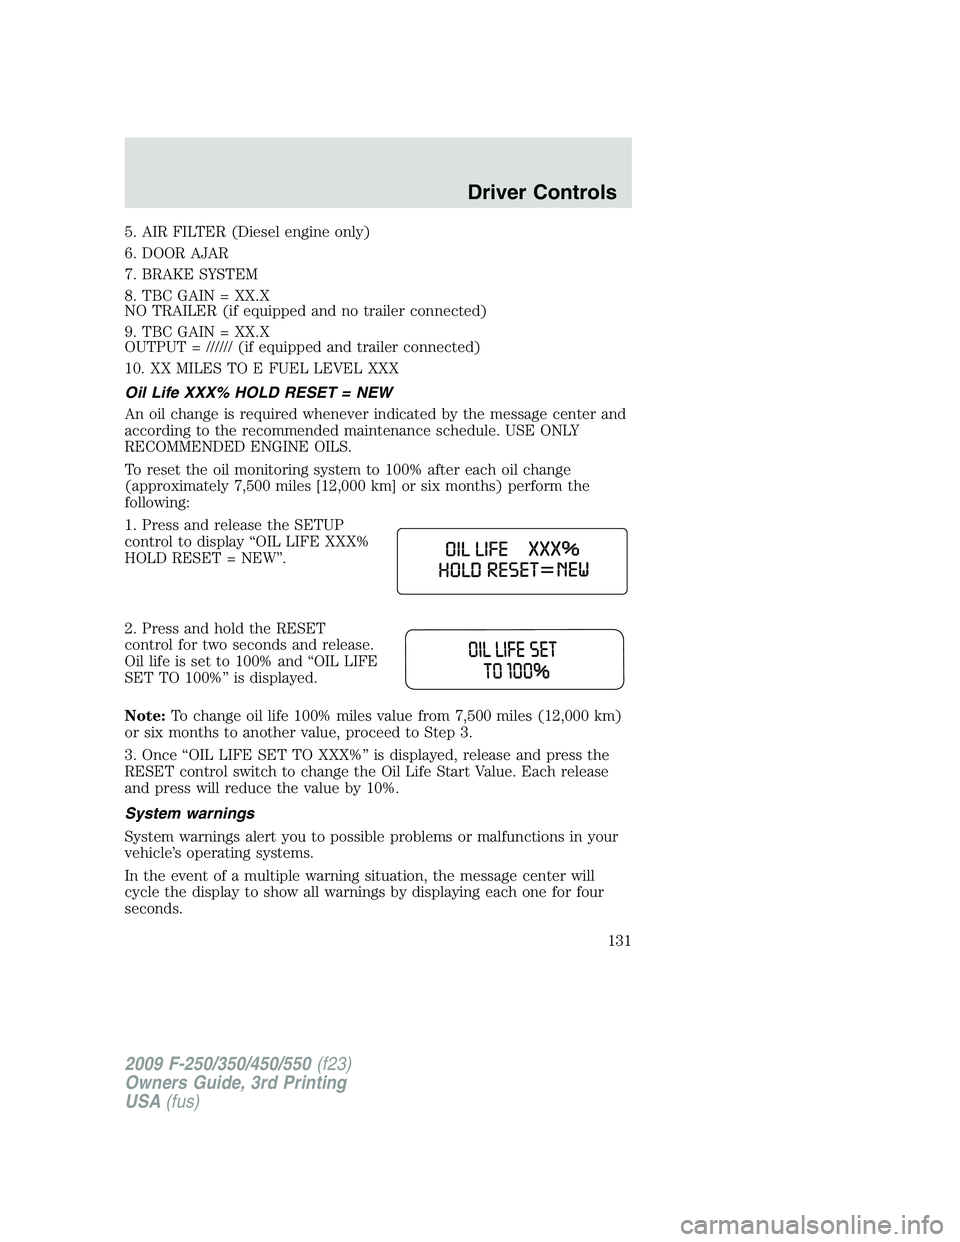
Oil Life XXX% HOLD RESET = NEW
An oil change is required whenever indicated by the message center and
according to the recommended maintenance schedule. USE ONLY
RECOMMENDED ENGINE OILS.
To reset the oil monitoring system to 100% after each oil change
(approximately 7,500 miles [12,000 km] or six months) perform the
following:
1. Press and release the SETUP
control to display “OIL LIFE XXX%
HOLD RESET = NEW”.
2. Press and hold the RESET
control for two seconds and release.
Oil life is set to 100% and “OIL LIFE
SET TO 100%” is displayed.
Note:To change oil life 100% miles value from 7,500 miles (12,000 km)
or six months to another value, proceed to Step 3.
3. Once “OIL LIFE SET TO XXX%” is displayed, release and press the
RESET control switch to change the Oil Life Start Value. Each release
and press will reduce the value by 10%.
System warnings
System warnings alert you to possible problems or malfunctions in your
vehicle’s operating systems.
In the event of a multiple warning situation, the message center will
cycle the display to show all warnings by displaying each one for four
seconds.
2009 F-250/350/450/550(f23)
Owners Guide, 3rd Printing
USA(fus)
Driver Controls
131
Page 136 of 419
DRIVE TO CLEAN EXHAUST FILTER (Diesel engine only)—
Displayed when the engine control module detects the Diesel Particulate
Filter (DPF) is full of particulates and that the vehicle is not being
operated in a manner to allow automatic cleaning. The vehicle operator
has to drive the vehicle above 30 mph (48 km/h) for at least 20 minutes
to clean the DPF. This will continue to be displayed until an adequate
drive cycle is completed. This message is NORMAL.Note:
Power-Take-Off (PTO) and/or Stationary Elevated Idle (SEIC) must be
disabled in order to initiate Diesel Particulate Filter (DPF) cleaning.
CLEANING EXHAUST FILTER (Diesel engine only)— Displays
continuously when the vehicle has entered the cleaning mode normally;
or when cleaning the filter after a DRIVE TO CLEAN EXHAUST FILTER
message was previously displayed. When this message is displayed
various engine actions will raise the exhaust temperature in the DPF to
clean the exhaust filter. After the exhaust filter is cleaned, the exhaust
temperature will fall back to normal levels. This message is NORMAL.
WARNING:When the CLEANING EXHAUST FILTER message
appears in the message center do not park near flammable
materials, vapors and structures until filter cleaning is complete.
EXHAUST FILTER DRIVE COMPLETE (Diesel engine only)—
Displayed when the vehicle has completed the adequate drive cycle to
clean the DPF. This message is NORMAL.
WARNING:Do not park, idle, or drive your vehicle in dry grass
or other dry ground cover. The emission system heats up the
engine compartment and exhaust system, which can start a fire.
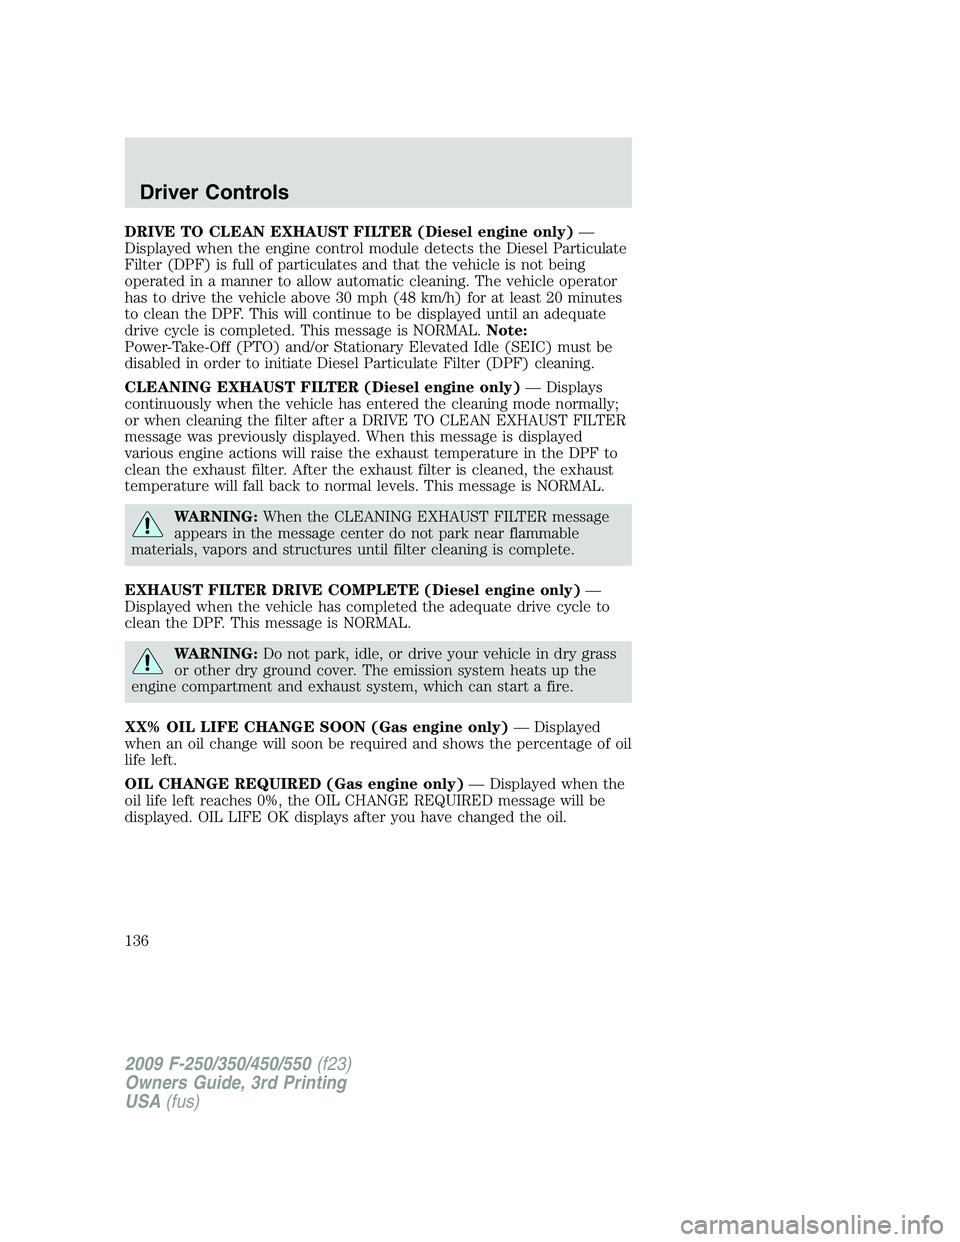
XX% OIL LIFE CHANGE SOON (Gas engine only)— Displayed
when an oil change will soon be required and shows the percentage of oil
life left.
OIL CHANGE REQUIRED (Gas engine only)— Displayed when the
oil life left reaches 0%, the OIL CHANGE REQUIRED message will be
displayed. OIL LIFE OK displays after you have changed the oil.
2009 F-250/350/450/550(f23)
Owners Guide, 3rd Printing
USA(fus)
Driver Controls
136
Page 141 of 419
5. AIR FILTER (Diesel engine only)
6. DOOR AJAR
7. BRAKE SYSTEM
8. TBC GAIN = XX.X
NO TRAILER (if equipped and no trailer connected)
9. TBC GAIN = XX.X
OUTPUT = ////// (if equipped and trailer connected)
10. FUEL LEVEL
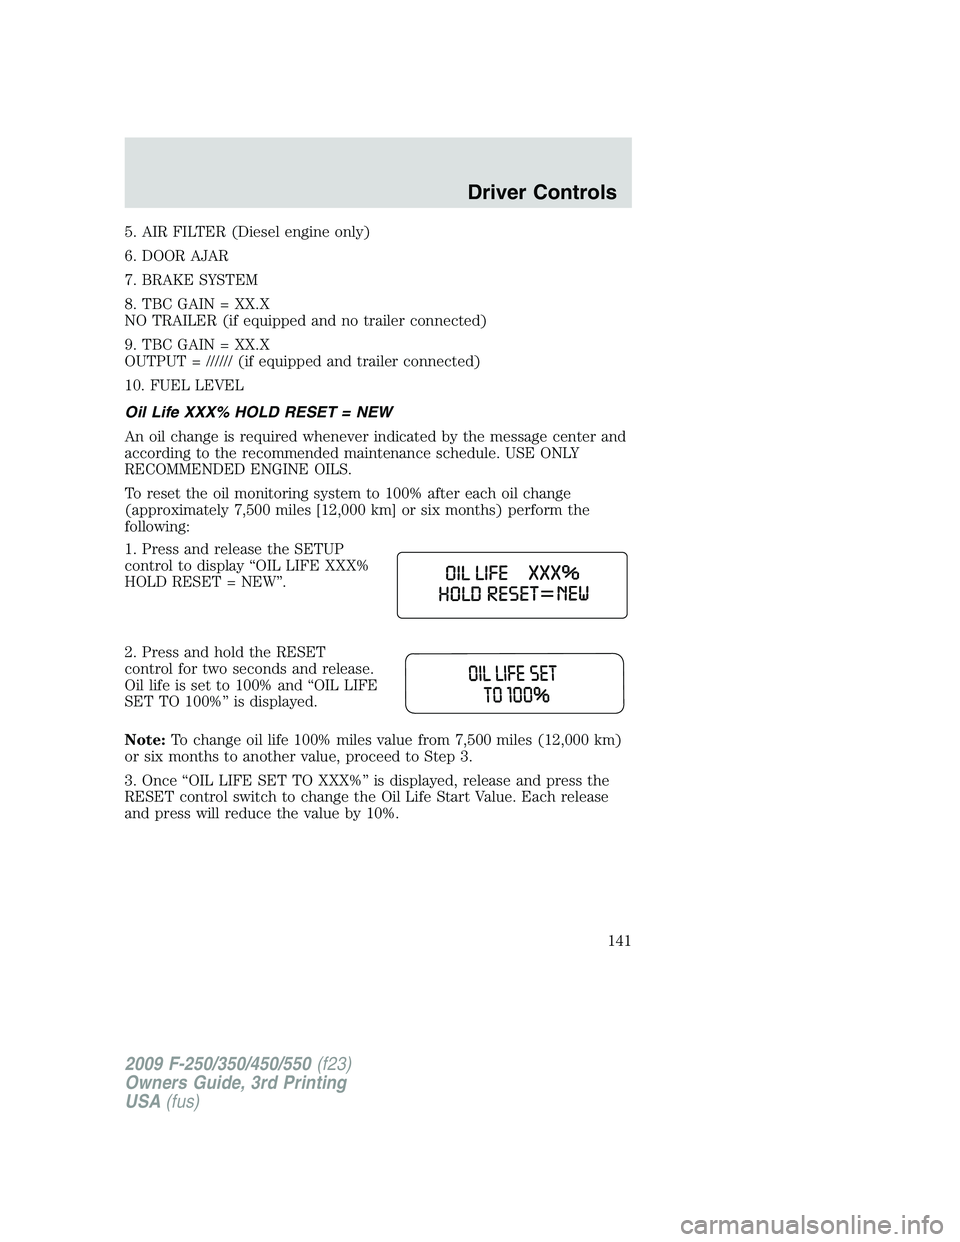
Oil Life XXX% HOLD RESET = NEW
An oil change is required whenever indicated by the message center and
according to the recommended maintenance schedule. USE ONLY
RECOMMENDED ENGINE OILS.
To reset the oil monitoring system to 100% after each oil change
(approximately 7,500 miles [12,000 km] or six months) perform the
following:
1. Press and release the SETUP
control to display “OIL LIFE XXX%
HOLD RESET = NEW”.
2. Press and hold the RESET
control for two seconds and release.
Oil life is set to 100% and “OIL LIFE
SET TO 100%” is displayed.
Note:To change oil life 100% miles value from 7,500 miles (12,000 km)
or six months to another value, proceed to Step 3.
3. Once “OIL LIFE SET TO XXX%” is displayed, release and press the
RESET control switch to change the Oil Life Start Value. Each release
and press will reduce the value by 10%.
2009 F-250/350/450/550(f23)
Owners Guide, 3rd Printing
USA(fus)
Driver Controls
141
Page 149 of 419
DRIVE TO CLEAN EXHAUST FILTER (Diesel engine only)—
Displayed when the engine control module detects the Diesel Particulate
Filter (DPF) is full of particulates and that the vehicle is not being
operated in a manner to allow automatic cleaning. The vehicle operator
will have to drive the vehicle above 30 mph (48 km/h) for at least
20 minutes to clean the DPF. This message will continue to be displayed
until an adequate drive cycle is completed. This message is NORMAL.
Note:Power-Take-Off (PTO) and/or Stationary Elevated Idle (SEIC)
must be disabled in order to initiate Diesel Particulate Filter (DPF)
cleaning.
CLEANING EXHAUST FILTER (Diesel engine only)— Displays
continuously when the vehicle has entered the cleaning mode normally;
or when cleaning the filter after a DRIVE TO CLEAN EXHAUST FILTER
message was previously displayed. When this message is displayed
various engine actions will raise the exhaust temperature in the DPF to
clean the exhaust filter. After the exhaust filter is cleaned, the exhaust
temperature will fall back to normal levels. This message is NORMAL.
WARNING:When the CLEANING EXHAUST FILTER message
appears in the message center do not park near flammable
materials, vapors and structures until filter cleaning is complete.
EXHAUST FILTER DRIVE COMPLETE (Diesel engine only)—
Displayed when the vehicle has completed the adequate drive cycle to
clean the DPF. This message is NORMAL.
WARNING:Do not park, idle, or drive your vehicle in dry grass
or other dry ground cover. The emission system heats up the
engine compartment and exhaust system, which can start a fire.
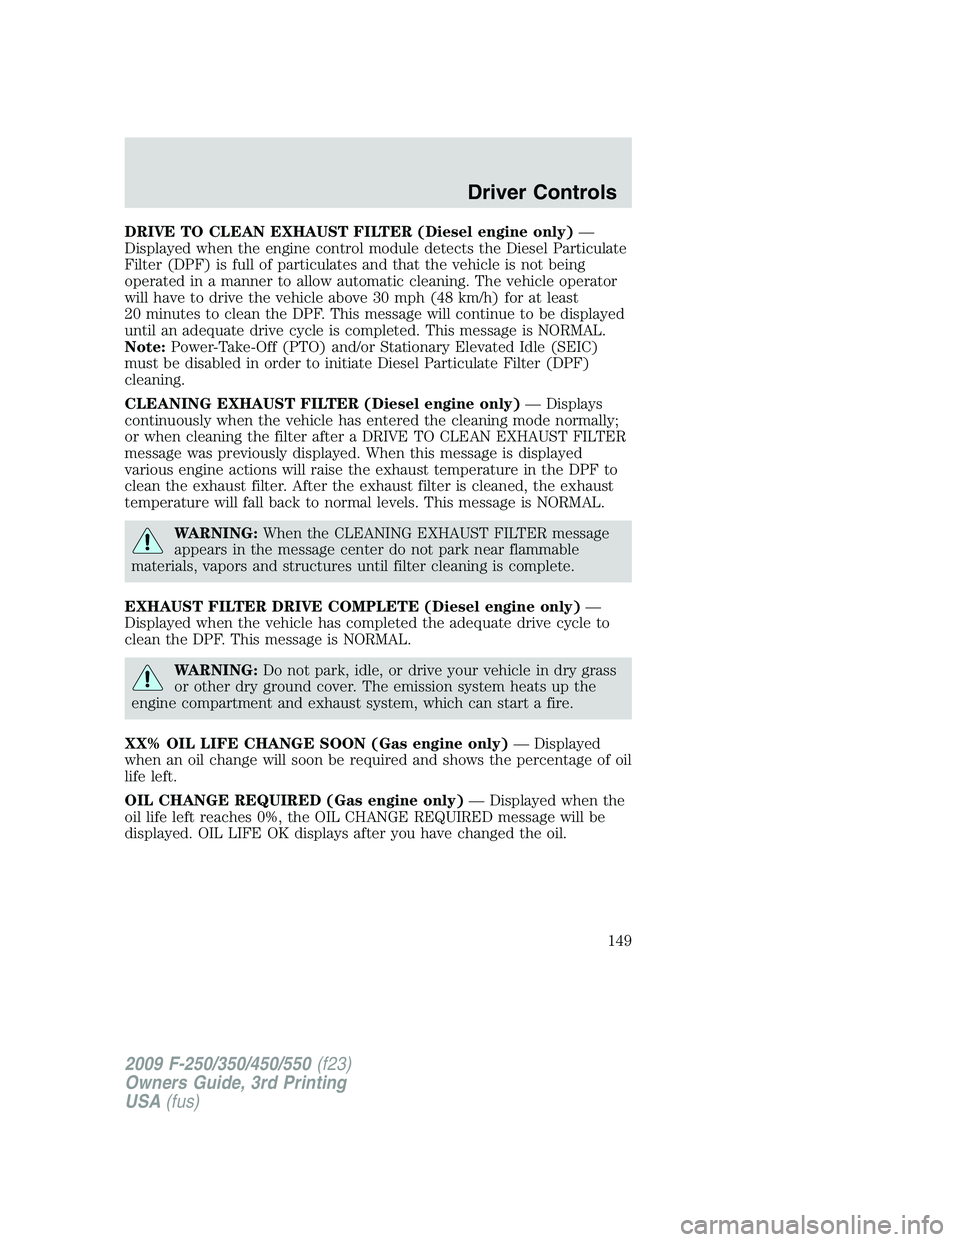
XX% OIL LIFE CHANGE SOON (Gas engine only)— Displayed
when an oil change will soon be required and shows the percentage of oil
life left.
OIL CHANGE REQUIRED (Gas engine only)— Displayed when the
oil life left reaches 0%, the OIL CHANGE REQUIRED message will be
displayed. OIL LIFE OK displays after you have changed the oil.
2009 F-250/350/450/550(f23)
Owners Guide, 3rd Printing
USA(fus)
Driver Controls
149
Page 372 of 419
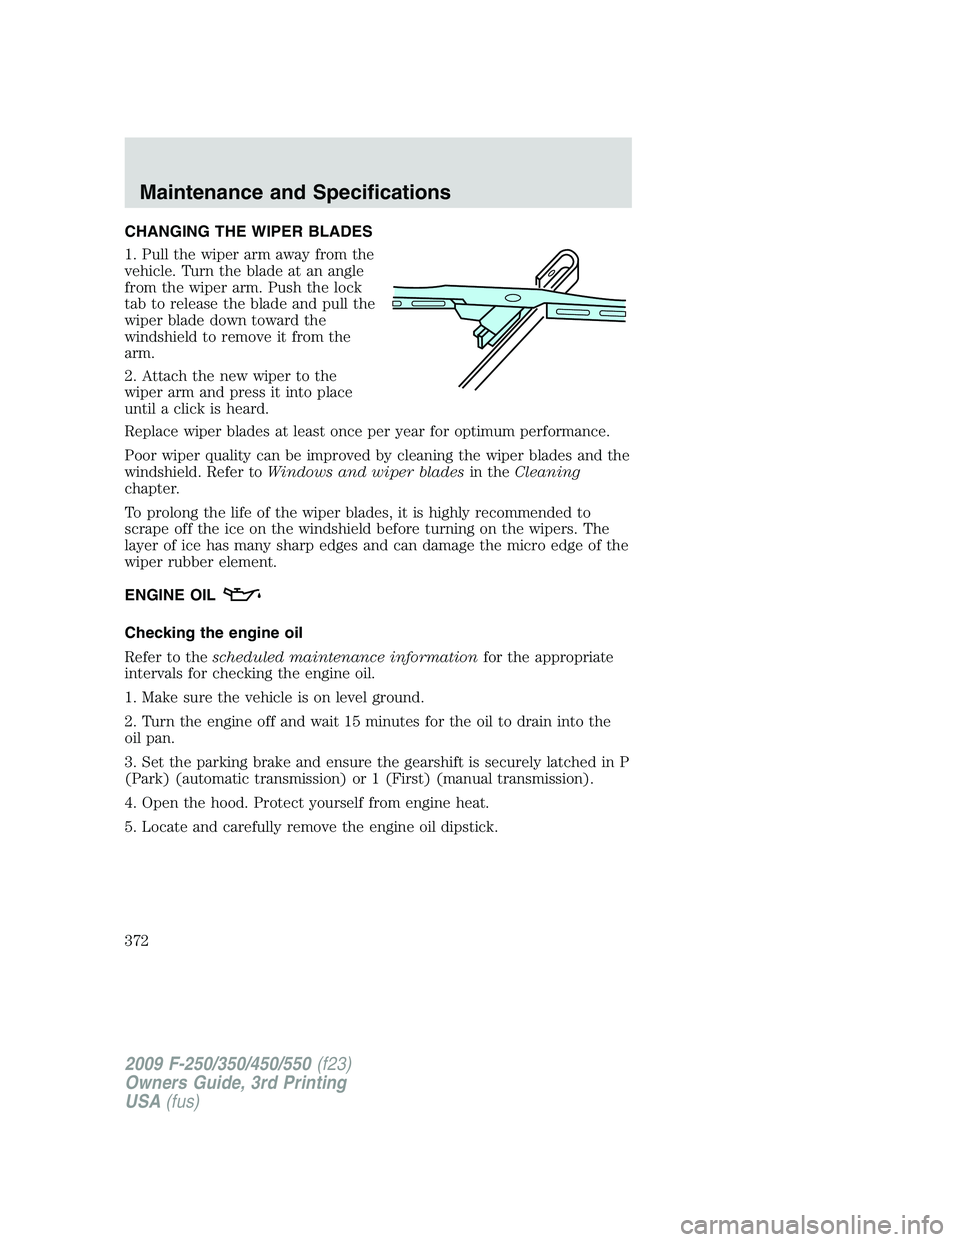
CHANGING THE WIPER BLADES
1. Pull the wiper arm away from the
vehicle. Turn the blade at an angle
from the wiper arm. Push the lock
tab to release the blade and pull the
wiper blade down toward the
windshield to remove it from the
arm.
2. Attach the new wiper to the
wiper arm and press it into place
until a click is heard.
Replace wiper blades at least once per year for optimum performance.
Poor wiper quality can be improved by cleaning the wiper blades and the
windshield. Refer toWindows and wiper bladesin theCleaning
chapter.
To prolong the life of the wiper blades, it is highly recommended to
scrape off the ice on the windshield before turning on the wipers. The
layer of ice has many sharp edges and can damage the micro edge of the
wiper rubber element.
ENGINE OIL
Checking the engine oil
Refer to thescheduled maintenance informationfor the appropriate
intervals for checking the engine oil.
1. Make sure the vehicle is on level ground.
2. Turn the engine off and wait 15 minutes for the oil to drain into the
oil pan.
3. Set the parking brake and ensure the gearshift is securely latched in P
(Park) (automatic transmission) or 1 (First) (manual transmission).
4. Open the hood. Protect yourself from engine heat.
5. Locate and carefully remove the engine oil dipstick.
2009 F-250/350/450/550(f23)
Owners Guide, 3rd Printing
USA(fus)
Maintenance and Specifications
372
Page 373 of 419

•5.4L/6.8L gasoline engines only;
for diesel engine information,
refer to the6.0 and 6.4 Liter
Direct Injection Turbo Diesel
Owner’s Guide Supplement.
6. Wipe the dipstick clean. Insert the dipstick fully, then remove it again.
•If the oil level isbetween the MIN and MAX marks,the oil level is
acceptable.DO NOT ADD OIL.
•If the oil level is below the MIN
mark, add enough oil to raise the
level within the MIN-MAX range.
•Oil levels above the MAX mark may cause engine damage. Some oil
must be removed from the engine by a service technician.
7. Put the dipstick back in and ensure it is fully seated.
Adding engine oil
1. Check the engine oil. For instructions, refer toChecking the engine
oilin this chapter.
2. If the engine oil level is not within the normal range, add only certified
engine oil of the recommended viscosity. Remove the engine oil filler cap
and use a funnel to pour the engine oil into the opening.
3. Recheck the engine oil level. Make sure the oil level is not above the
normal operating range on the engine oil level dipstick.
2009 F-250/350/450/550(f23)
Owners Guide, 3rd Printing
USA(fus)
Maintenance and Specifications
373