Page 84 of 351
Bounce-back:When an obstacle has been detected in the moon roof
opening as the moon roof is closing, the moon roof will automatically
open and stop at a prescribed position.
Bounce-back override:To override bounce-back function, pull and hold
the SLIDE switch within two seconds of a bounce-back event. The
closing force will begin to increase each time the moon roof is closed for
the first three closing cycles, with bounce-back active. For example:
Bounce-back can be used to overcome the resistance of ice on the moon
roof or seals
To vent the moon roof:Press and release the TILT control, the moon
roof will move to the vent position automatically from any moon roof
position. Press the switch again to stop the moon roof. Pull and hold the
TILT control to close the moon roof.
The moon roof has a built-in sliding shade that can be manually opened
or closed when the glass panel is shut. To close the shade, pull it toward
the front of the vehicle.
Accessory delay:
With accessory delay, the window switches, audio system, and moon roof
may be used for up to 10 minutes after the ignition switch is turned to
the off position or until either front door is opened.
STANDARD MESSAGE CENTER (IF EQUIPPED)
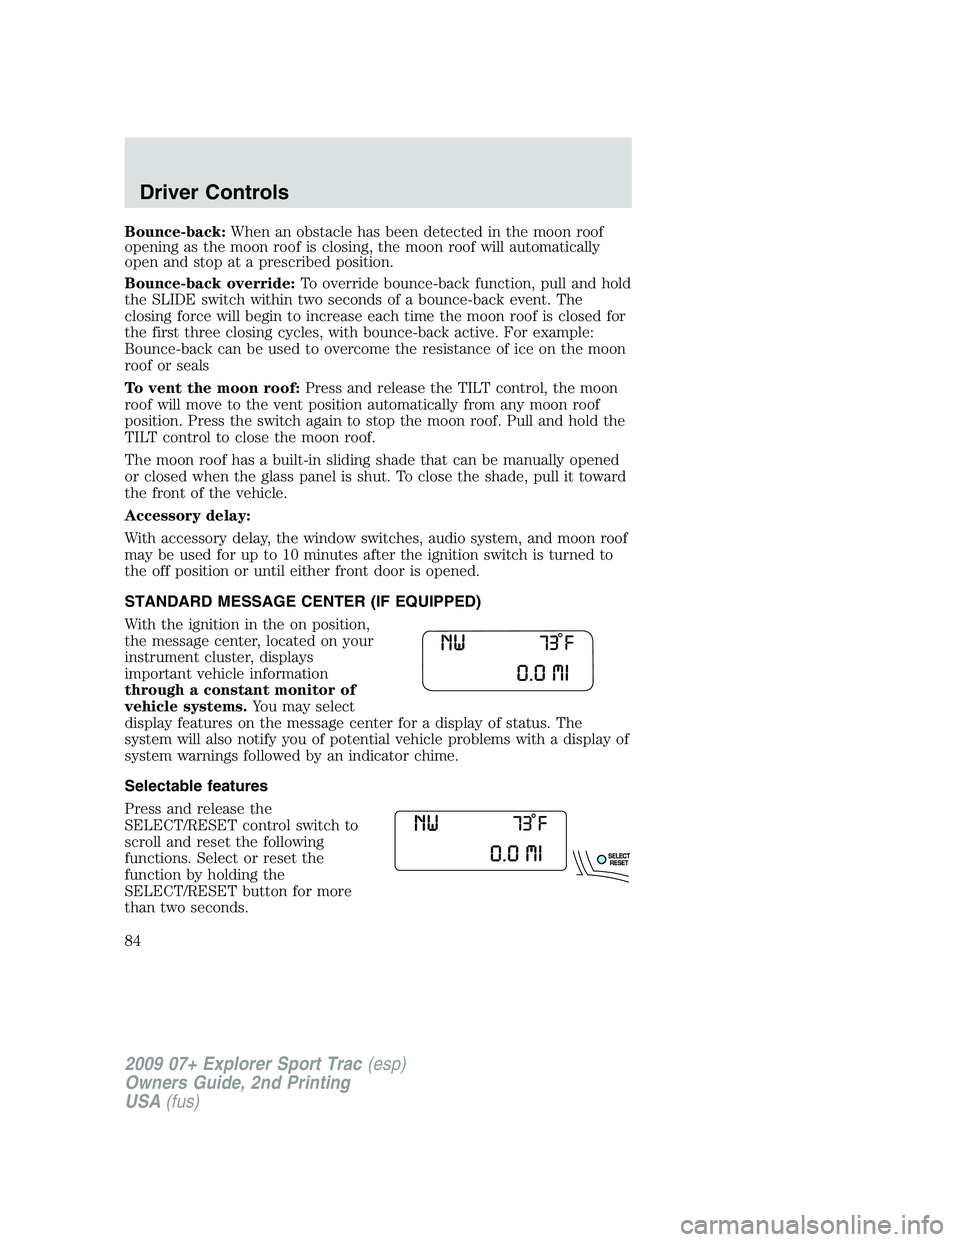
With the ignition in the on position,
the message center, located on your
instrument cluster, displays
important vehicle information
through a constant monitor of
vehicle systems.You may select
display features on the message center for a display of status. The
system will also notify you of potential vehicle problems with a display of
system warnings followed by an indicator chime.
Selectable features
Press and release the
SELECT/RESET control switch to
scroll and reset the following
functions. Select or reset the
function by holding the
SELECT/RESET button for more
than two seconds.
2009 07+ Explorer Sport Trac(esp)
Owners Guide, 2nd Printing
USA(fus)
Driver Controls
84
Page 172 of 351
The Safety Canopy�system, in combination with safety belts, can help
reduce the risk of severe injuries in the event of a significant side impact
collision or rollover event.
Children 12 years old and under should always be properly restrained in
the second or third row seats (if equipped). The Safety Canopy�will not
interfere with children restrained using a properly installed child or
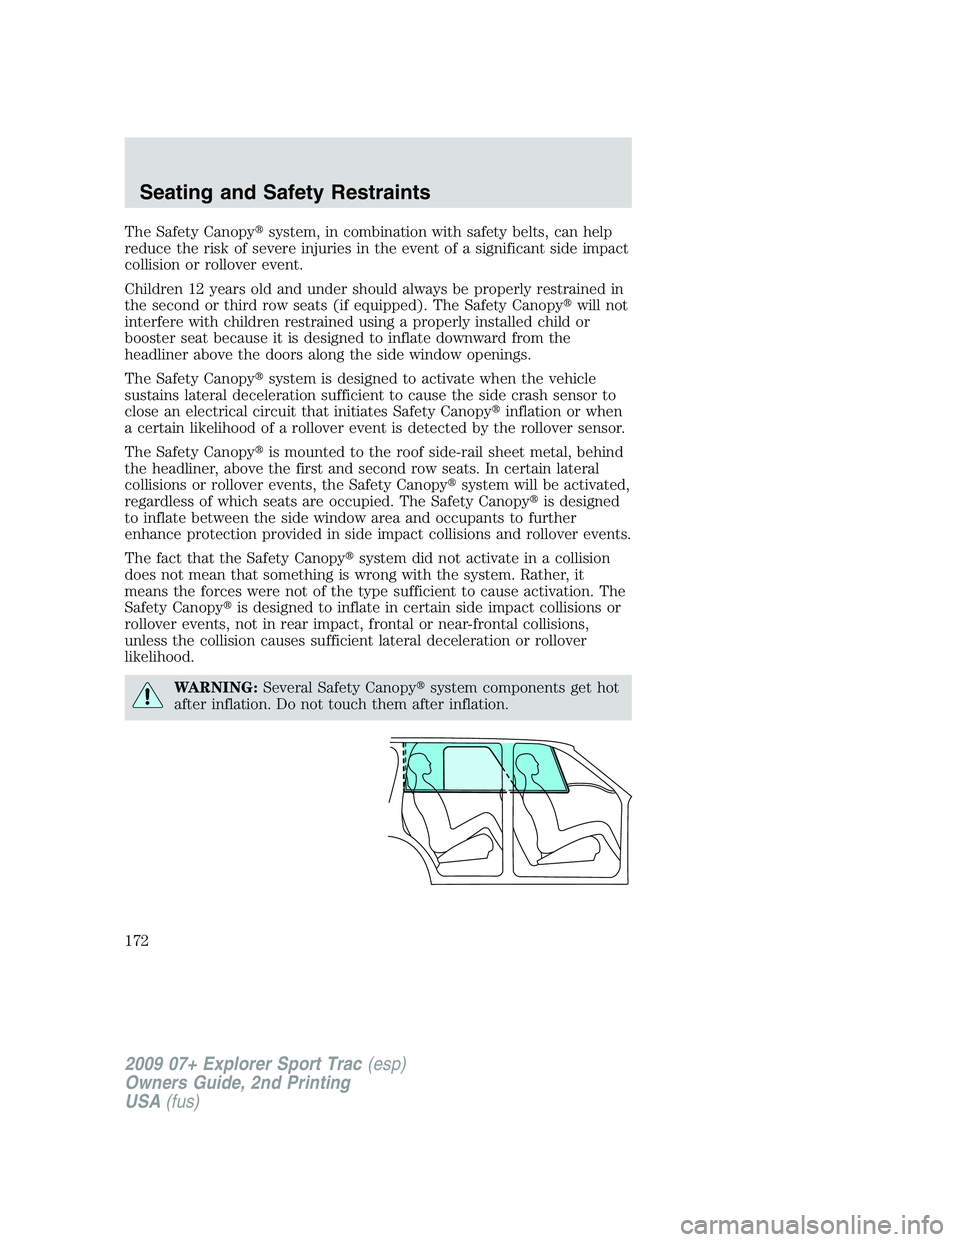
booster seat because it is designed to inflate downward from the
headliner above the doors along the side window openings.
The Safety Canopy�system is designed to activate when the vehicle
sustains lateral deceleration sufficient to cause the side crash sensor to
close an electrical circuit that initiates Safety Canopy�inflation or when
a certain likelihood of a rollover event is detected by the rollover sensor.
The Safety Canopy�is mounted to the roof side-rail sheet metal, behind
the headliner, above the first and second row seats. In certain lateral
collisions or rollover events, the Safety Canopy�system will be activated,
regardless of which seats are occupied. The Safety Canopy�is designed
to inflate between the side window area and occupants to further
enhance protection provided in side impact collisions and rollover events.
The fact that the Safety Canopy�system did not activate in a collision
does not mean that something is wrong with the system. Rather, it
means the forces were not of the type sufficient to cause activation. The
Safety Canopy�is designed to inflate in certain side impact collisions or
rollover events, not in rear impact, frontal or near-frontal collisions,
unless the collision causes sufficient lateral deceleration or rollover
likelihood.
WARNING:Several Safety Canopy�system components get hot
after inflation. Do not touch them after inflation.
2009 07+ Explorer Sport Trac(esp)
Owners Guide, 2nd Printing
USA(fus)
Seating and Safety Restraints
172
Page 230 of 351
Starting the engine
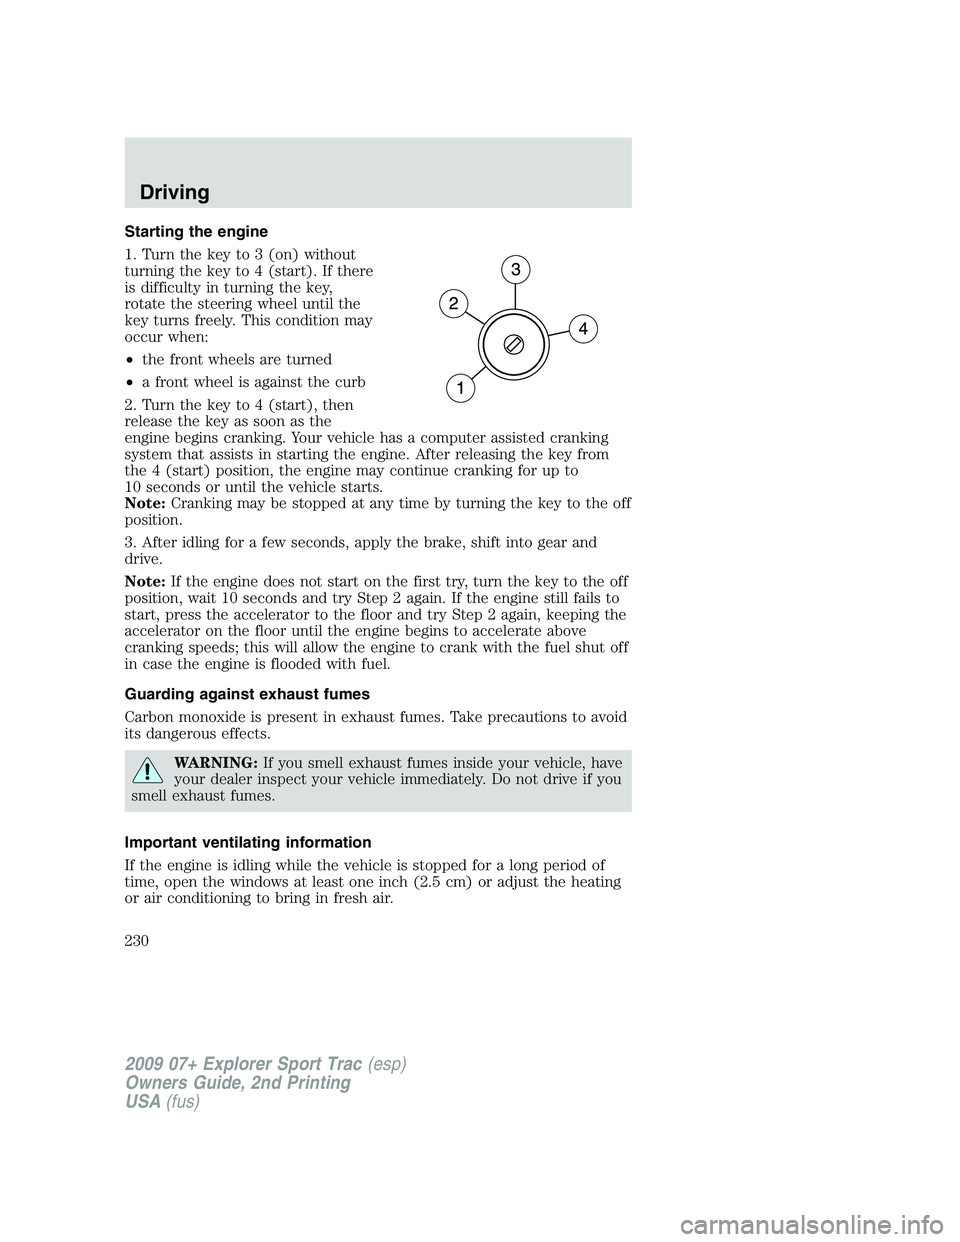
1. Turn the key to 3 (on) without
turning the key to 4 (start). If there
is difficulty in turning the key,
rotate the steering wheel until the
key turns freely. This condition may
occur when:
•the front wheels are turned
•a front wheel is against the curb
2. Turn the key to 4 (start), then
release the key as soon as the
engine begins cranking. Your vehicle has a computer assisted cranking
system that assists in starting the engine. After releasing the key from
the 4 (start) position, the engine may continue cranking for up to
10 seconds or until the vehicle starts.
Note:Cranking may be stopped at any time by turning the key to the off
position.
3. After idling for a few seconds, apply the brake, shift into gear and
drive.
Note:If the engine does not start on the first try, turn the key to the off
position, wait 10 seconds and try Step 2 again. If the engine still fails to
start, press the accelerator to the floor and try Step 2 again, keeping the
accelerator on the floor until the engine begins to accelerate above
cranking speeds; this will allow the engine to crank with the fuel shut off
in case the engine is flooded with fuel.
Guarding against exhaust fumes
Carbon monoxide is present in exhaust fumes. Take precautions to avoid
its dangerous effects.
WARNING:If you smell exhaust fumes inside your vehicle, have
your dealer inspect your vehicle immediately. Do not drive if you
smell exhaust fumes.
Important ventilating information
If the engine is idling while the vehicle is stopped for a long period of
time, open the windows at least one inch (2.5 cm) or adjust the heating
or air conditioning to bring in fresh air.
2009 07+ Explorer Sport Trac(esp)
Owners Guide, 2nd Printing
USA(fus)
Driving
230
Page 266 of 351
Passenger compartment fuse panel
The fuse panel is located below the
instrument panel on the driver’s
side.
To remove a fuse use the fuse puller tool provided on the fuse panel box.
The fuses are coded as follows:
Fuse/Relay
LocationFuse Amp
RatingProtected Circuits
1 20A Moon roof, Adjustable pedals
2 5A Microcontroller power (SJB)
3 20A Radio, Navigation amplifier
4 10A OBD II connector
5 5A Moonroof, Power down back window,
Door lock switch illumination,
Rearview mirror with microphone
C
B
1 4
3
2
18
7
6
51
2
1
1
1
0
91
6
1
5
1
4
1
32
0
1
9
1
8
1
72
4
2
3
2
2
2
12
8
2
7
2
6
2
5
2009 07+ Explorer Sport Trac(esp)
Owners Guide, 2nd Printing
USA(fus)
Roadside Emergencies
266
Page 268 of 351
Fuse/Relay
LocationFuse Amp
RatingProtected Circuits
27 15A Not used
28 10A Manual/DEATC climate control
CB1 25A Windows
The following relays are located on either side of the passenger
compartment fuse panel. See your authorized dealer for service of these
relays.
Fuse/Relay Location Description
Relay 1 Delayed ACC
Power distribution box
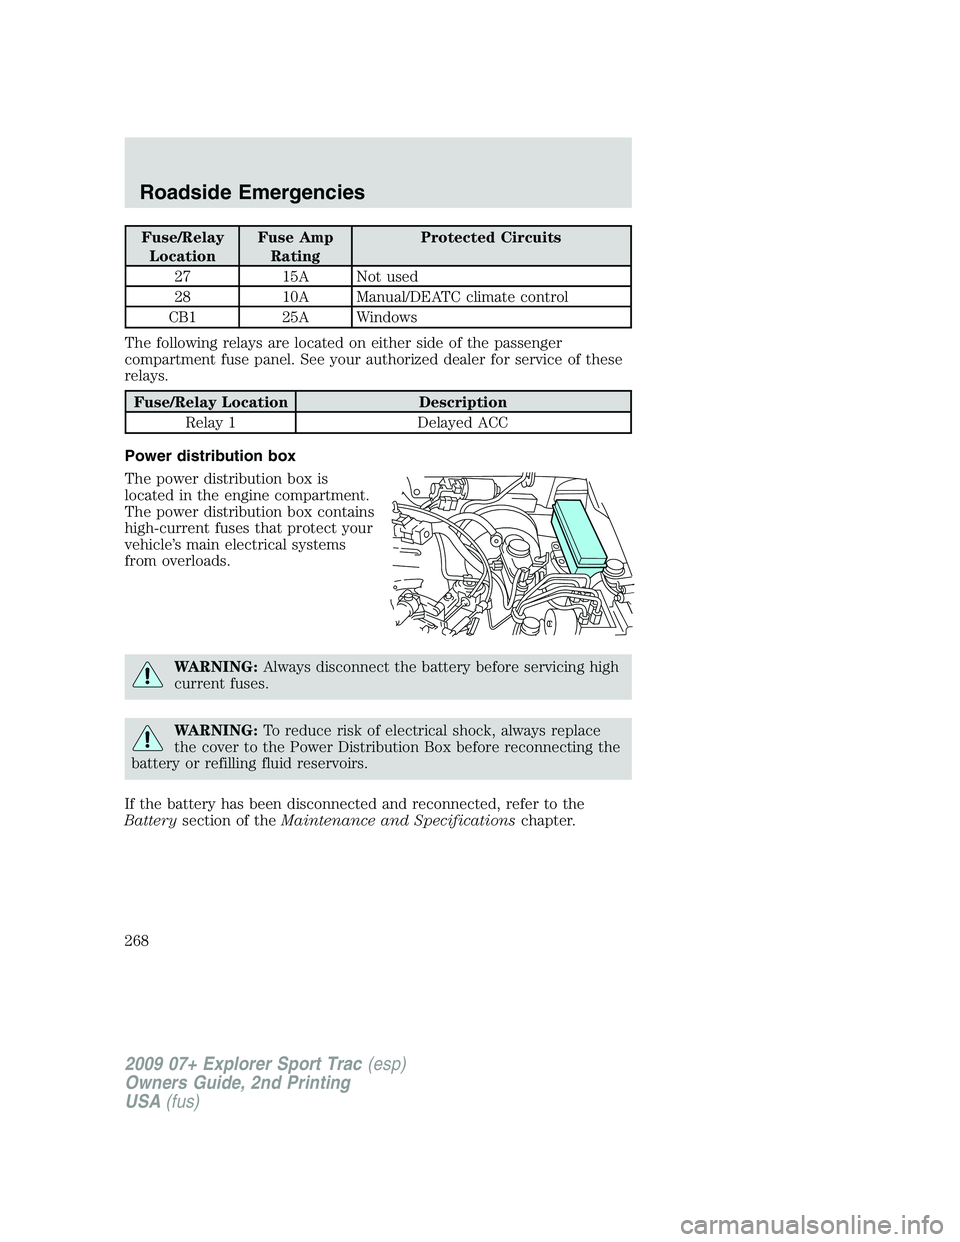
The power distribution box is
located in the engine compartment.
The power distribution box contains
high-current fuses that protect your
vehicle’s main electrical systems
from overloads.
WARNING:Always disconnect the battery before servicing high
current fuses.
WARNING:To reduce risk of electrical shock, always replace
the cover to the Power Distribution Box before reconnecting the
battery or refilling fluid reservoirs.
If the battery has been disconnected and reconnected, refer to the
Batterysection of theMaintenance and Specificationschapter.
2009 07+ Explorer Sport Trac(esp)
Owners Guide, 2nd Printing
USA(fus)
Roadside Emergencies
268
Page 269 of 351
The high-current fuses are coded as follows:
Fuse/Relay
LocationFuse Amp
RatingProtected Circuits
1 50A** BATT 2 (SJB)
2 50A** BATT 3 (SJB)
3 50A** BATT 1 (SJB)
4 30A** Fuel pump, Fuel injectors
5 — Not used
6 40A** ABS pump
7 40A** Powertrain Control Module (PCM)
8 — Not used
9 — Not used
10 20A** Power down back window
11 30A** Starter
12 — Not used
13 30A** Trailer tow battery charge
14 40A ** Power drivers seat
15 40A** Heated mirror
2009 07+ Explorer Sport Trac(esp)
Owners Guide, 2nd Printing
USA(fus)
Roadside Emergencies
269
Page 270 of 351
Fuse/Relay
LocationFuse Amp
RatingProtected Circuits
16 40A** Blower motor
17 30A** Trailer tow electronic brakes
18 — Not used
19 — Not used
20 30A** Front wiper motor
21 20A* Rear of console power point
22 20A* Subwoofer
23 20A* 4x4 module
24 10A* Powertrain Control Module (PCM)
Keep Alive Power, Canister vent
25 20A* Front of console power point/Cigar
lighter
26 20A* 4x4 module, AWD module
27 20A* 6–speed transmission control module
(TCM) (4.6L engine only)
28 20A* Heated seats
29 15A* Right high/low beam headlamp
30 20A* Cargo bed power point
31 15A* Fog lamps
32 5A* Power mirrors
33 30A* ABS valves
34 15A* Left high/low beam headlamp
35 10A* AC clutch
36 20A* Console bin power point
37 30A* Driver window motor
38 15A* 5–speed transmission (4.0L engine
only)
39 15A* PCM power
40 15A* Fan clutch, PCV valve, AC clutch
relay
41 15A* SDARS, DVD, SYNC
2009 07+ Explorer Sport Trac(esp)
Owners Guide, 2nd Printing
USA(fus)
Roadside Emergencies
270
Page 298 of 351
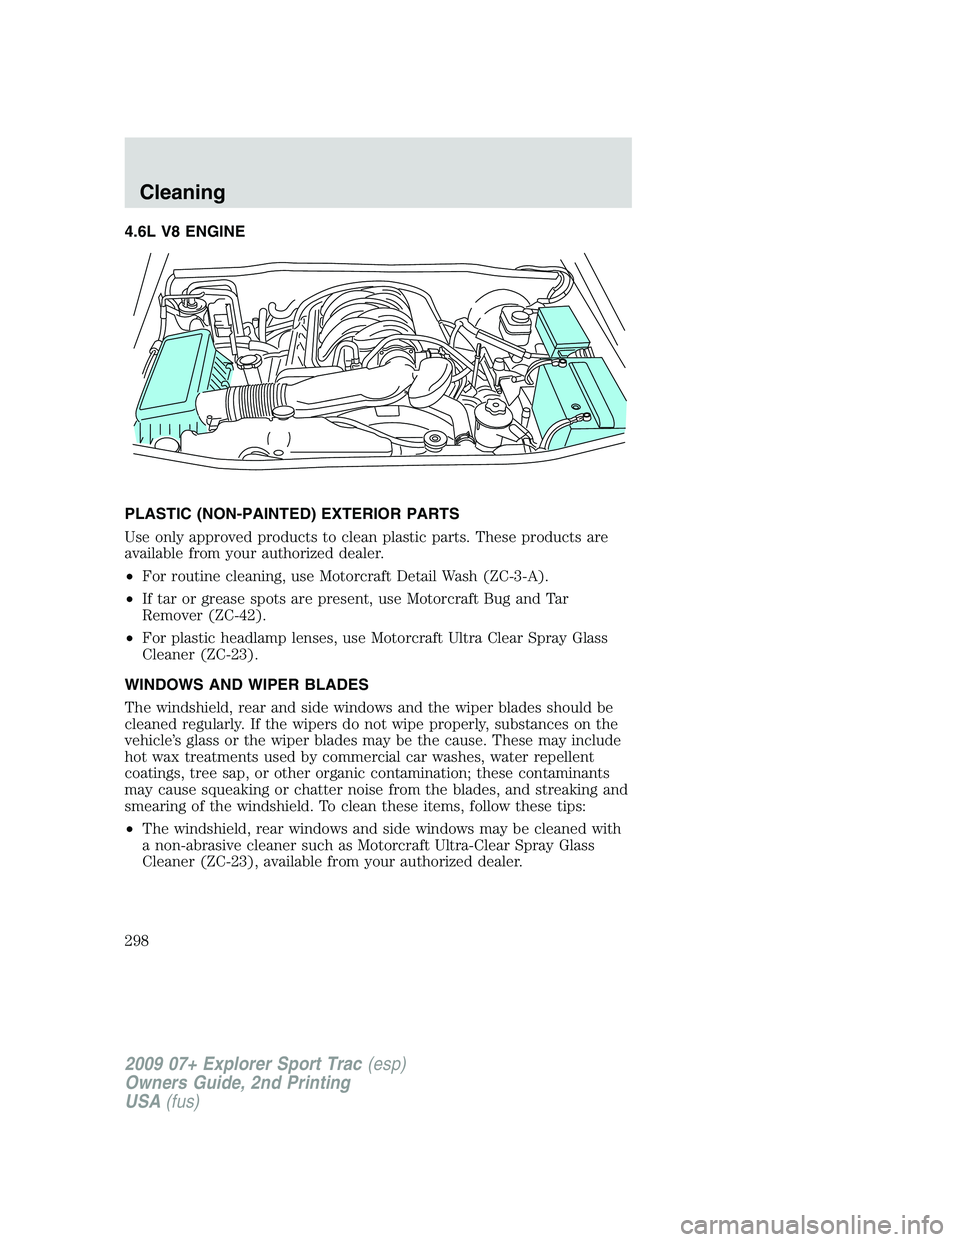
4.6L V8 ENGINE
PLASTIC (NON-PAINTED) EXTERIOR PARTS
Use only approved products to clean plastic parts. These products are
available from your authorized dealer.
•For routine cleaning, use Motorcraft Detail Wash (ZC-3-A).
•If tar or grease spots are present, use Motorcraft Bug and Tar
Remover (ZC-42).
•For plastic headlamp lenses, use Motorcraft Ultra Clear Spray Glass
Cleaner (ZC-23).
WINDOWS AND WIPER BLADES
The windshield, rear and side windows and the wiper blades should be
cleaned regularly. If the wipers do not wipe properly, substances on the
vehicle’s glass or the wiper blades may be the cause. These may include
hot wax treatments used by commercial car washes, water repellent
coatings, tree sap, or other organic contamination; these contaminants
may cause squeaking or chatter noise from the blades, and streaking and
smearing of the windshield. To clean these items, follow these tips:
•The windshield, rear windows and side windows may be cleaned with
a non-abrasive cleaner such as Motorcraft Ultra-Clear Spray Glass
Cleaner (ZC-23), available from your authorized dealer.
2009 07+ Explorer Sport Trac(esp)
Owners Guide, 2nd Printing
USA(fus)
Cleaning
298