Page 59 of 351

To adjust the headlamps:
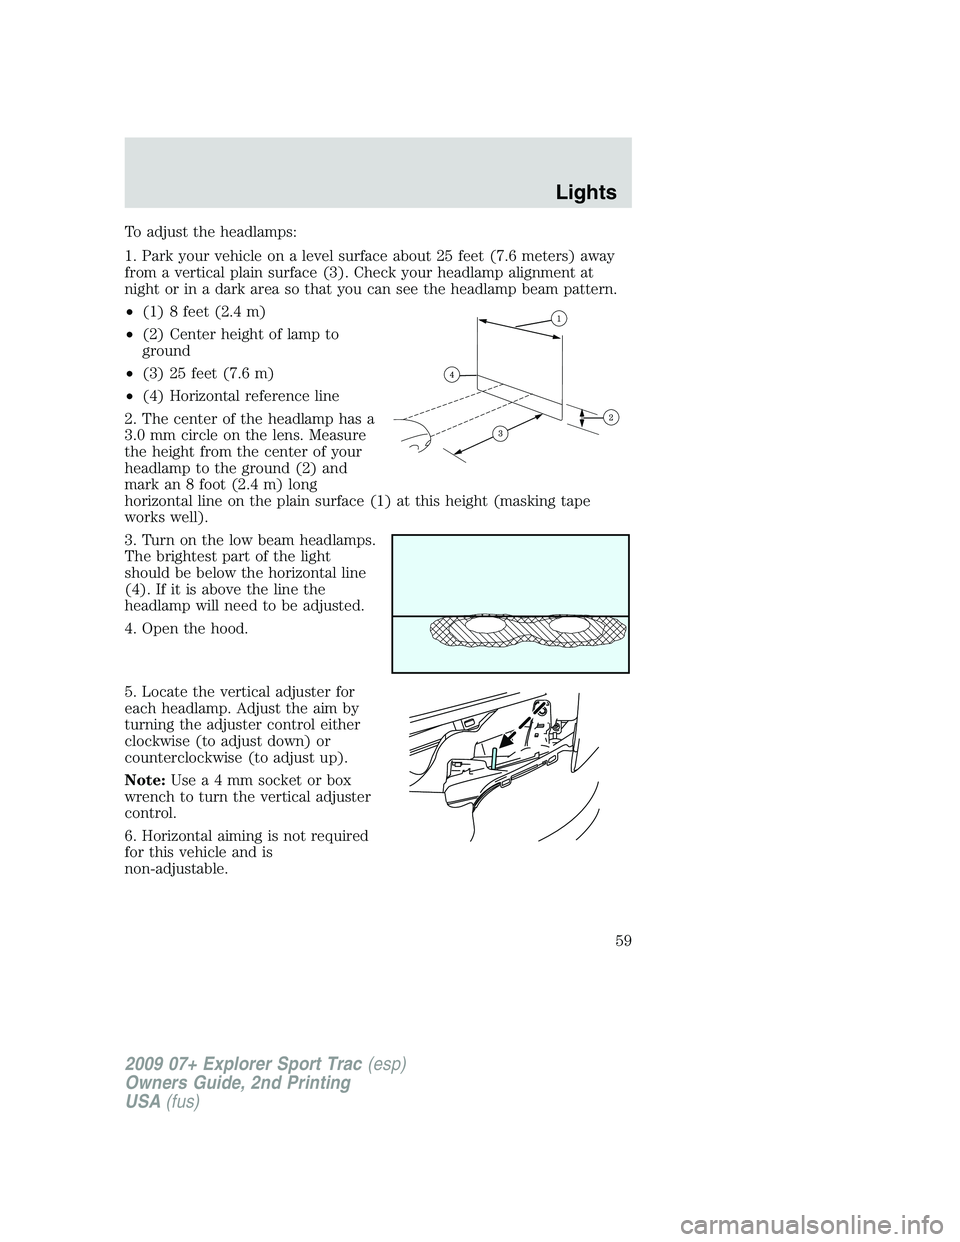
1. Park your vehicle on a level surface about 25 feet (7.6 meters) away
from a vertical plain surface (3). Check your headlamp alignment at
night or in a dark area so that you can see the headlamp beam pattern.
•(1) 8 feet (2.4 m)
•(2) Center height of lamp to
ground
•(3) 25 feet (7.6 m)
•(4) Horizontal reference line
2. The center of the headlamp has a
3.0 mm circle on the lens. Measure
the height from the center of your
headlamp to the ground (2) and
mark an 8 foot (2.4 m) long
horizontal line on the plain surface (1) at this height (masking tape
works well).
3. Turn on the low beam headlamps.
The brightest part of the light
should be below the horizontal line
(4). If it is above the line the
headlamp will need to be adjusted.
4. Open the hood.
5. Locate the vertical adjuster for
each headlamp. Adjust the aim by
turning the adjuster control either
clockwise (to adjust down) or
counterclockwise (to adjust up).
Note:Usea4mmsocket or box
wrench to turn the vertical adjuster
control.
6. Horizontal aiming is not required
for this vehicle and is
non-adjustable.
2009 07+ Explorer Sport Trac(esp)
Owners Guide, 2nd Printing
USA(fus)
Lights
59
Page 62 of 351
Function Number of bulbs Trade number
Ashtray lamp 1 161
Visor vanity lamp - Slide
on rail system (SOR)2
A6224PF
All replacement bulbs are clear in color except where noted.
To replace all instrument panel lights - see your authorized dealer.
Replacing interior bulbs
Check the operation of the bulbs frequently. To replace any of the
interior bulbs, see a dealer or qualified technician.
Replacing exterior bulbs
Check the operation of all the bulbs frequently.
Replacing headlamp bulbs
Do not touch the glass of a halogen bulb.
1. Turn off the headlamps and open
the hood.
2. Remove three screws from the
headlamp assembly and pull
headlamp forward.
3. Disconnect the electrical
connector.
4. Remove the old bulb by turning
counterclockwise and pull it out.
2009 07+ Explorer Sport Trac(esp)
Owners Guide, 2nd Printing
USA(fus)
Lights
62
Page 63 of 351
WARNING:Handle a halogen headlamp bulb carefully and keep
out of children’s reach. Grasp the bulb only by its plastic base
and do not touch the glass. The oil from your hand could cause the
bulb to break the next time the headlamps are operated.
Reverse steps to reinstall bulb(s).
Replacing front parking lamp/turn signal/sidemarker bulbs
1. Turn off the headlamps and open
the hood.
2. Remove three screws from the
headlamp assembly and pull
headlamp forward.
3. Rotate the bulb socket
counterclockwise and remove it
from the lamp assembly.
4. Pull the bulb straight out of the
socket.
Reverse steps to reinstall bulb(s).
2009 07+ Explorer Sport Trac(esp)
Owners Guide, 2nd Printing
USA(fus)
Lights
63
Page 64 of 351
Replacing tail/brake/turn/backup lamp bulbs
1. Turn the headlamp switch off and
open the tailgate.
2. Remove the two bolts from the
lamp assembly.
3. Remove the lamp assembly.
4. Rotate the bulb socket
counterclockwise and remove it
from the lamp assembly.
5. Pull the bulb straight out of the
socket.
Reverse steps to reinstall bulb(s).
Replacing fog lamp bulbs
1. Make sure the headlamp switch is
off.
2. Remove the bulb socket from the
fog lamp by turning it
counterclockwise.
3. Disconnect the electrical
connector.
Reverse steps to reinstall bulb(s).
2009 07+ Explorer Sport Trac(esp)
Owners Guide, 2nd Printing
USA(fus)
Lights
64
Page 65 of 351
Replacing license plate lamp bulbs
The license plate bulbs are located
behind the rear bumper. To change
the license plate lamp bulbs:
1. Reach behind the rear bumper to
locate the bulb.
2. Twist the bulb socket
counterclockwise and carefully pull
to remove it from the lamp
assembly.
3. Pull out the old bulb from the
socket and push in the new bulb.
4. Install the bulb socket in lamp assembly by turning it clockwise.
Replacing high-mount brake and cargo lamp bulbs
Make sure the headlamp control is
off.
1. Remove the two screws and move
the lamp assembly away from the
vehicle to expose the bulb sockets.
2. Remove the bulb socket by
rotating counterclockwise and
pulling it out of the lamp assembly.
3. Pull the bulb straight out of the socket and push in the new bulb.
Install the new bulbs in reverse order.
2009 07+ Explorer Sport Trac(esp)
Owners Guide, 2nd Printing
USA(fus)
Lights
65
Page 67 of 351
TILT STEERING COLUMN
Pull the lever down and release, to
unlock the steering column tilt lock.
With the lever in the down position,
tilt the steering column and wheel
to its desired orientation. Do not
push or pull the lever while tilting
the wheel.
Lift the lever back to its original
position to lock the steering column.
WARNING:Never adjust
the steering column when
the vehicle is moving.
ILLUMINATED VISOR MIRROR
Lift the mirror cover to turn on the
visor mirror lamps.
2009 07+ Explorer Sport Trac (esp)
Owners Guide, 2nd Printing
USA (fus)
Driver Controls
67
Page 73 of 351

If the switch is pressed and held to the normal open or ONE TOUCH
DOWN position during a ONE TOUCH UP event, the window will stop. If,
after 1/2 second the switch is still held, the window will perform a
normal open or ONE TOUCH DOWN.
Bounce-Back (Driver’s window only)
When an obstacle has been detected in the window opening as the
window is moving upward, the window will automatically reverse
direction and move down. This is known as “bounce-back”. If the ignition
is turned off (without accessory delay being active) during bounce-back,
the window will move down until the bounce-back position is reached.
Security Override
To override a bounce-back condition, within two seconds after the
window reaches the bounce-back position, pull and hold the switch up
andthe window will travel up with no bounce-back or pinch
protection.If the switch is released before the window is fully closed,
the window will stop. For example, this can be used to overcome the
resistance of ice on the window or seals.
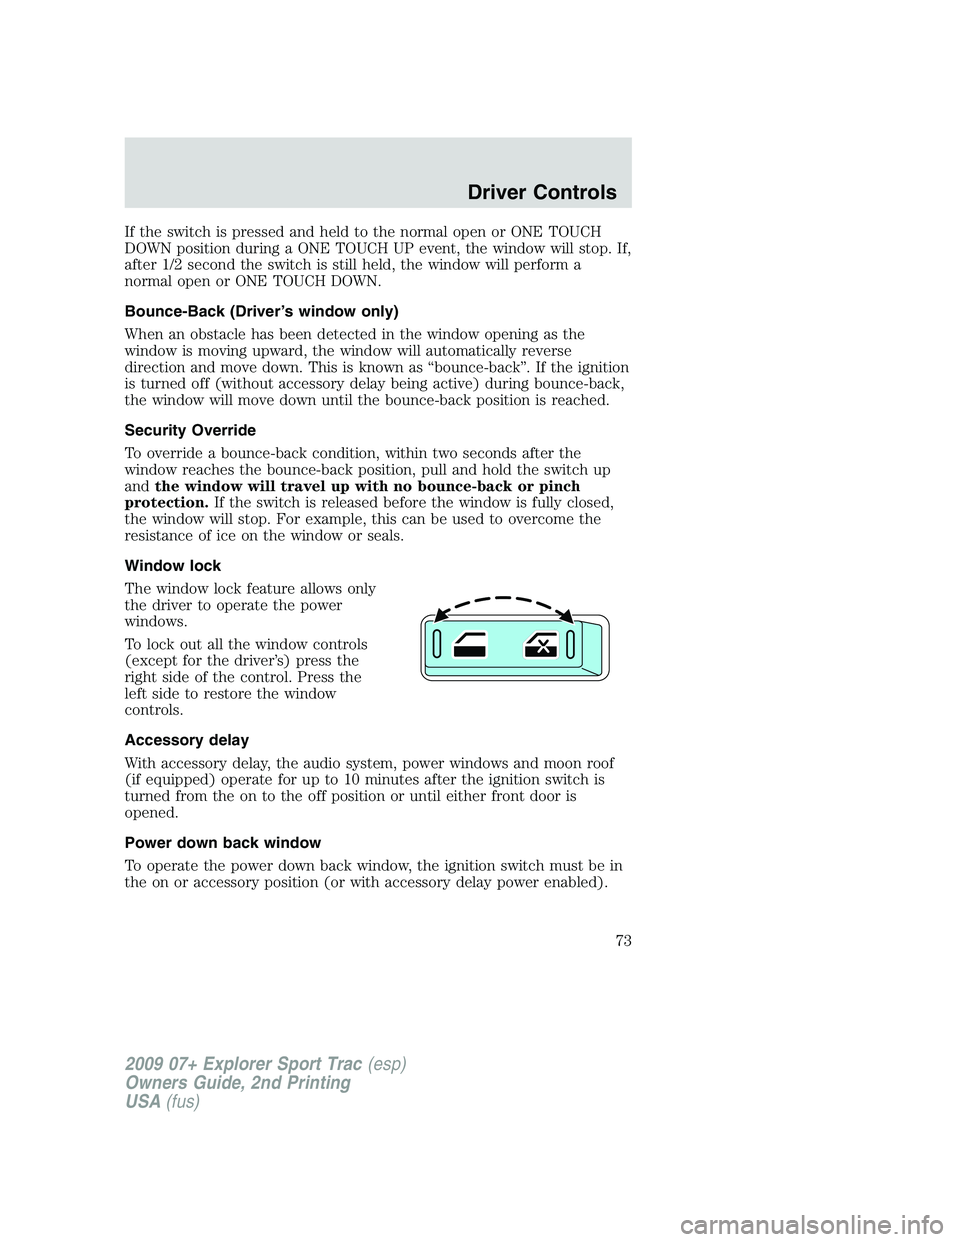
Window lock
The window lock feature allows only
the driver to operate the power
windows.
To lock out all the window controls
(except for the driver’s) press the
right side of the control. Press the
left side to restore the window
controls.
Accessory delay
With accessory delay, the audio system, power windows and moon roof
(if equipped) operate for up to 10 minutes after the ignition switch is
turned from the on to the off position or until either front door is
opened.
Power down back window
To operate the power down back window, the ignition switch must be in
the on or accessory position (or with accessory delay power enabled).
2009 07+ Explorer Sport Trac(esp)
Owners Guide, 2nd Printing
USA(fus)
Driver Controls
73
Page 76 of 351

Without microphone
With microphone
The mirror will automatically return to the normal state whenever the
vehicle is placed in R (Reverse) to ensure a bright clear view when
backing up.
Do not block the sensors on the front and back of the interior
rear view mirror since this may impair proper mirror
performance.
Do not clean the housing or glass of any mirror with harsh
abrasives, fuel or other petroleum-based cleaning products.
EXTERIOR MIRRORS
Power side view mirrors
WARNING:Do not adjust the mirror while the vehicle is in
motion.
The ignition must be in the accessory or on position to adjust the power
side view mirrors.
To adjust your mirrors:
1. Rotate the control clockwise to
adjust the right mirror and rotate
the control counterclockwise to
adjust the left mirror.
2. Move the control in the direction
you wish to tilt the mirror.
3. Return to the center position to lock mirrors in place.
2009 07+ Explorer Sport Trac(esp)
Owners Guide, 2nd Printing
USA(fus)
Driver Controls
76