Page 60 of 351

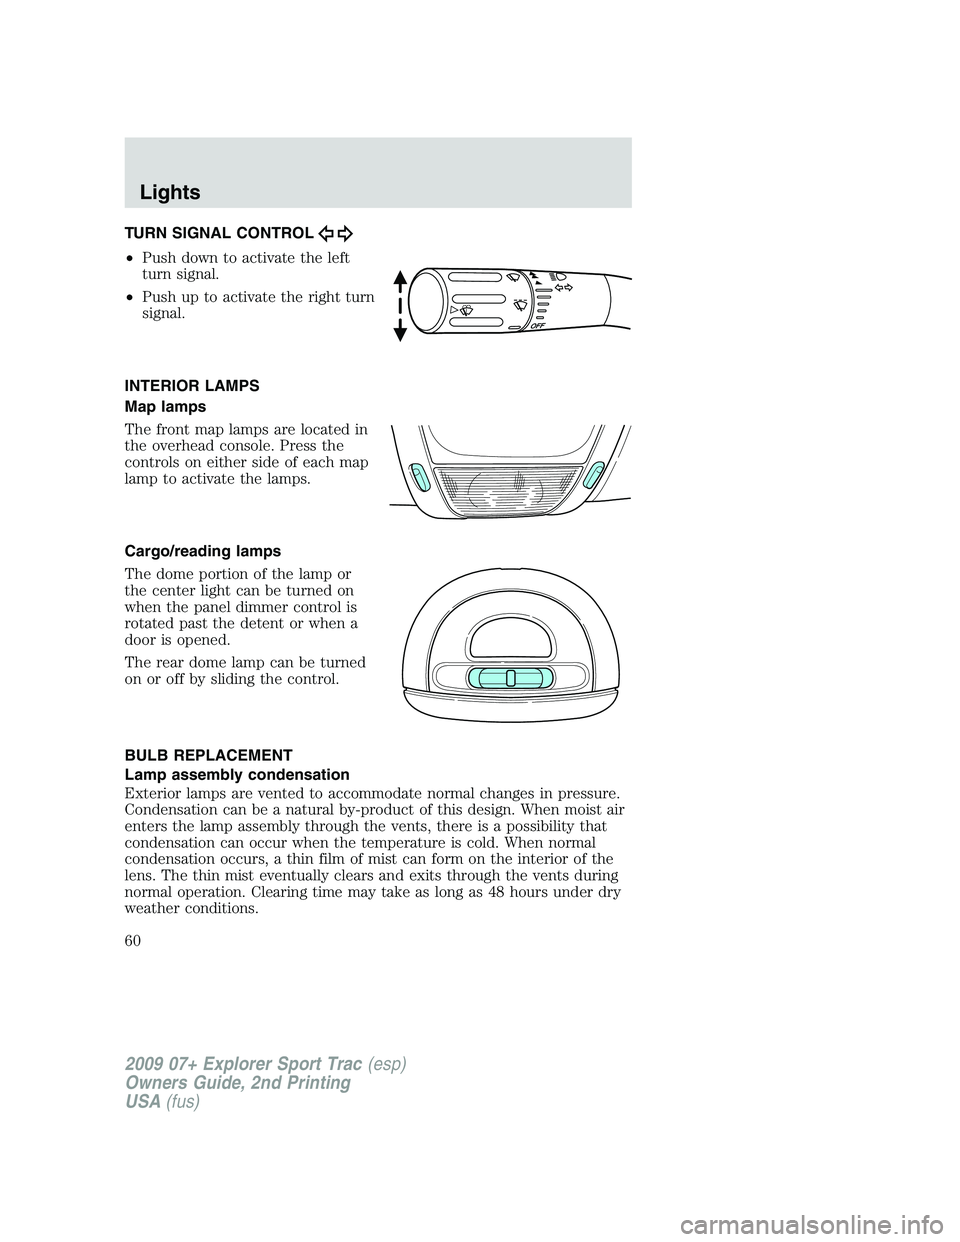
TURN SIGNAL CONTROL
•Push down to activate the left
turn signal.
•Push up to activate the right turn
signal.
INTERIOR LAMPS
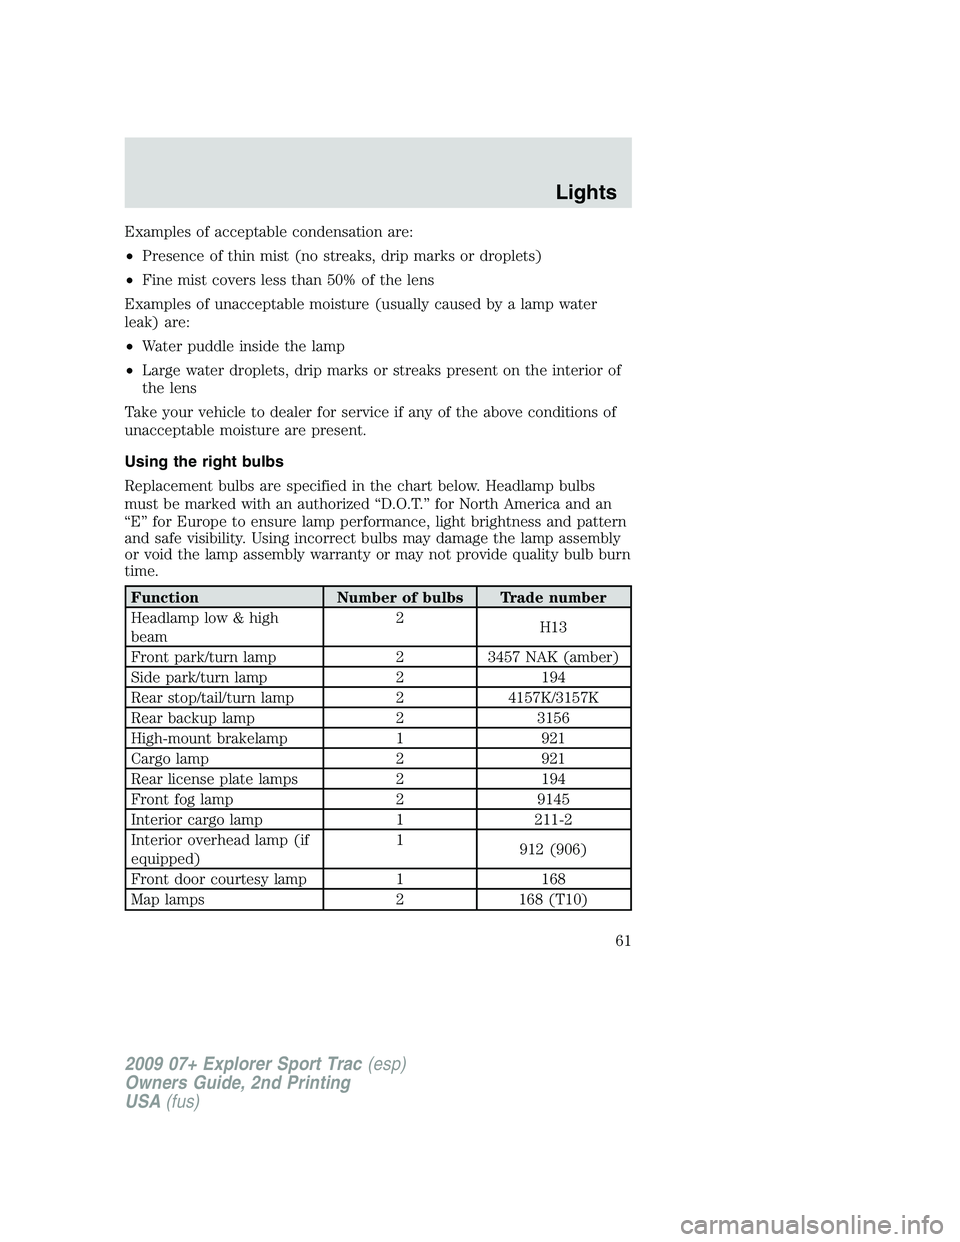
Map lamps
The front map lamps are located in
the overhead console. Press the
controls on either side of each map
lamp to activate the lamps.
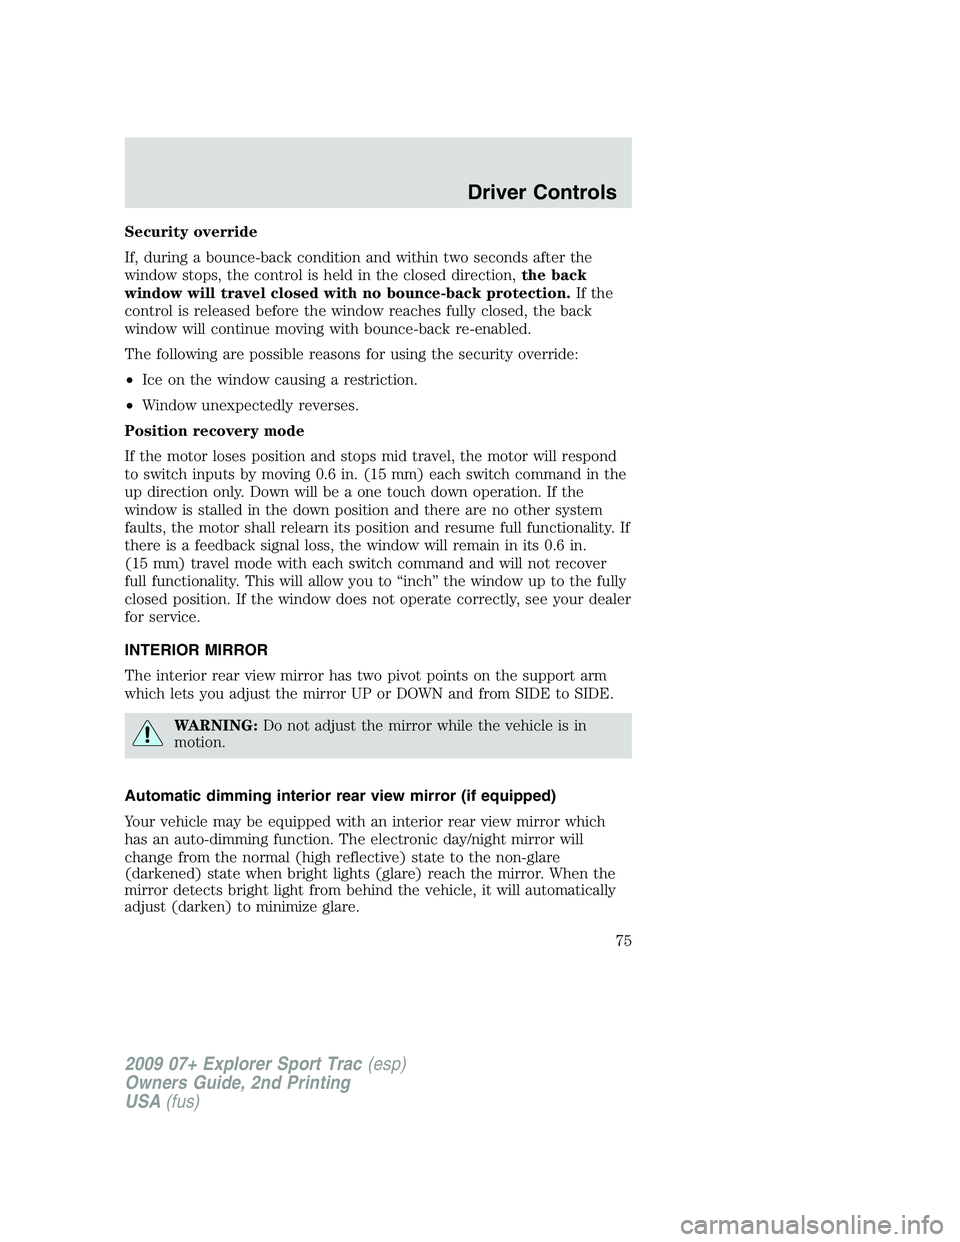
Cargo/reading lamps
The dome portion of the lamp or
the center light can be turned on
when the panel dimmer control is
rotated past the detent or when a
door is opened.
The rear dome lamp can be turned
on or off by sliding the control.
BULB REPLACEMENT
Lamp assembly condensation
Exterior lamps are vented to accommodate normal changes in pressure.
Condensation can be a natural by-product of this design. When moist air
enters the lamp assembly through the vents, there is a possibility that
condensation can occur when the temperature is cold. When normal
condensation occurs, a thin film of mist can form on the interior of the
lens. The thin mist eventually clears and exits through the vents during
normal operation. Clearing time may take as long as 48 hours under dry
weather conditions.
2009 07+ Explorer Sport Trac(esp)
Owners Guide, 2nd Printing
USA(fus)
Lights
60
Page 61 of 351

Examples of acceptable condensation are:
•Presence of thin mist (no streaks, drip marks or droplets)
•Fine mist covers less than 50% of the lens
Examples of unacceptable moisture (usually caused by a lamp water
leak) are:
•Water puddle inside the lamp
•Large water droplets, drip marks or streaks present on the interior of
the lens
Take your vehicle to dealer for service if any of the above conditions of
unacceptable moisture are present.
Using the right bulbs
Replacement bulbs are specified in the chart below. Headlamp bulbs
must be marked with an authorized “D.O.T.” for North America and an
“E” for Europe to ensure lamp performance, light brightness and pattern
and safe visibility. Using incorrect bulbs may damage the lamp assembly
or void the lamp assembly warranty or may not provide quality bulb burn
time.
Function Number of bulbs Trade number
Headlamp low & high
beam2
H13
Front park/turn lamp 2 3457 NAK (amber)
Side park/turn lamp 2 194
Rear stop/tail/turn lamp 2 4157K/3157K
Rear backup lamp 2 3156
High-mount brakelamp 1 921
Cargo lamp 2 921
Rear license plate lamps 2 194
Front fog lamp 2 9145
Interior cargo lamp 1 211-2
Interior overhead lamp (if
equipped)1
912 (906)
Front door courtesy lamp 1 168
Map lamps 2 168 (T10)
2009 07+ Explorer Sport Trac(esp)
Owners Guide, 2nd Printing
USA(fus)
Lights
61
Page 62 of 351
Function Number of bulbs Trade number
Ashtray lamp 1 161
Visor vanity lamp - Slide
on rail system (SOR)2
A6224PF
All replacement bulbs are clear in color except where noted.
To replace all instrument panel lights - see your authorized dealer.
Replacing interior bulbs
Check the operation of the bulbs frequently. To replace any of the
interior bulbs, see a dealer or qualified technician.
Replacing exterior bulbs
Check the operation of all the bulbs frequently.
Replacing headlamp bulbs
Do not touch the glass of a halogen bulb.
1. Turn off the headlamps and open
the hood.
2. Remove three screws from the
headlamp assembly and pull
headlamp forward.
3. Disconnect the electrical
connector.
4. Remove the old bulb by turning
counterclockwise and pull it out.
2009 07+ Explorer Sport Trac(esp)
Owners Guide, 2nd Printing
USA(fus)
Lights
62
Page 63 of 351
WARNING:Handle a halogen headlamp bulb carefully and keep
out of children’s reach. Grasp the bulb only by its plastic base
and do not touch the glass. The oil from your hand could cause the
bulb to break the next time the headlamps are operated.
Reverse steps to reinstall bulb(s).
Replacing front parking lamp/turn signal/sidemarker bulbs
1. Turn off the headlamps and open
the hood.
2. Remove three screws from the
headlamp assembly and pull
headlamp forward.
3. Rotate the bulb socket
counterclockwise and remove it
from the lamp assembly.
4. Pull the bulb straight out of the
socket.
Reverse steps to reinstall bulb(s).
2009 07+ Explorer Sport Trac(esp)
Owners Guide, 2nd Printing
USA(fus)
Lights
63
Page 64 of 351
Replacing tail/brake/turn/backup lamp bulbs
1. Turn the headlamp switch off and
open the tailgate.
2. Remove the two bolts from the
lamp assembly.
3. Remove the lamp assembly.
4. Rotate the bulb socket
counterclockwise and remove it
from the lamp assembly.
5. Pull the bulb straight out of the
socket.
Reverse steps to reinstall bulb(s).
Replacing fog lamp bulbs
1. Make sure the headlamp switch is
off.
2. Remove the bulb socket from the
fog lamp by turning it
counterclockwise.
3. Disconnect the electrical
connector.
Reverse steps to reinstall bulb(s).
2009 07+ Explorer Sport Trac(esp)
Owners Guide, 2nd Printing
USA(fus)
Lights
64
Page 65 of 351
Replacing license plate lamp bulbs
The license plate bulbs are located
behind the rear bumper. To change
the license plate lamp bulbs:
1. Reach behind the rear bumper to
locate the bulb.
2. Twist the bulb socket
counterclockwise and carefully pull
to remove it from the lamp
assembly.
3. Pull out the old bulb from the
socket and push in the new bulb.
4. Install the bulb socket in lamp assembly by turning it clockwise.
Replacing high-mount brake and cargo lamp bulbs
Make sure the headlamp control is
off.
1. Remove the two screws and move
the lamp assembly away from the
vehicle to expose the bulb sockets.
2. Remove the bulb socket by
rotating counterclockwise and
pulling it out of the lamp assembly.
3. Pull the bulb straight out of the socket and push in the new bulb.
Install the new bulbs in reverse order.
2009 07+ Explorer Sport Trac(esp)
Owners Guide, 2nd Printing
USA(fus)
Lights
65
Page 75 of 351

Security override
If, during a bounce-back condition and within two seconds after the
window stops, the control is held in the closed direction,the back
window will travel closed with no bounce-back protection.If the
control is released before the window reaches fully closed, the back
window will continue moving with bounce-back re-enabled.
The following are possible reasons for using the security override:
•Ice on the window causing a restriction.
•Window unexpectedly reverses.
Position recovery mode
If the motor loses position and stops mid travel, the motor will respond
to switch inputs by moving 0.6 in. (15 mm) each switch command in the
up direction only. Down will be a one touch down operation. If the
window is stalled in the down position and there are no other system
faults, the motor shall relearn its position and resume full functionality. If
there is a feedback signal loss, the window will remain in its 0.6 in.
(15 mm) travel mode with each switch command and will not recover
full functionality. This will allow you to “inch” the window up to the fully
closed position. If the window does not operate correctly, see your dealer
for service.
INTERIOR MIRROR
The interior rear view mirror has two pivot points on the support arm
which lets you adjust the mirror UP or DOWN and from SIDE to SIDE.
WARNING:Do not adjust the mirror while the vehicle is in
motion.
Automatic dimming interior rear view mirror (if equipped)
Your vehicle may be equipped with an interior rear view mirror which
has an auto-dimming function. The electronic day/night mirror will
change from the normal (high reflective) state to the non-glare
(darkened) state when bright lights (glare) reach the mirror. When the
mirror detects bright light from behind the vehicle, it will automatically
adjust (darken) to minimize glare.
2009 07+ Explorer Sport Trac(esp)
Owners Guide, 2nd Printing
USA(fus)
Driver Controls
75
Page 88 of 351

Units (English/Metric)
1. Select this function from the
SETUP MENU for the current units
to be displayed.
2. Press and hold the
SELECT/RESET control switch to
change from English to Metric.
3. Press the SELECT/RESET control switch for the next SETUP MENU
item or wait for more than four seconds to return to the INFO MENU.
Language
Note:When entering the SETUP MENU and a non-English language has
been selected, “PRESS RESET FOR ENGLISH” will be displayed to
change back to English.
1. Select this function from the
SETUP MENU for the current
language to be displayed.
2. Press and hold the
SELECT/RESET control to select a
new language.
Selectable languages are English, Spanish, French, or Japanese.
3. Press the SELECT/RESET control switch for the next SETUP MENU
item or wait for more than four seconds to return to the INFO MENU.
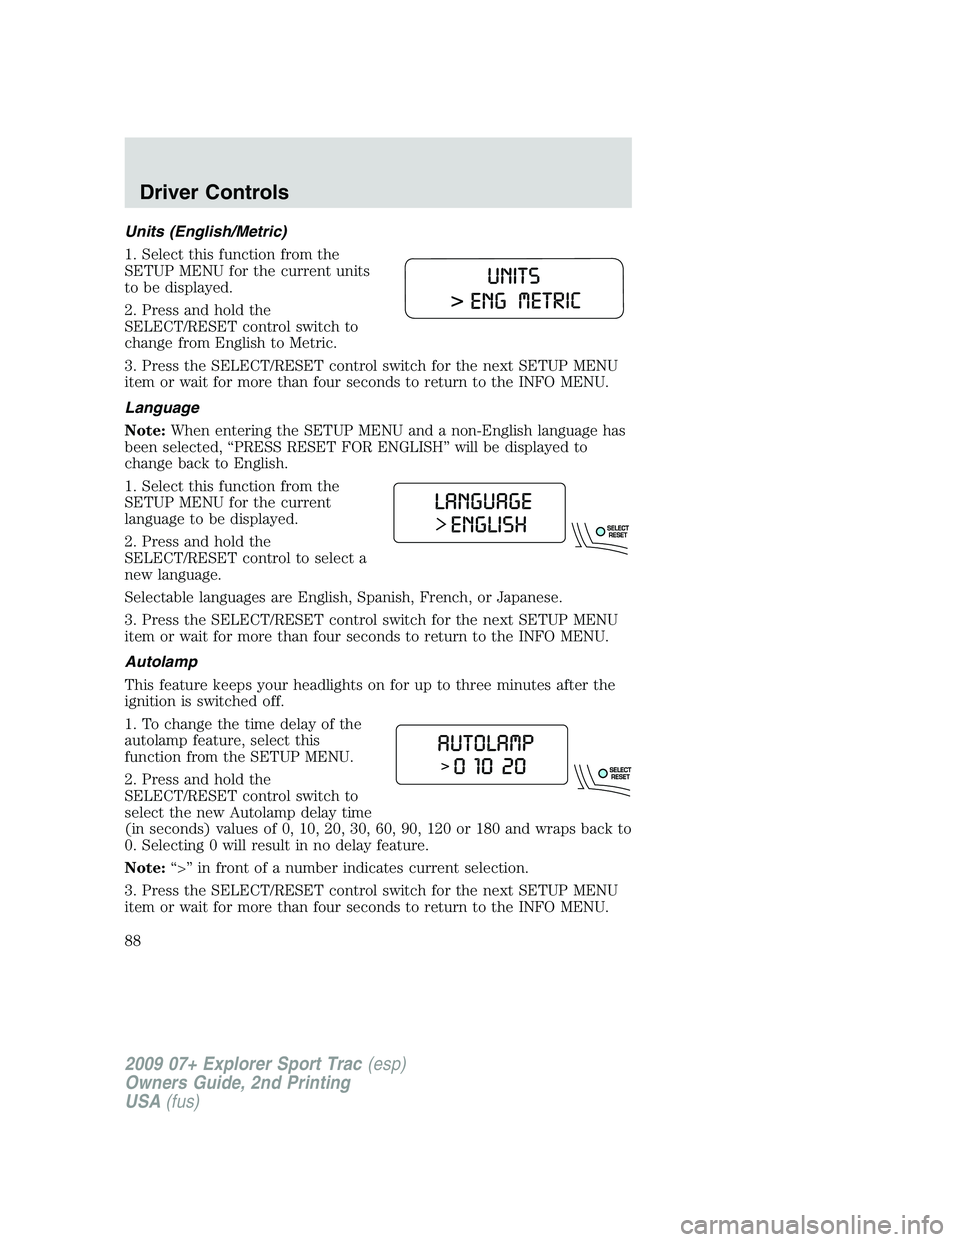
Autolamp
This feature keeps your headlights on for up to three minutes after the
ignition is switched off.
1. To change the time delay of the
autolamp feature, select this
function from the SETUP MENU.
2. Press and hold the
SELECT/RESET control switch to
select the new Autolamp delay time
(in seconds) values of 0, 10, 20, 30, 60, 90, 120 or 180 and wraps back to
0. Selecting 0 will result in no delay feature.
Note:“>” in front of a number indicates current selection.
3. Press the SELECT/RESET control switch for the next SETUP MENU
item or wait for more than four seconds to return to the INFO MENU.
2009 07+ Explorer Sport Trac(esp)
Owners Guide, 2nd Printing
USA(fus)
Driver Controls
88