Page 71 of 407

Once you have made your selection,
press ENTER to confirm. This is
disc dependent.
Audio CDs
To play audio CDs on your DVD system:
1. Ensure that the vehicle is on or the ignition is in accessory mode.
2. Ensure that the DVD system is on.
3. Insert an audio CD into the DVD system, label side up.
4. The track and elapsed time will
appear in the status bar. Use the
DVD cursor controls on the bezel to
highlight which track you would like
to play. You can also use the cursor
controls to highlight
COMPRESSION, SHUFFLE or
SCAN. Once you have highlighted
the desired track or function, press ENTER on the DVD bezel to confirm
your selection.
COMP (Compression):Compression brings soft and loud CD passages
together for a more consistent listening level when in CD mode. Press to
turn the feature on/off.
SHUFFLE:Press to hear all tracks on the current CD in random order.
Press again to stop.
SCAN:Press for a brief sampling of all tracks on the current CD. Press
again to stop.
Playing MP3 discs
To play an MP3 disc on your DVD system:
1. Ensure that the vehicle is on or the ignition is in accessory mode.
2. Ensure that the DVD system is on.
3. Insert the MP3 disc into the DVD system, label side up.
2009 Explorer(exp)
Owners Guide, 1st Printing
USA(fus)
Entertainment Systems
71
Page 73 of 407

CD, MP3 and CD player care
•Handle discs by their edges only. Never touch the playing surface.
•Do not expose discs to direct sunlight or heat sources for extended
periods of time.
•Do not insert more than one disc into the slot of the CD player (if
equipped).
•Always store discs out of direct sunlight. Excessive heat may damage
or warp discs.
•Use care when handling and playing CD-R and CD-RW discs, which
are more susceptible to damage from heat, light and stress than are
regular CDs.
•Always insert and remove a disc by holding the disc flat, with the
playing surface facing down, in order to prevent damage to the disc or
the player.
•Never insert any object other than a compact disc (CD) or digital
versatile disc (DVD) into the player, as doing so may damage the
player and may cause injury to you.
•Do not disassemble the player. The laser used in disc playback is
extremely harmful to the eyes.
The FES DVD system is designed to play commercially pressed
12 cm (4.75 in) audio compact discs and digital versatile discs
(DVD), DVD-R and R/W discs only. Due to technical
incompatibility, certain recordable and re-recordable compact
discs may not function correctly when used in Ford CD and DVD
players. Irregular shaped CDs or DVDs, CDs or DVDs with a
scratch protection film attached, and CDs with homemade paper
(adhesive) labels should not be inserted into the FES DVD
system. The label may peel and cause the CD or DVD to become
jammed. It is recommended that homemade CDs or DVDs be
identified with permanent felt tip marker rather than adhesive
labels. Ball point pens may damage CDs or DVDs. Please contact
your authorized dealer for further information.
Playing a DVD
1. Ensure that the vehicle is on or the ignition is in accessory mode.
2. Ensure that the navigation system is on.
3. Insert a DVD label-side up into the system.
2009 Explorer(exp)
Owners Guide, 1st Printing
USA(fus)
Entertainment Systems
73
Page 76 of 407

Audio displays
Your DVD system interacts closely with the front audio system. Status
messages will appear in the radio display showing the DVD status. Some
possible radio display messages:
•SINGLE PLAY or DUAL PLAY
•DVD LOAD
•DVD MENU
•DVD STOP
Audio interaction
You can then also use the front audio controls to advance, reverse, play
and pause a DVD. While a DVD is playing you may use the following
controls on the front radio:
•SEEK:Press to advance to the previous (
) or next () DVD
chapters.
•
: Press to play a DVD or to pause the DVD.
When the radio displays “DVD MENU”, press PLAY on the radio
(memory preset #6), to play the disc.
Parental control for the DVD system
Your Family Entertainment System (FES) allows you to have control
over the rear seat controls in a few different ways. The DVD system is
automatically activated when the vehicle ignition is ON, which allows the
rear seat passengers to use the DVD system.
There are three levels of control of
the FES buttons. The states are
FULL (enabled), LOCAL or
LOCKED (disabled). To change the level of control, press the memory
preset controls 3 and 5 simultaneously on the front audio controls. The
control level will cycle each time the buttons are pressed simultaneously.
The three states are described as:
FULL(enabled): The FES has control over the primary (speaker) and
secondary (headphone) audio sources.
LOCAL: The FES has control over the secondary source (headphones)
only. The radio will ignore button presses that affect the primary
(speaker) audio source.
LOCKED(disabled): The FES buttons are locked and all FES button
presses are ignored by the radio and the FES except for load and eject.
2009 Explorer(exp)
Owners Guide, 1st Printing
USA(fus)
Entertainment Systems
76
Page 88 of 407
REAR WINDOW DEFROSTER
The rear defroster control is located
on the instrument panel.
Press the rear defroster control to
clear the rear window of thin ice
and fog.
•An indicator lamp will illuminate
when the rear defroster is
activated.
The ignition must be in the on position to operate the rear window
defroster.
The defroster turns off automatically after 10 minutes or when the
ignition is turned to off or the accessory position. To manually turn off
the defroster before 10 minutes have passed, push the control again.
R
2009 Explorer(exp)
Owners Guide, 1st Printing
USA(fus)
Climate Controls
88
Page 90 of 407

Fog lamp control
The fog lamps can be turned on
only when the headlamp control is
in the
,orposition and
the high beams are not turned on.
Pull headlamp control towards you
to turn fog lamps on. The fog lamp
indicator light below the
icon
will illuminate when fog lamp is
activated.
Push the headlamp control towards
the instrument panel to deactivate the fog lamps.
Daytime running lamps (DRL) (if equipped)
To activate DRL:
•the ignition must be in the on position and
•the headlamp control is in the
orposition
•the transmission is not in P (Park).
WARNING:Always remember to turn on your headlamps at
dusk or during inclement weather. The Daytime Running Light
(DRL) System does not activate your tail lamps and generally may not
provide adequate lighting during these conditions. Failure to activate
your headlamps under these conditions may result in a collision.
High beams
Push the lever toward the
instrument panel to activate. Pull
the lever towards you to deactivate.
2009 Explorer(exp)
Owners Guide, 1st Printing
USA(fus)
Lights
90
Page 93 of 407
TURN SIGNAL CONTROL
•Push down to activate the left
turn signal.
•Push up to activate the right turn
signal.
INTERIOR LAMPS
Dome/reading lamps
The dome lamp lights when:
•any door is opened.
•the instrument panel dimmer
switch is rotated up until the
courtesy lamps come on.
•any of the remote entry controls
are pressed and the ignition is
off.
The reading portion, the two outer lights, can only be toggled on and off
at the lamp.
The front map lamps are located in
the overhead console (if equipped).
Press the controls on either side of
each map lamp to activate the
lamps.
2009 Explorer(exp)
Owners Guide, 1st Printing
USA(fus)
Lights
93
Page 107 of 407

Bounce-Back (Driver’s window only)
When an obstacle has been detected in the window opening as the
window is moving upward, the window will automatically reverse
direction and move down. This is known as “bounce-back”. If the ignition
is turned off (without accessory delay being active) during bounce-back,
the window will move down until the bounce-back position is reached.
Security Override
To override a bounce-back condition, within two seconds after the
window reaches the bounce-back position, pull and hold the switch up
andthe window will travel up with no bounce-back or pinch
protection.If the switch is released before the window is fully closed,
the window will stop. For example, this can be used to overcome the
resistance of ice on the window or seals.
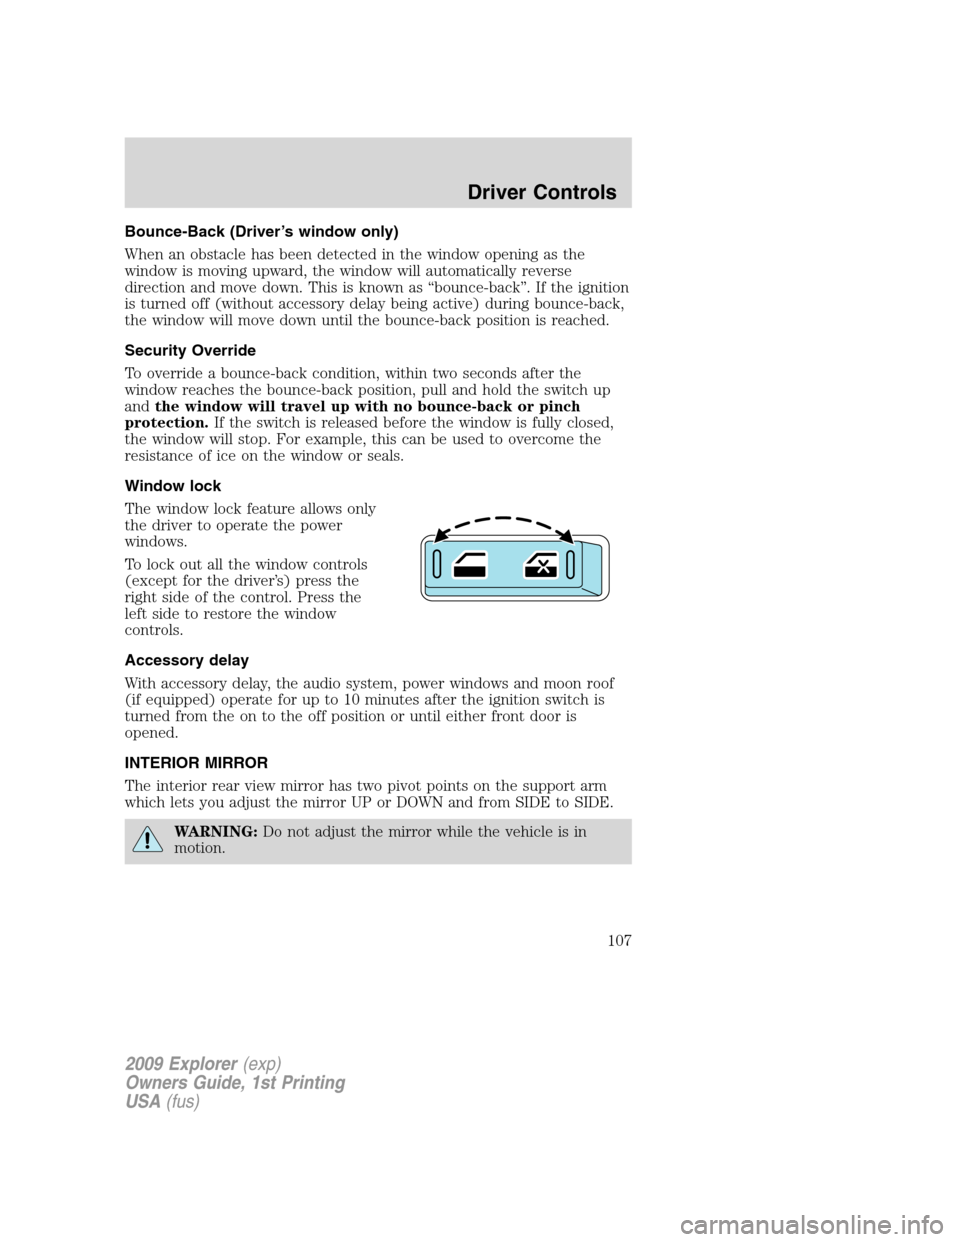
Window lock
The window lock feature allows only
the driver to operate the power
windows.
To lock out all the window controls
(except for the driver’s) press the
right side of the control. Press the
left side to restore the window
controls.
Accessory delay
With accessory delay, the audio system, power windows and moon roof
(if equipped) operate for up to 10 minutes after the ignition switch is
turned from the on to the off position or until either front door is
opened.
INTERIOR MIRROR
The interior rear view mirror has two pivot points on the support arm
which lets you adjust the mirror UP or DOWN and from SIDE to SIDE.
WARNING:Do not adjust the mirror while the vehicle is in
motion.
2009 Explorer(exp)
Owners Guide, 1st Printing
USA(fus)
Driver Controls
107
Page 108 of 407

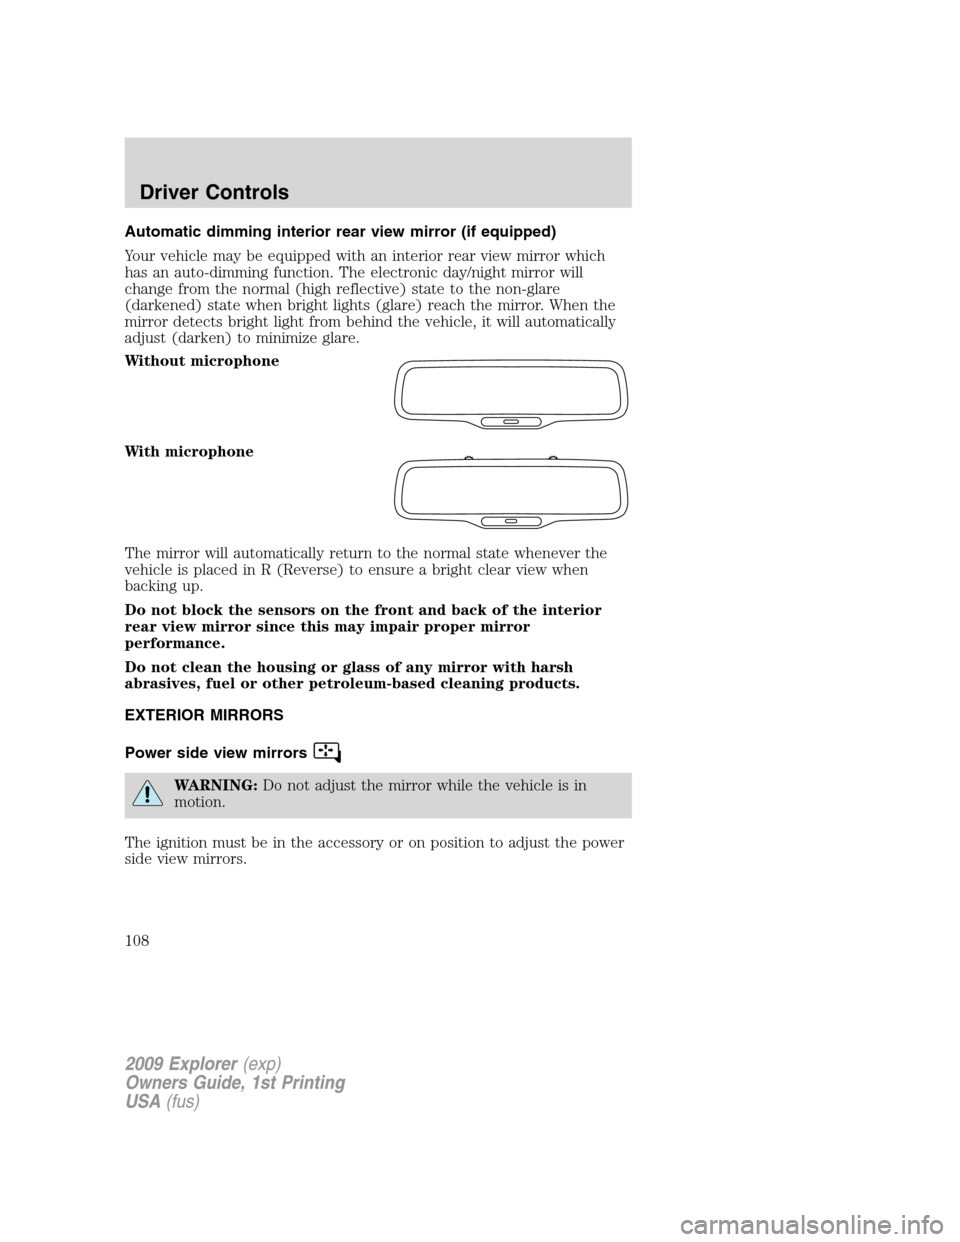
Automatic dimming interior rear view mirror (if equipped)
Your vehicle may be equipped with an interior rear view mirror which
has an auto-dimming function. The electronic day/night mirror will
change from the normal (high reflective) state to the non-glare
(darkened) state when bright lights (glare) reach the mirror. When the
mirror detects bright light from behind the vehicle, it will automatically
adjust (darken) to minimize glare.
Without microphone
With microphone
The mirror will automatically return to the normal state whenever the
vehicle is placed in R (Reverse) to ensure a bright clear view when
backing up.
Do not block the sensors on the front and back of the interior
rear view mirror since this may impair proper mirror
performance.
Do not clean the housing or glass of any mirror with harsh
abrasives, fuel or other petroleum-based cleaning products.
EXTERIOR MIRRORS
Power side view mirrors
WARNING:Do not adjust the mirror while the vehicle is in
motion.
The ignition must be in the accessory or on position to adjust the power
side view mirrors.
2009 Explorer(exp)
Owners Guide, 1st Printing
USA(fus)
Driver Controls
108